✨ New Arrivals Just Dropped!Explore
Toi Et Moi 1.50ct Pear Lab Diamond and 1.50ct Marquise Lab Sapphire Engagement Ring in 18K Yellow Gold
HomeStore

Toi Et Moi 1.50ct Pear Lab Diamond and 1.50ct Marquise Lab Sapphire Engagement Ring in 18K Yellow Gold

Toi Et Moi 1.50ct Pear Lab Diamond and 1.50ct Marquise Lab Sapphire Engagement Ring in 18K Yellow Gold

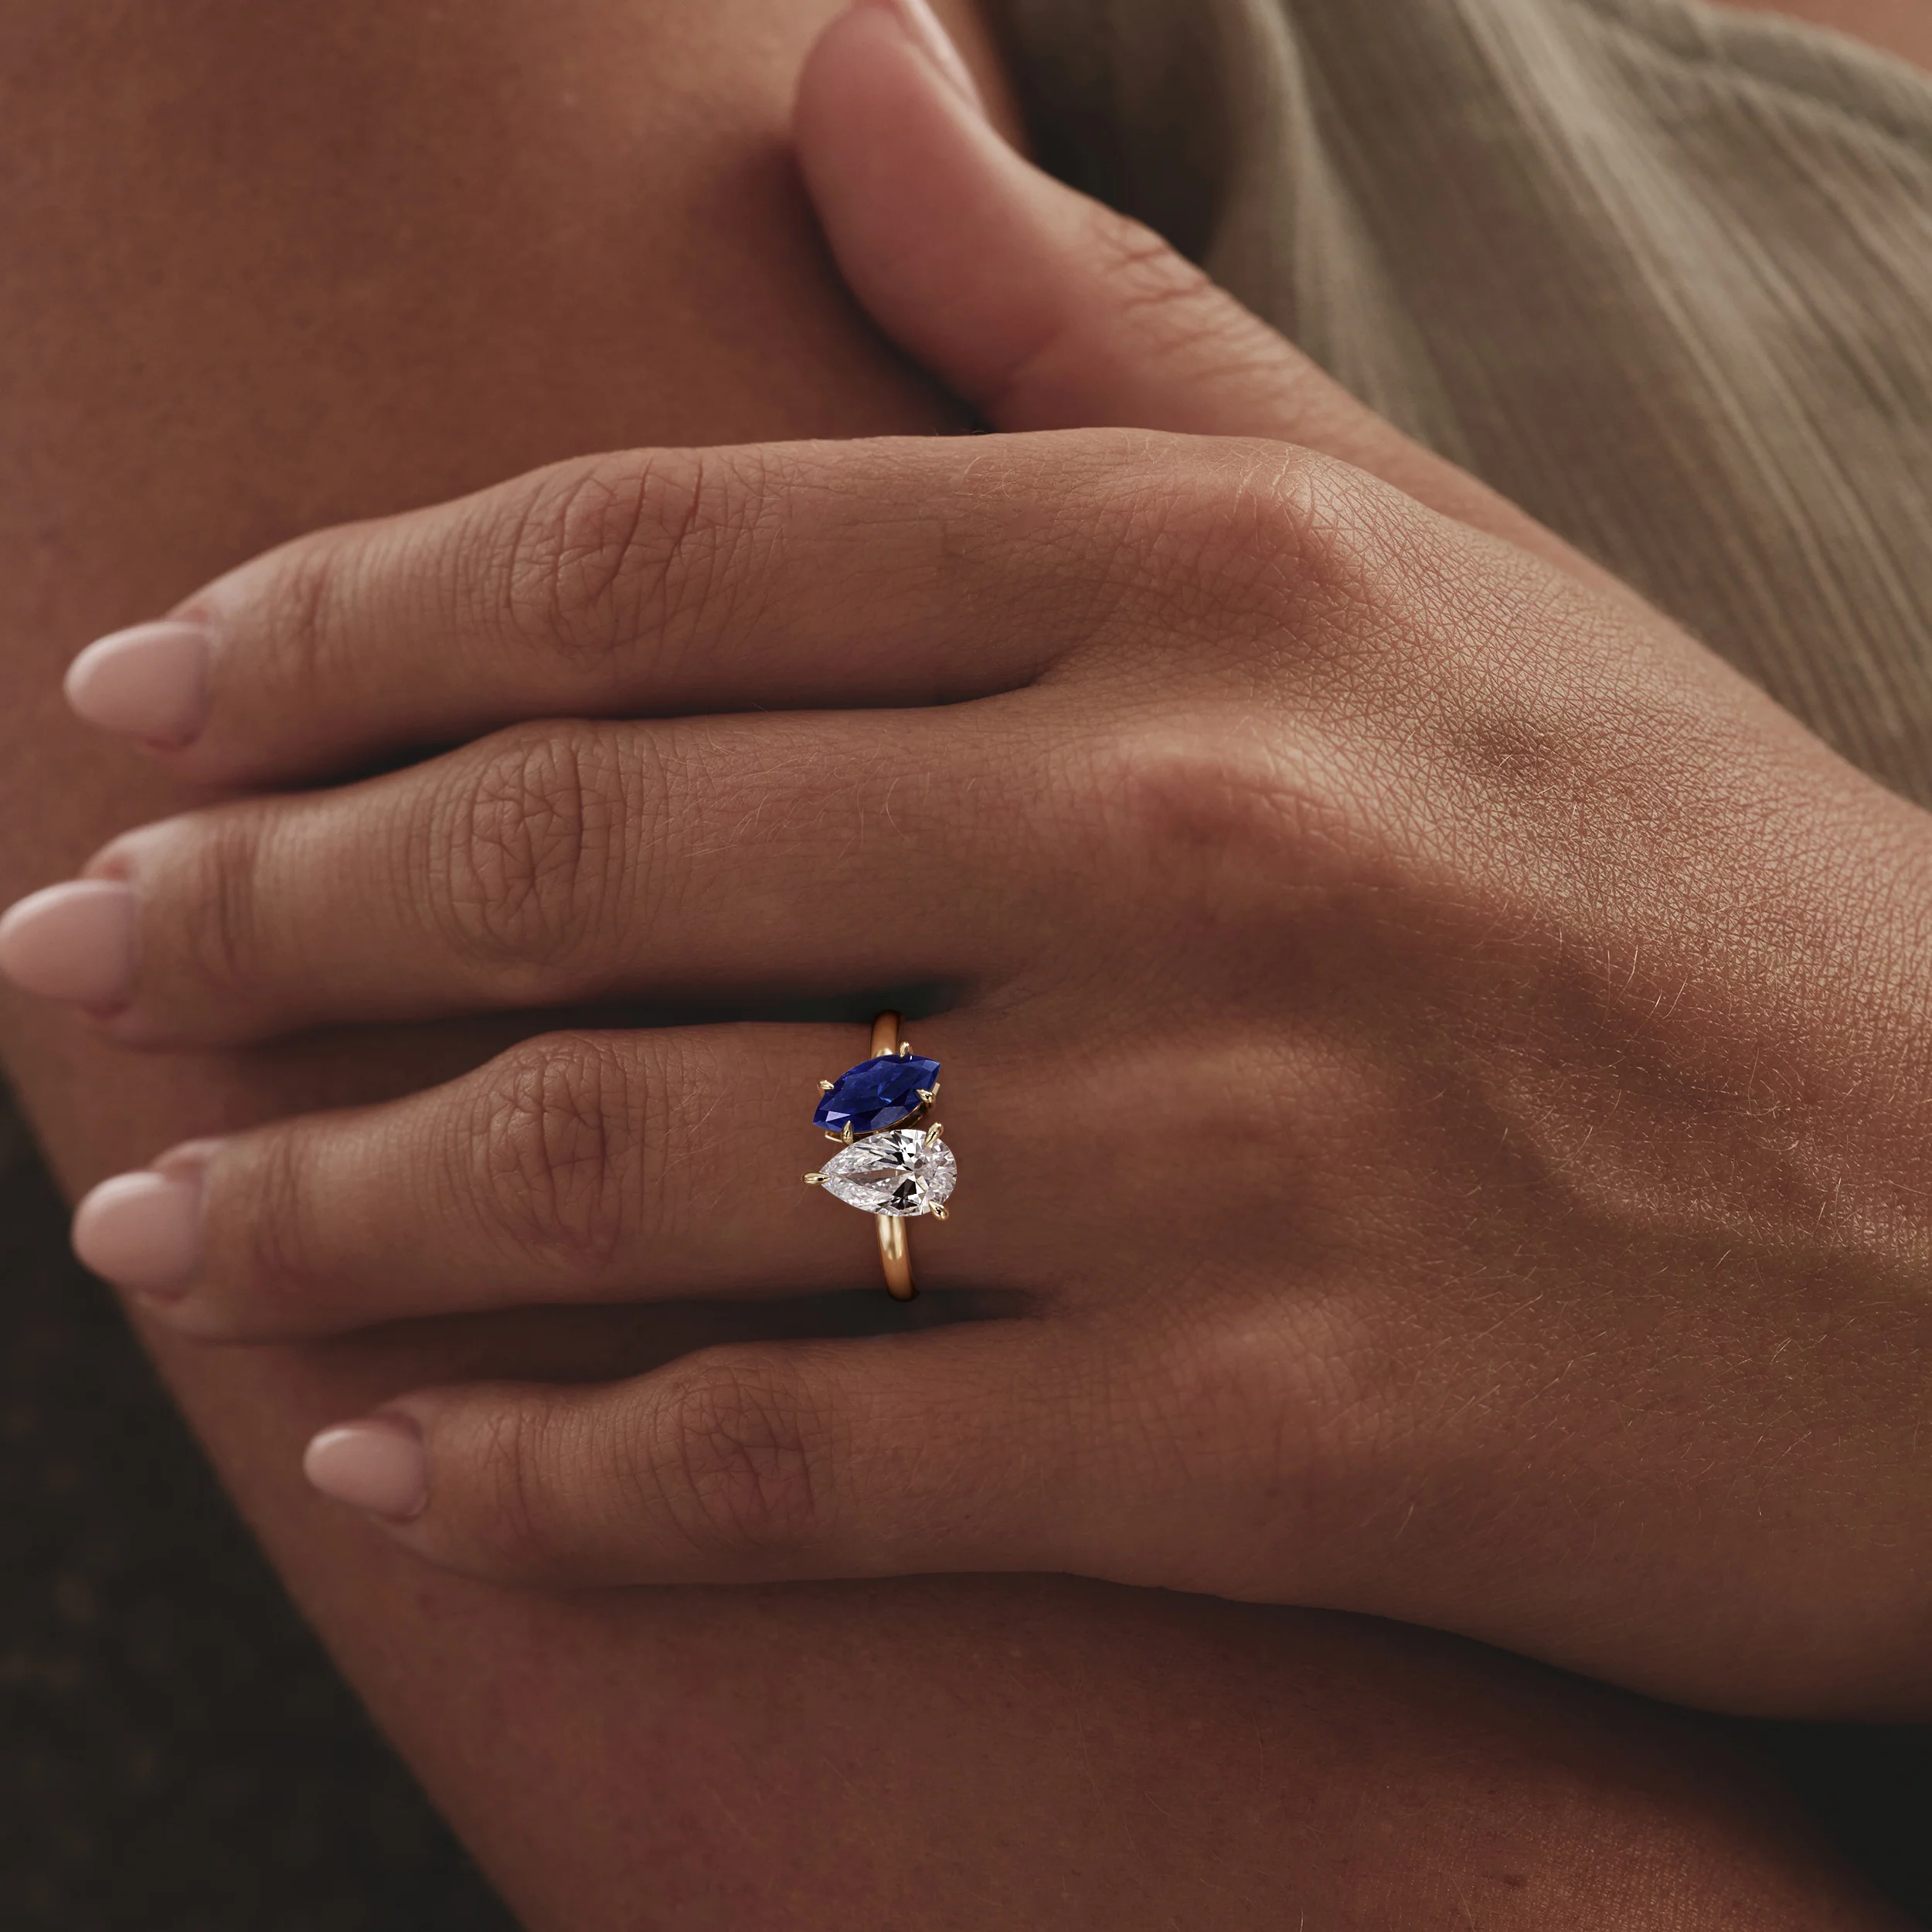
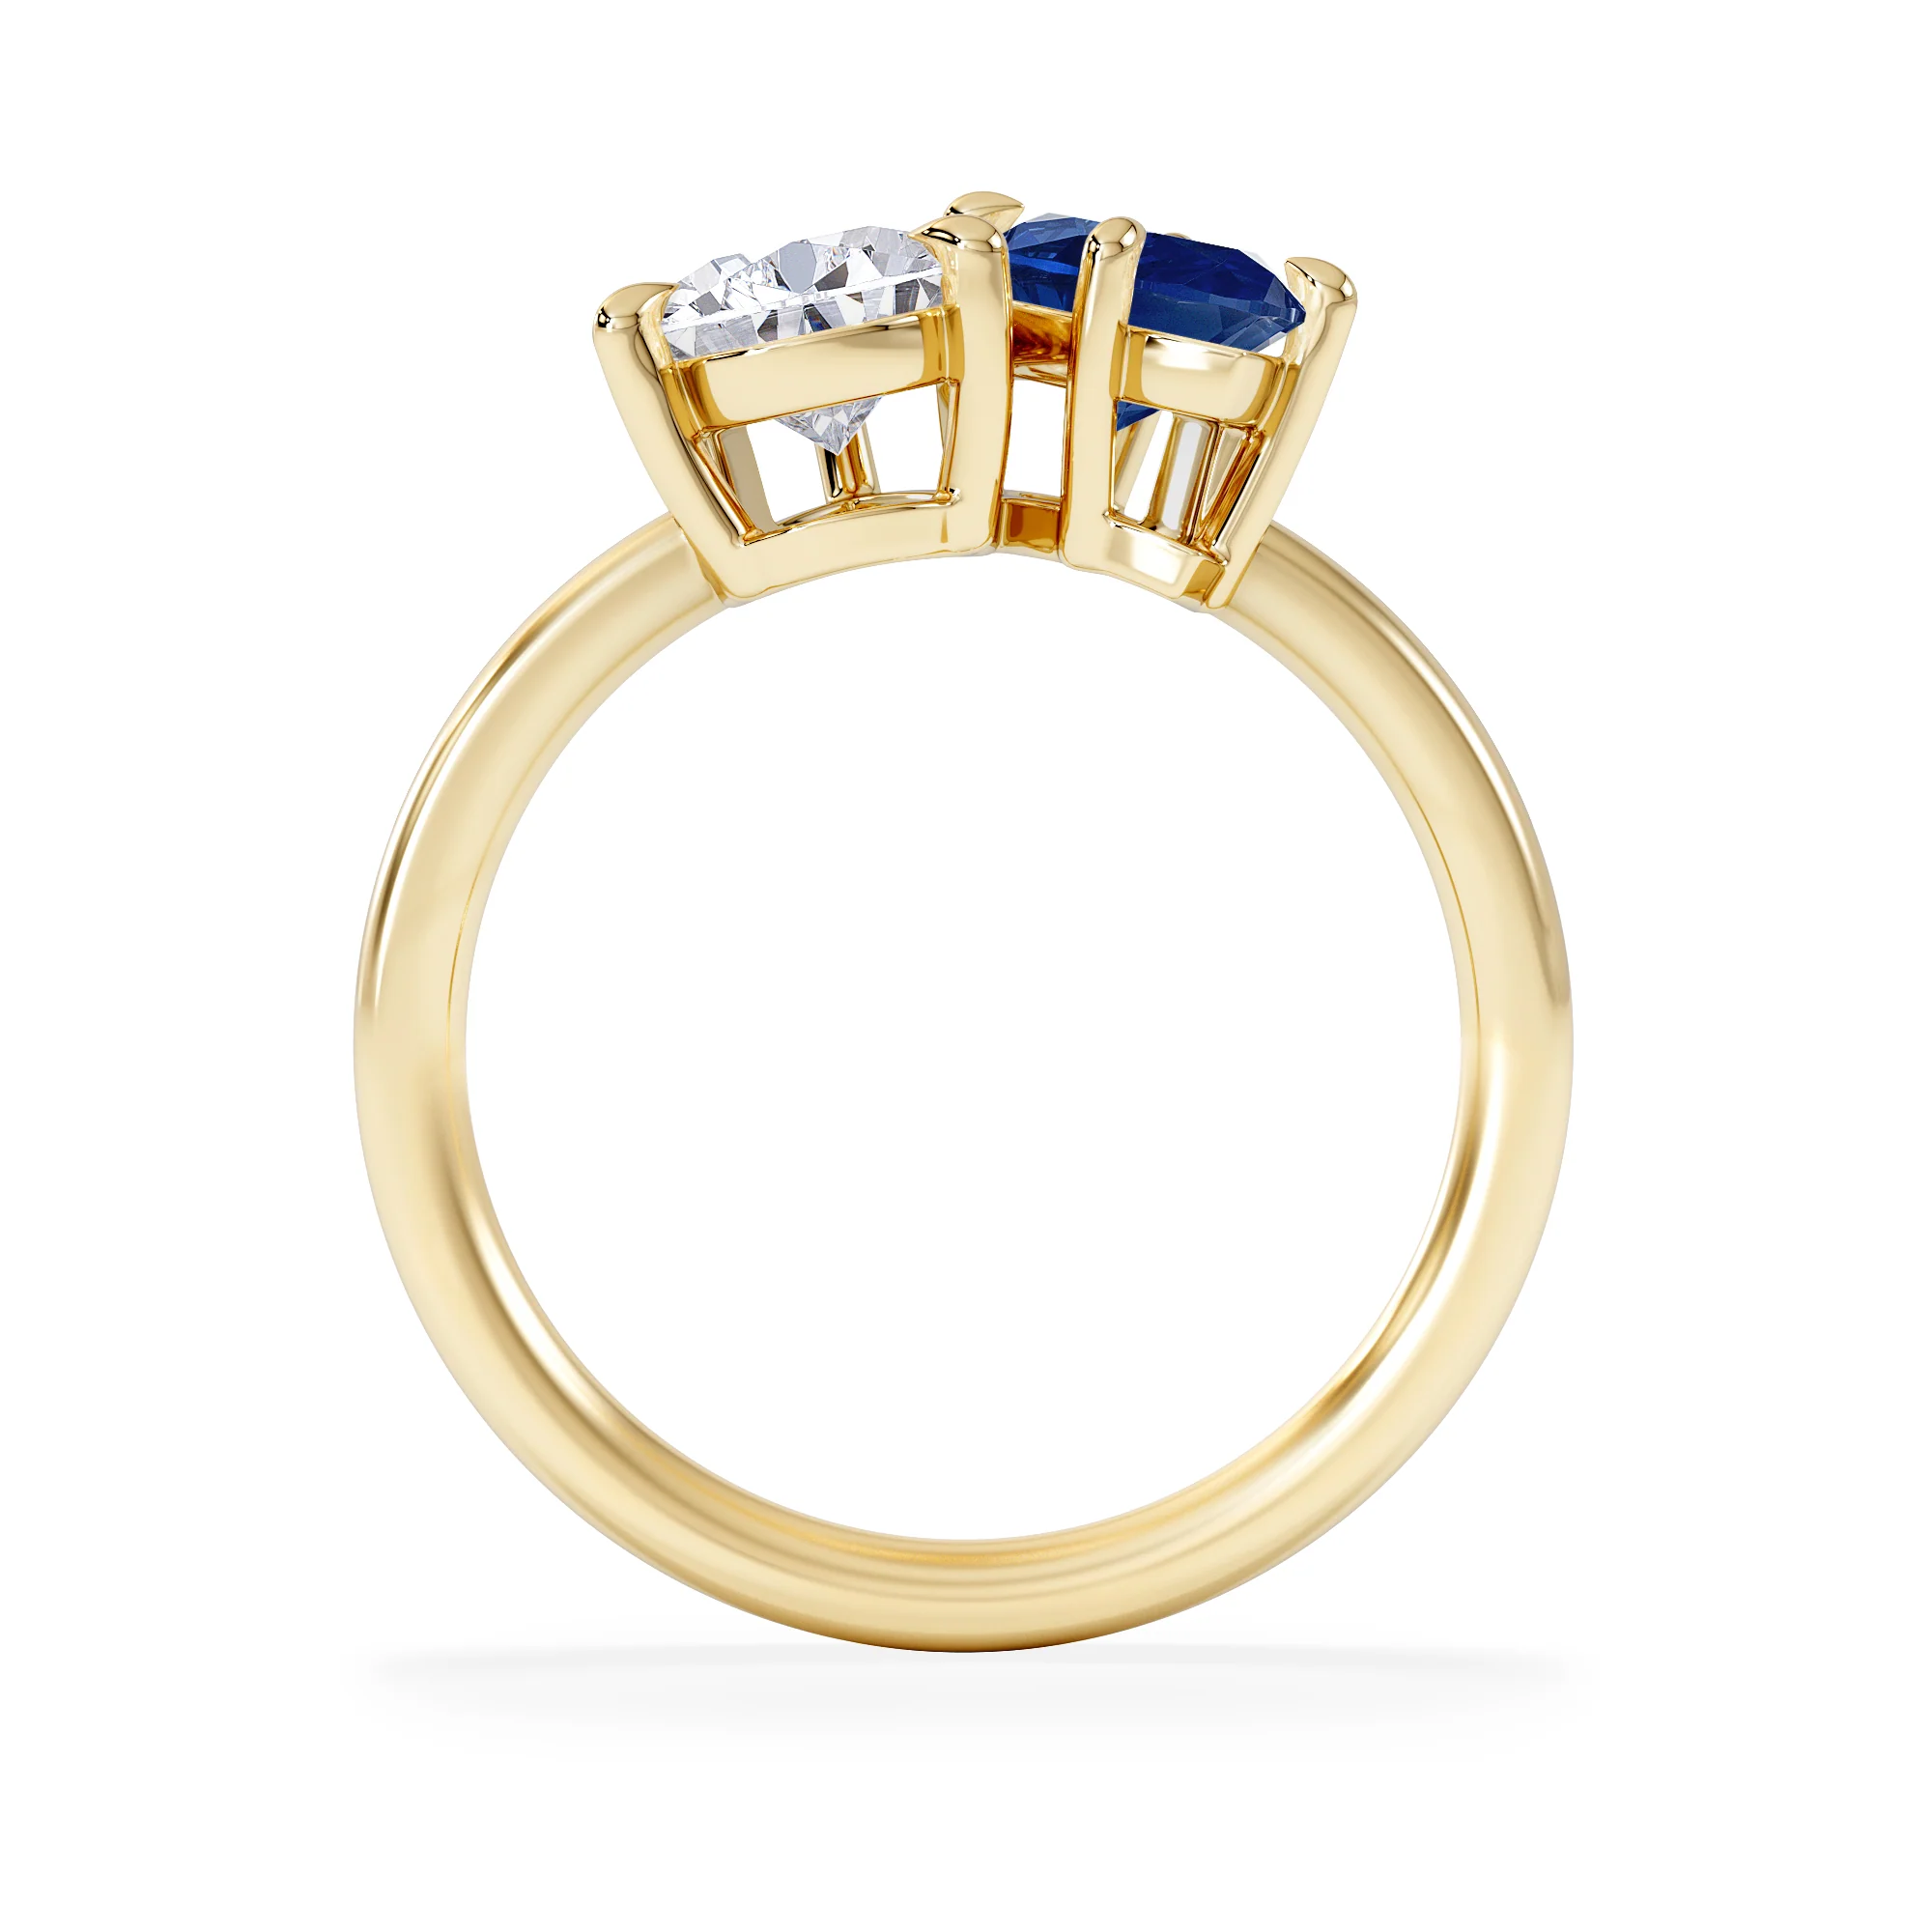
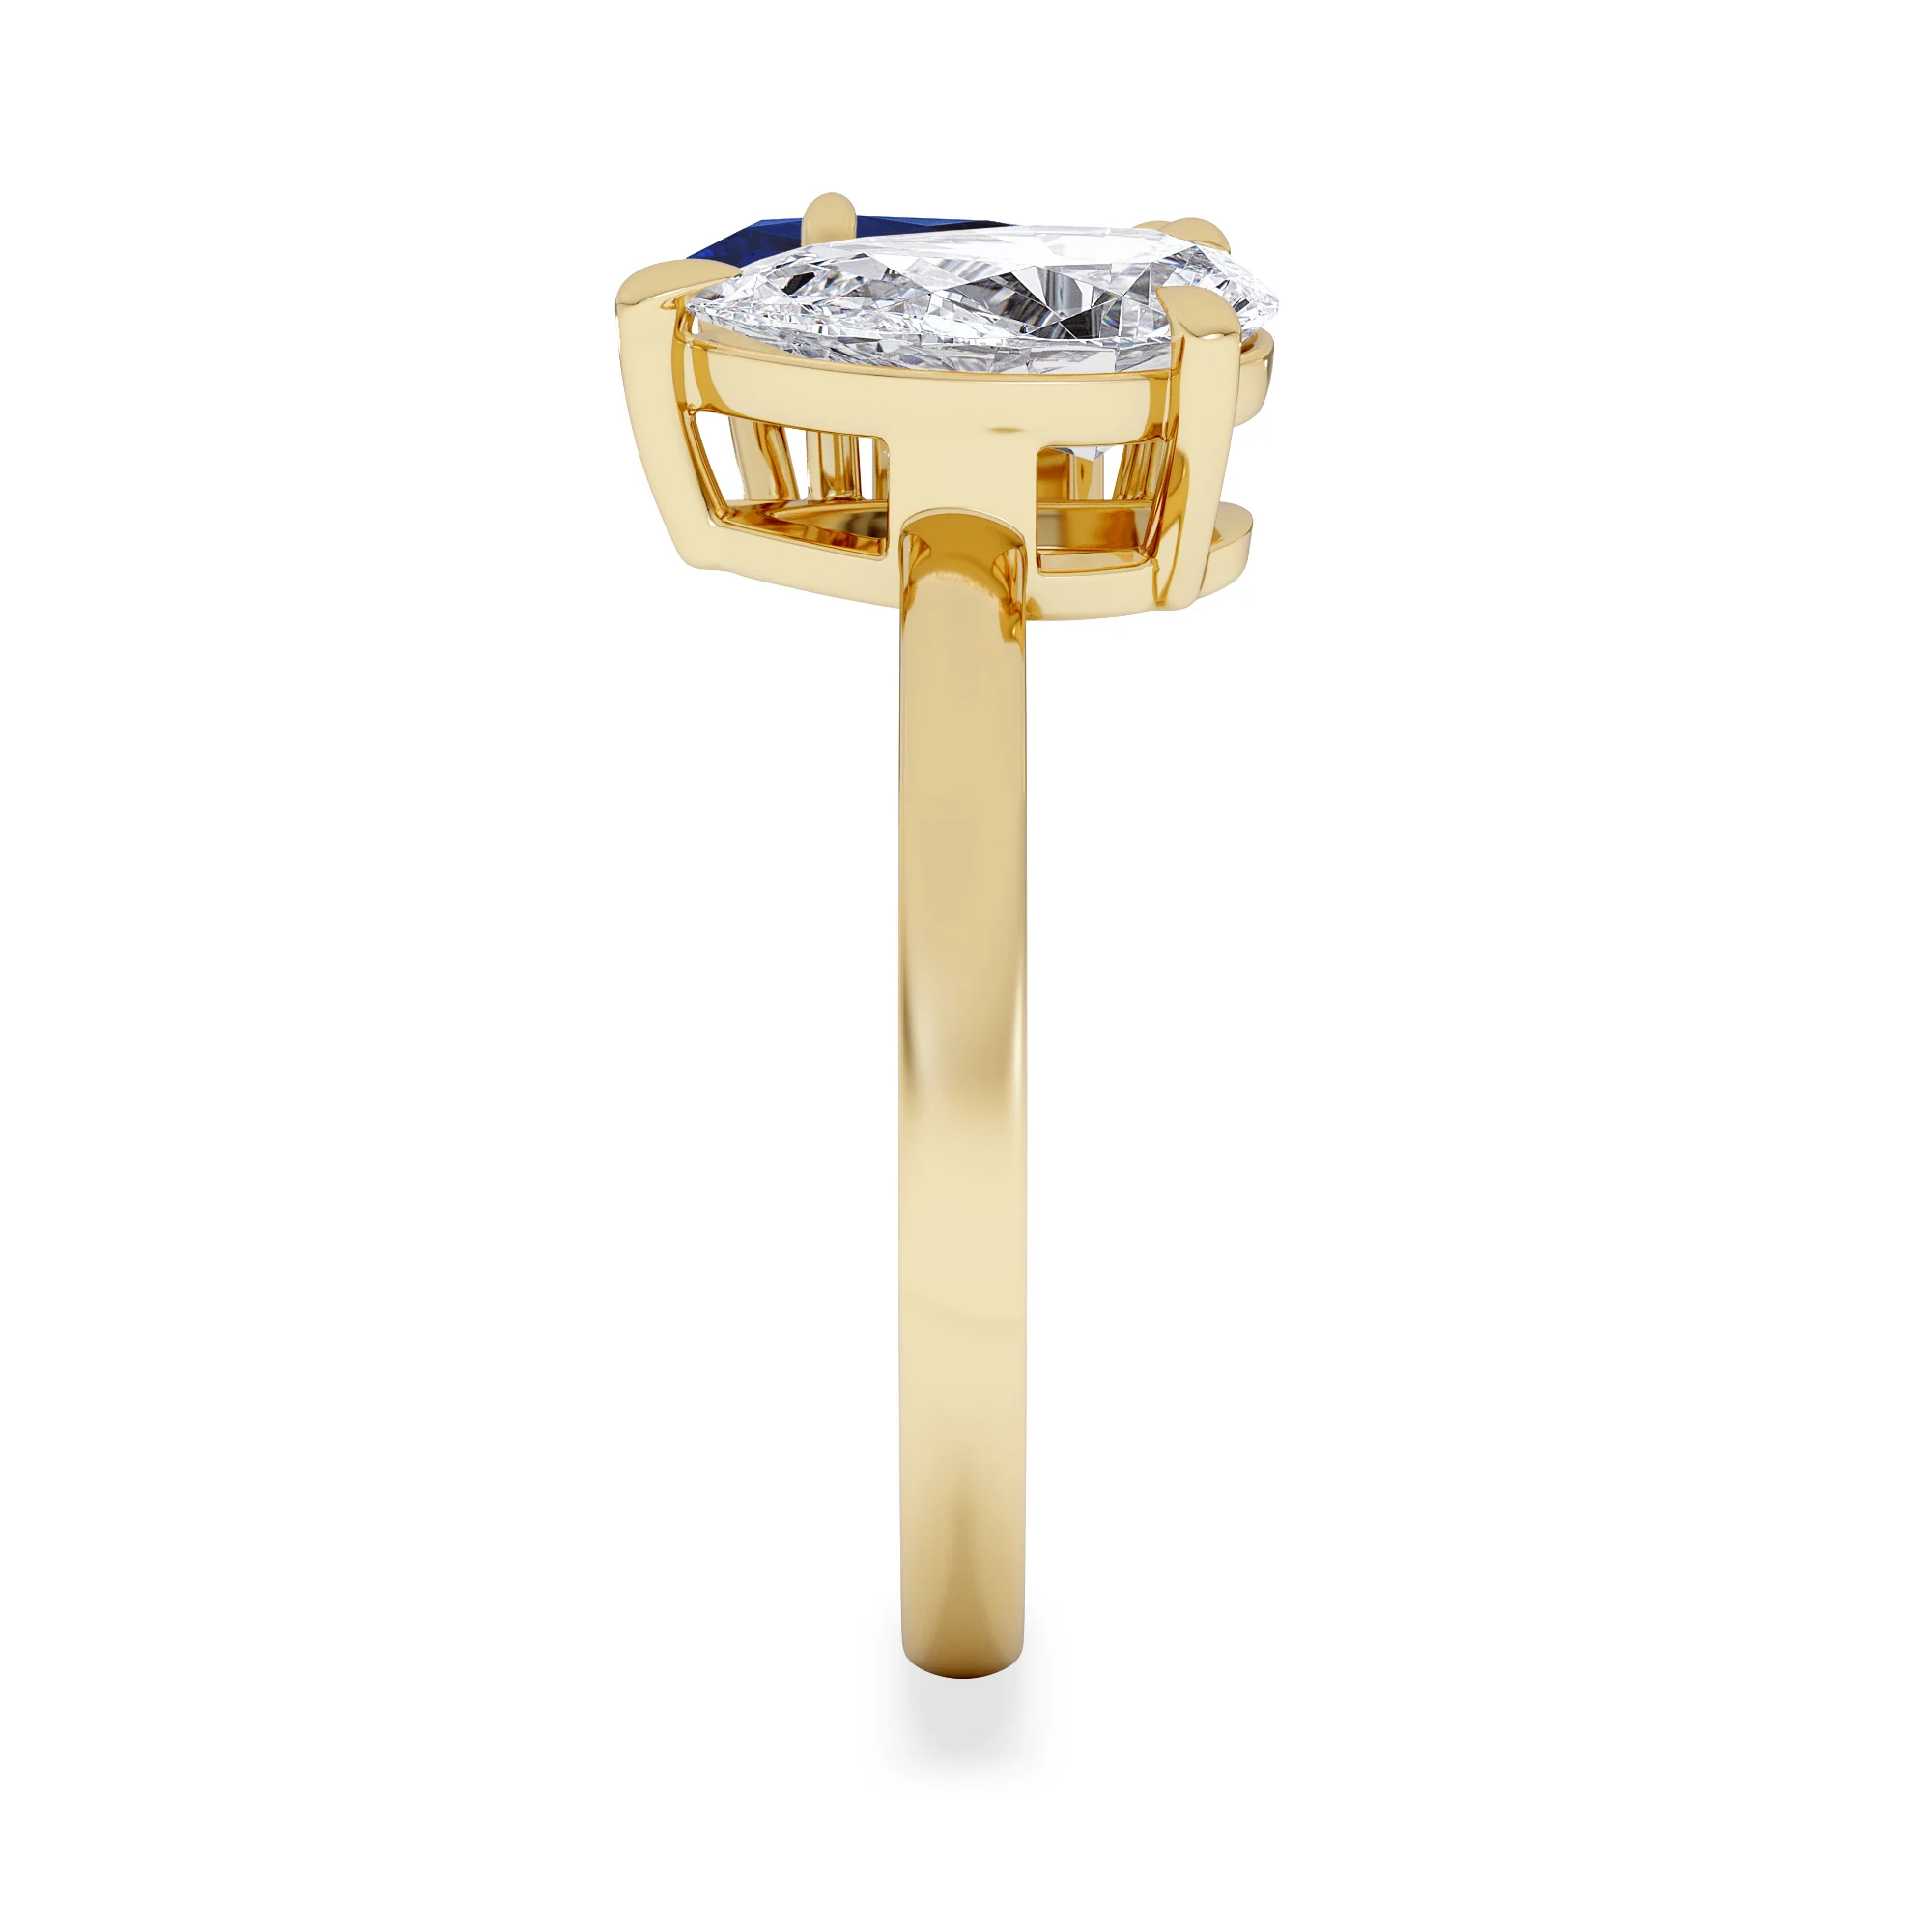
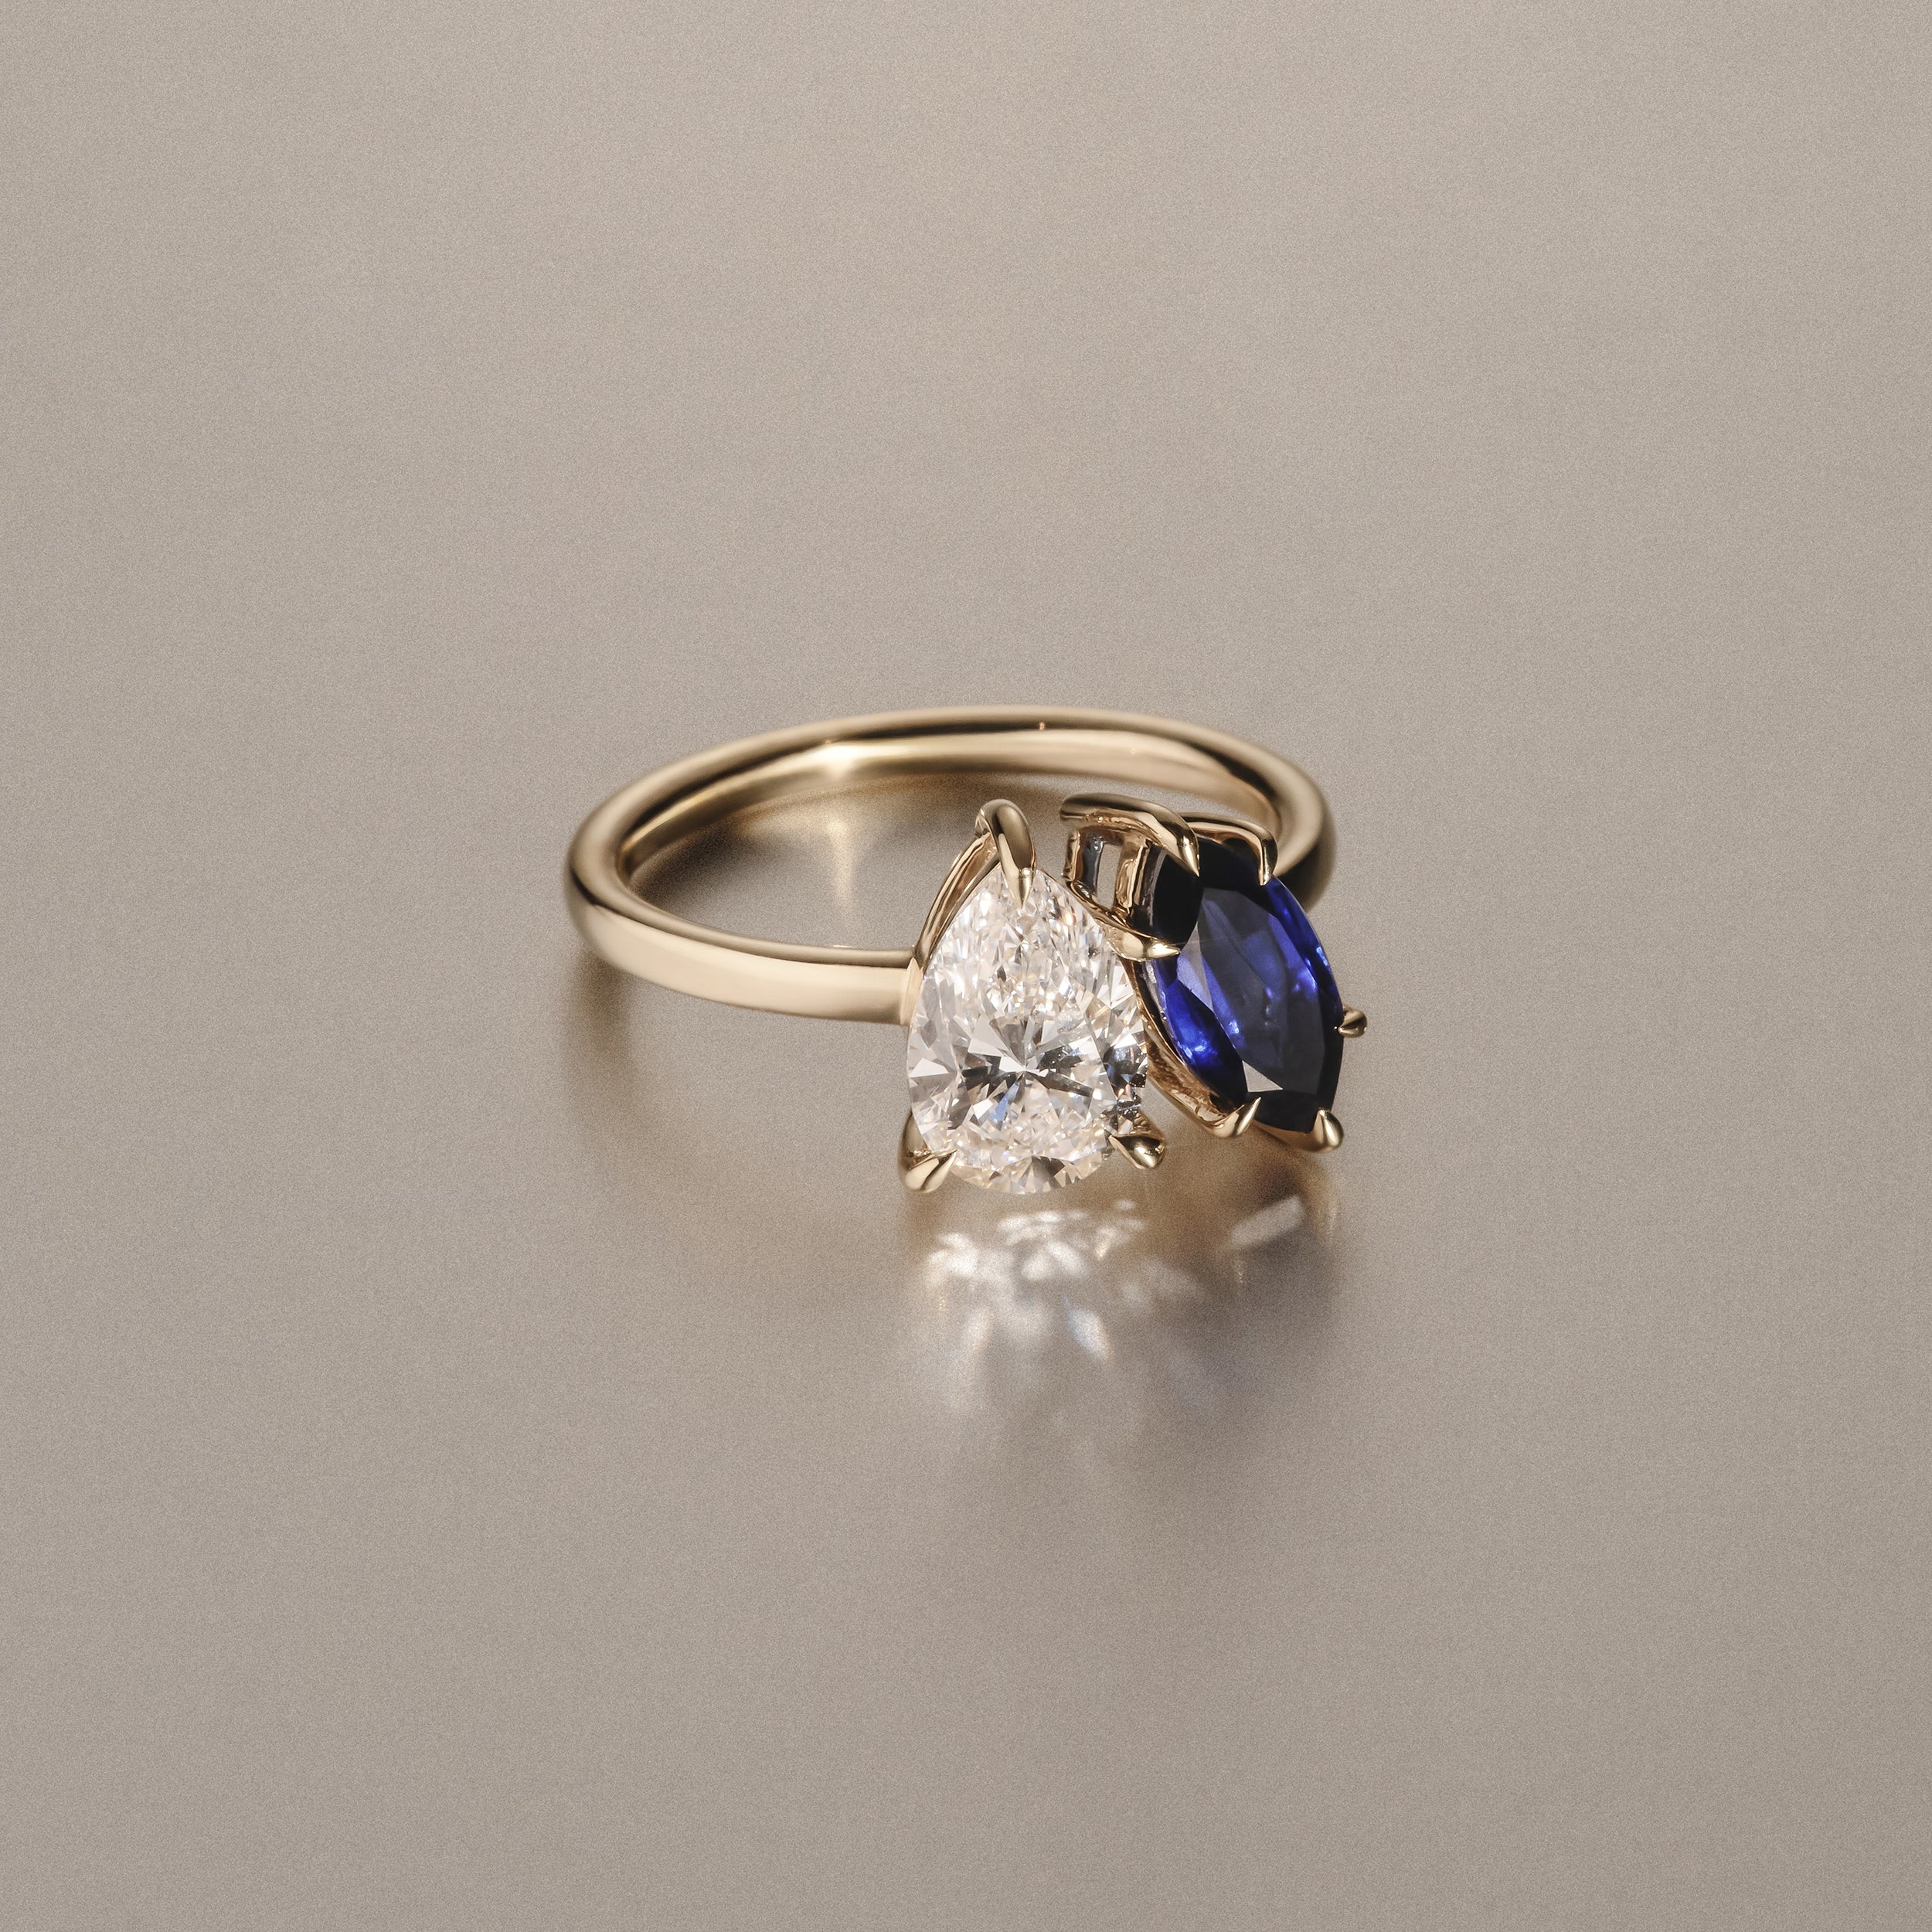
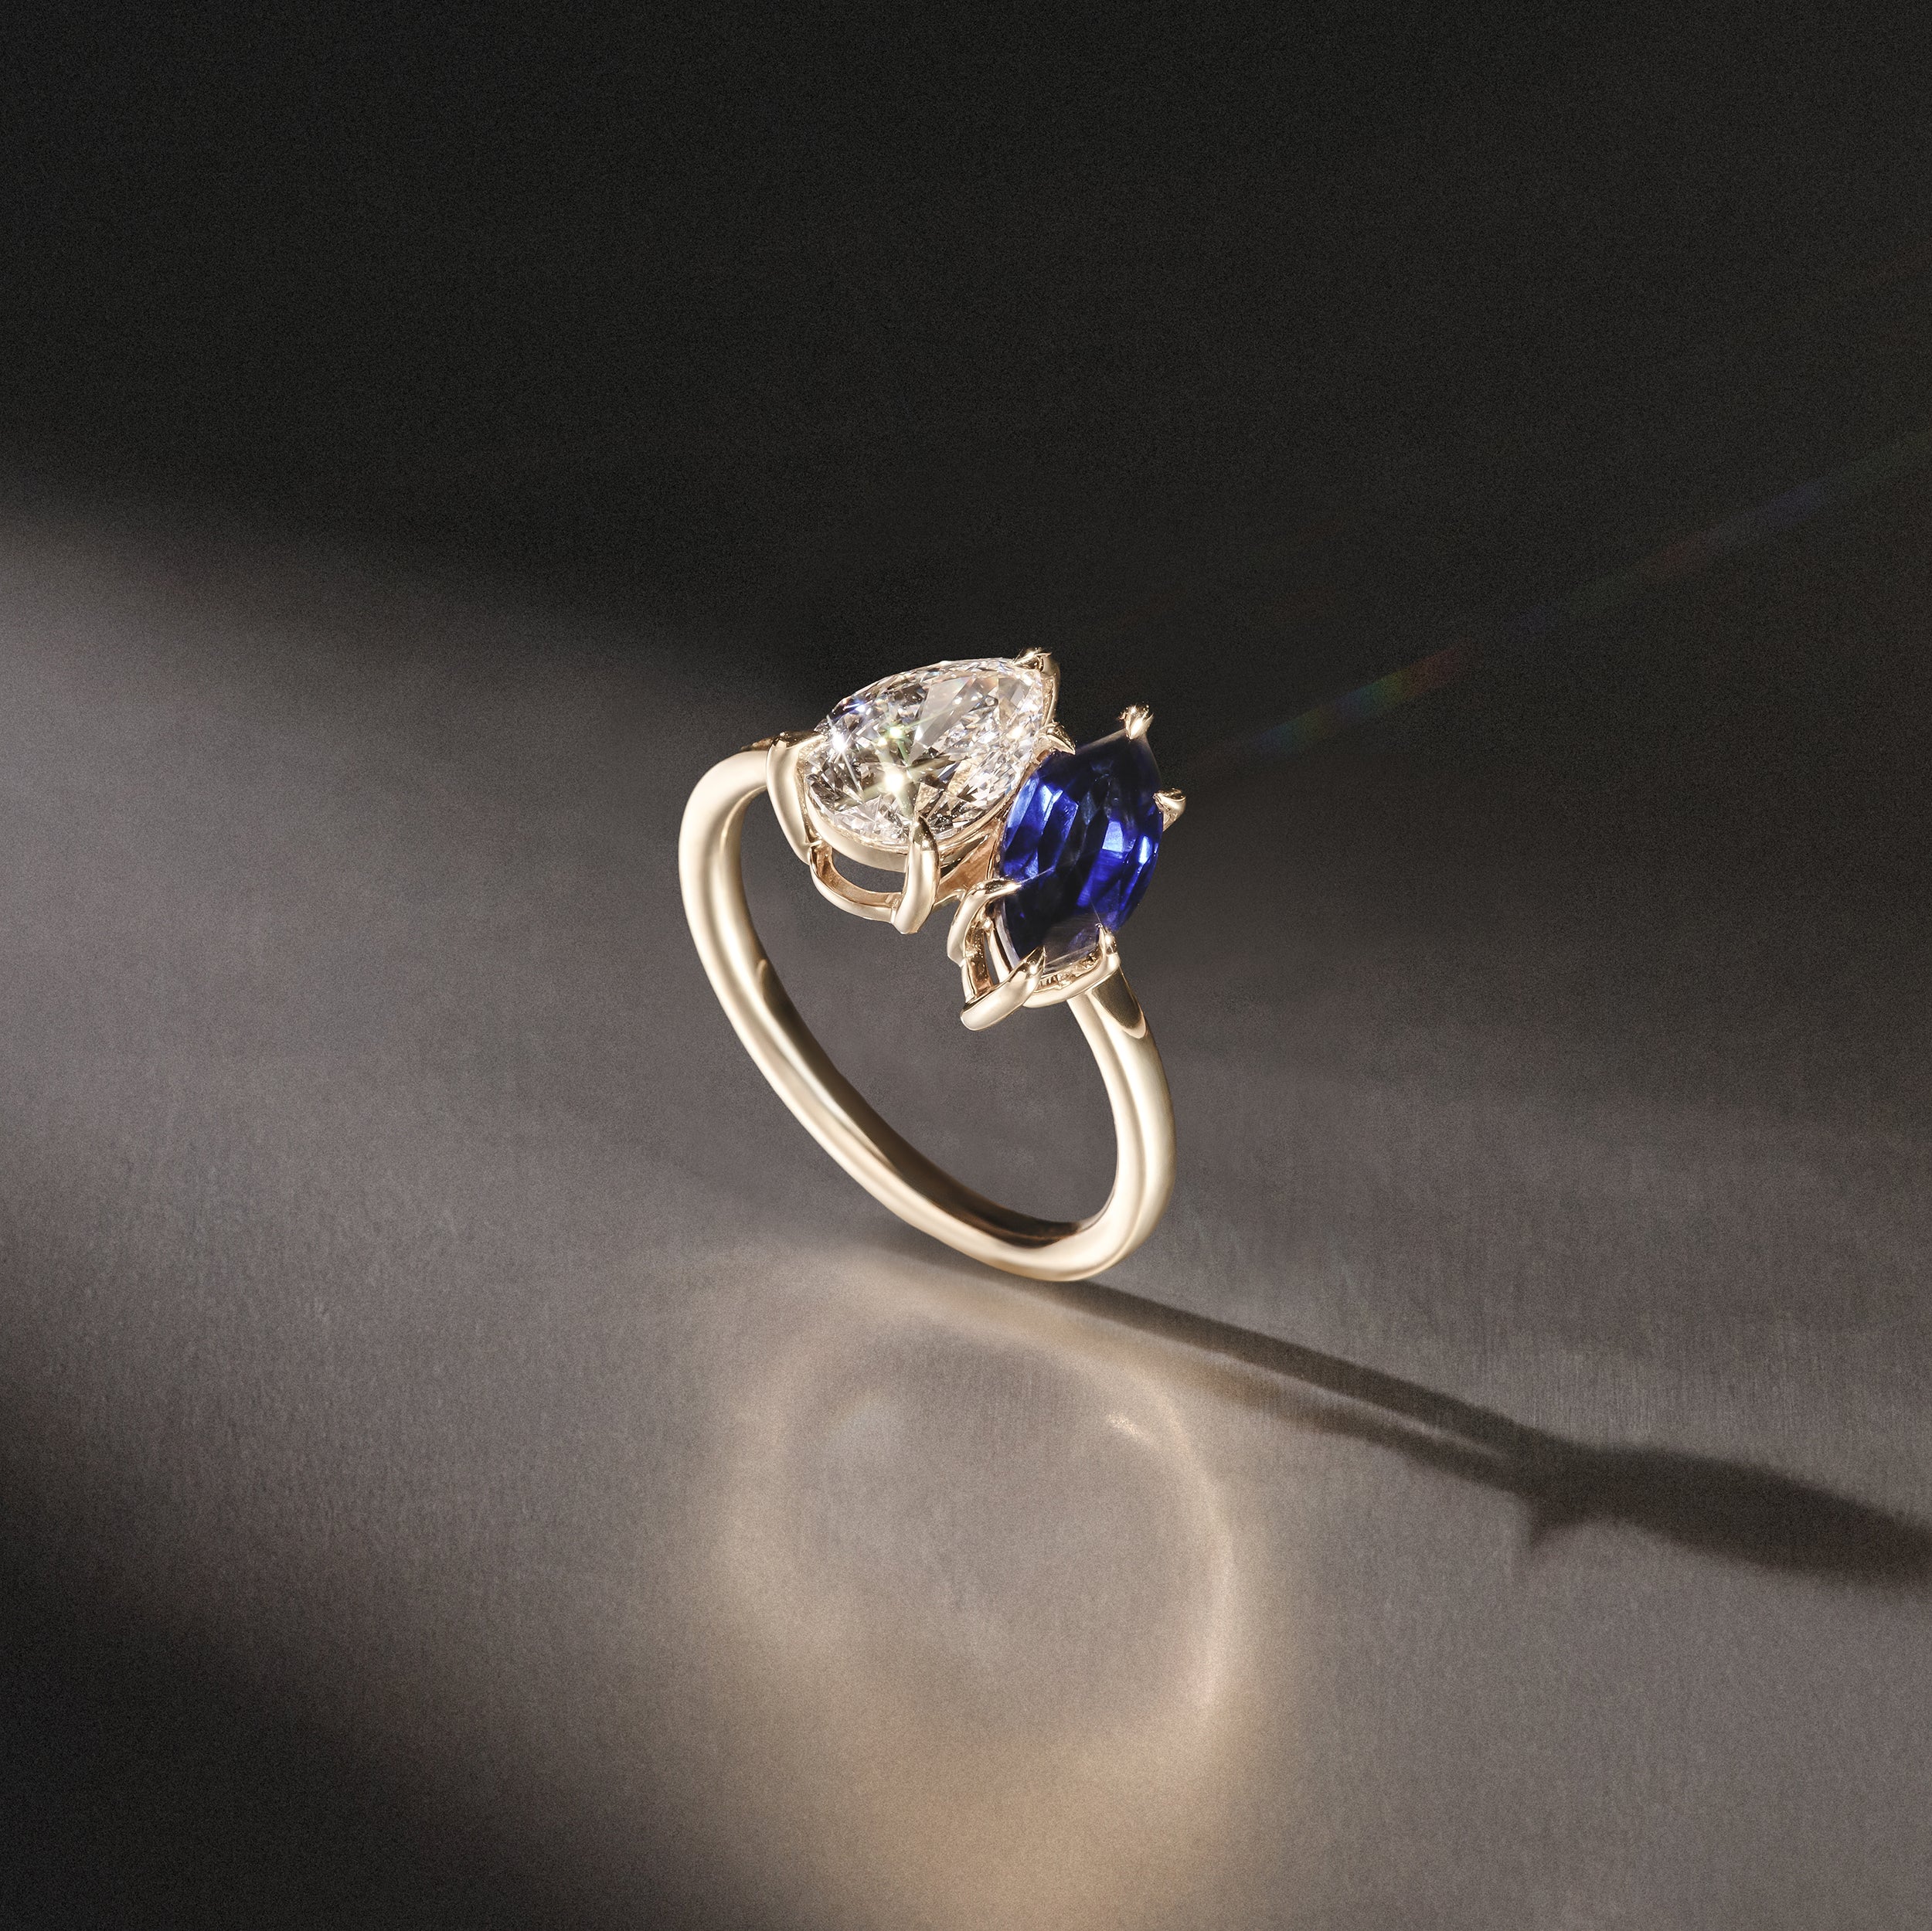
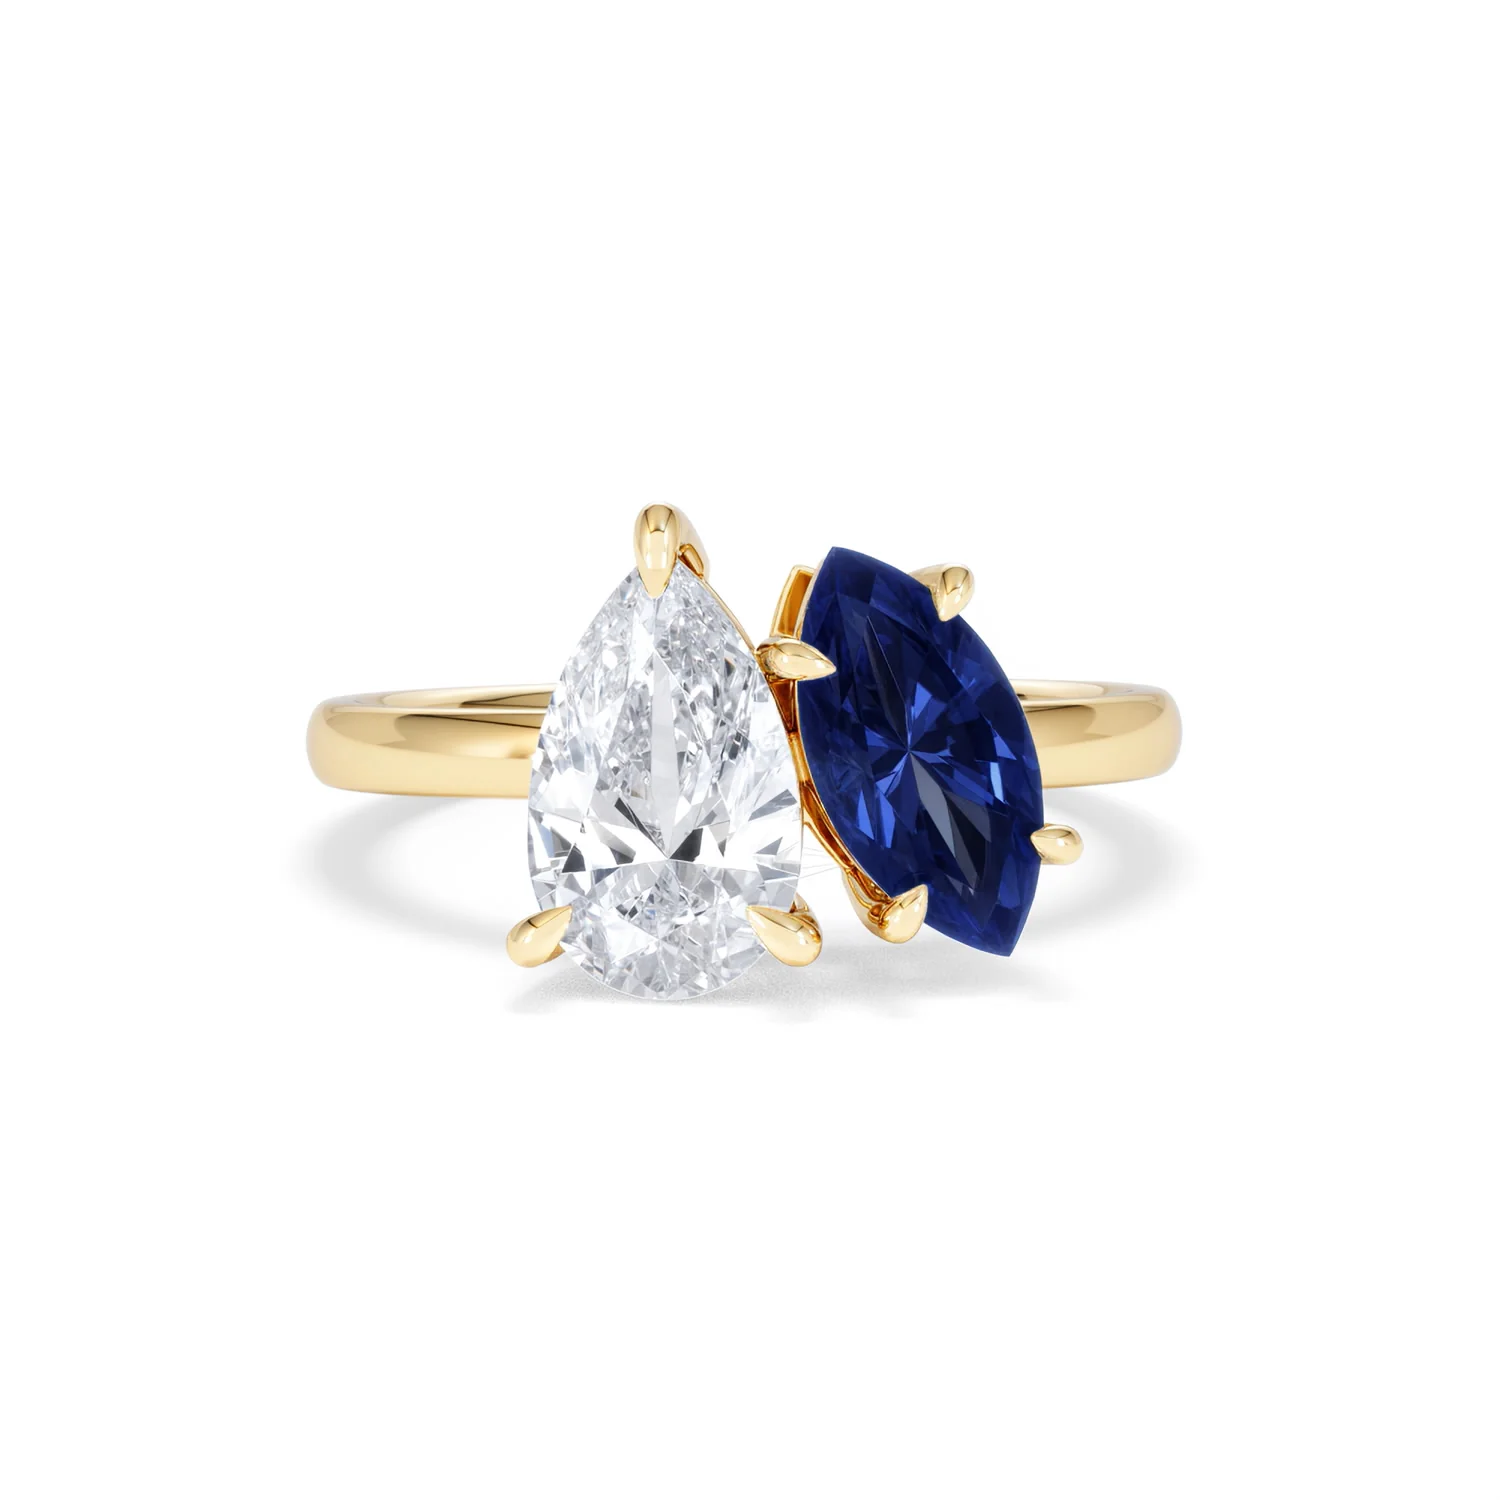
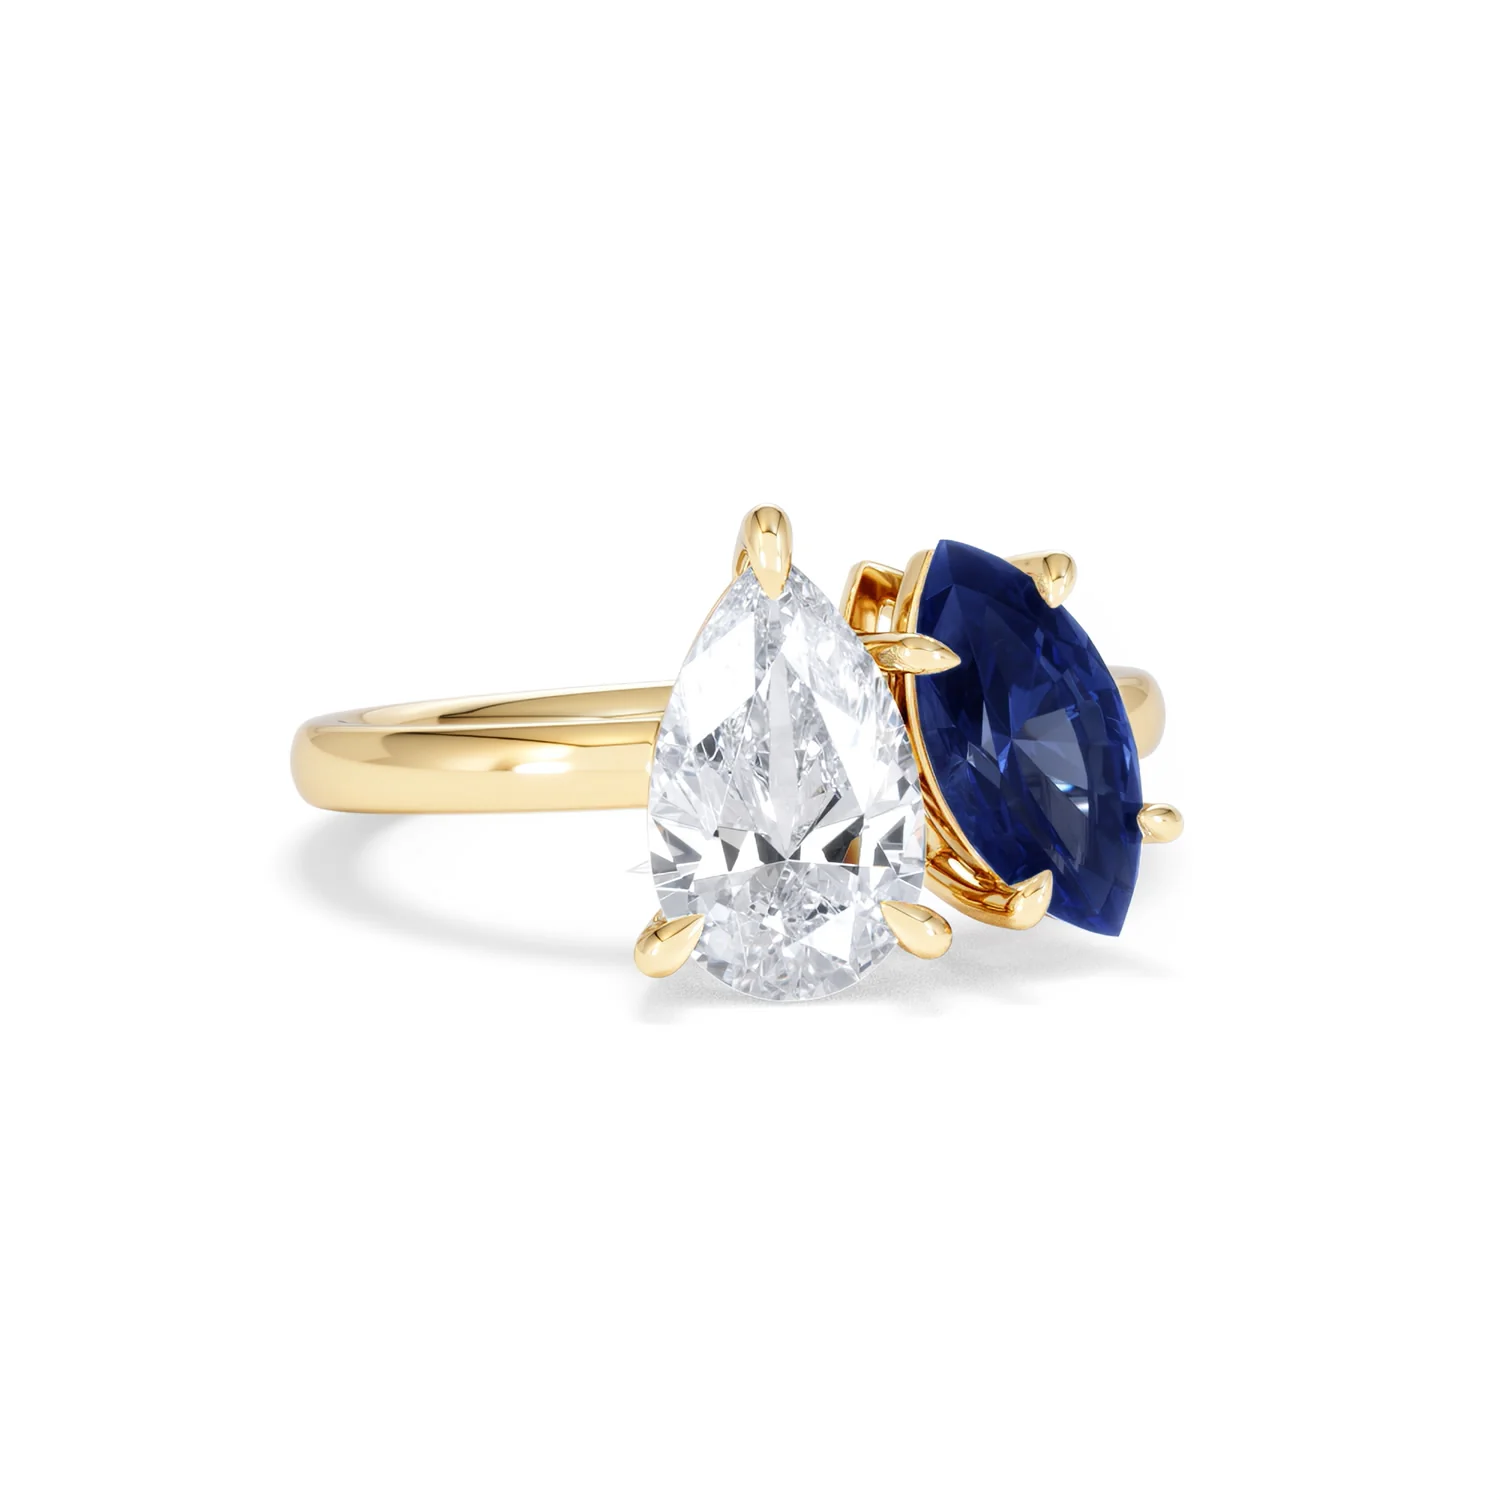
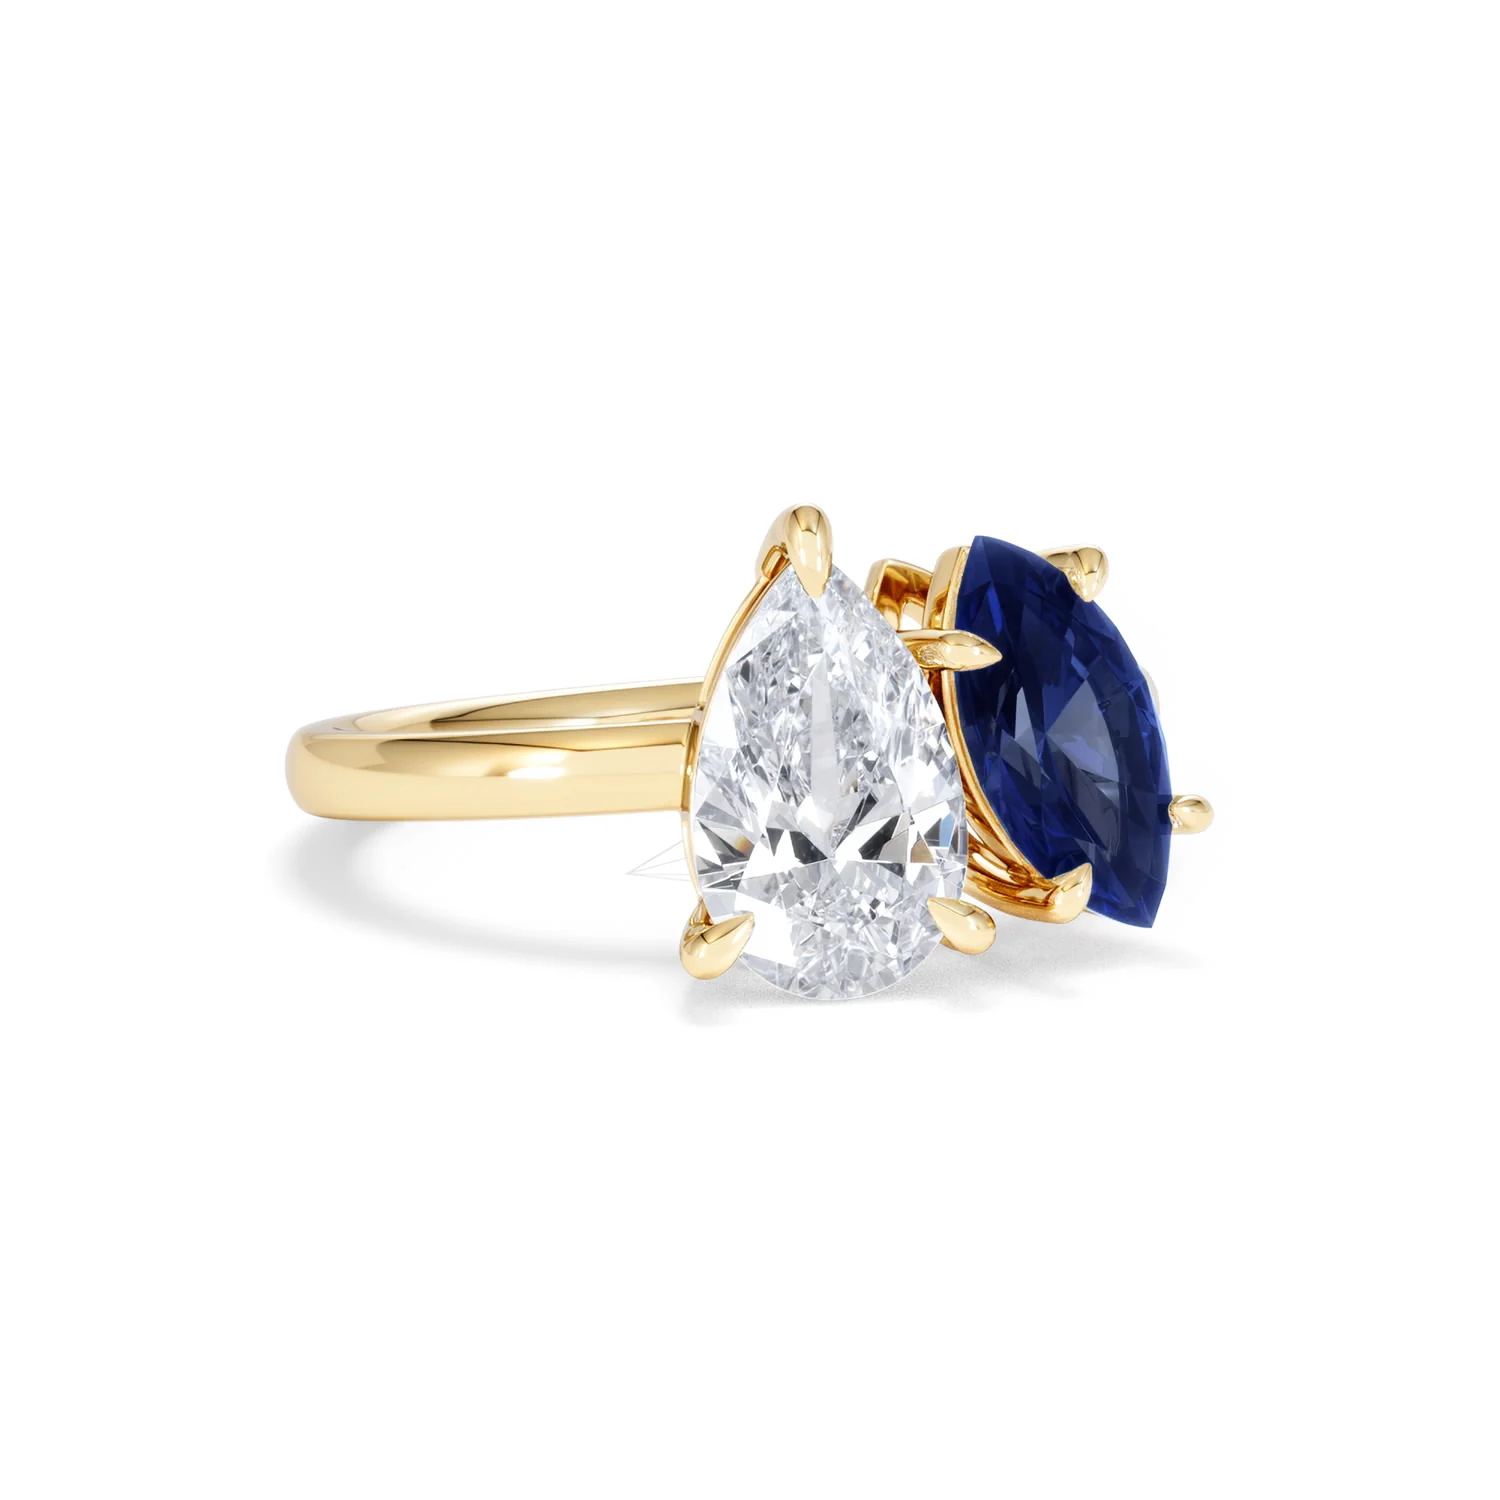
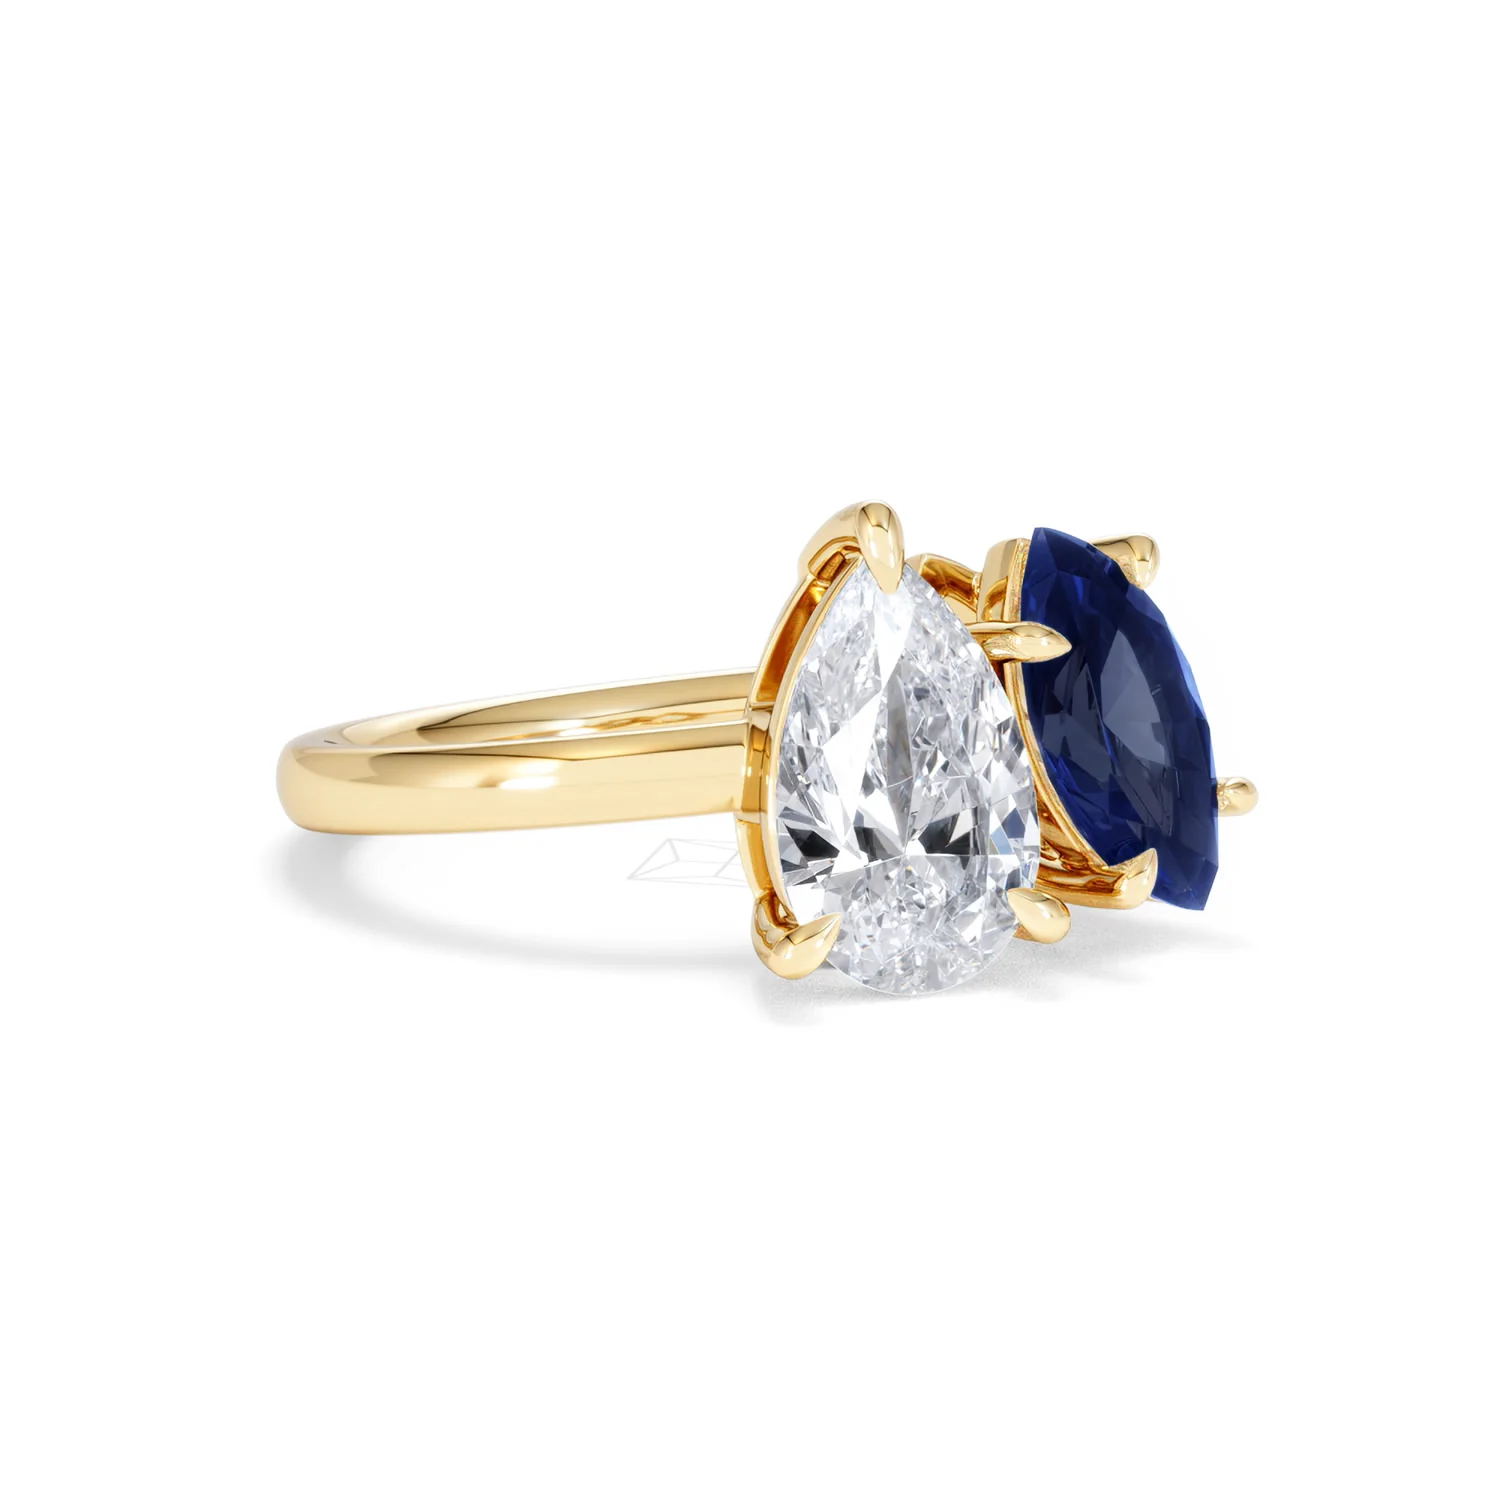
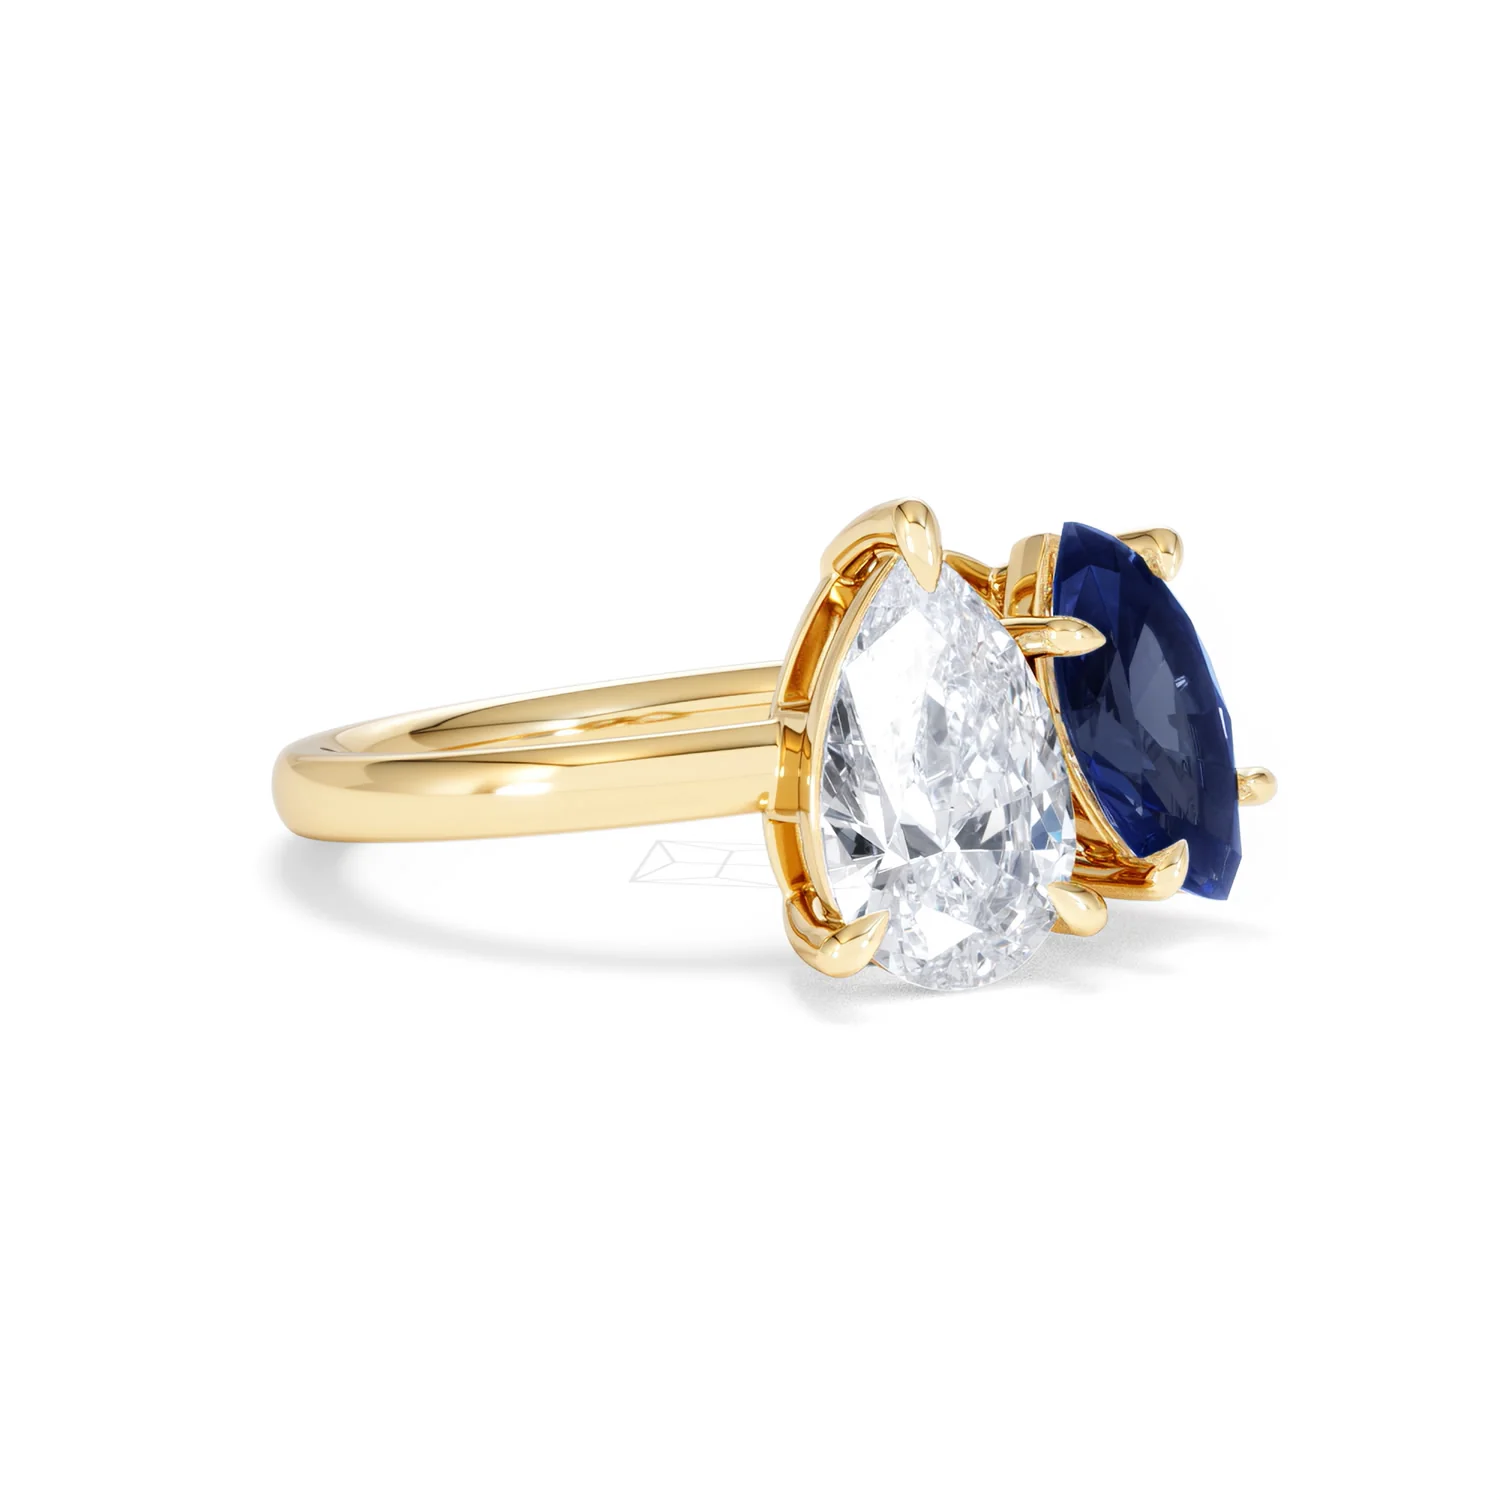
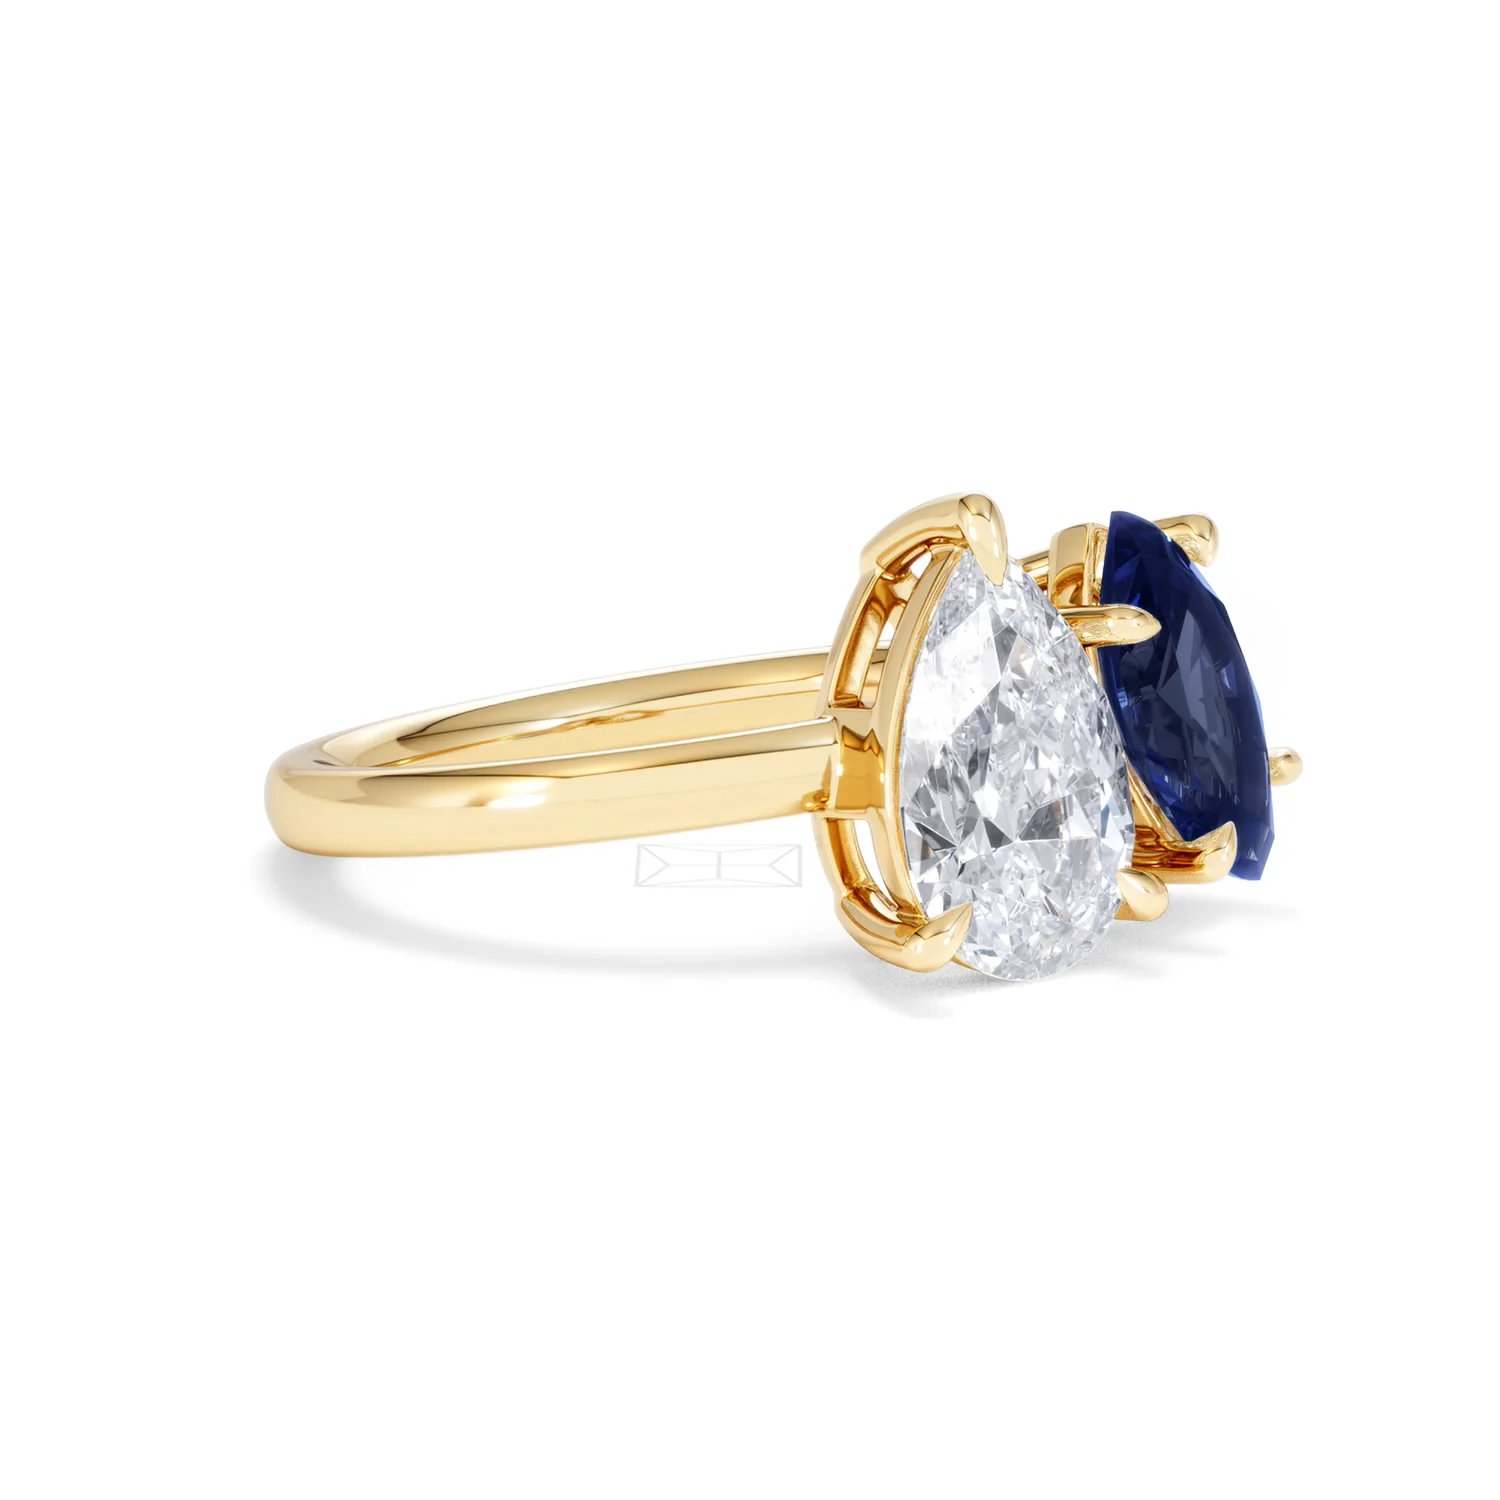
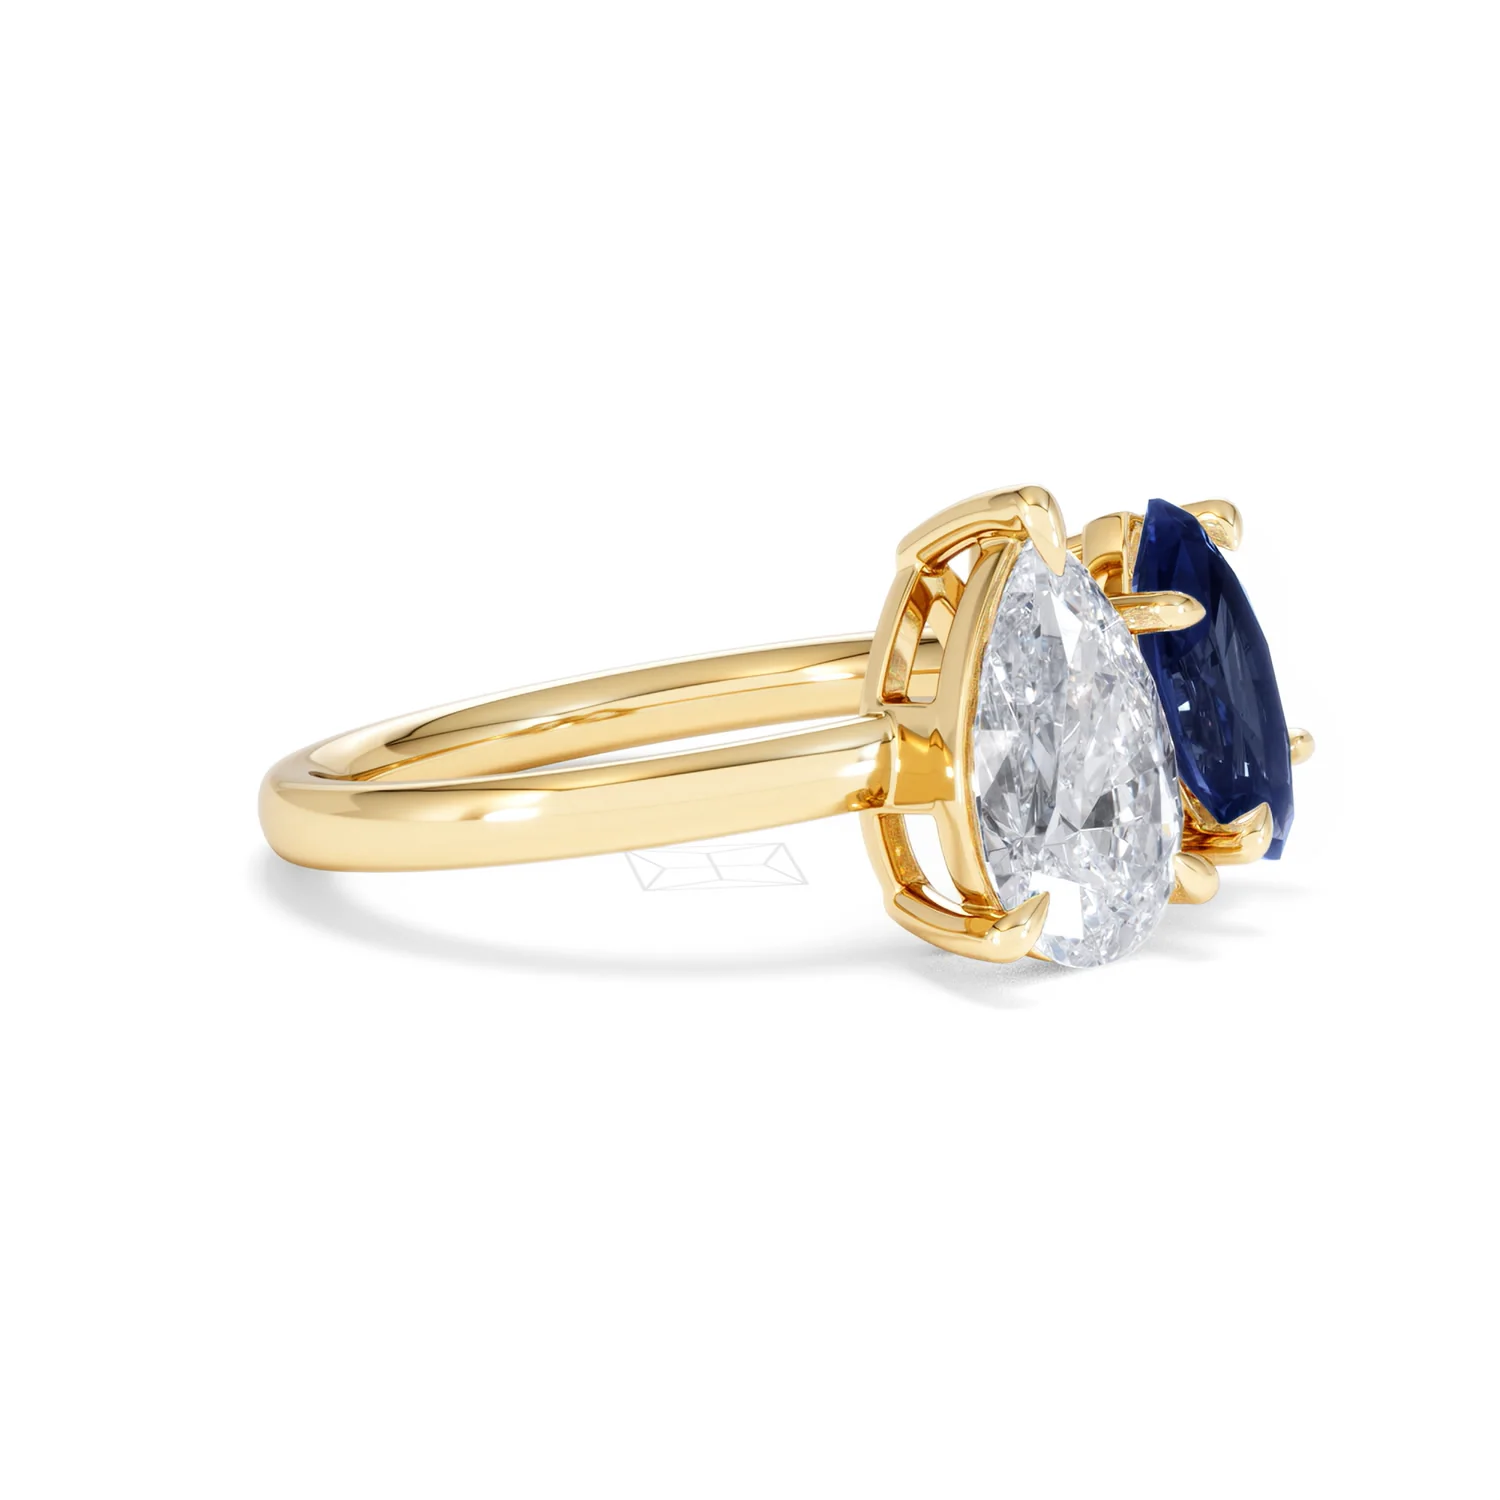
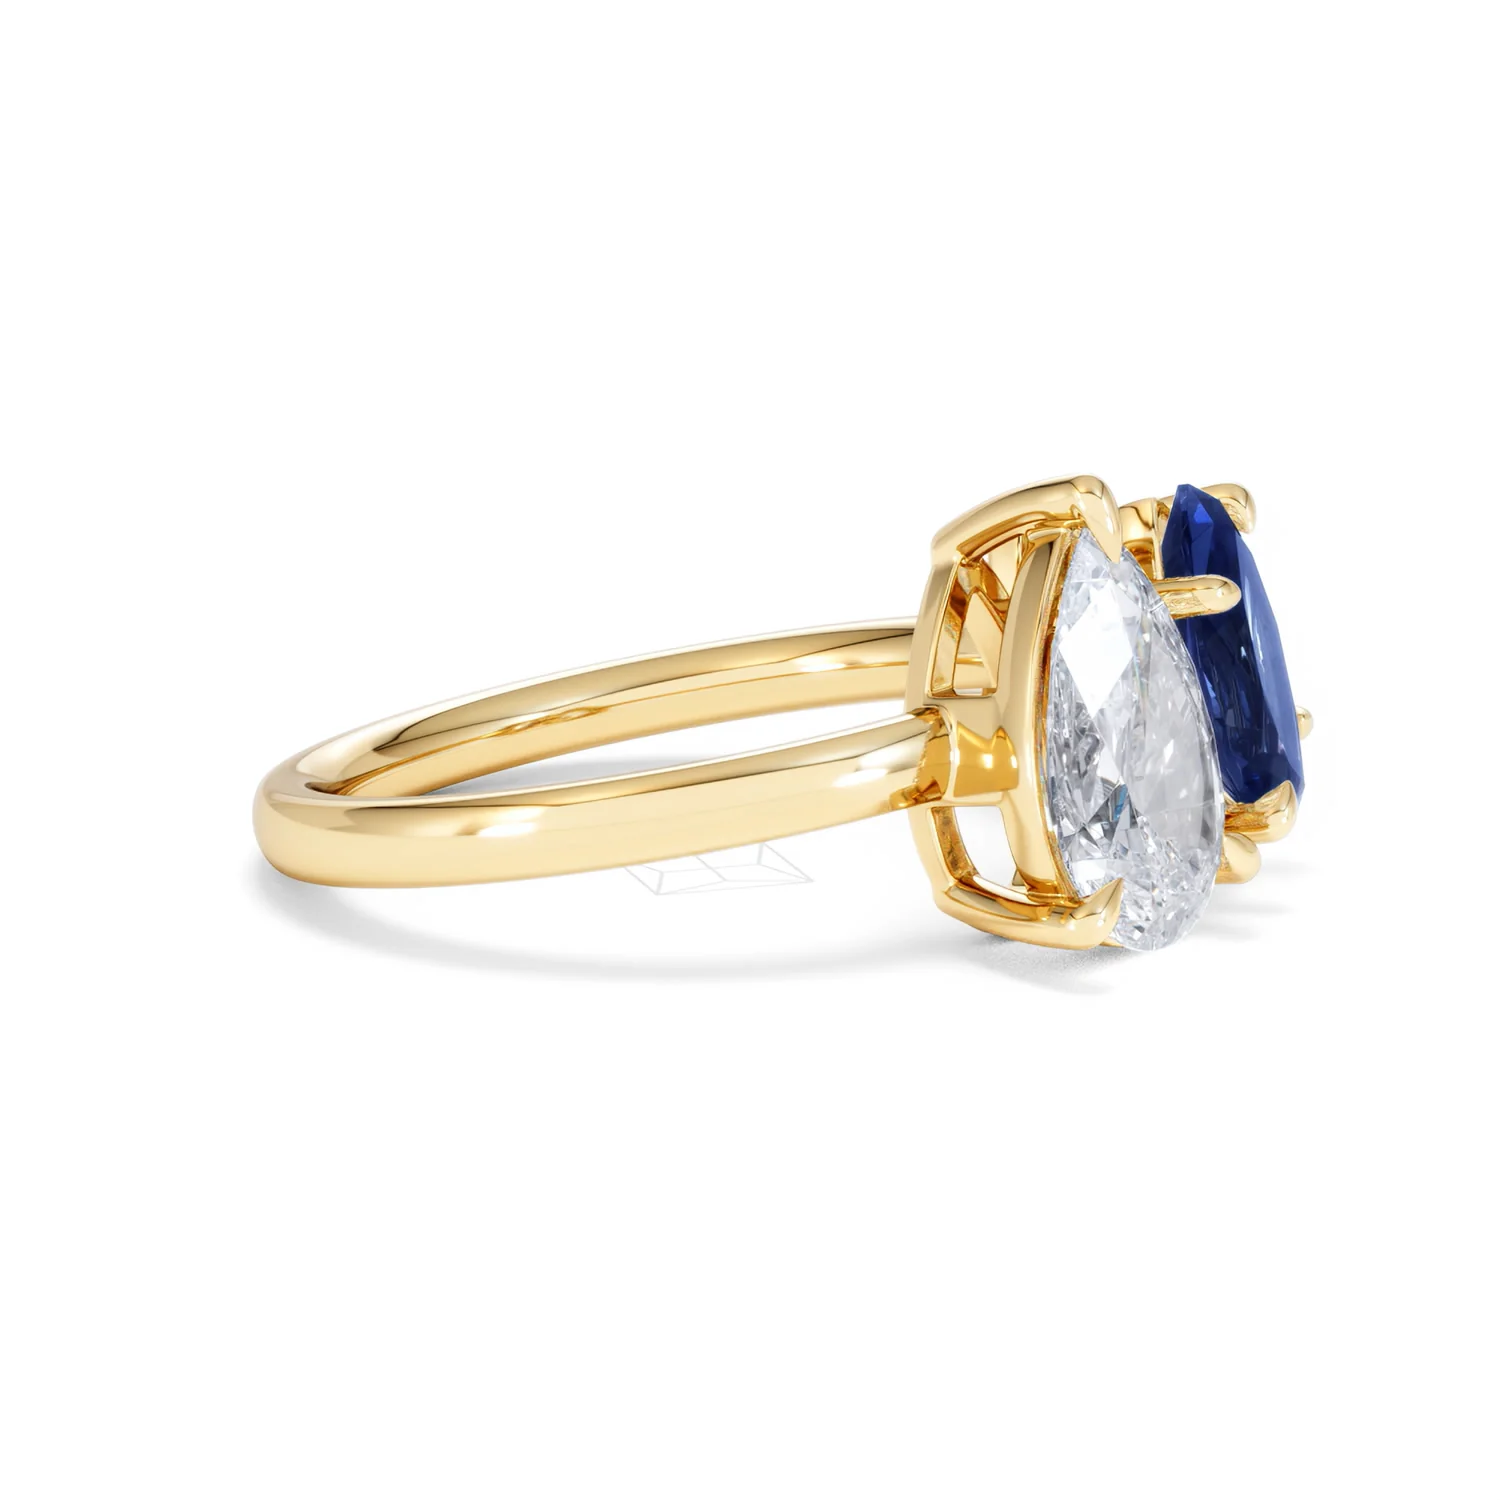
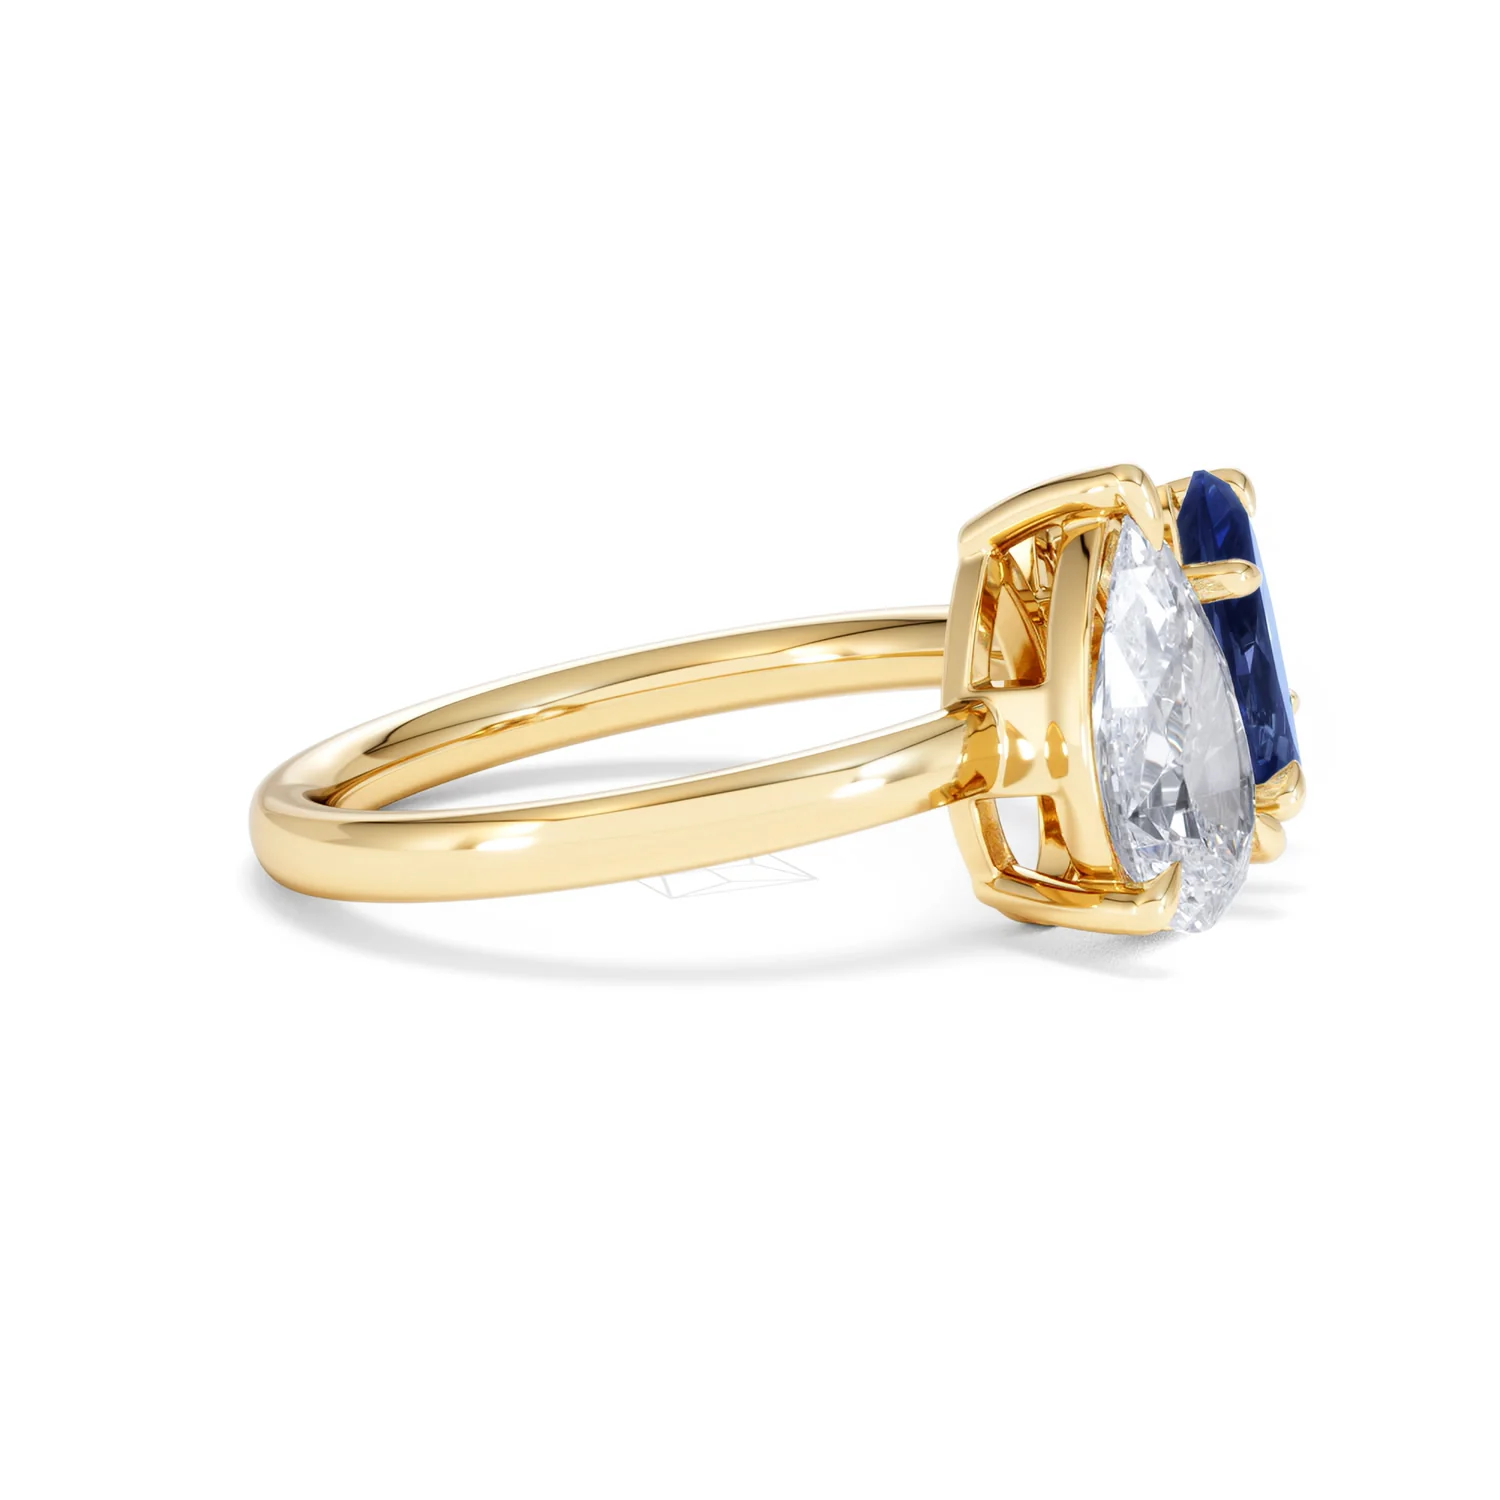
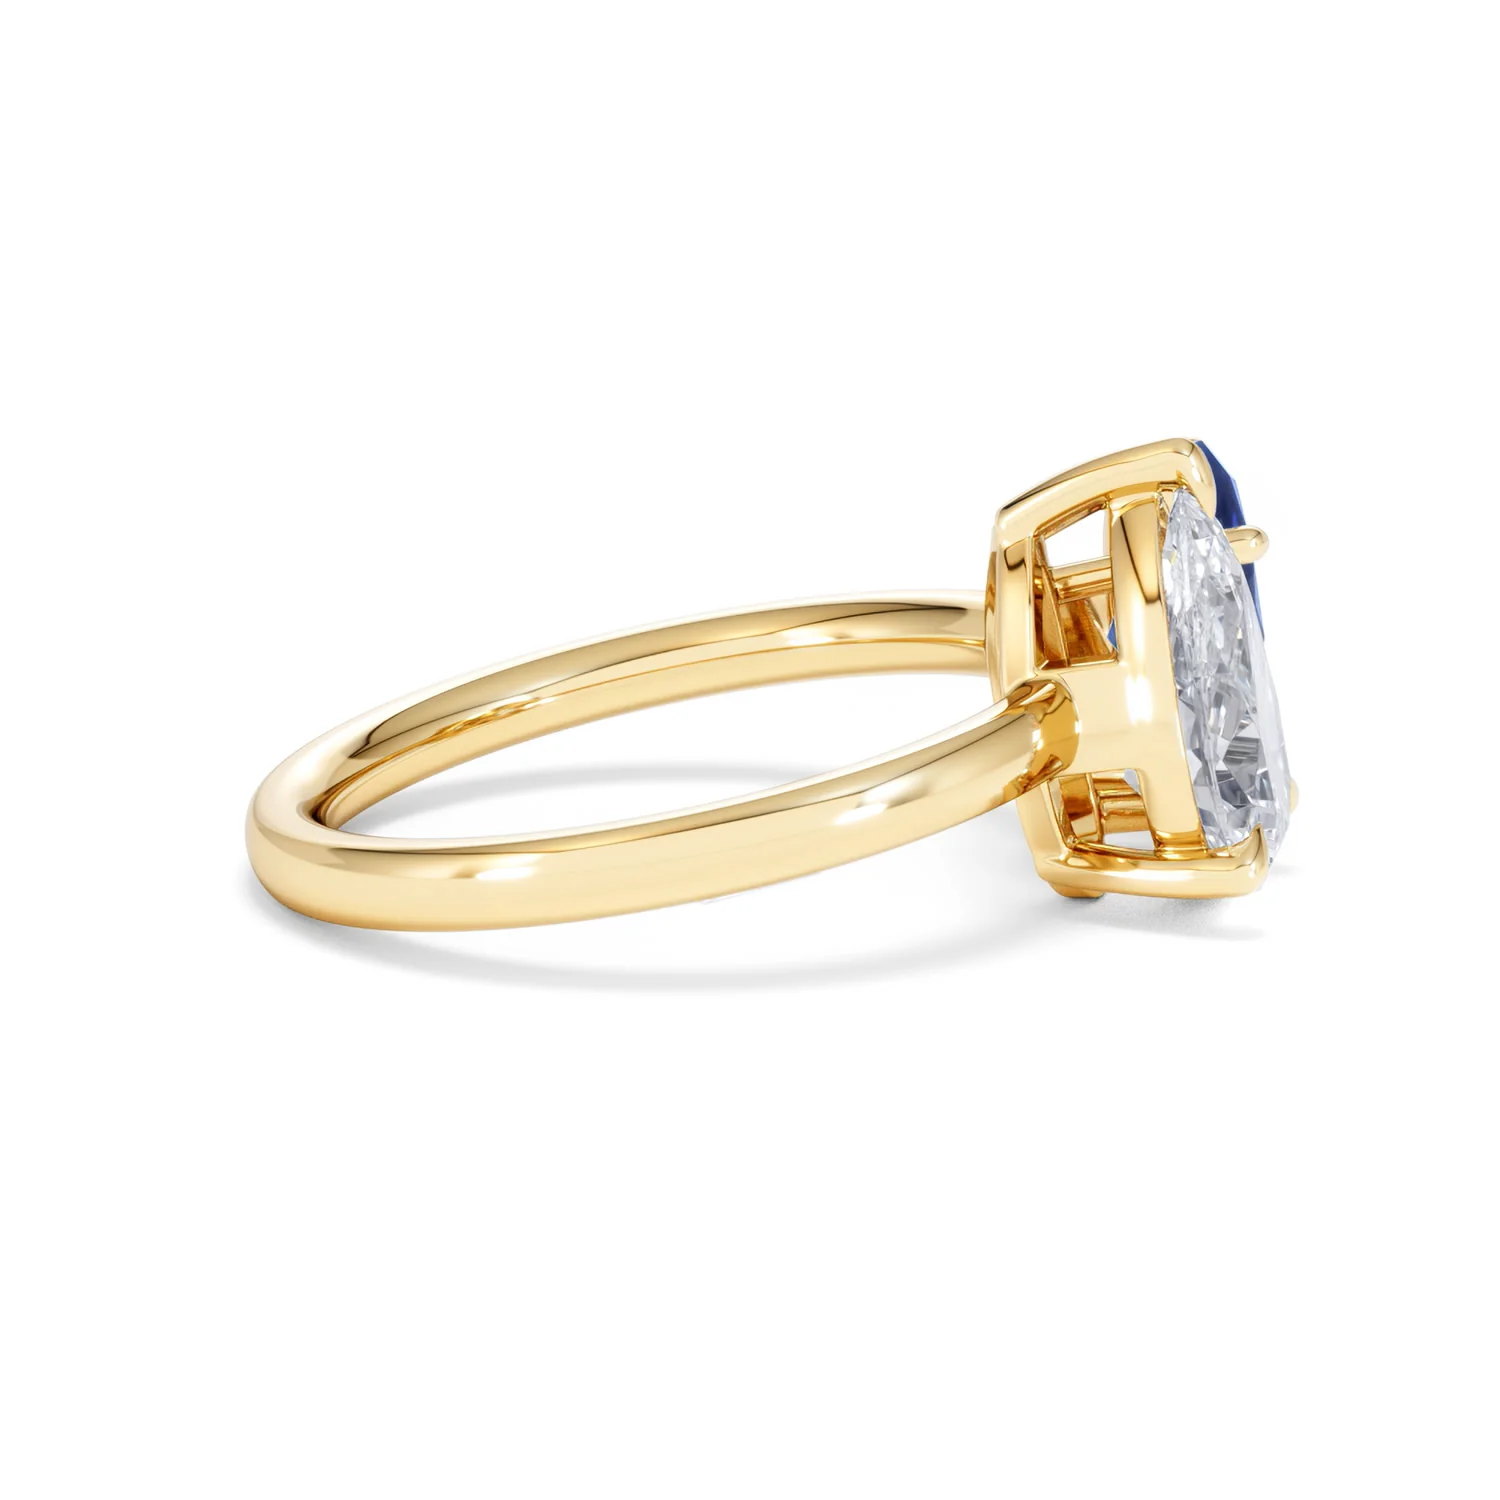
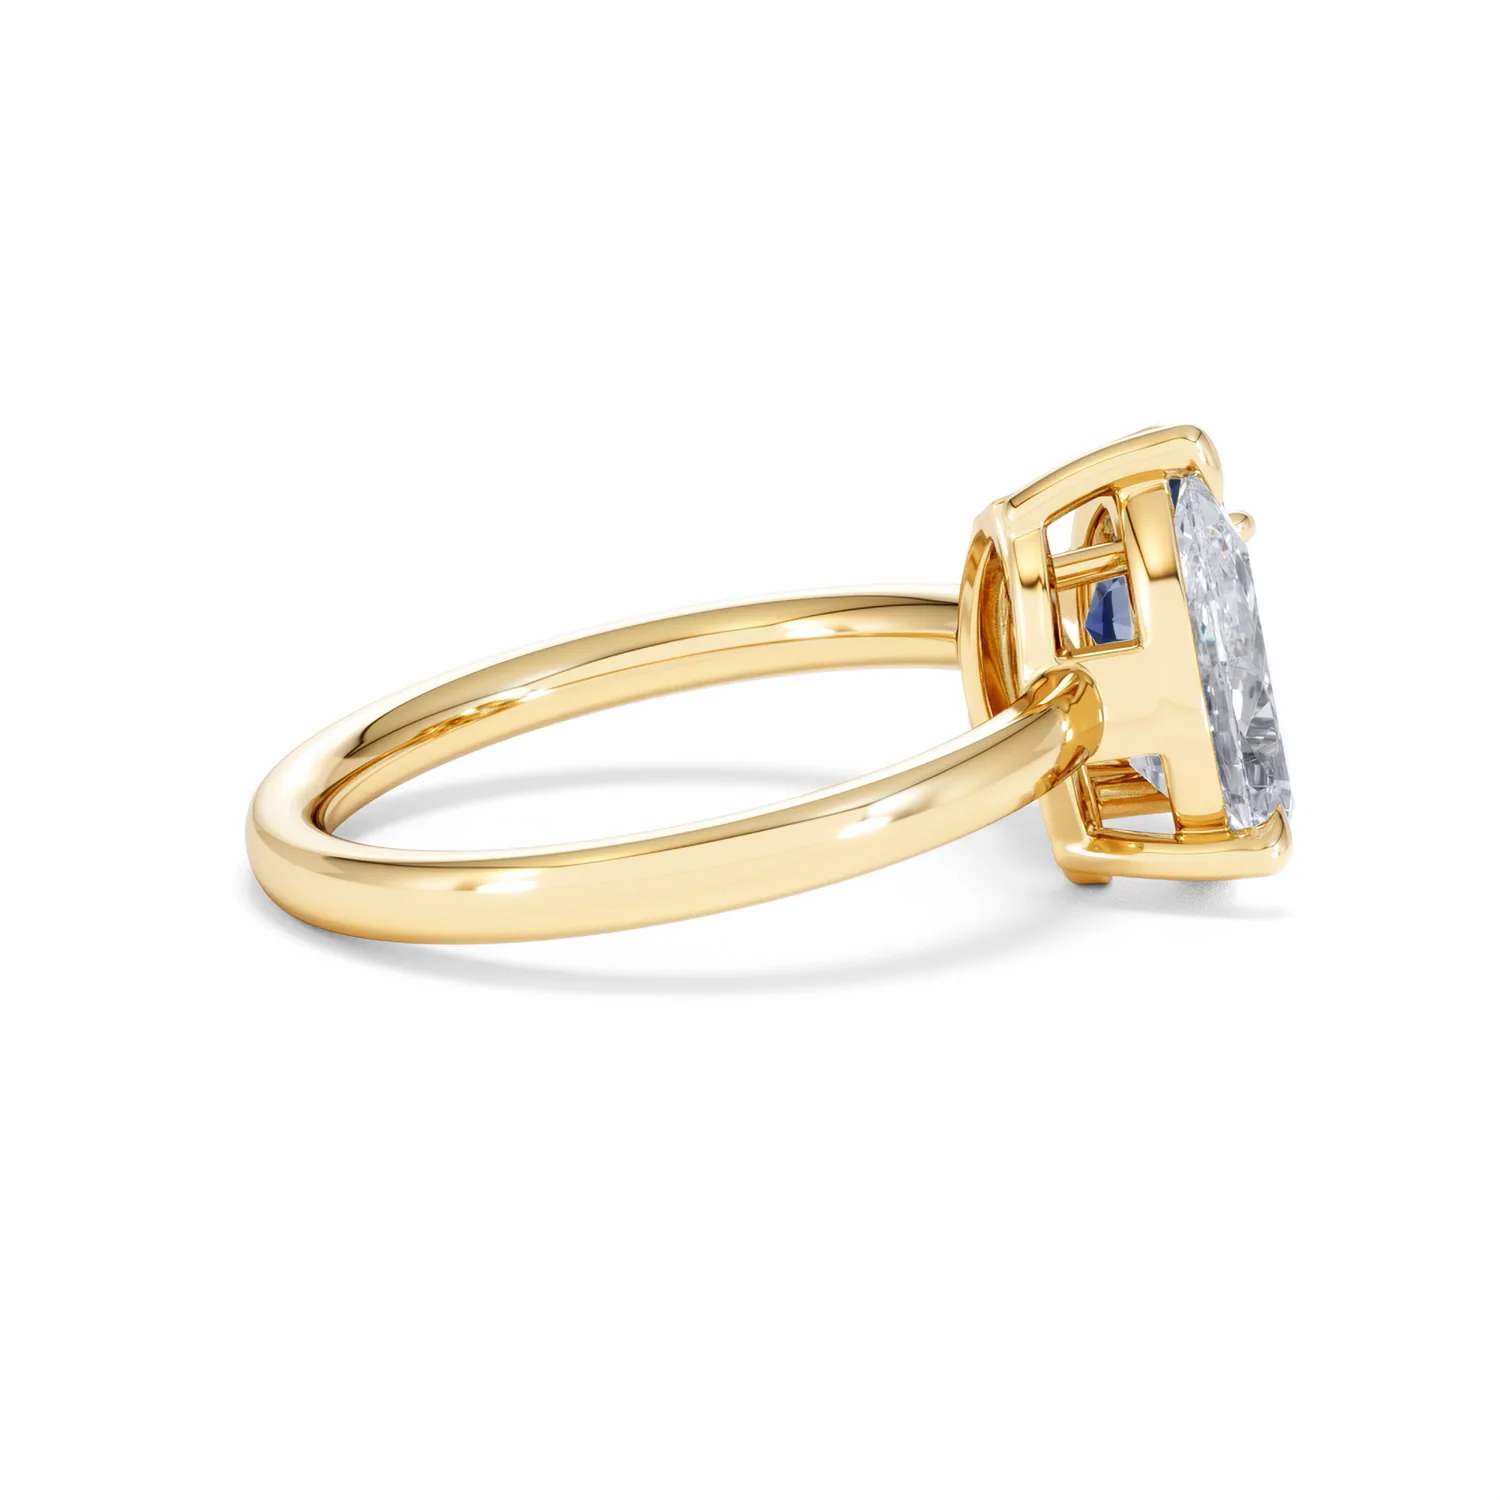
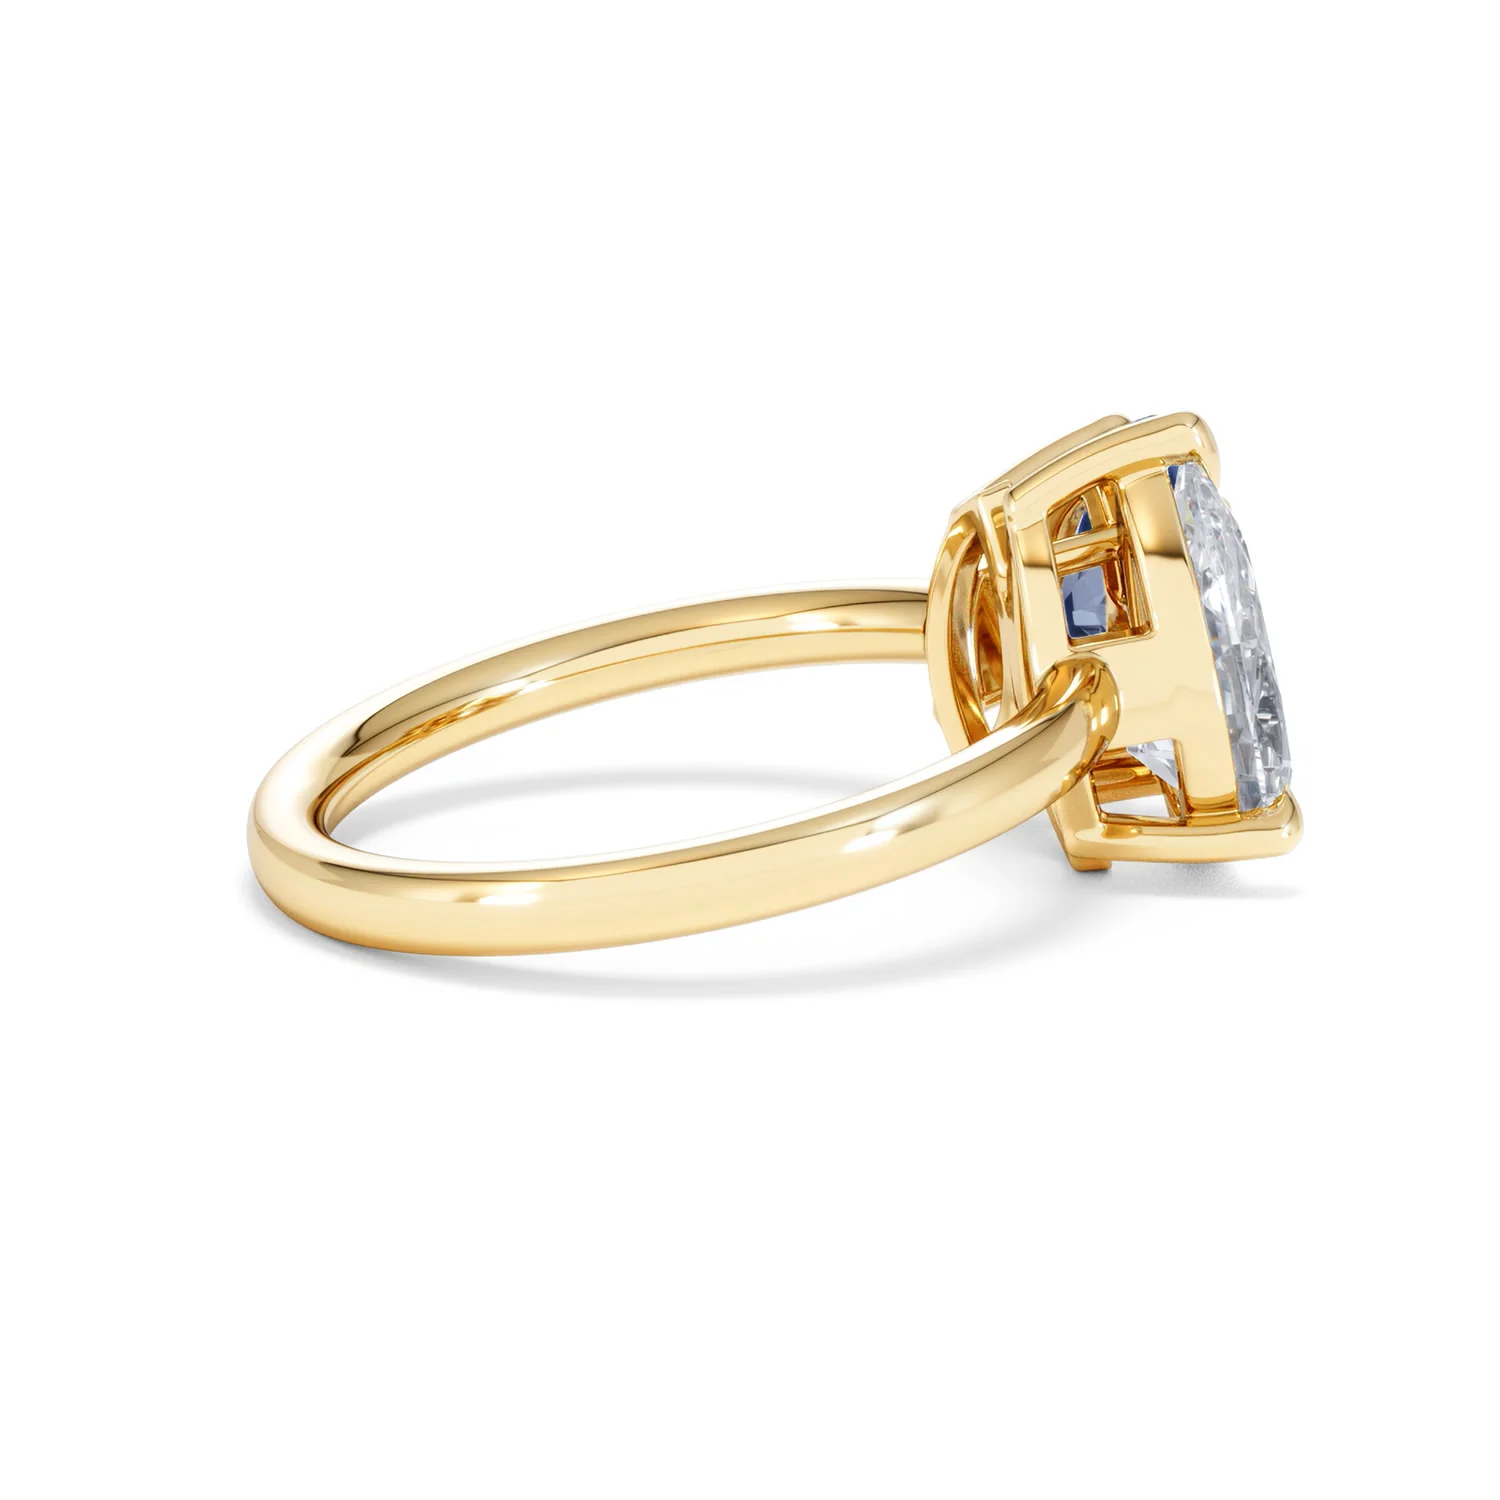
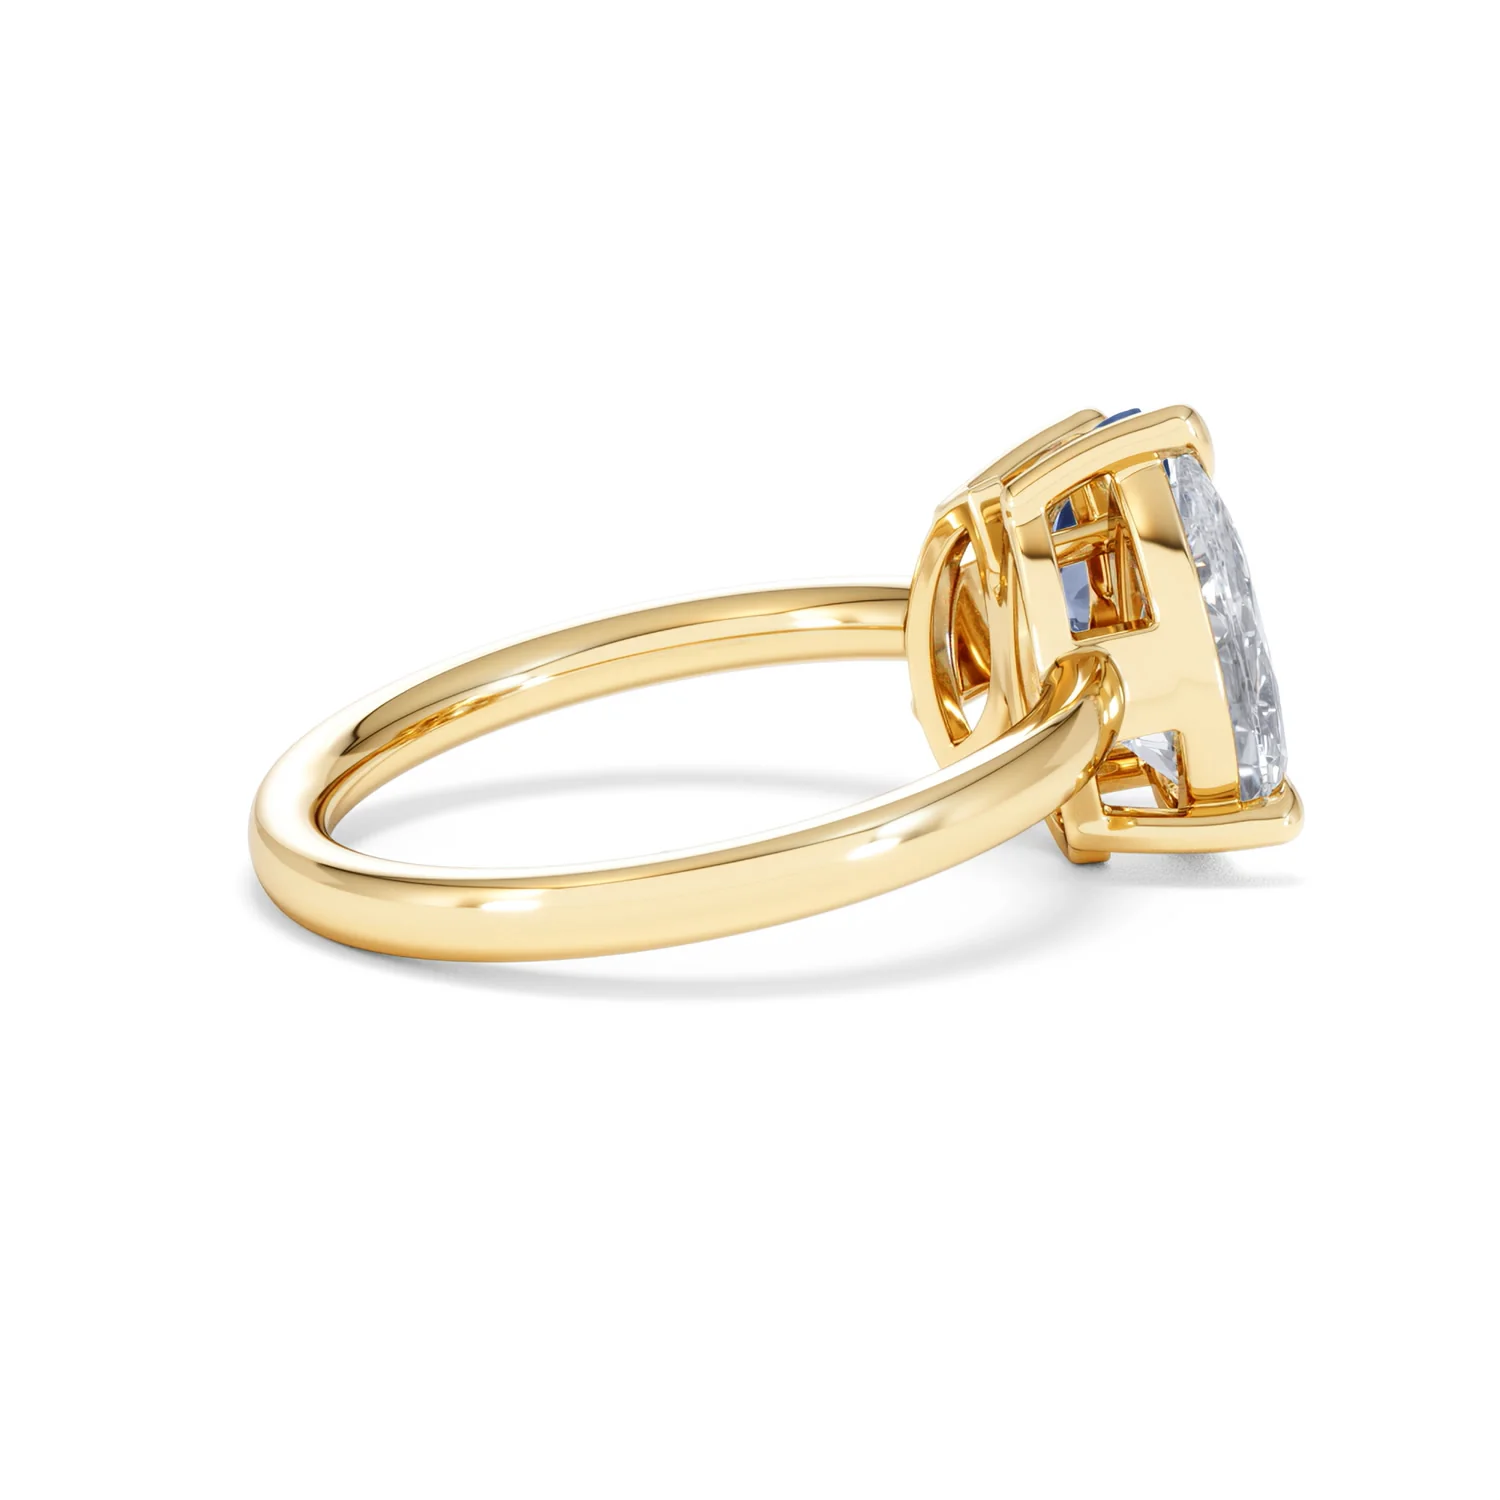
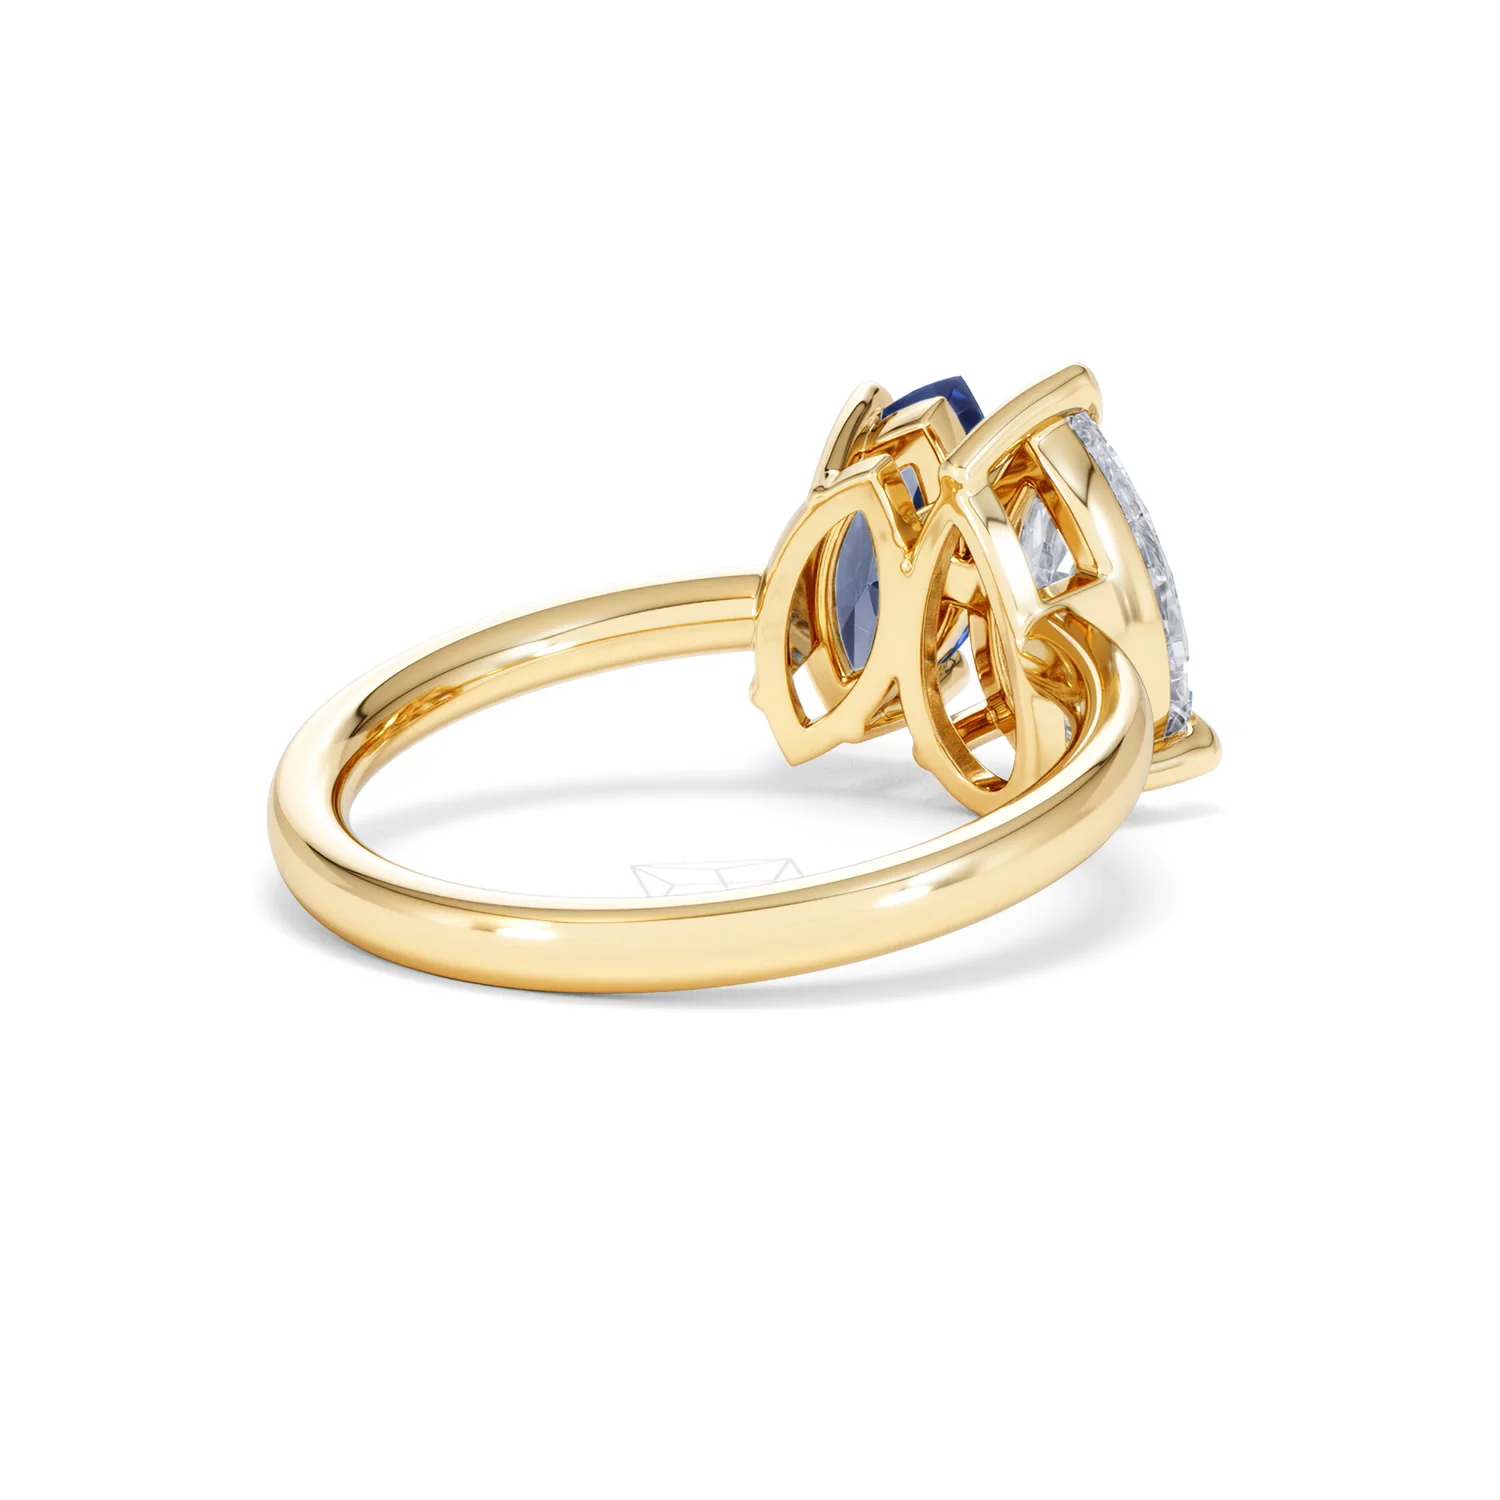
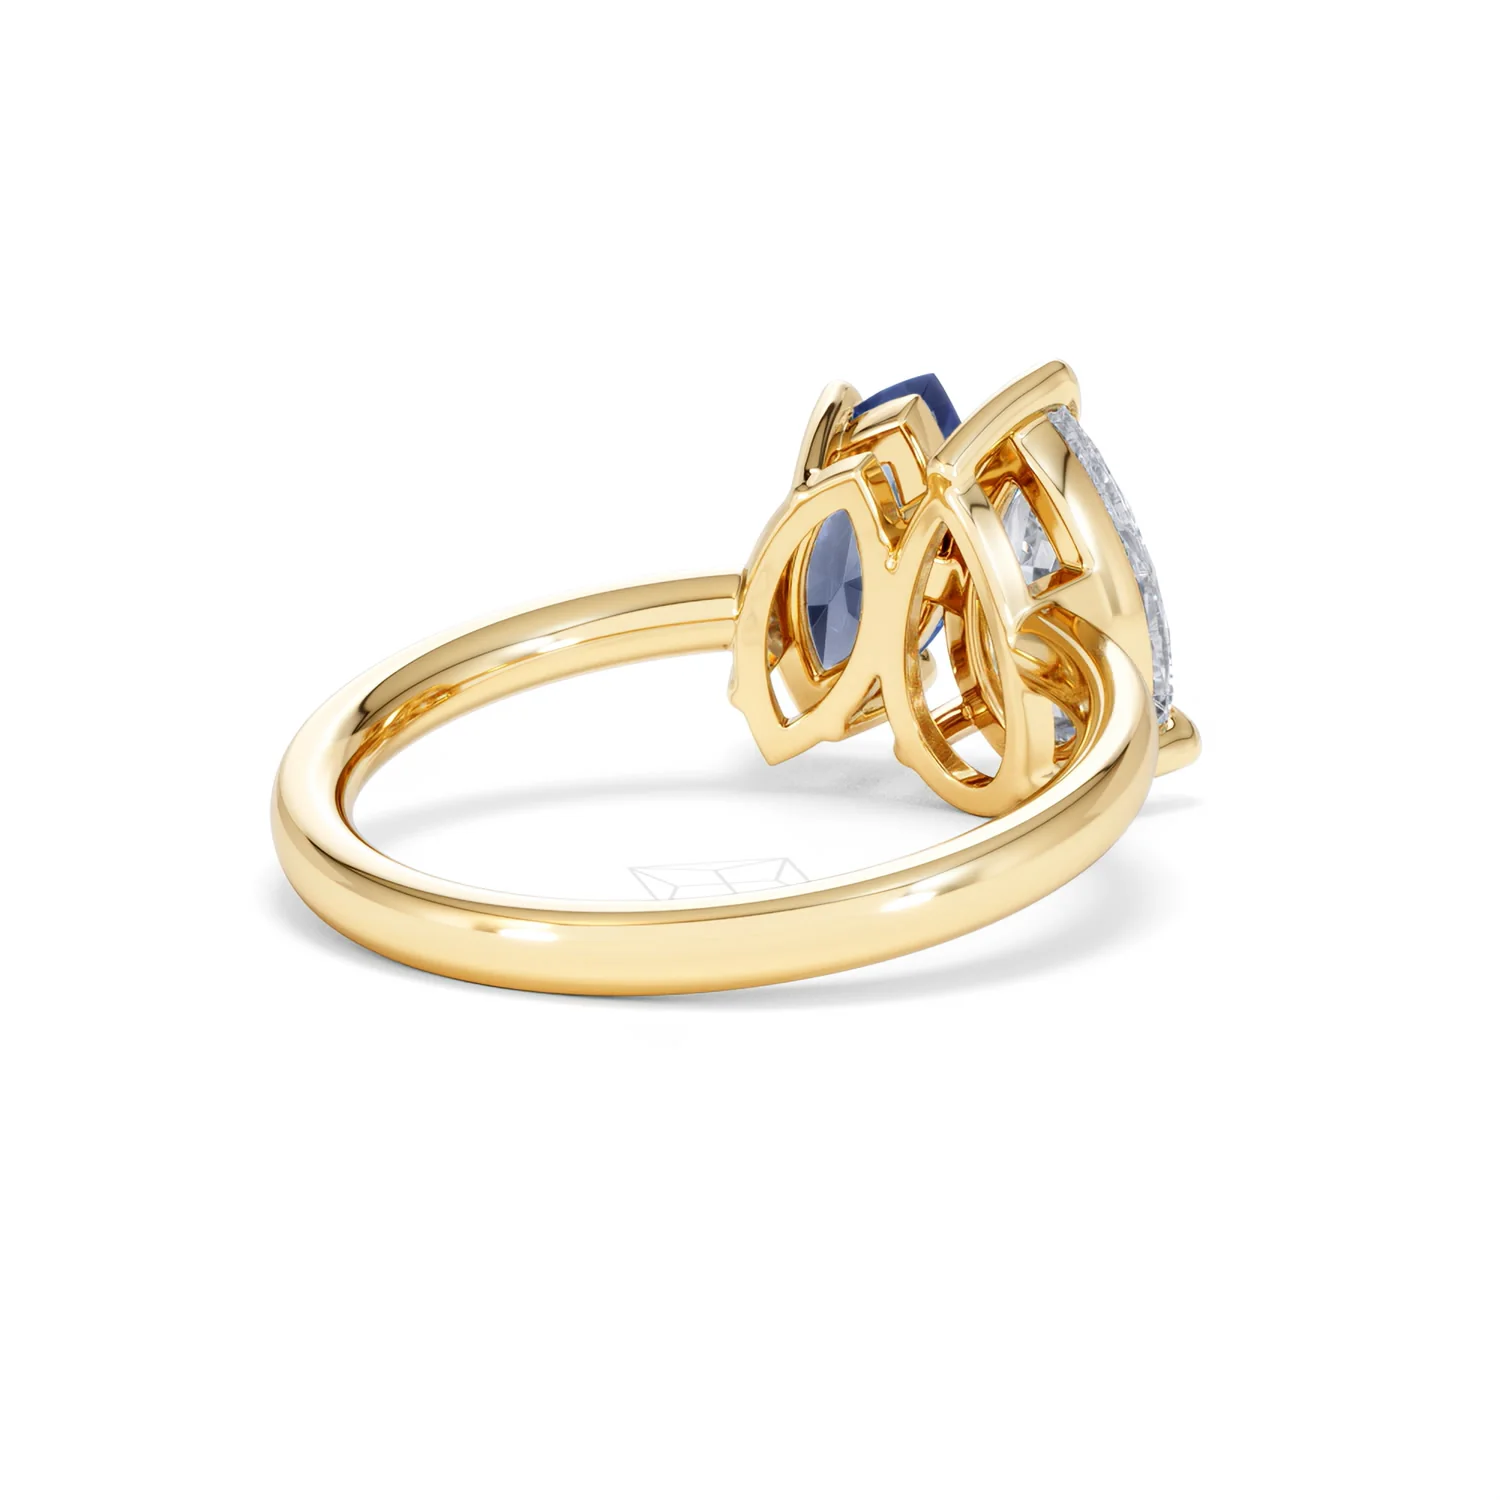
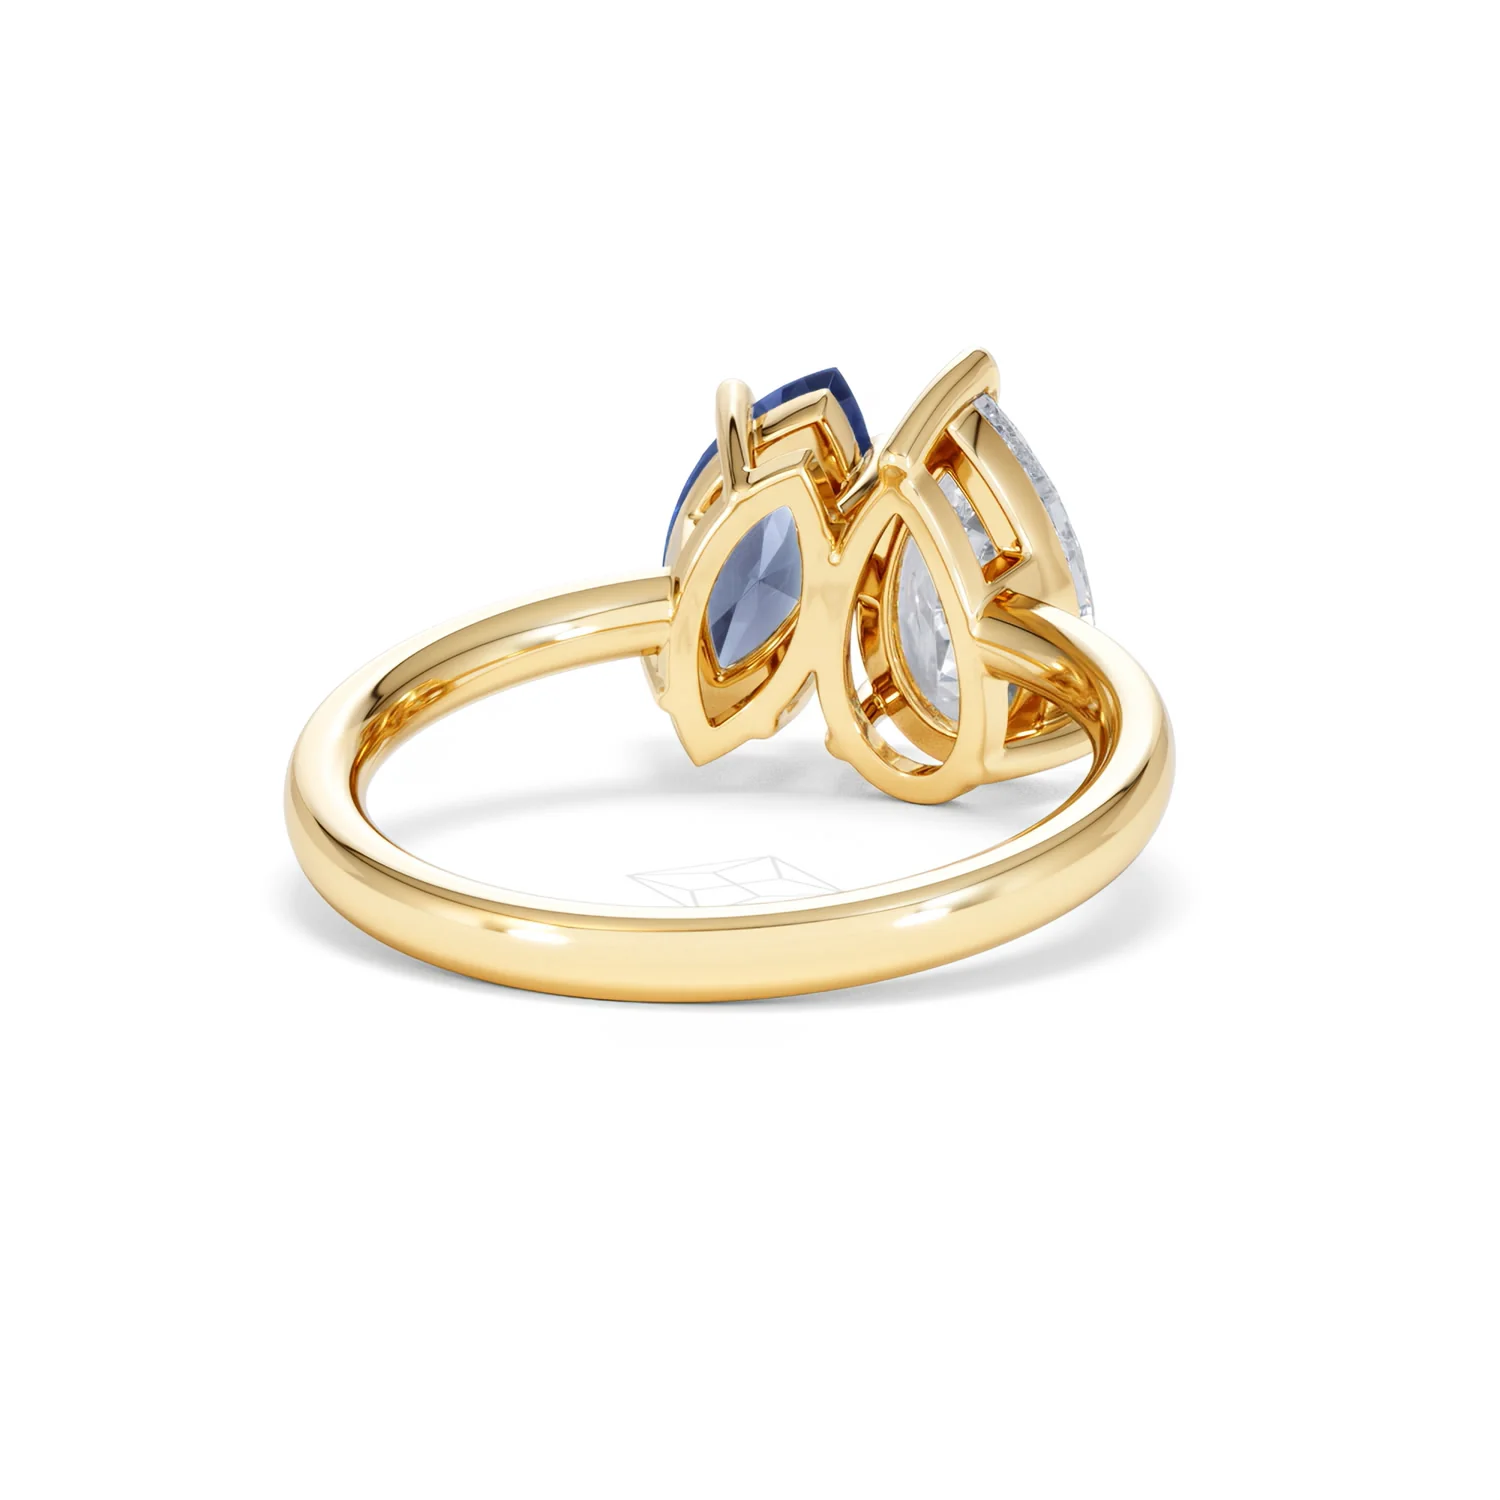
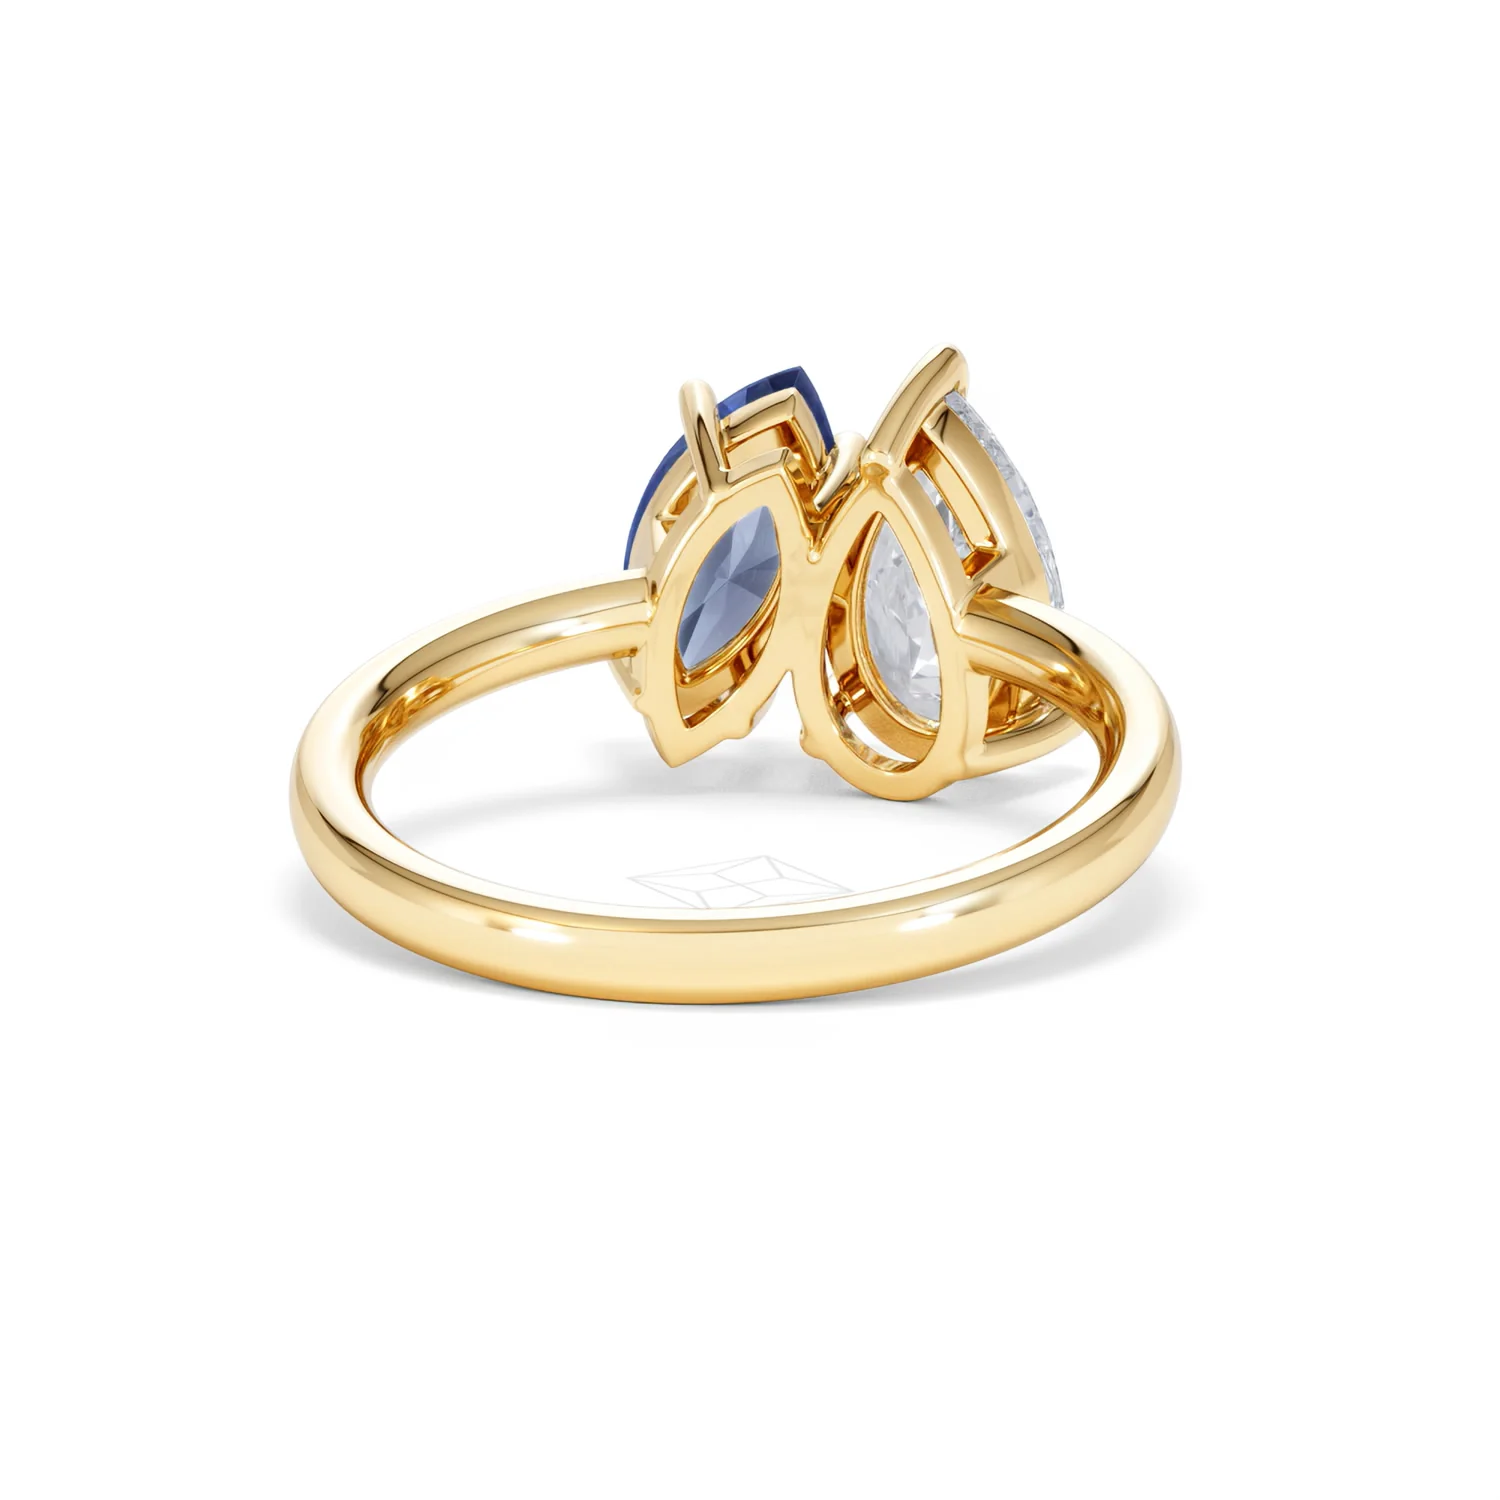
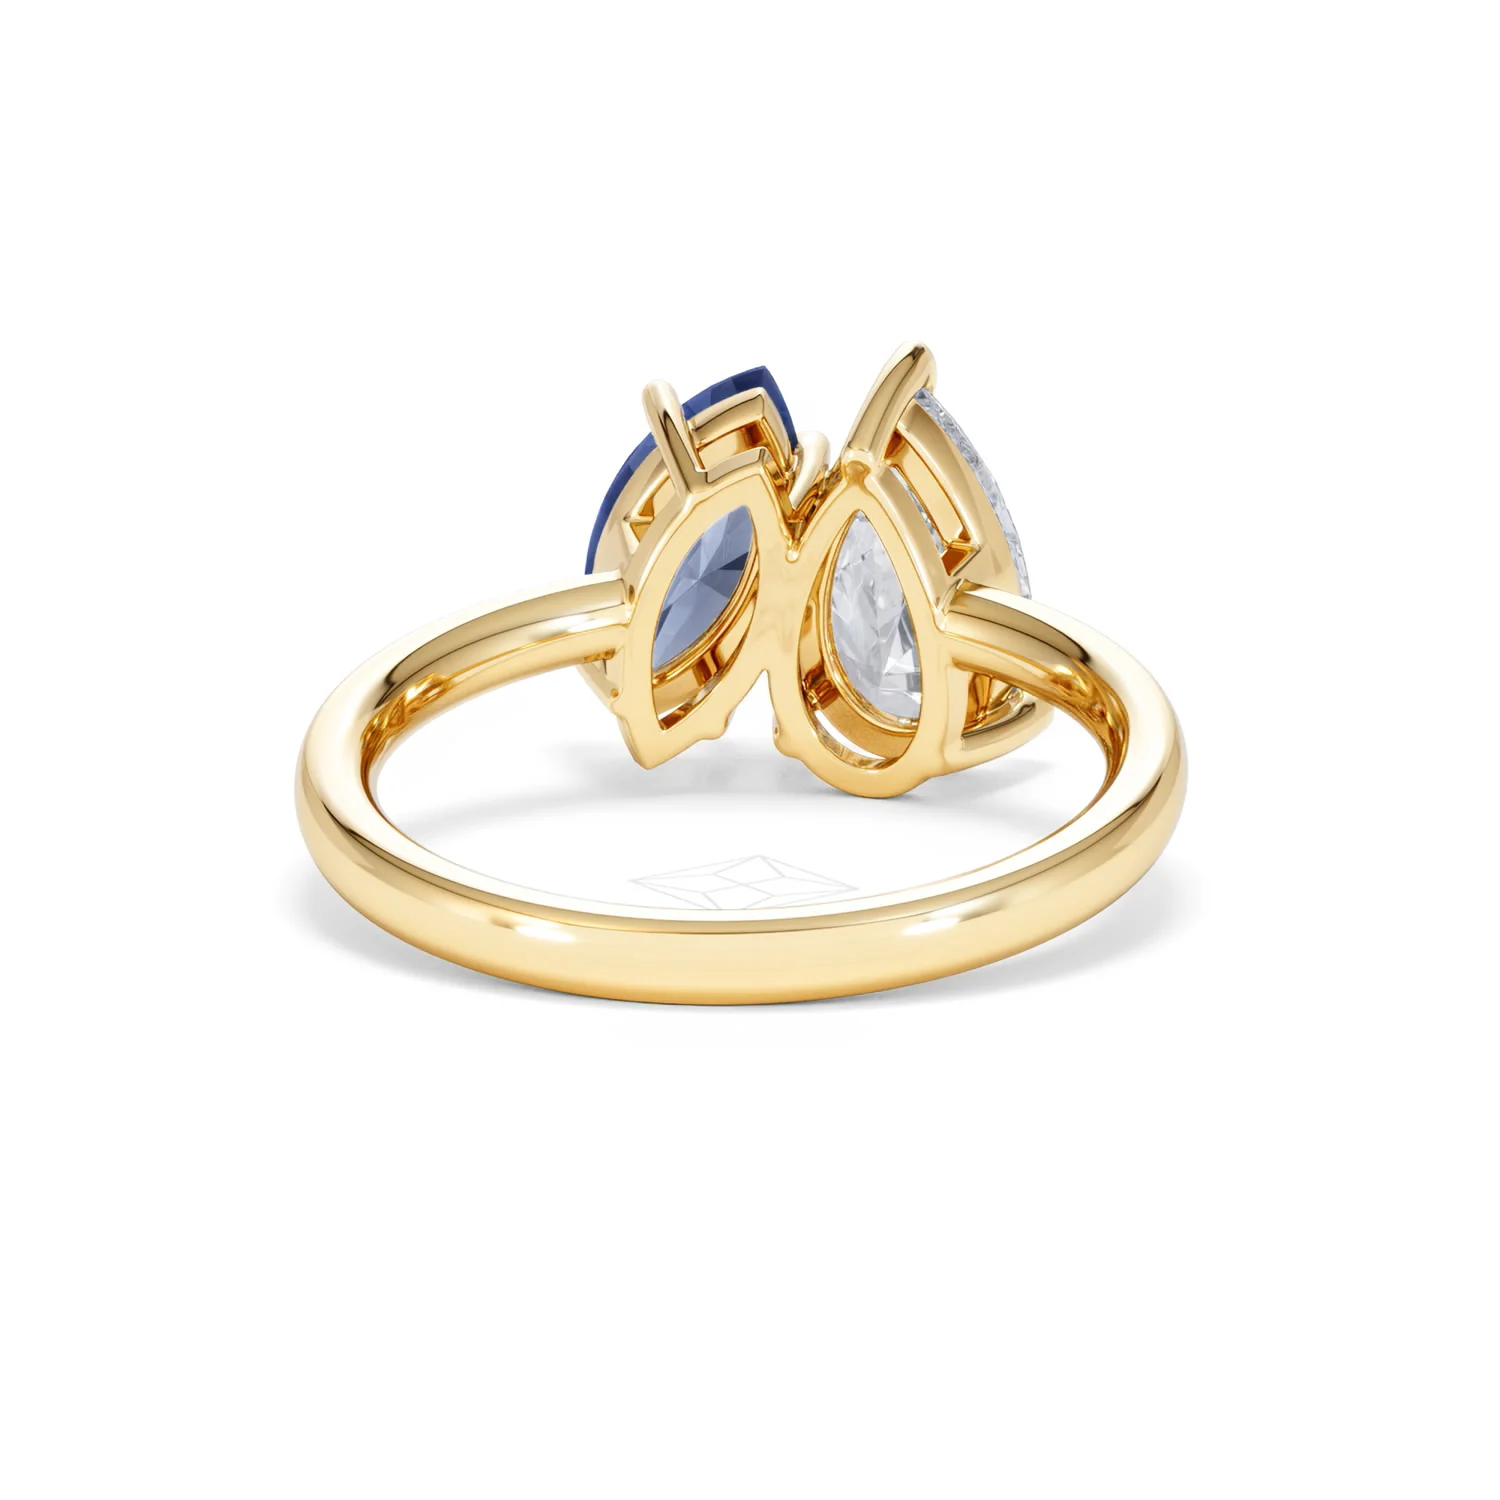
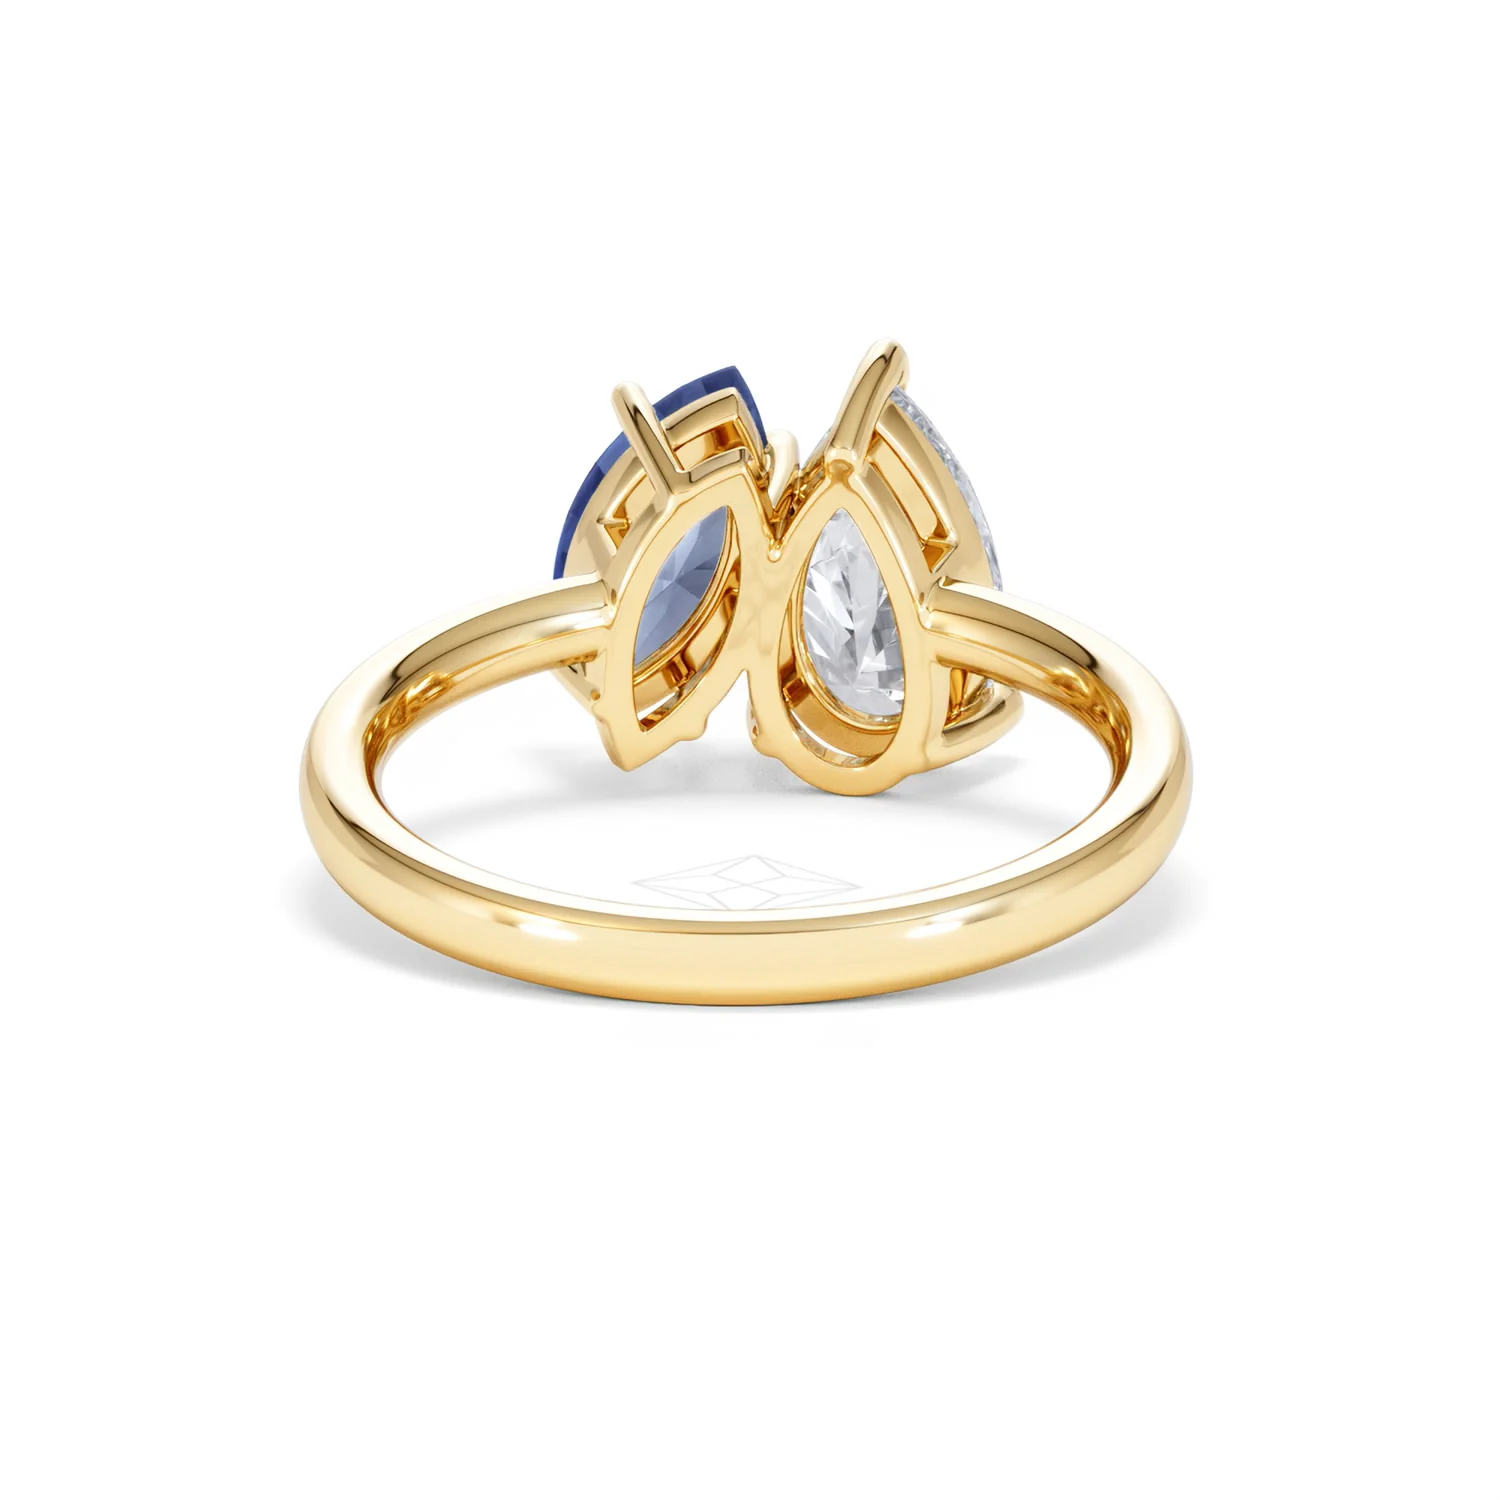
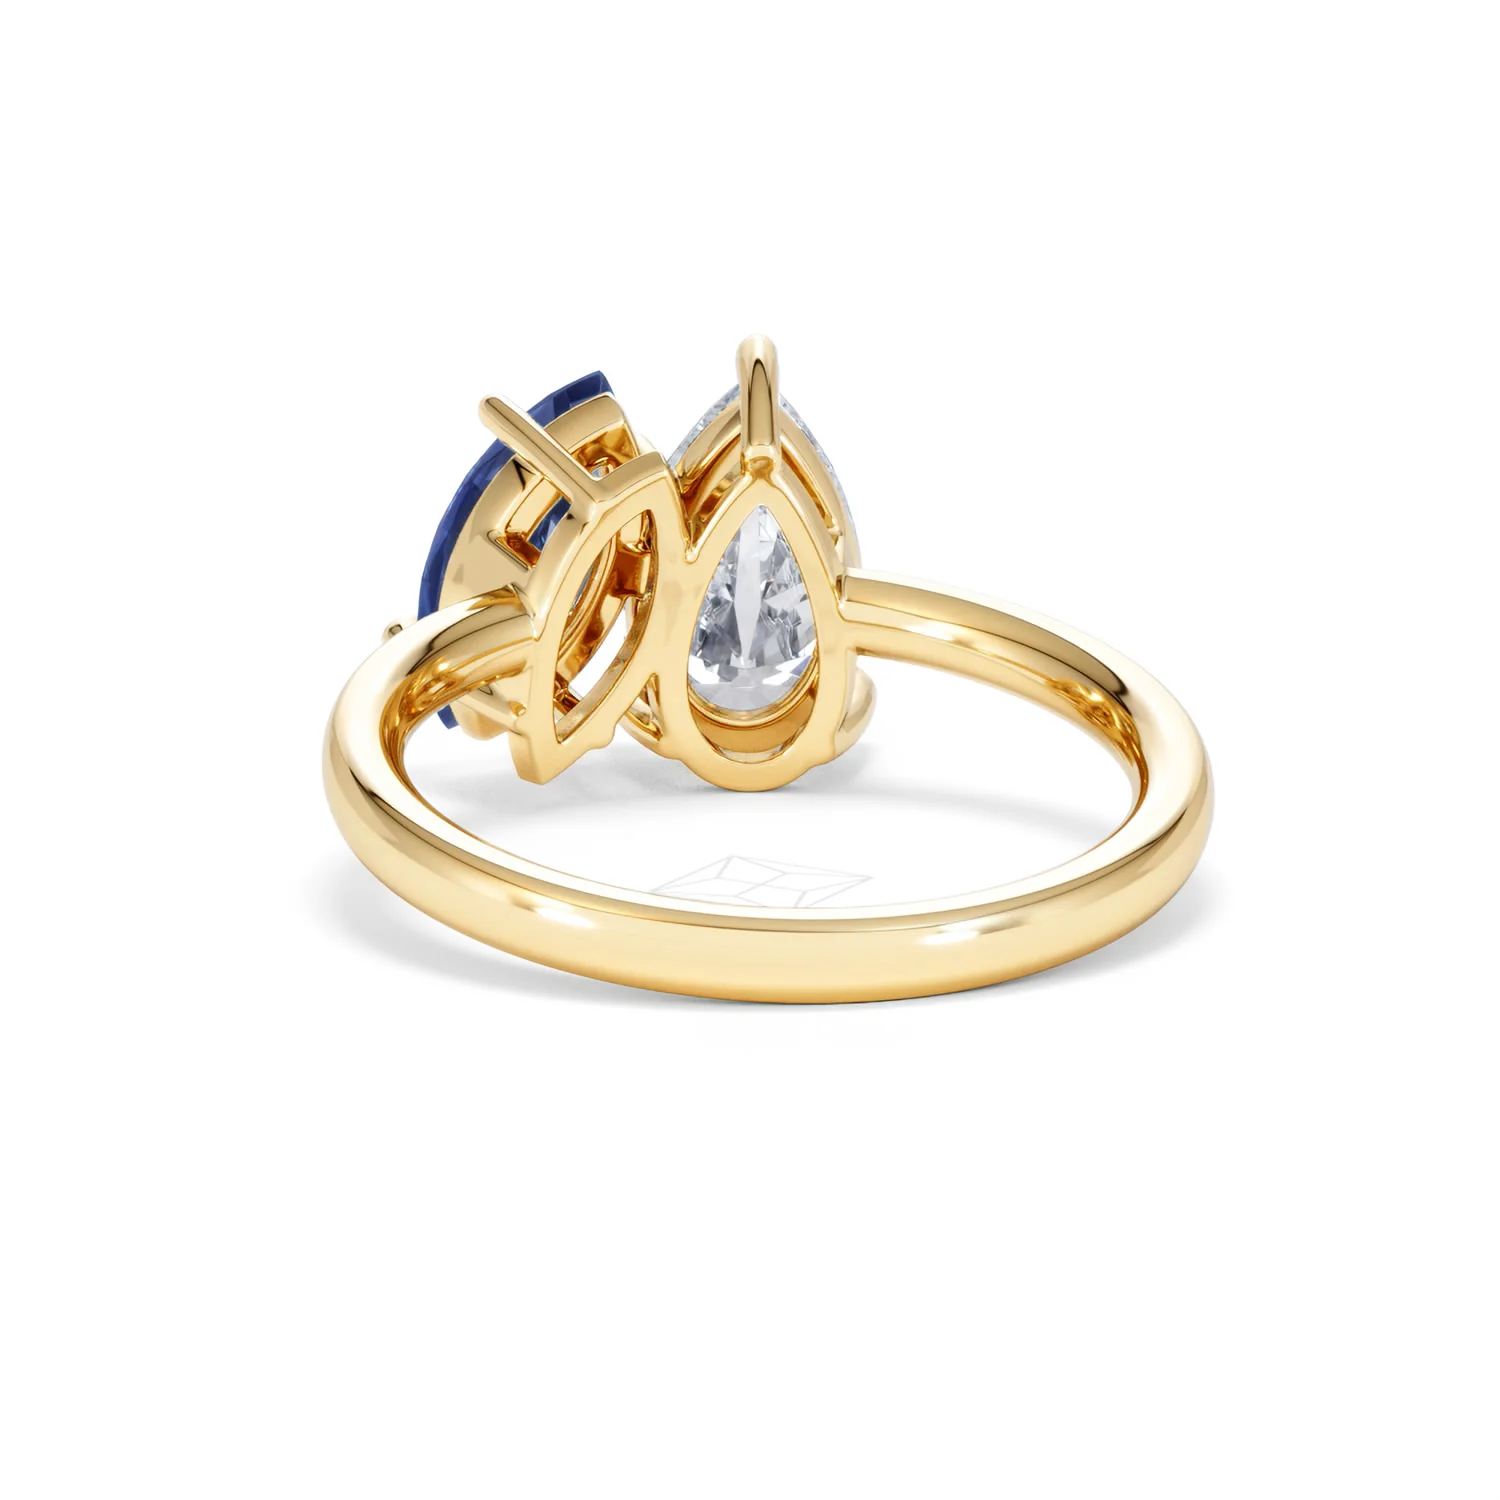
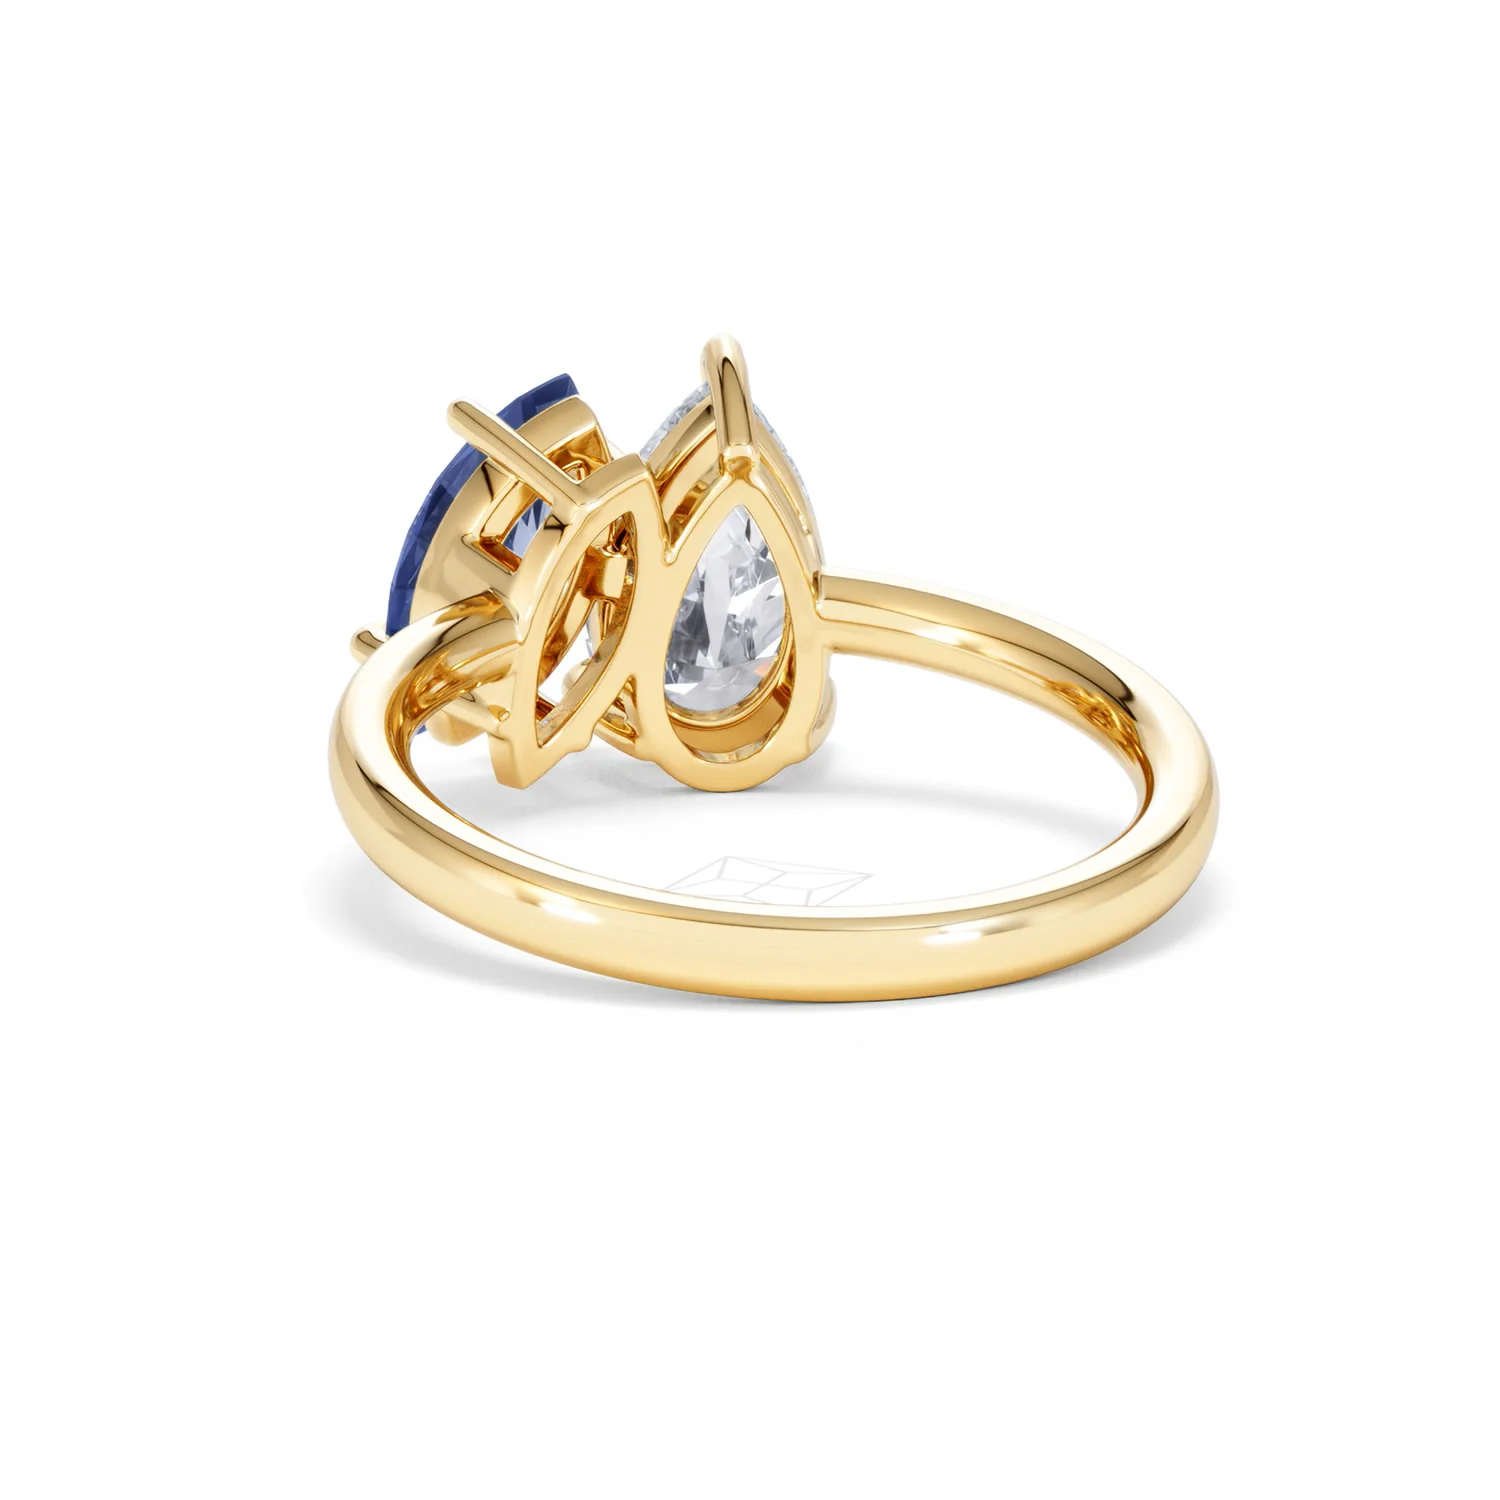
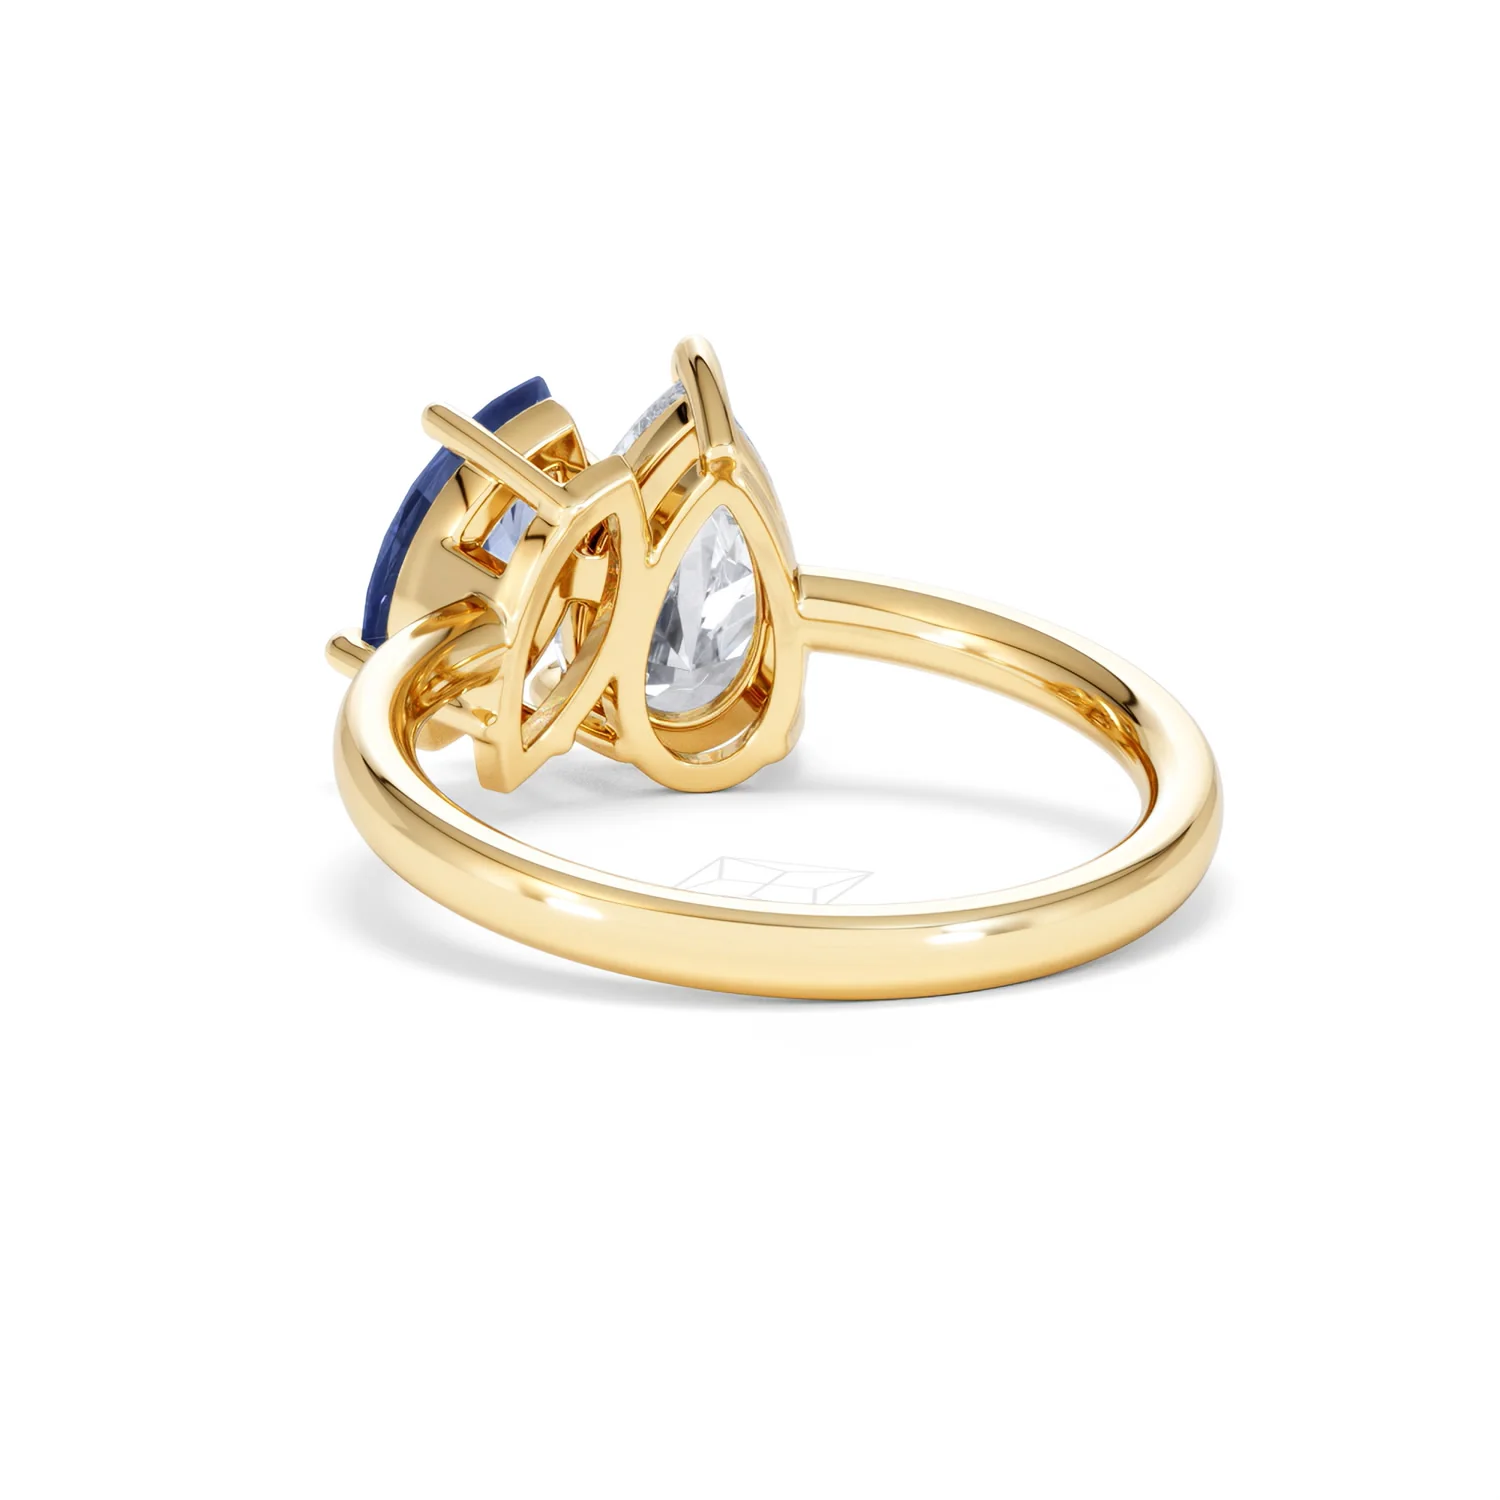
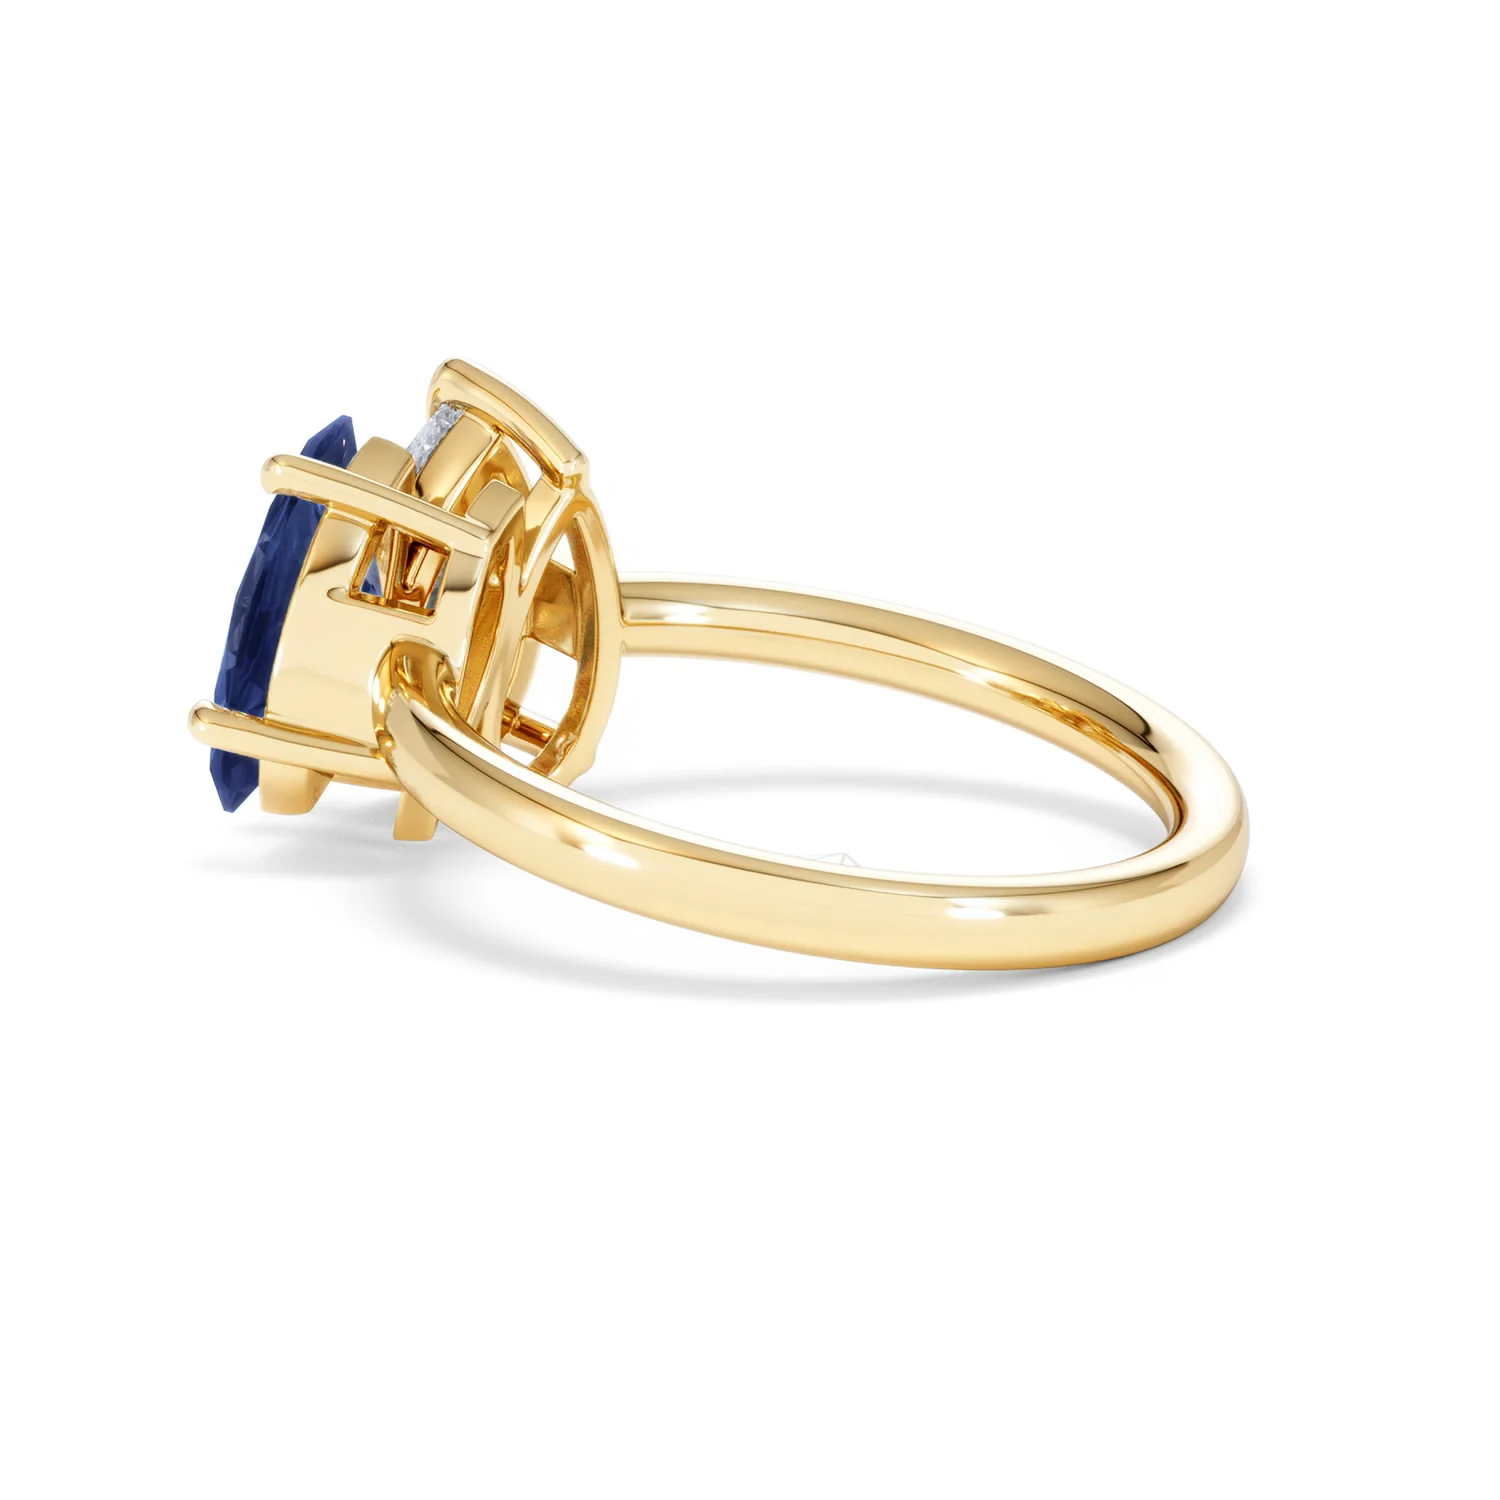
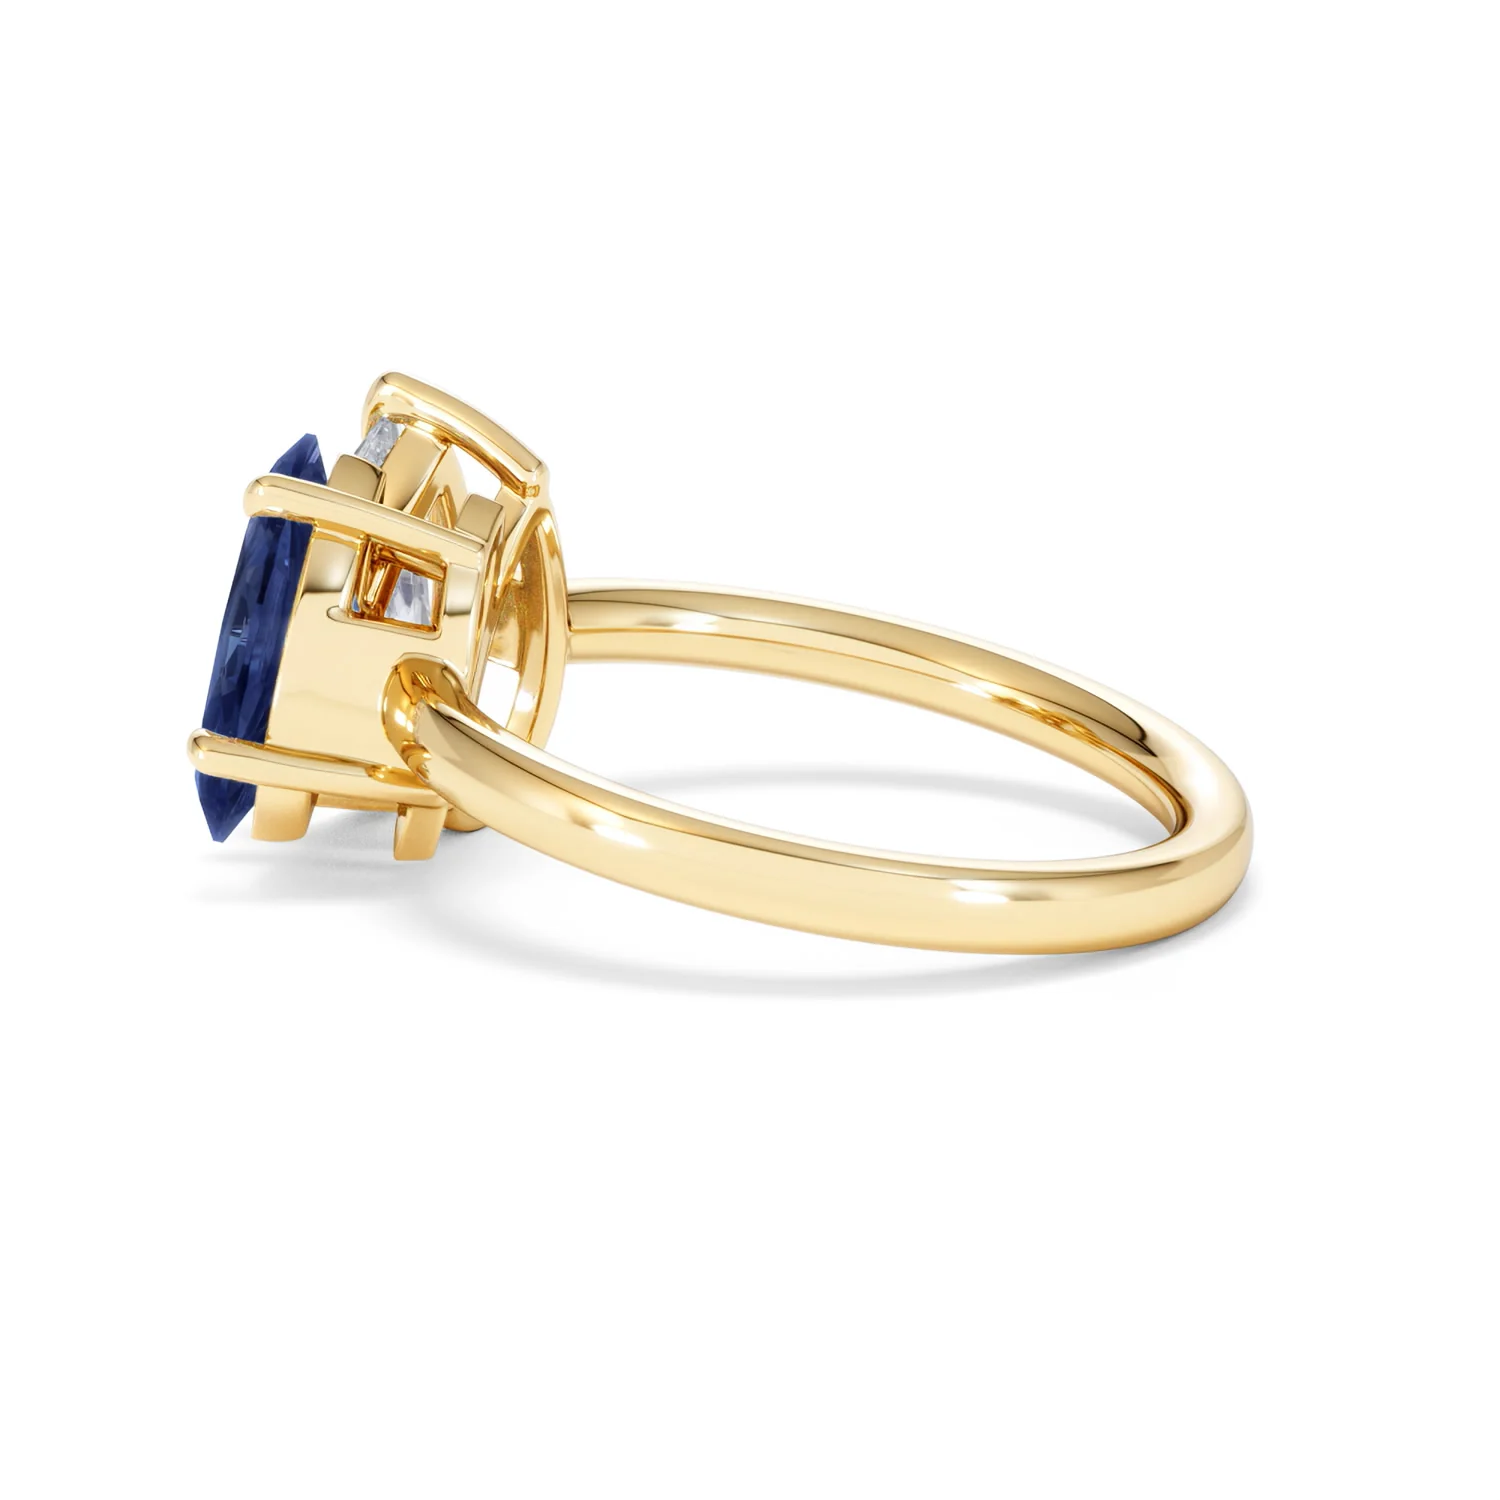
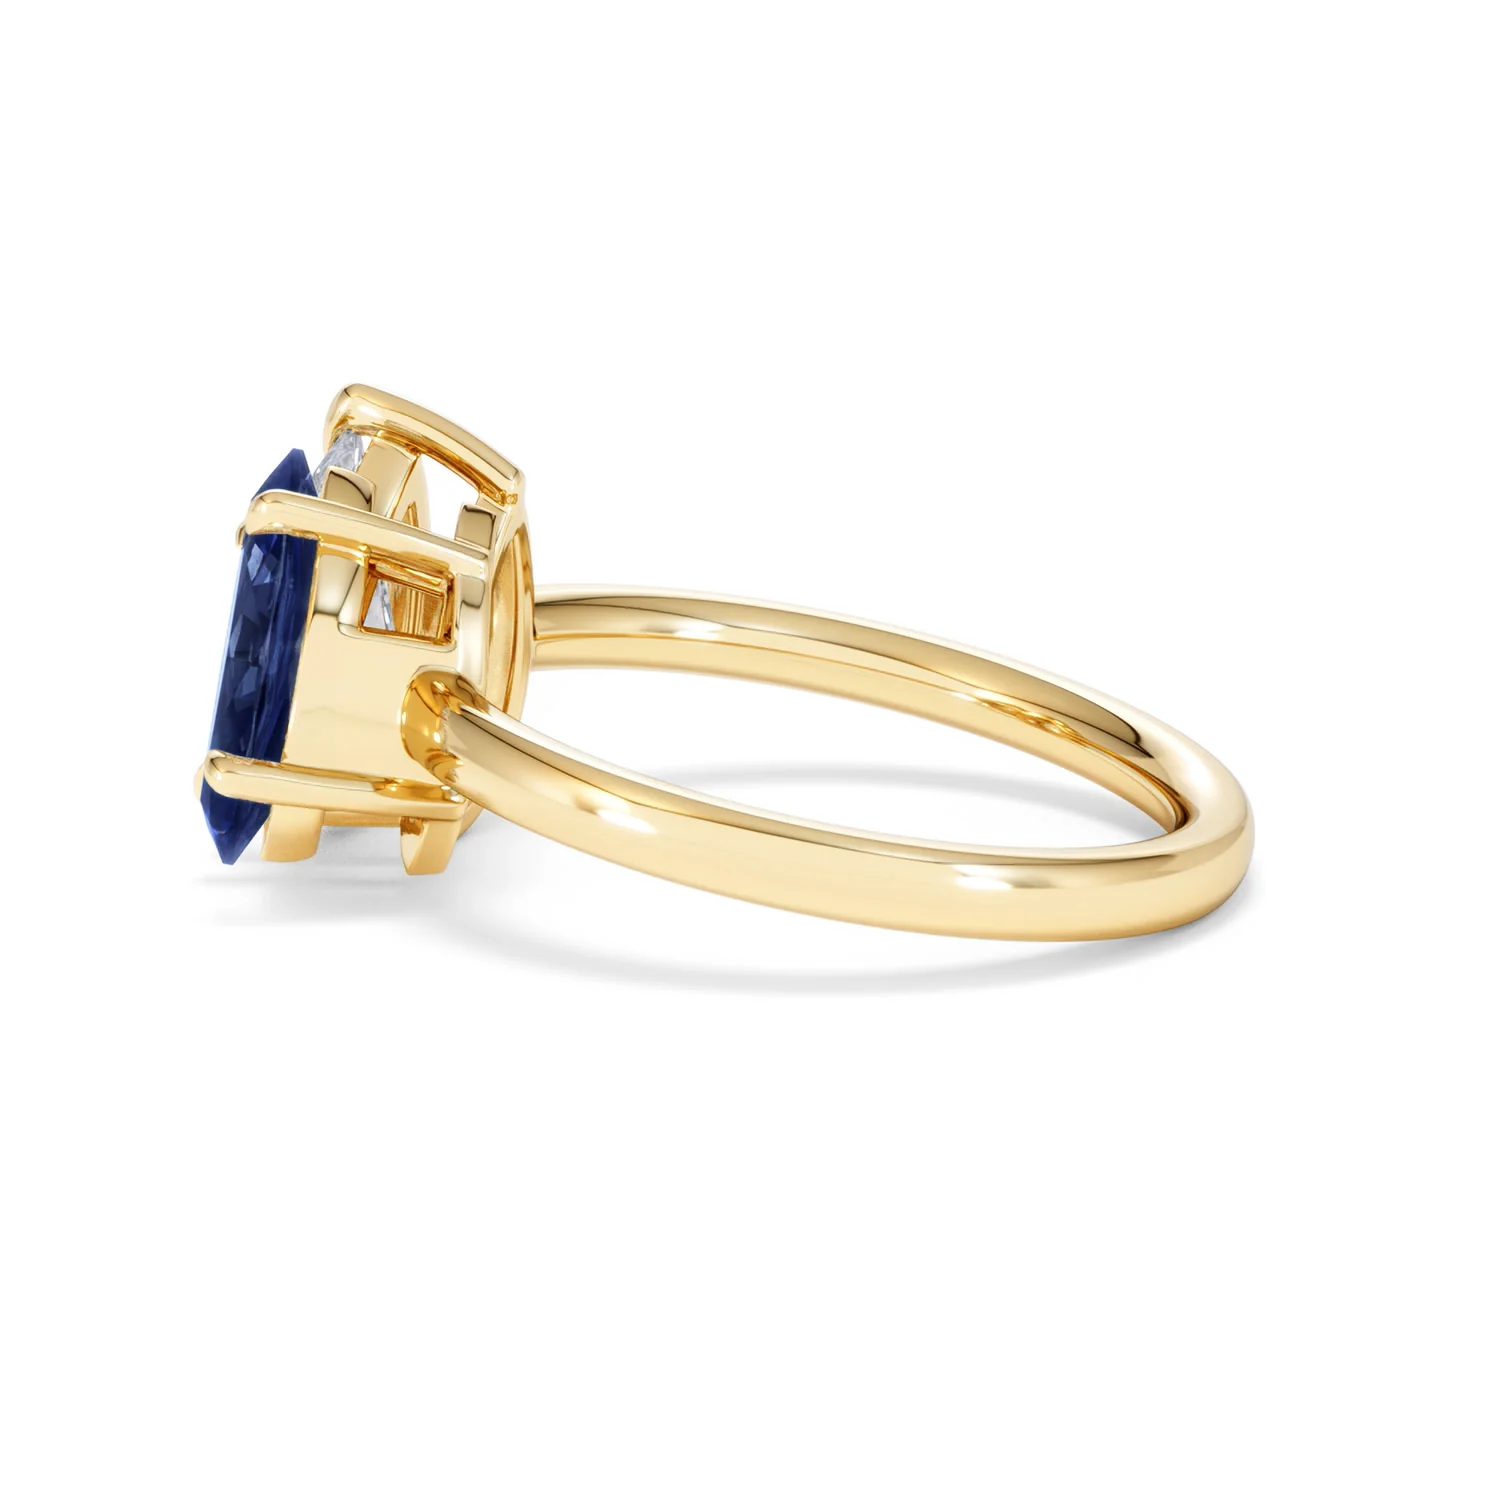
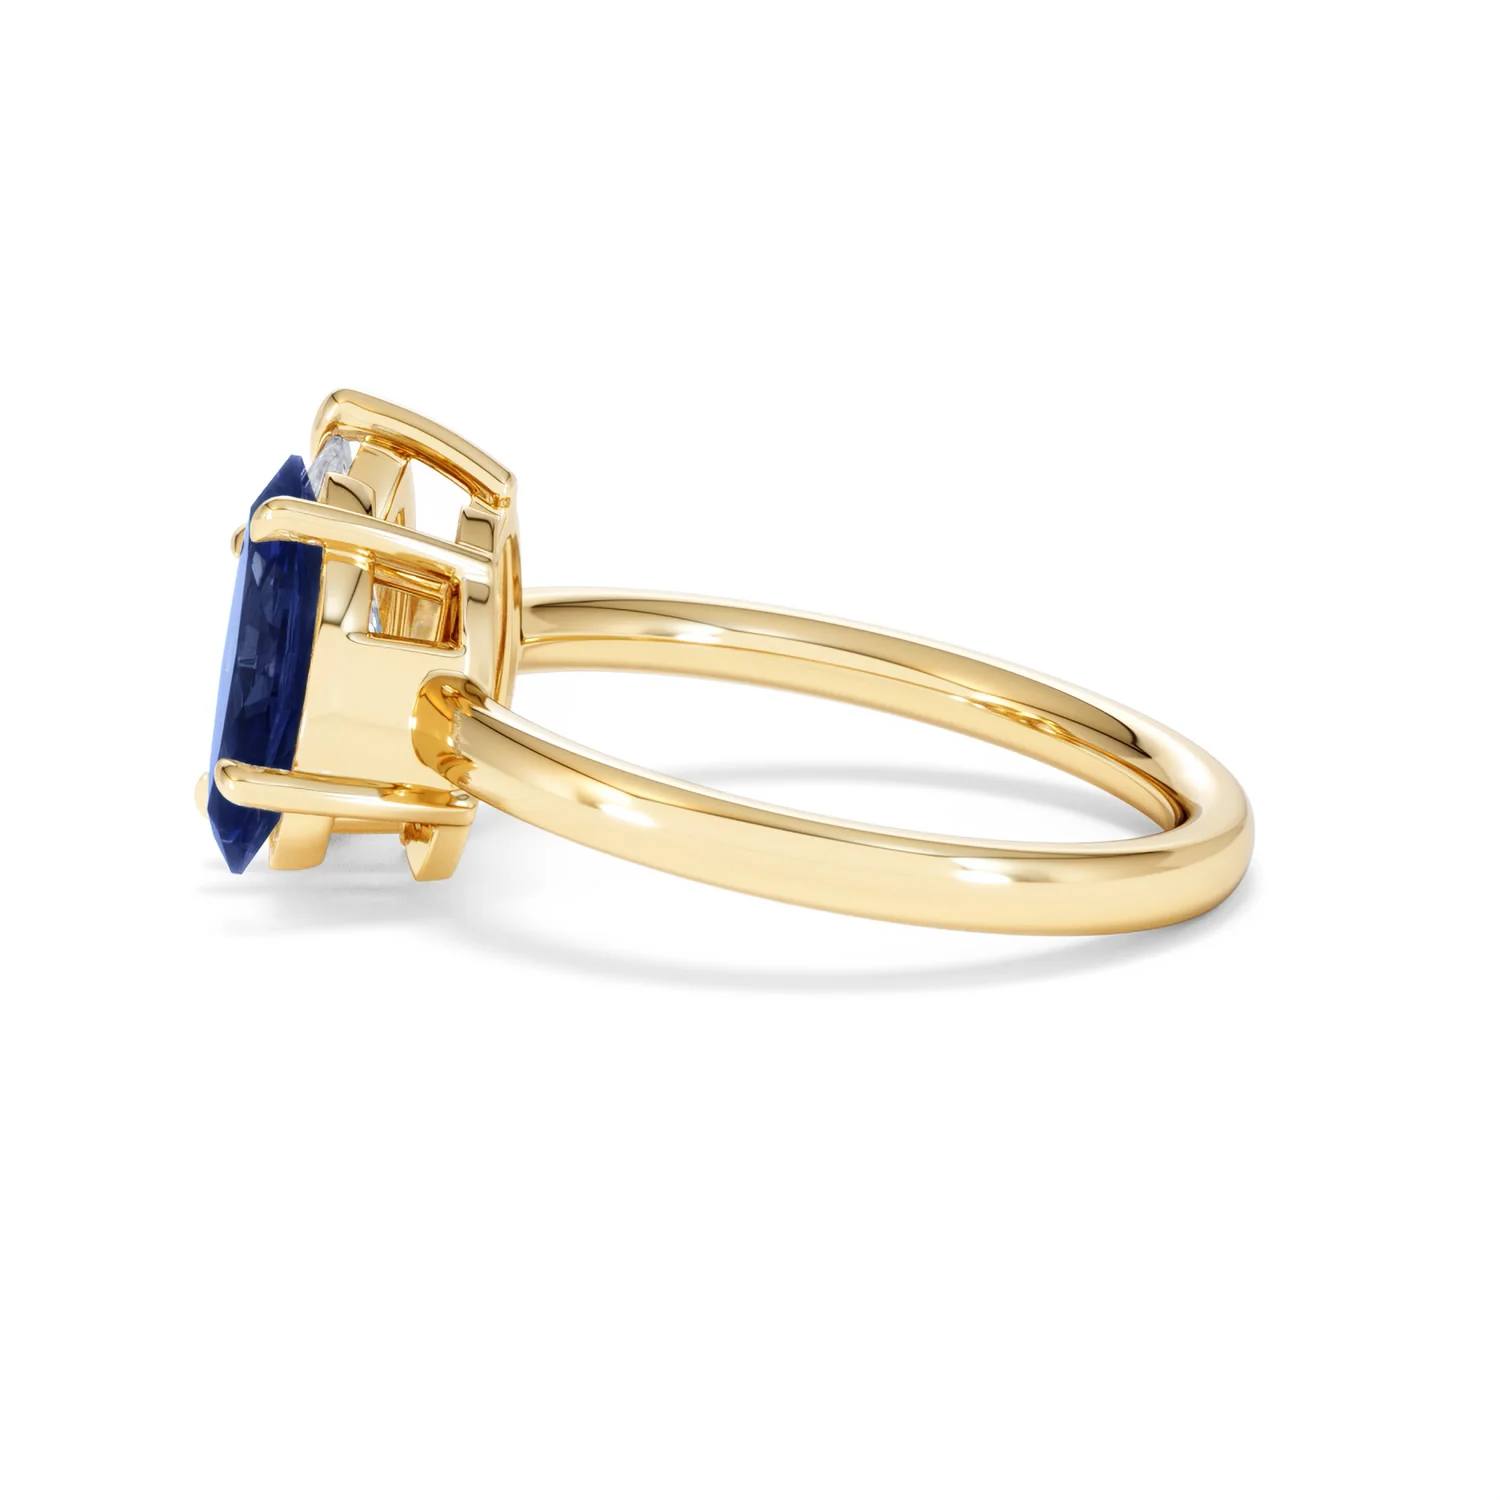
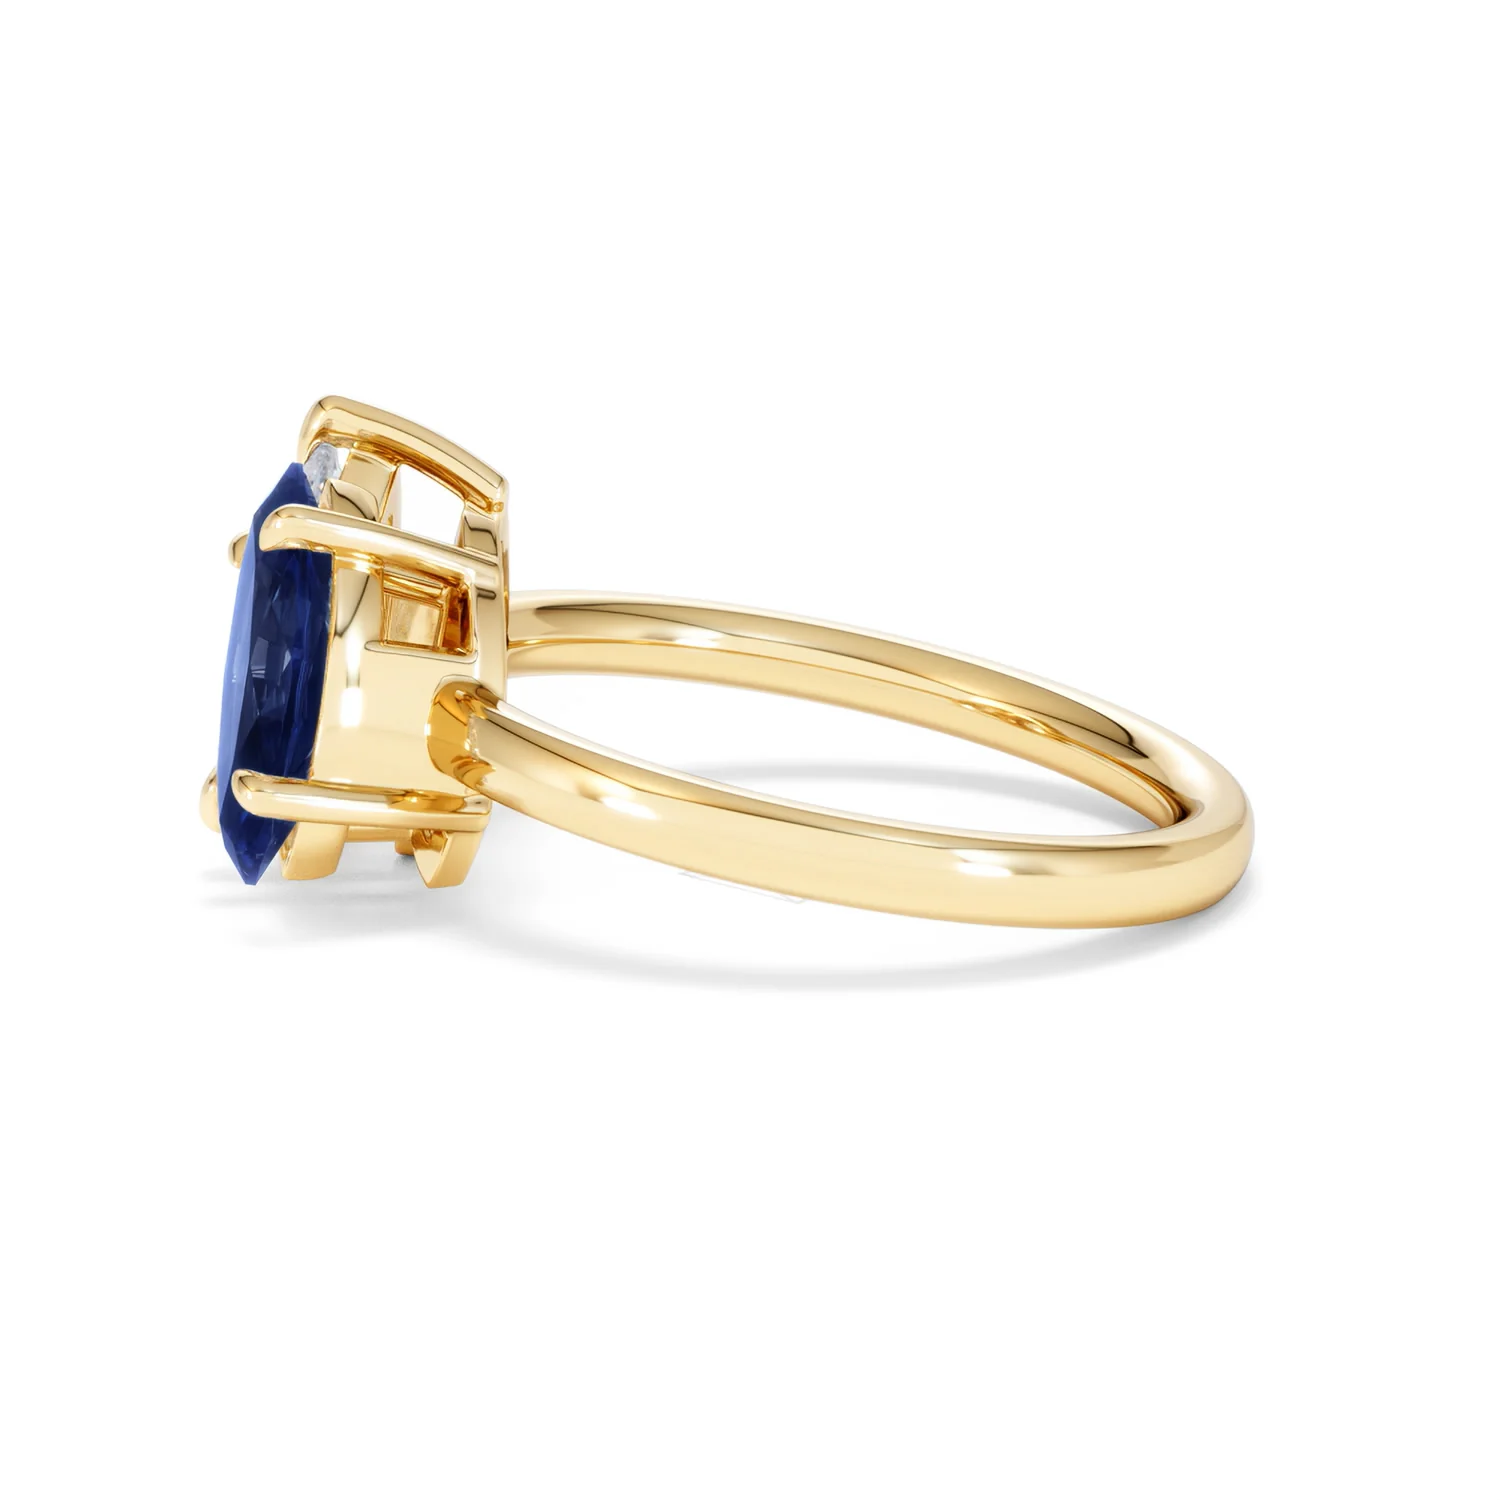
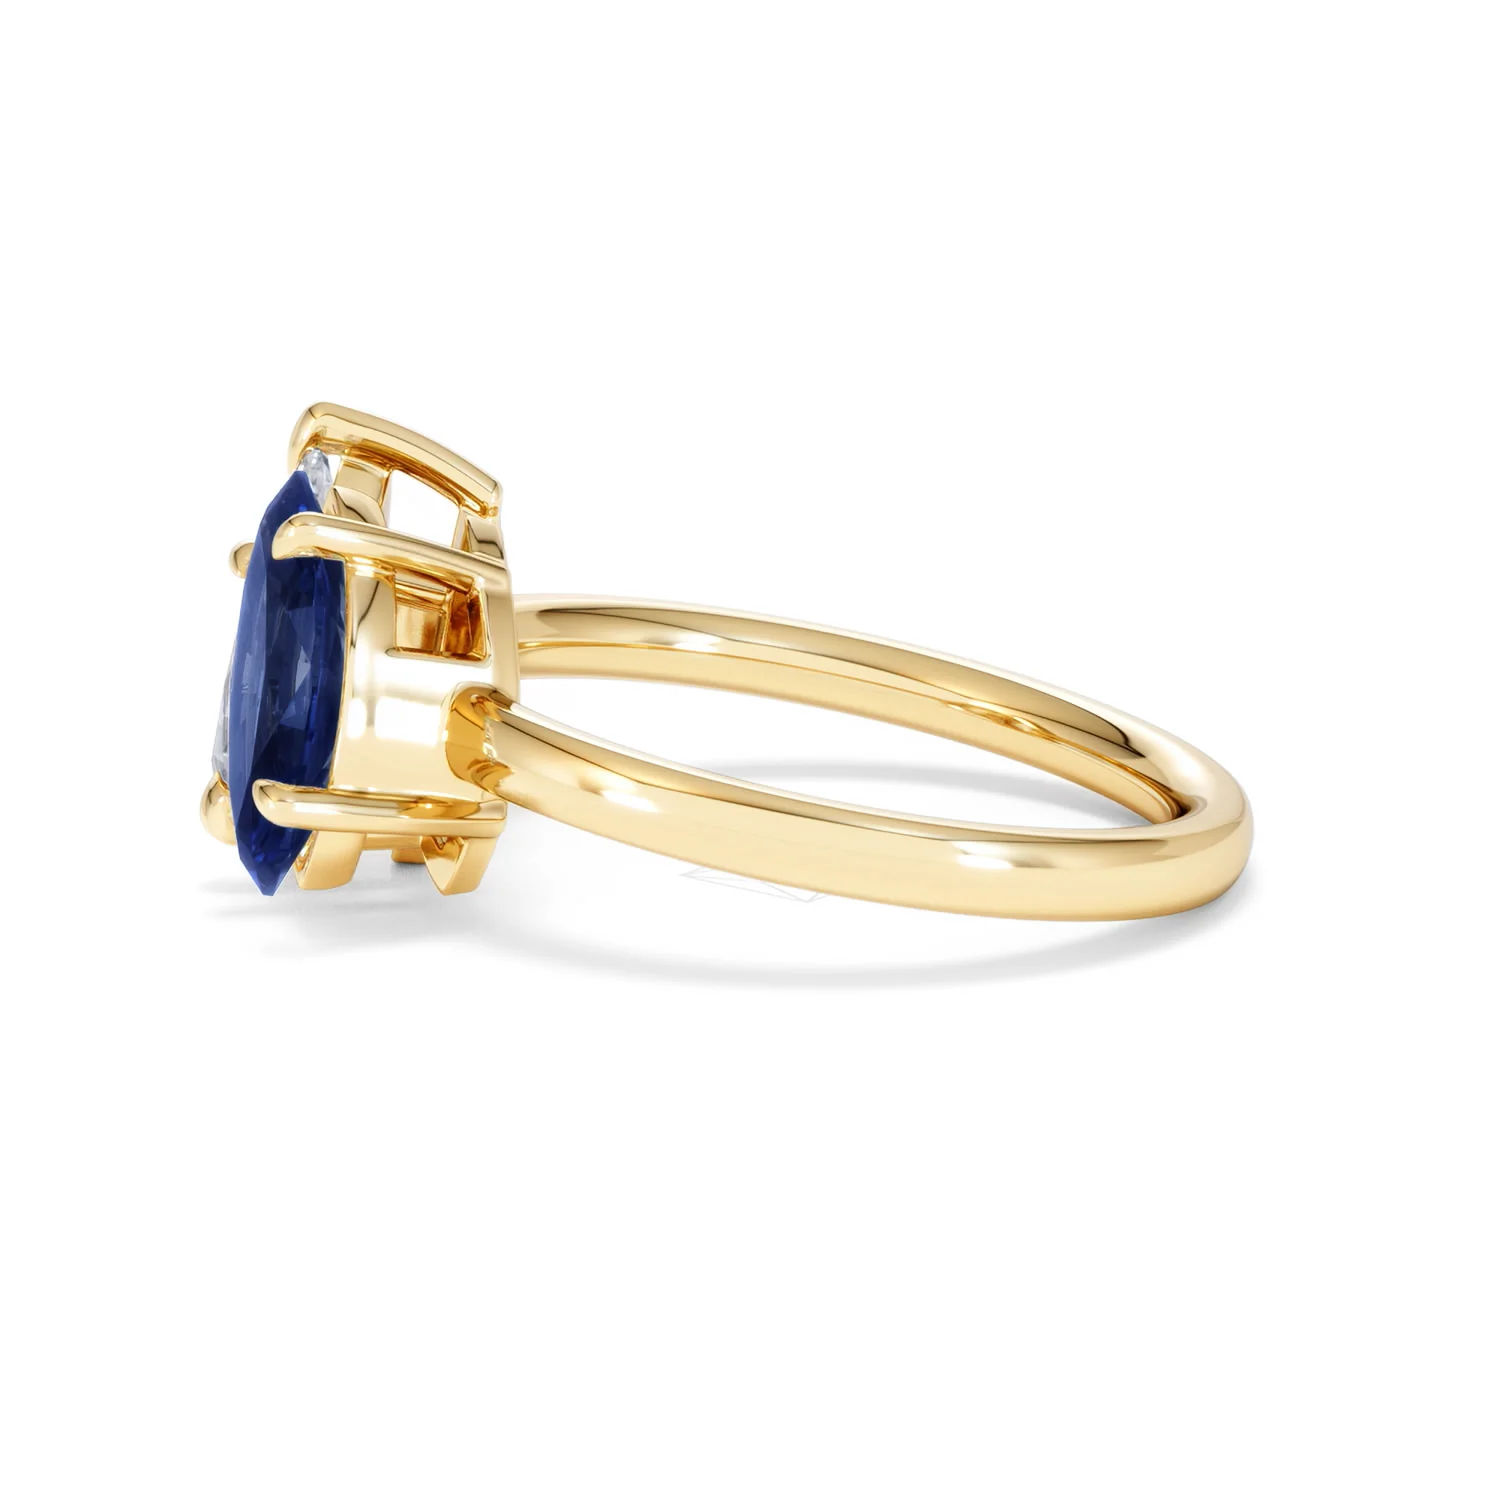
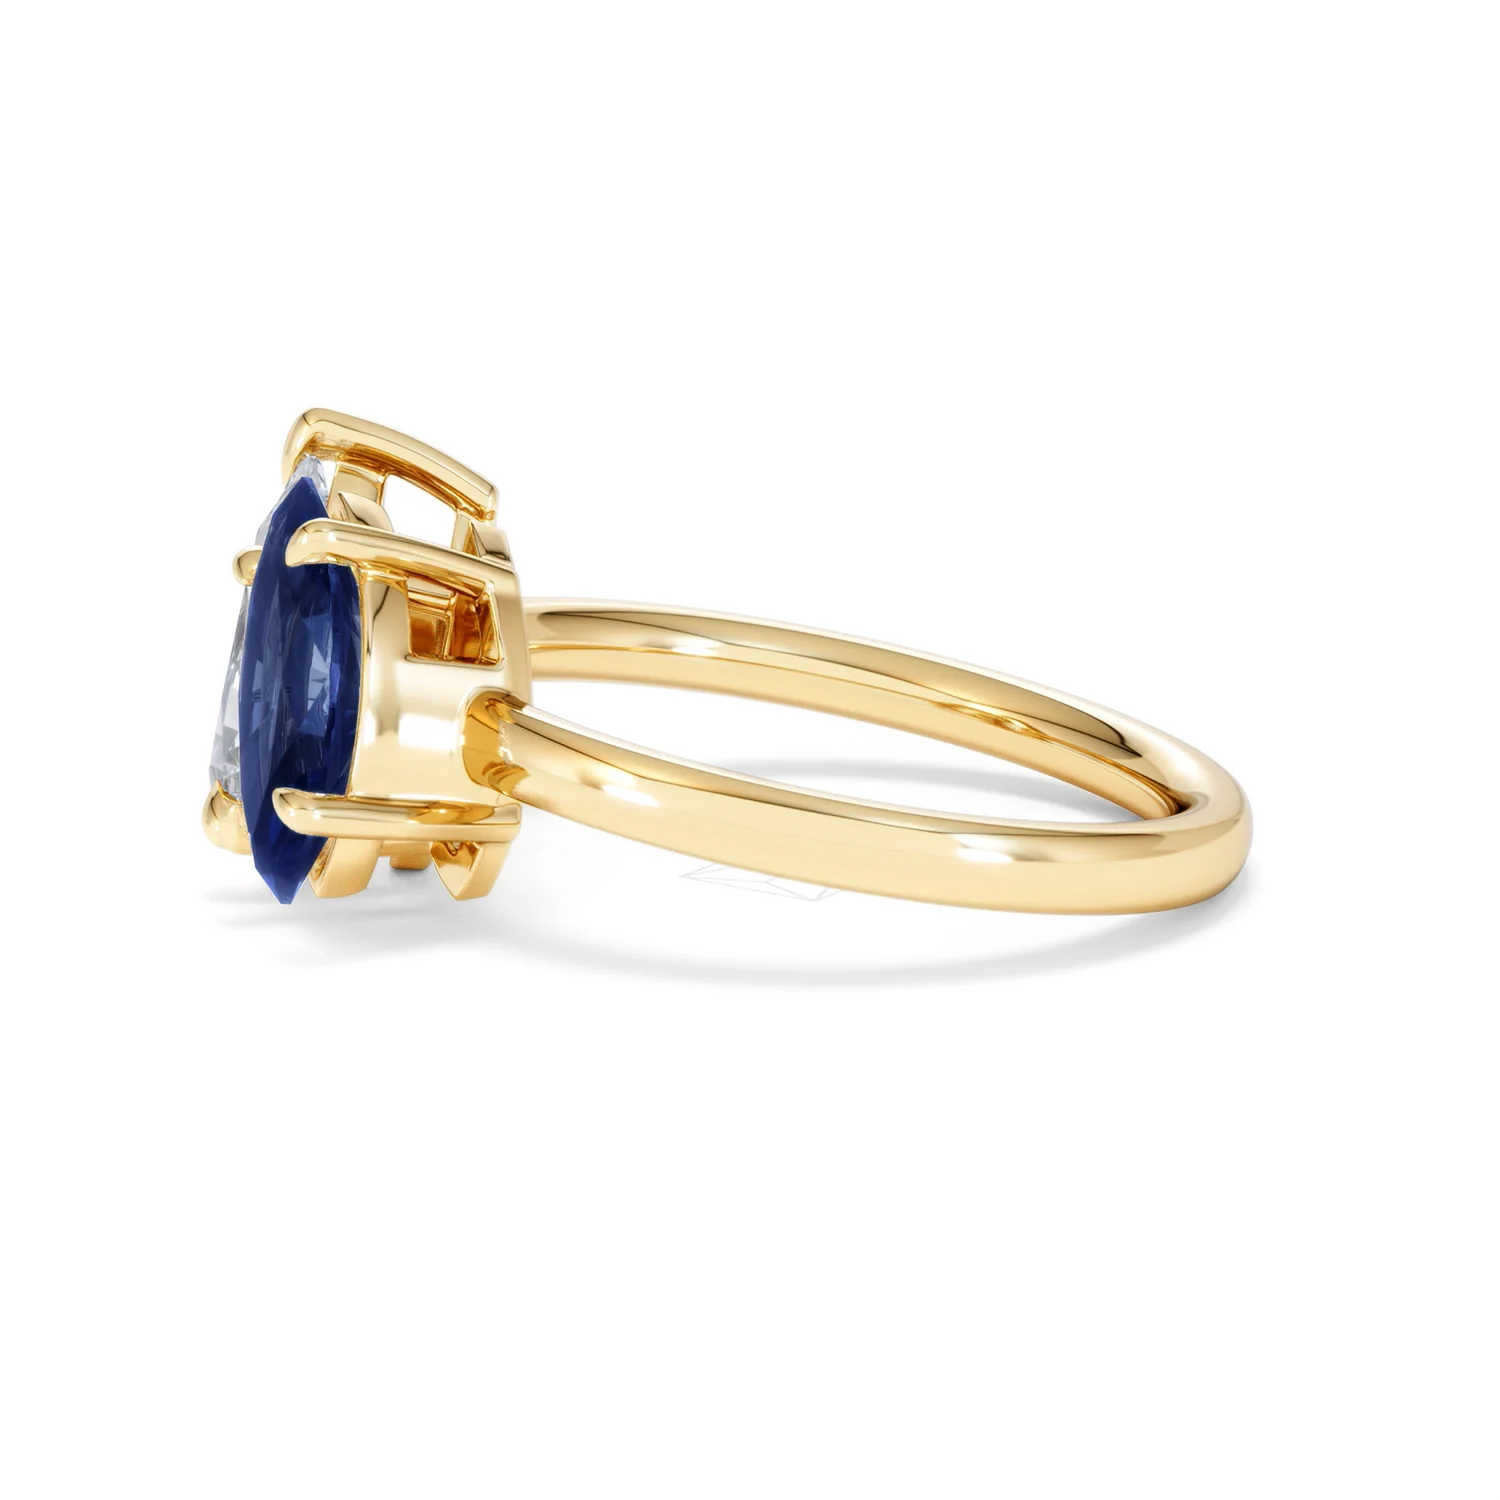
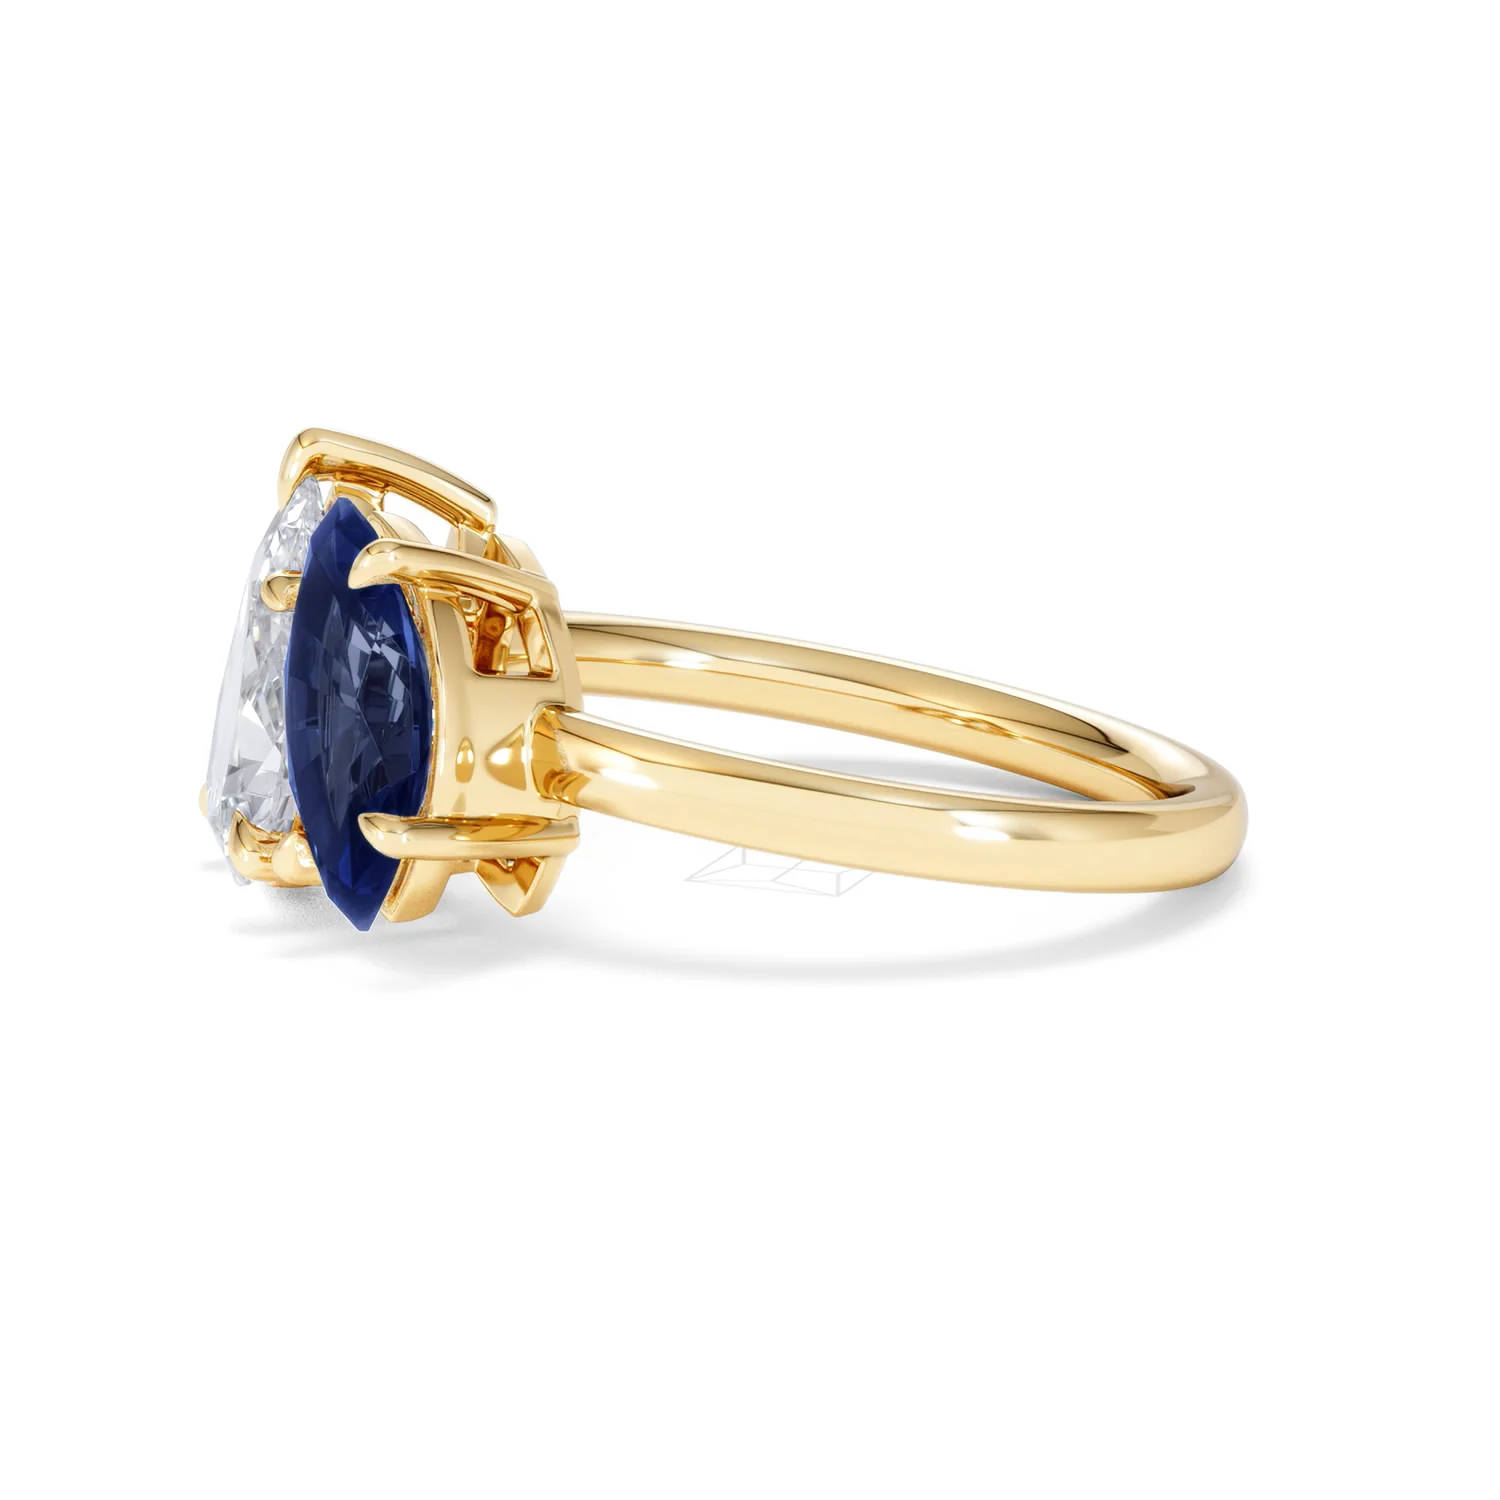
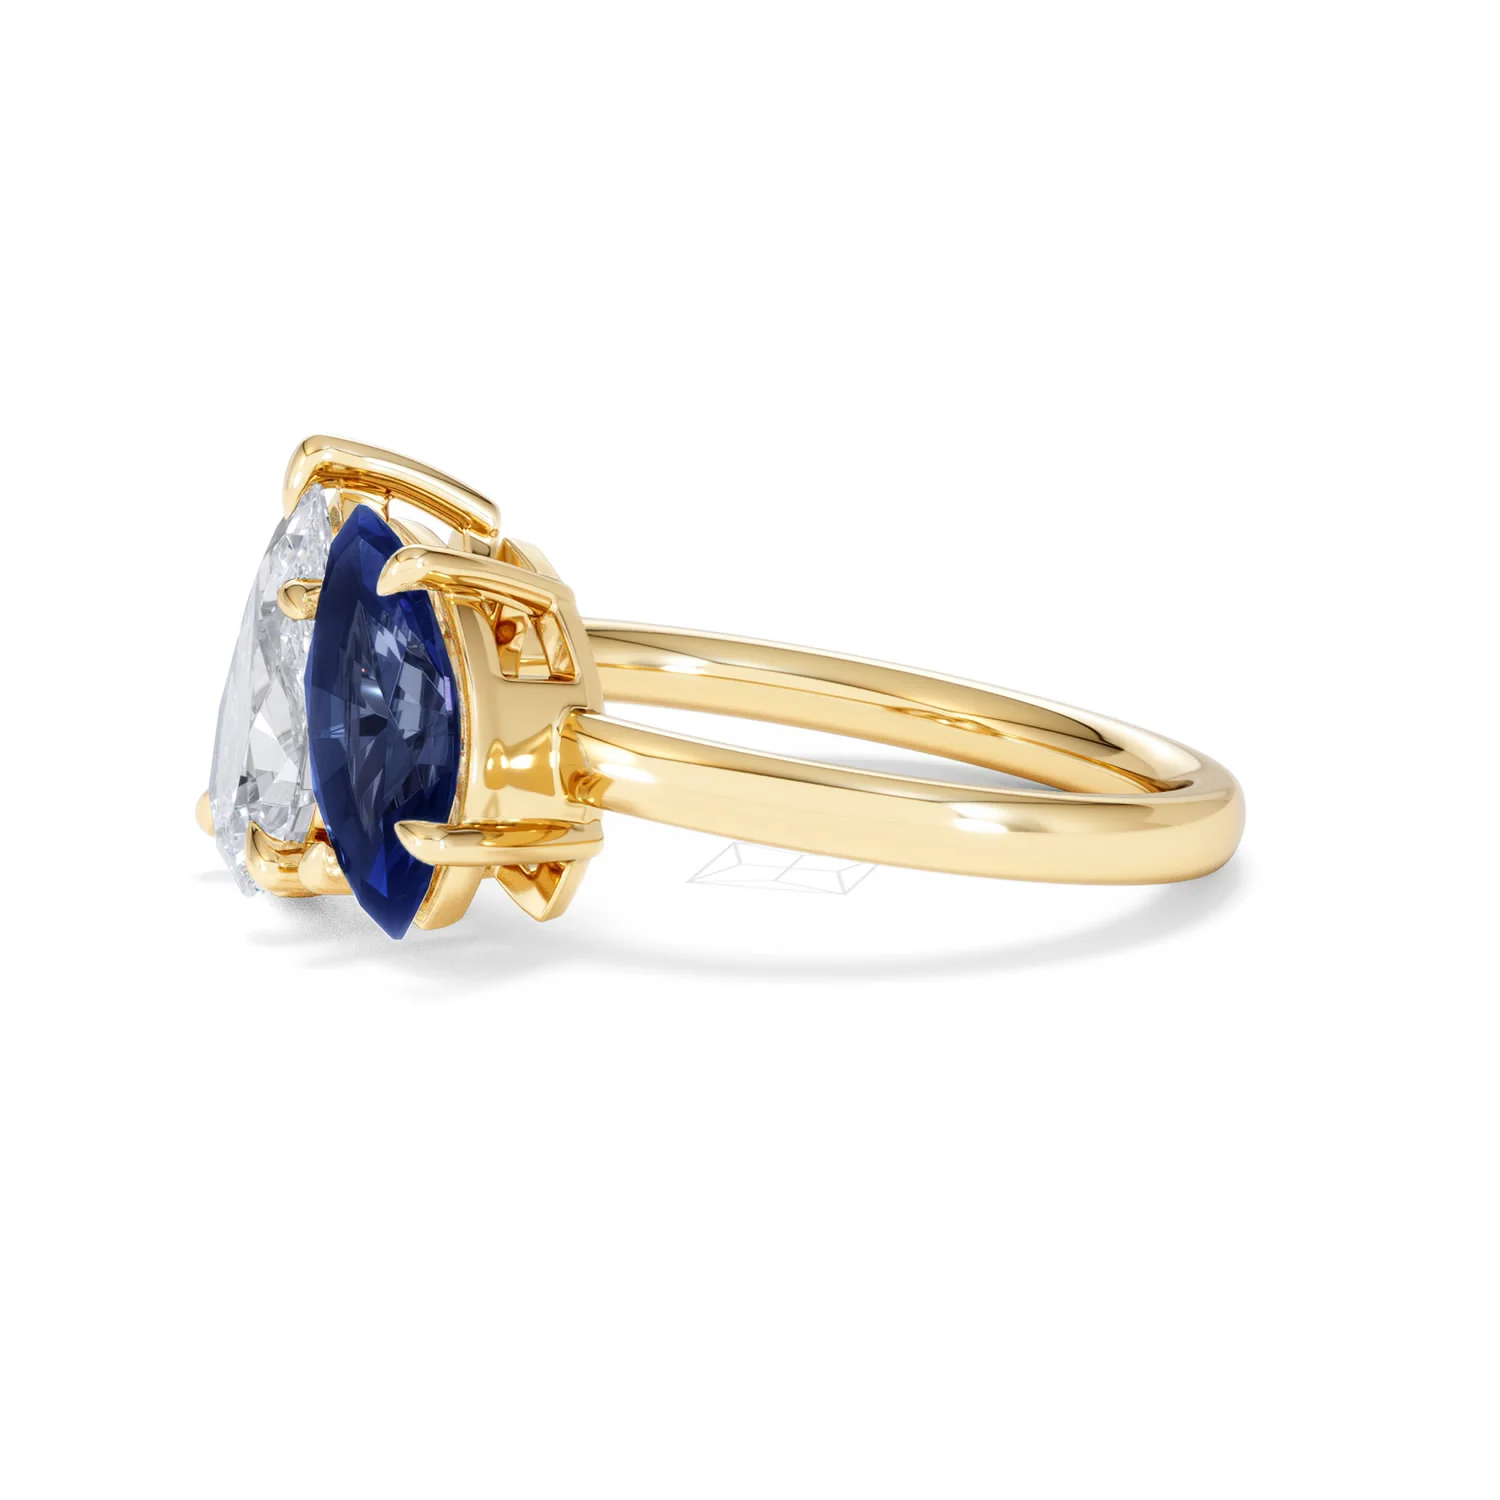
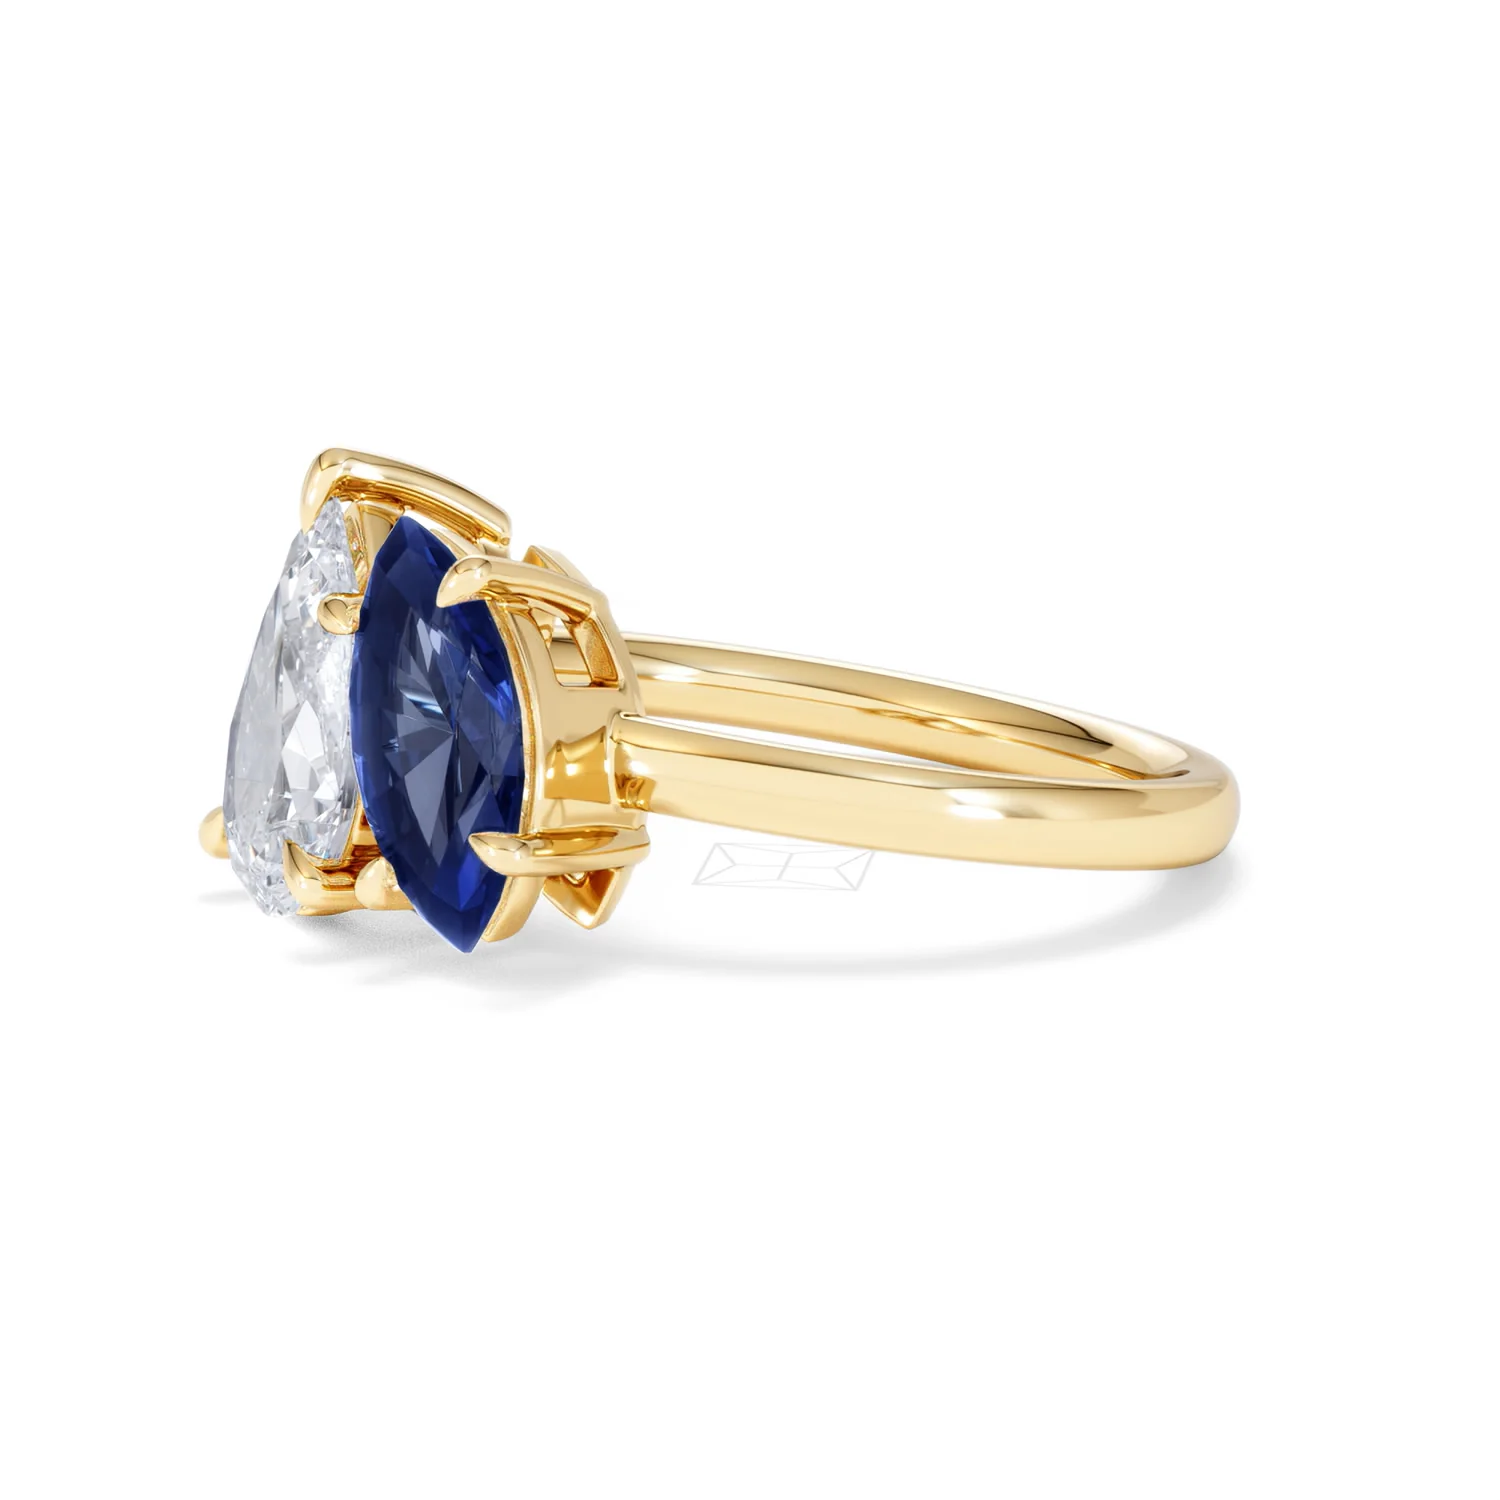
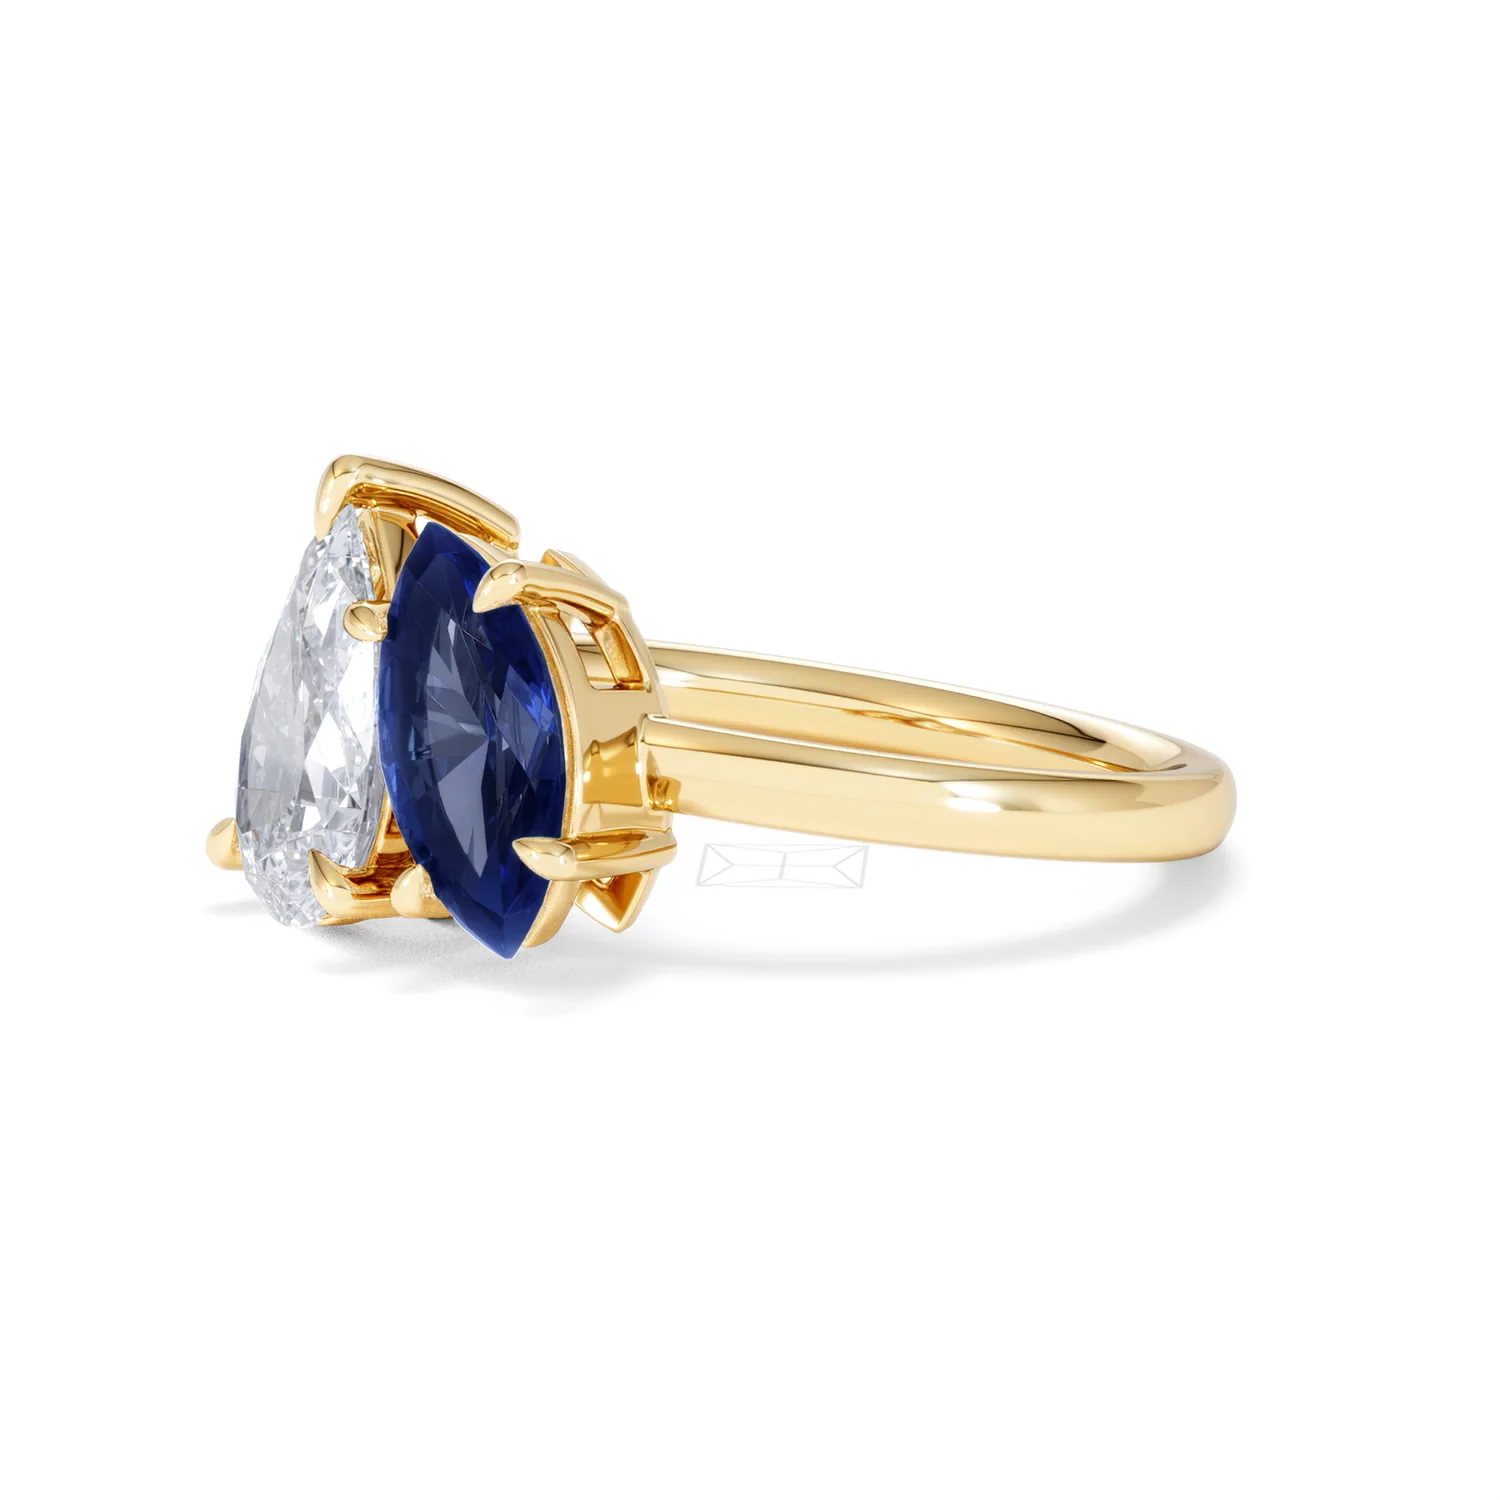
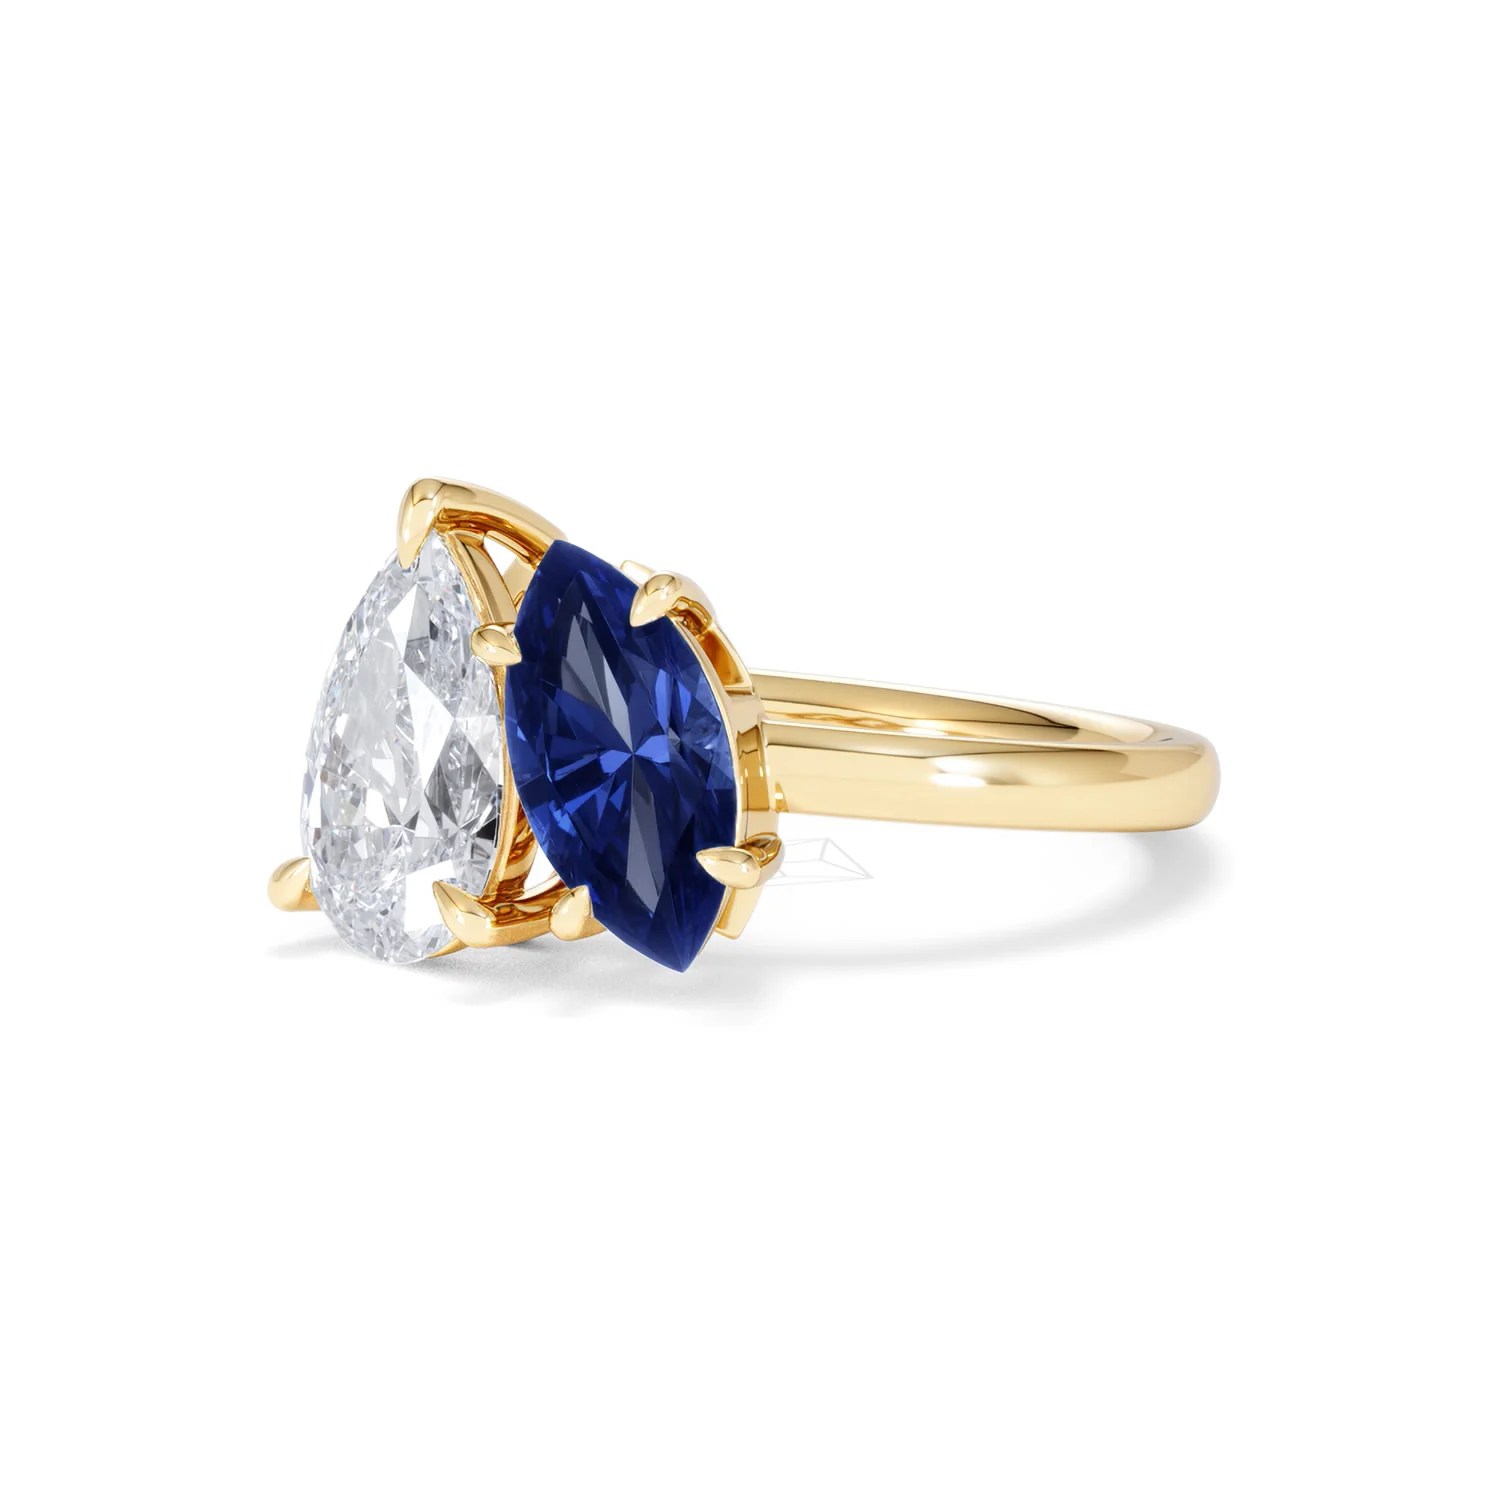
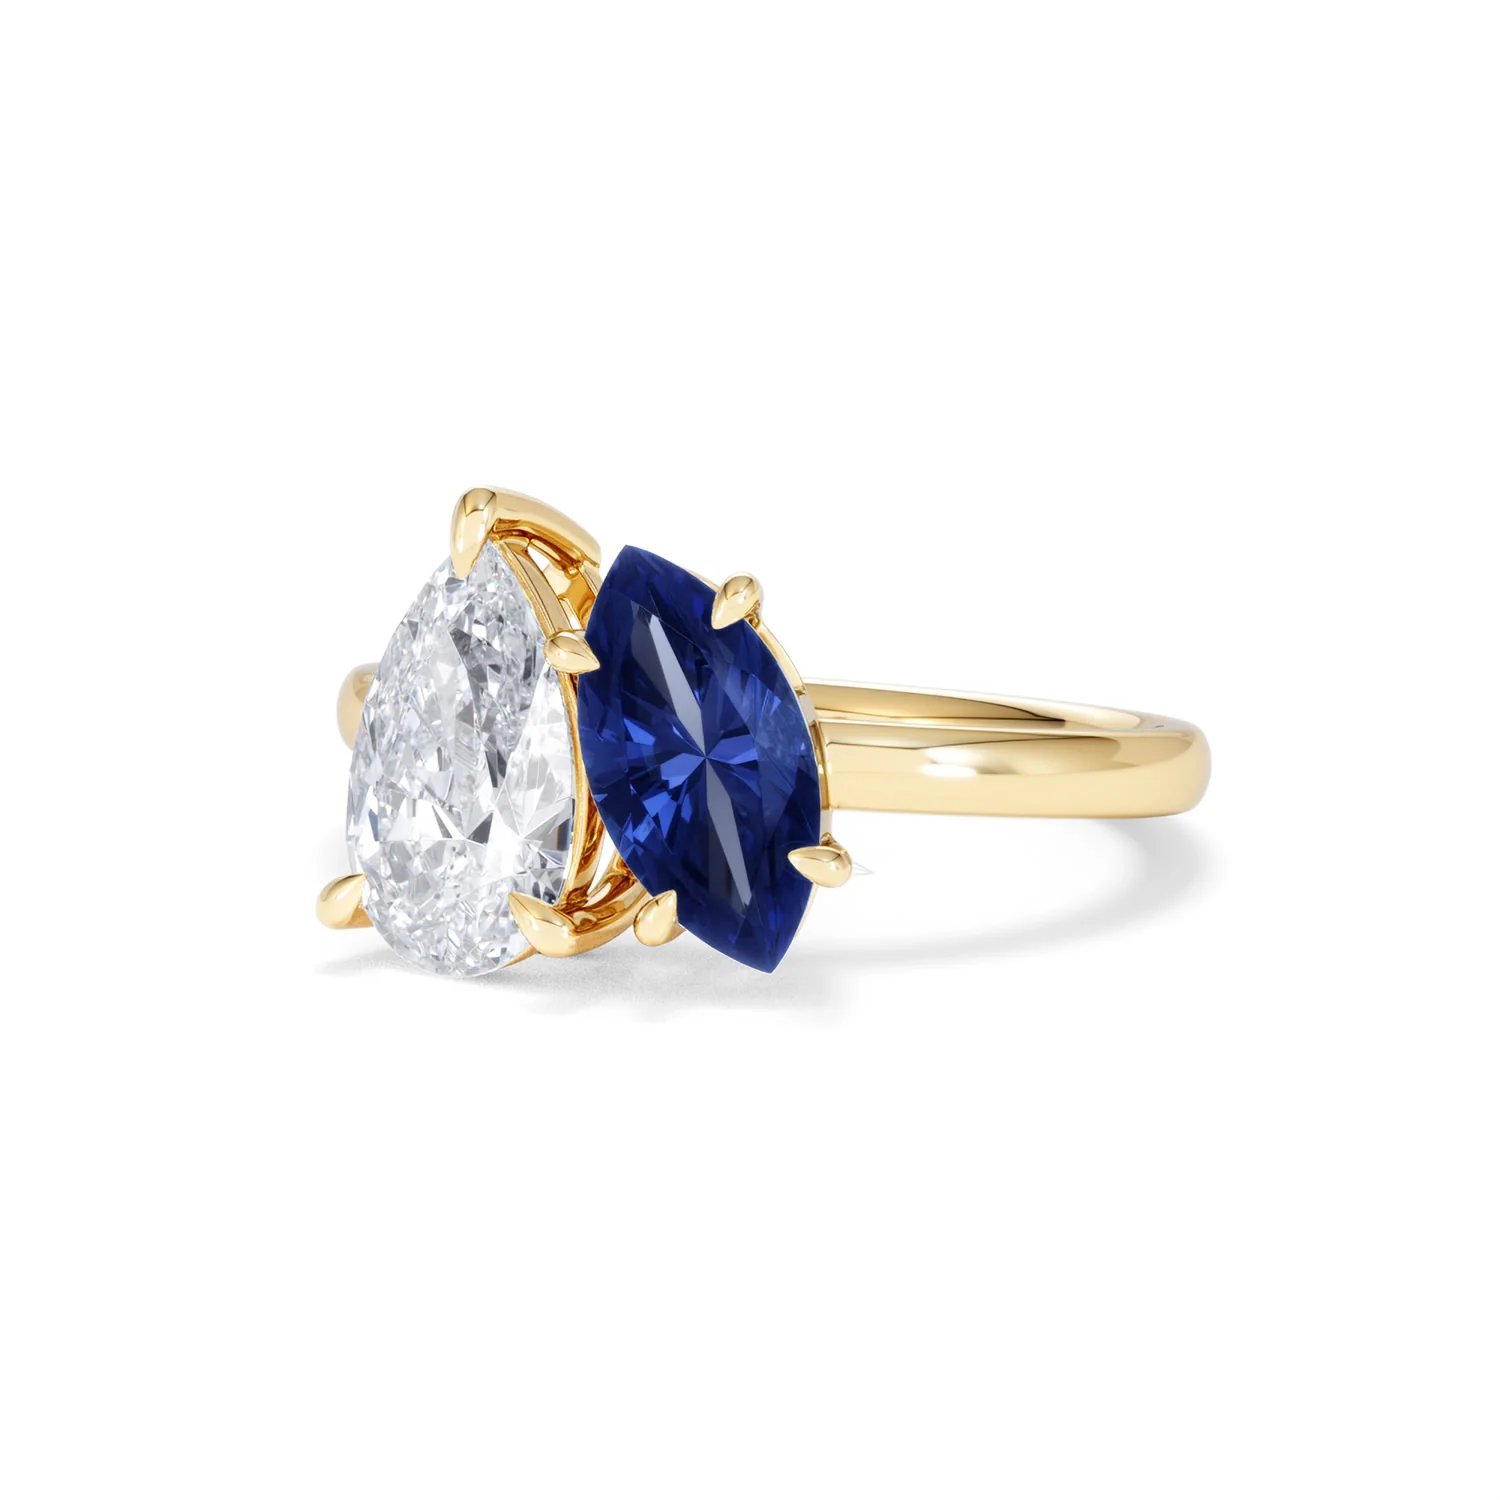
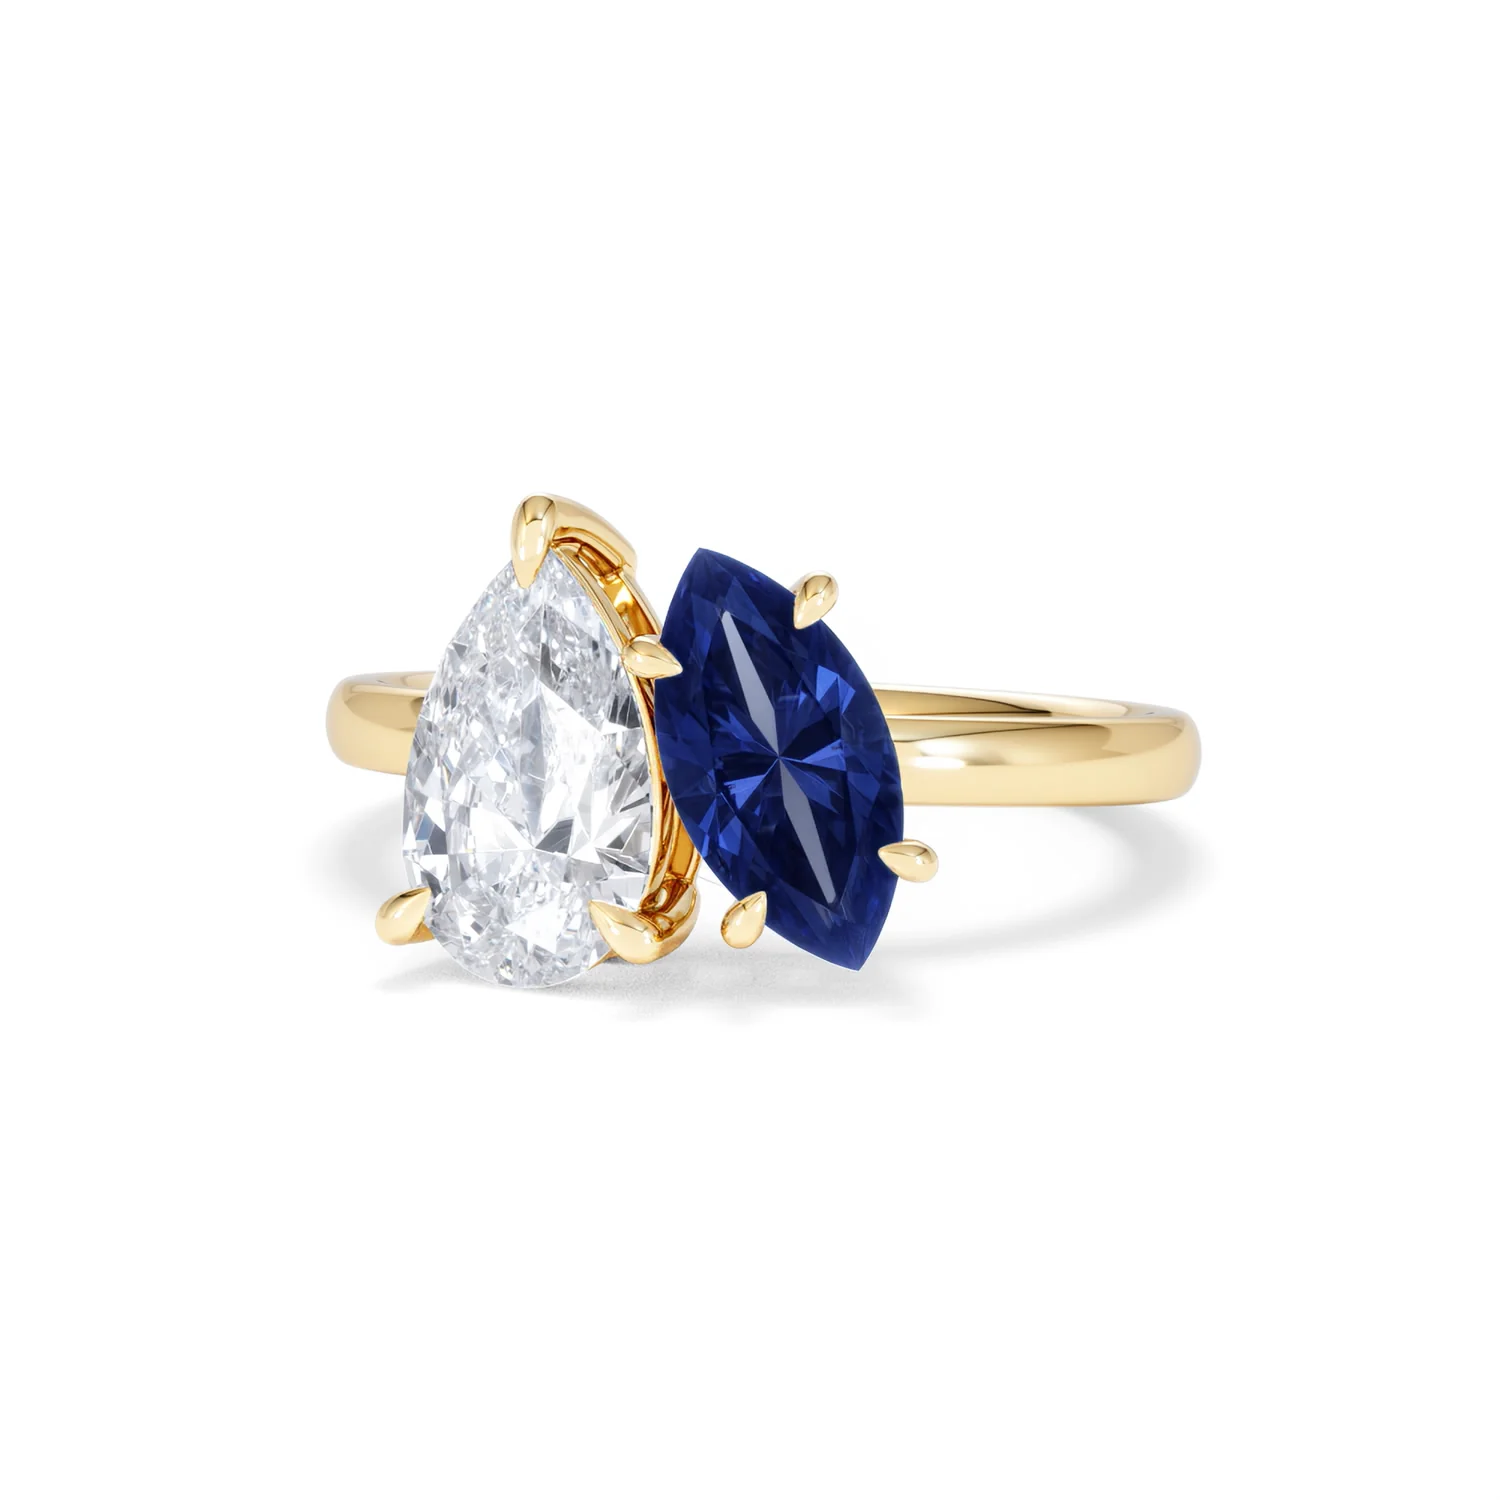
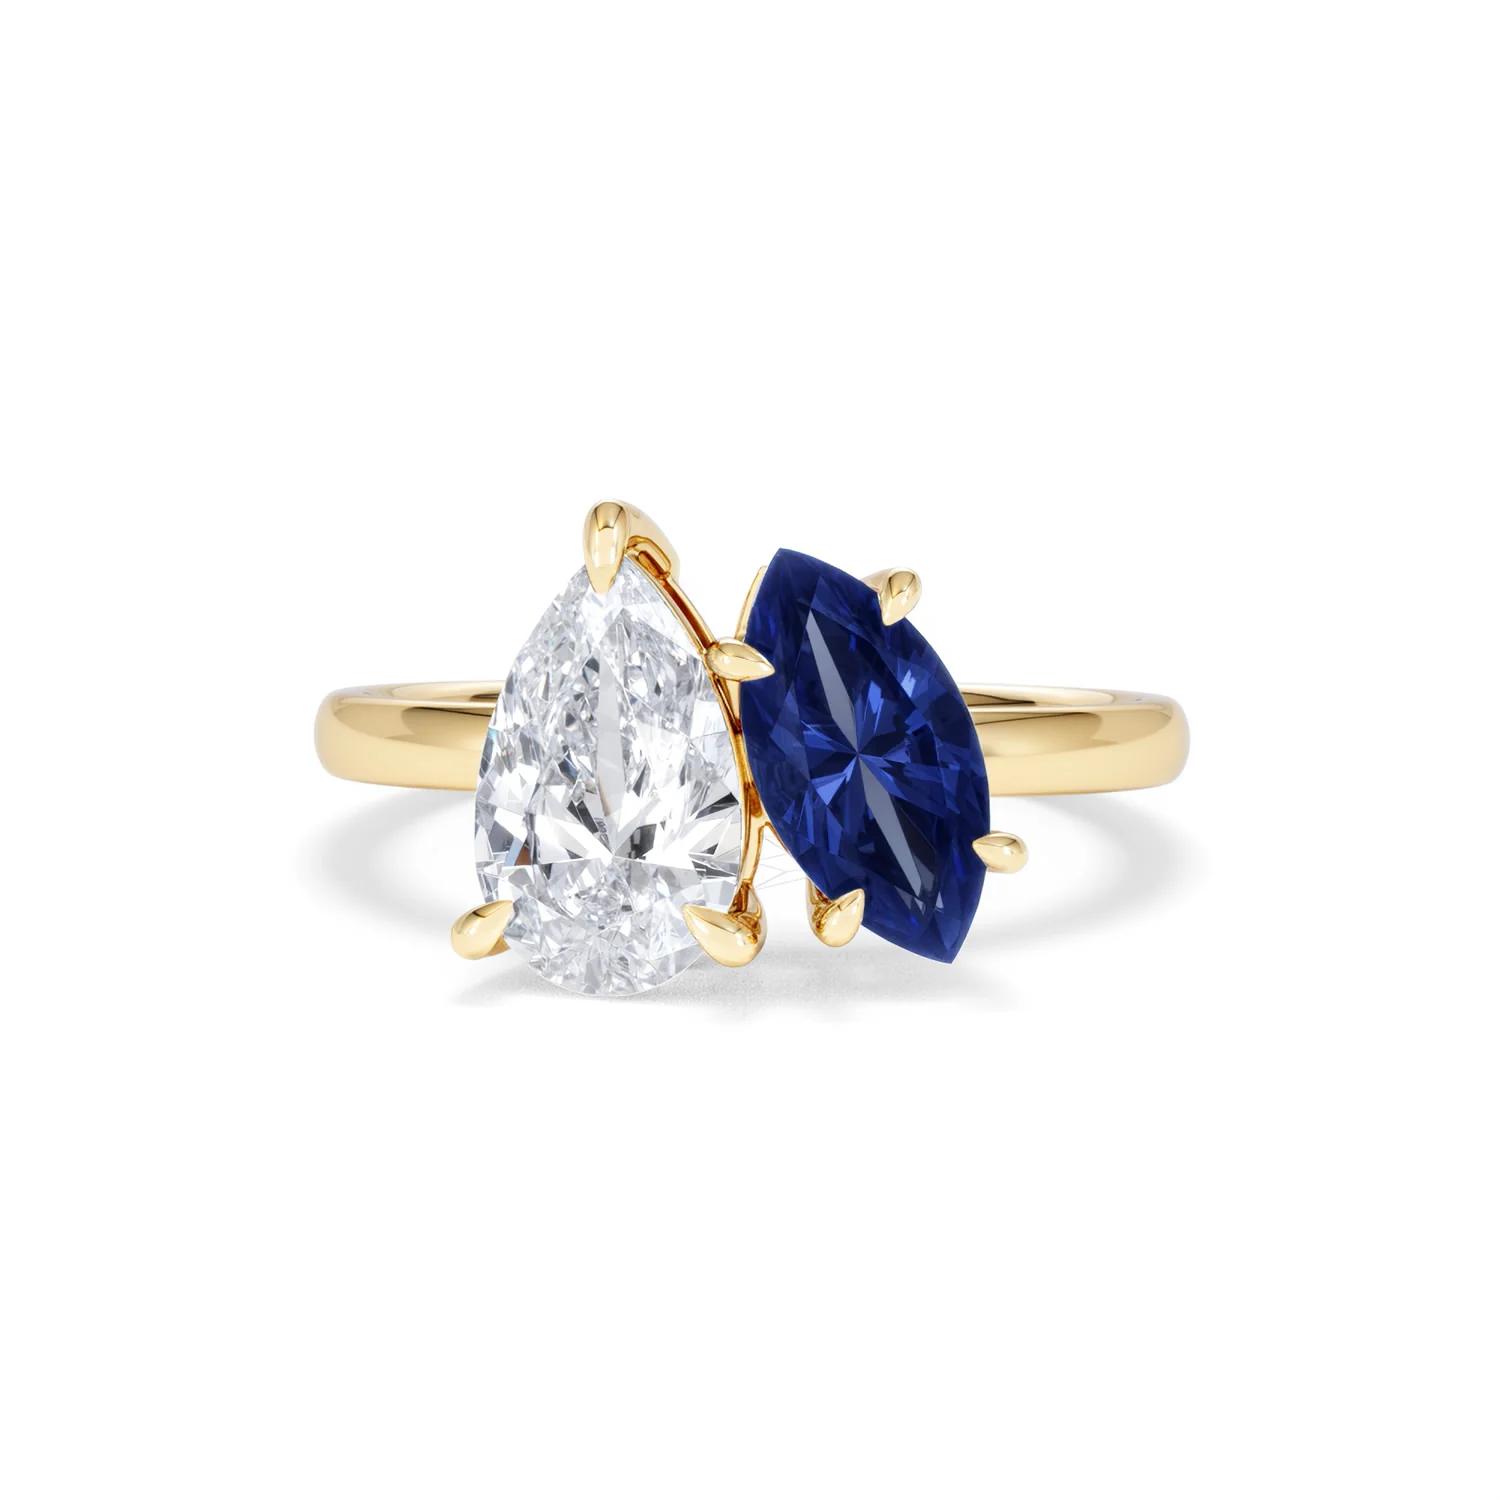
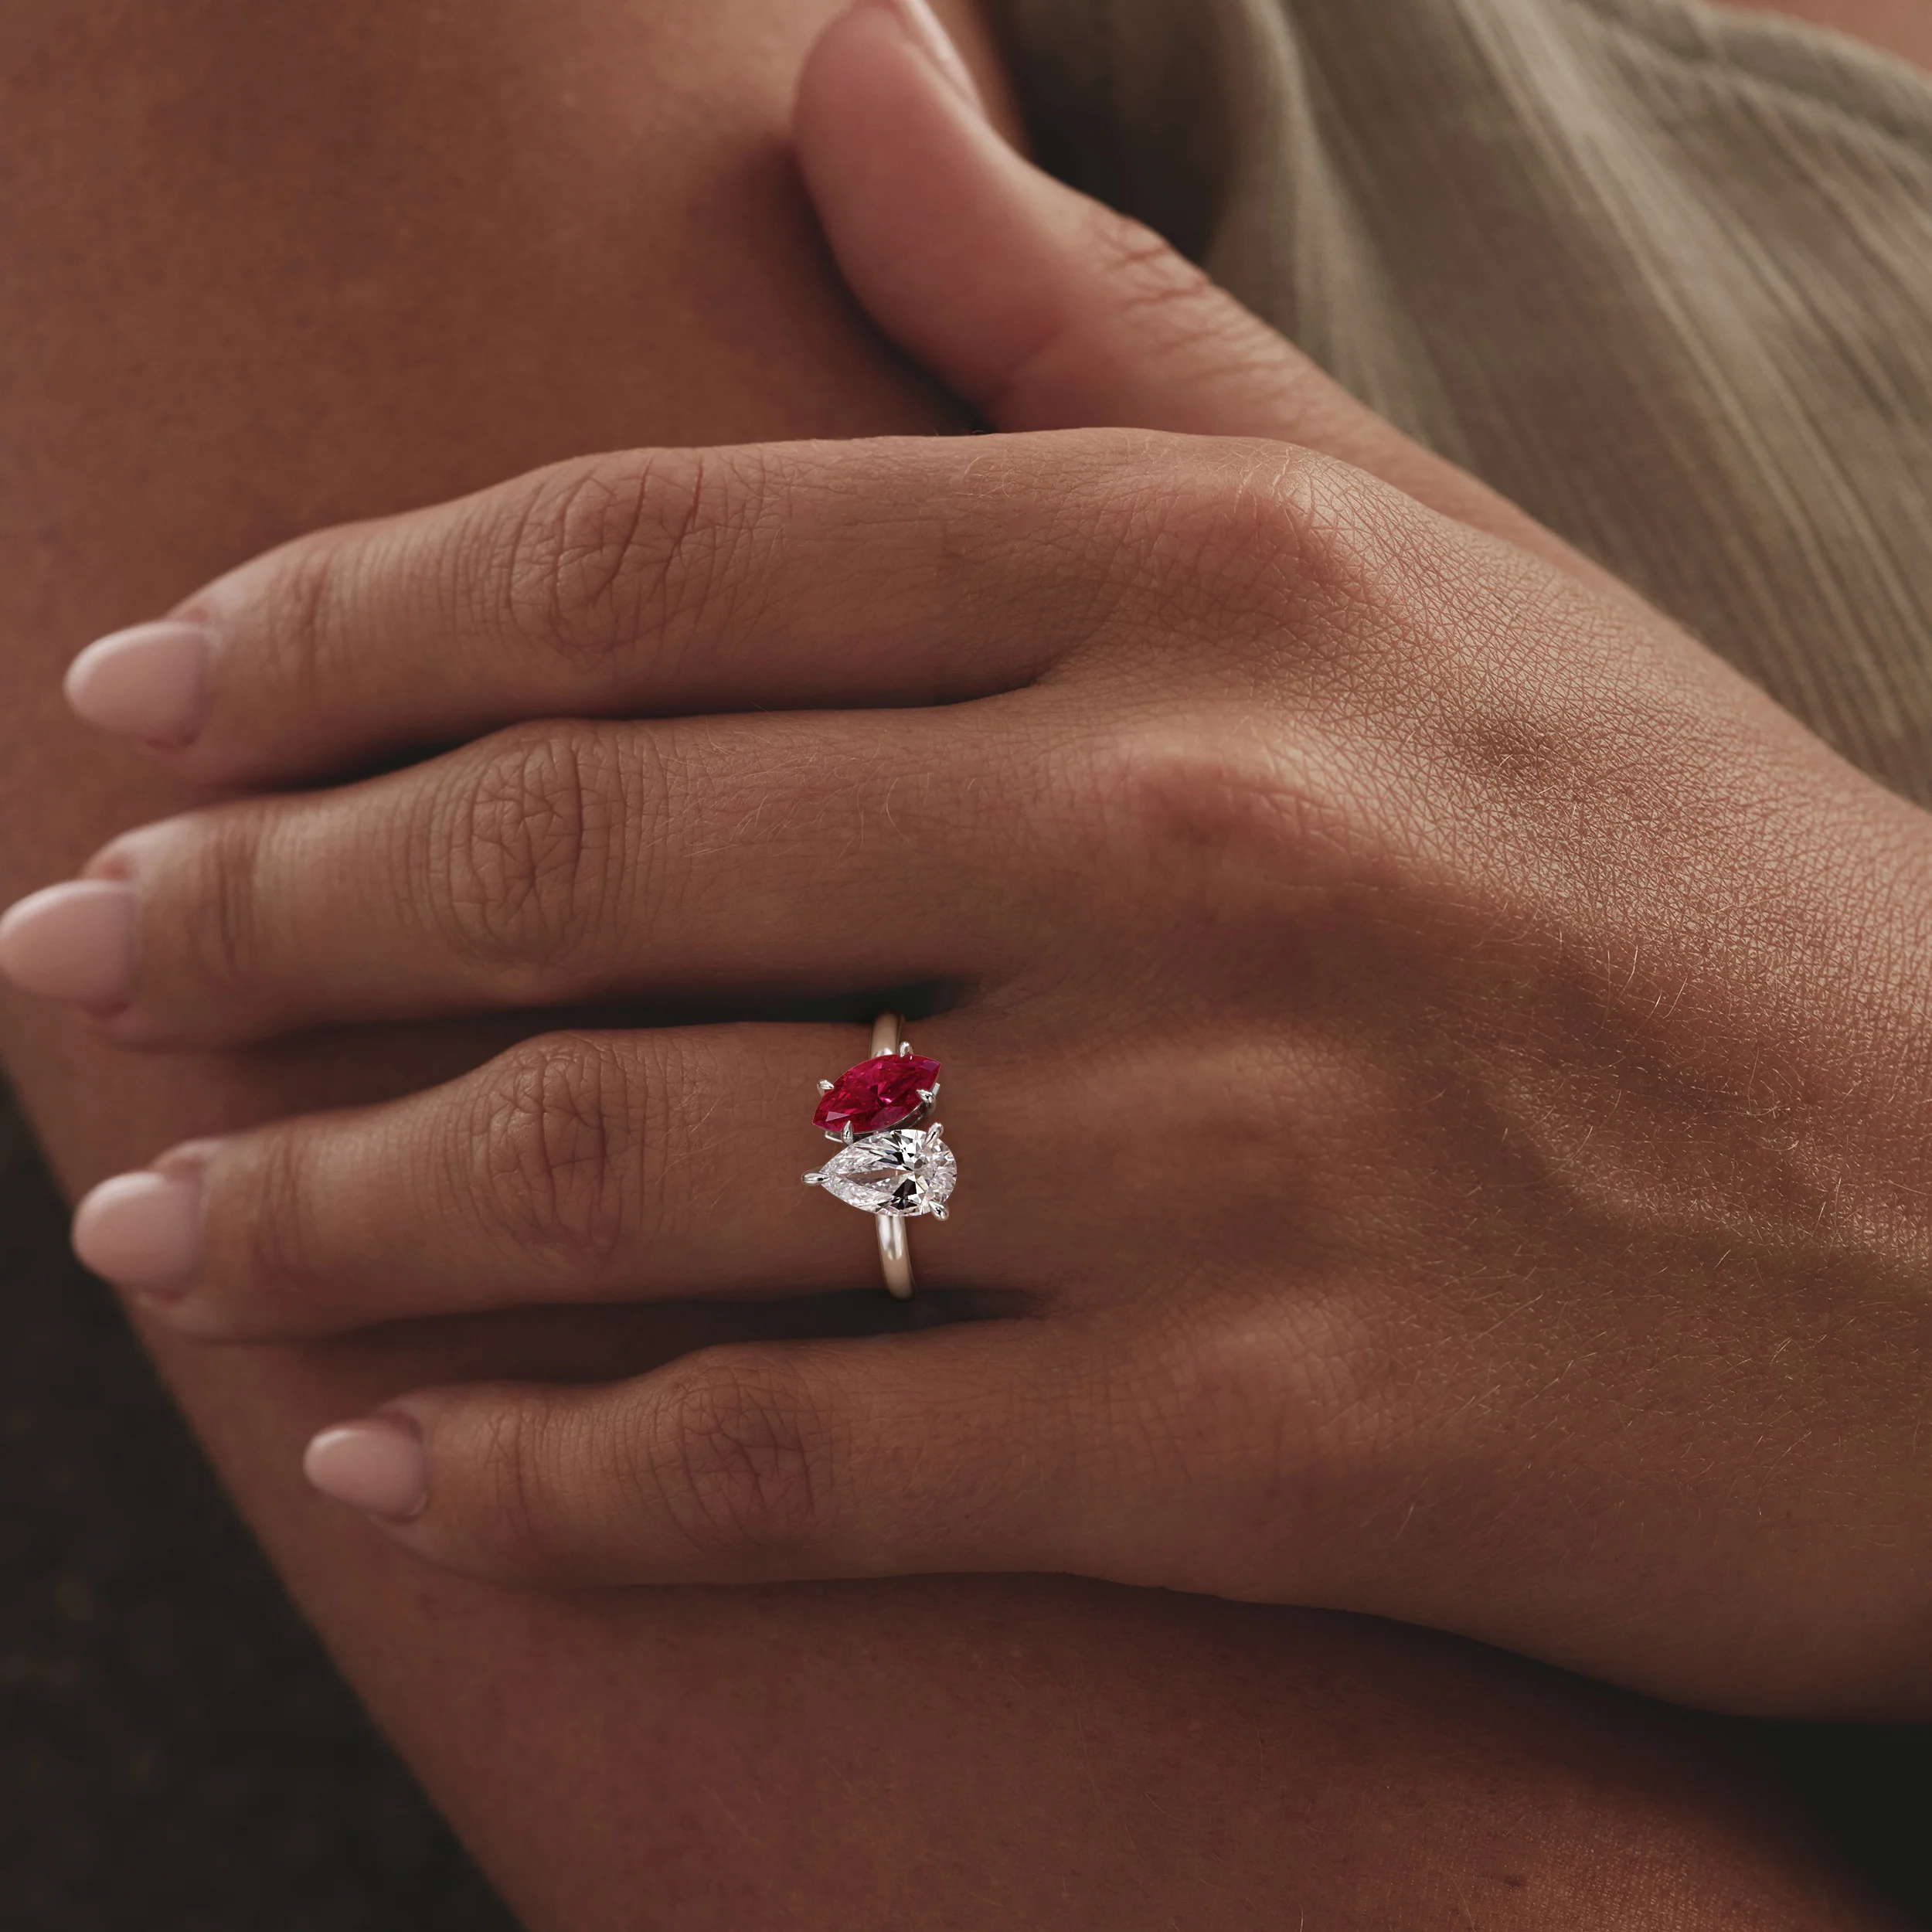
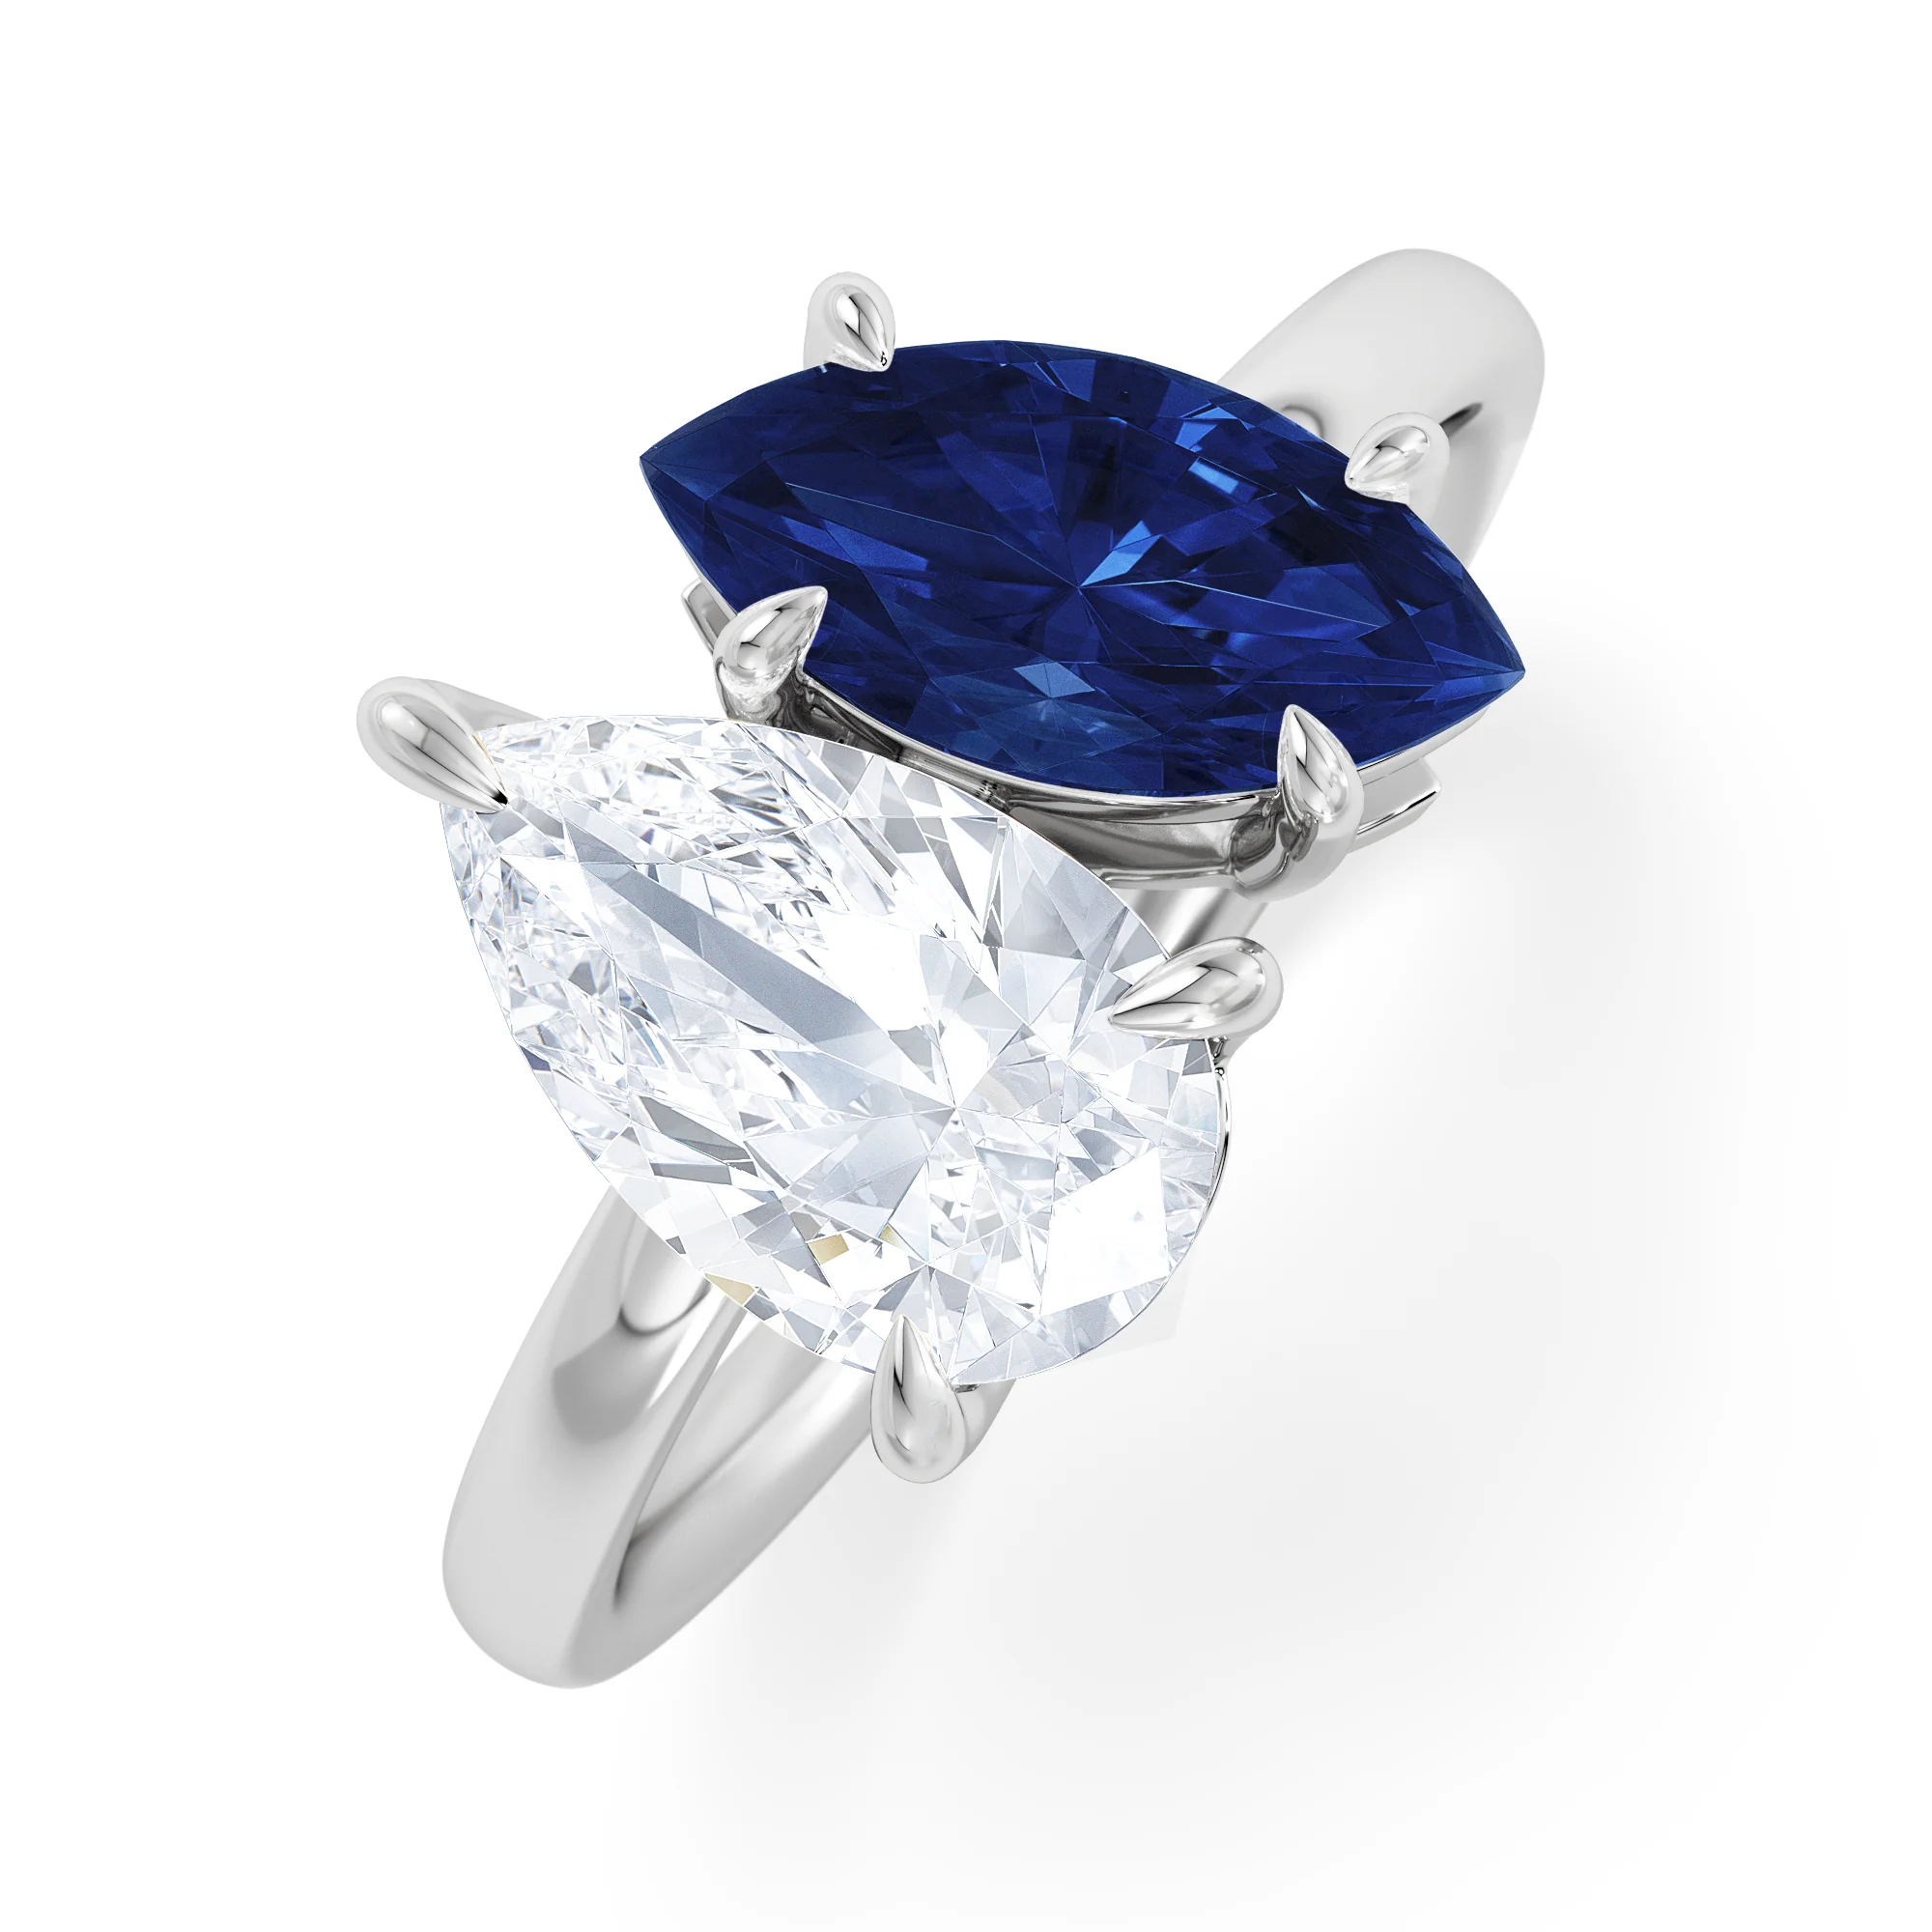
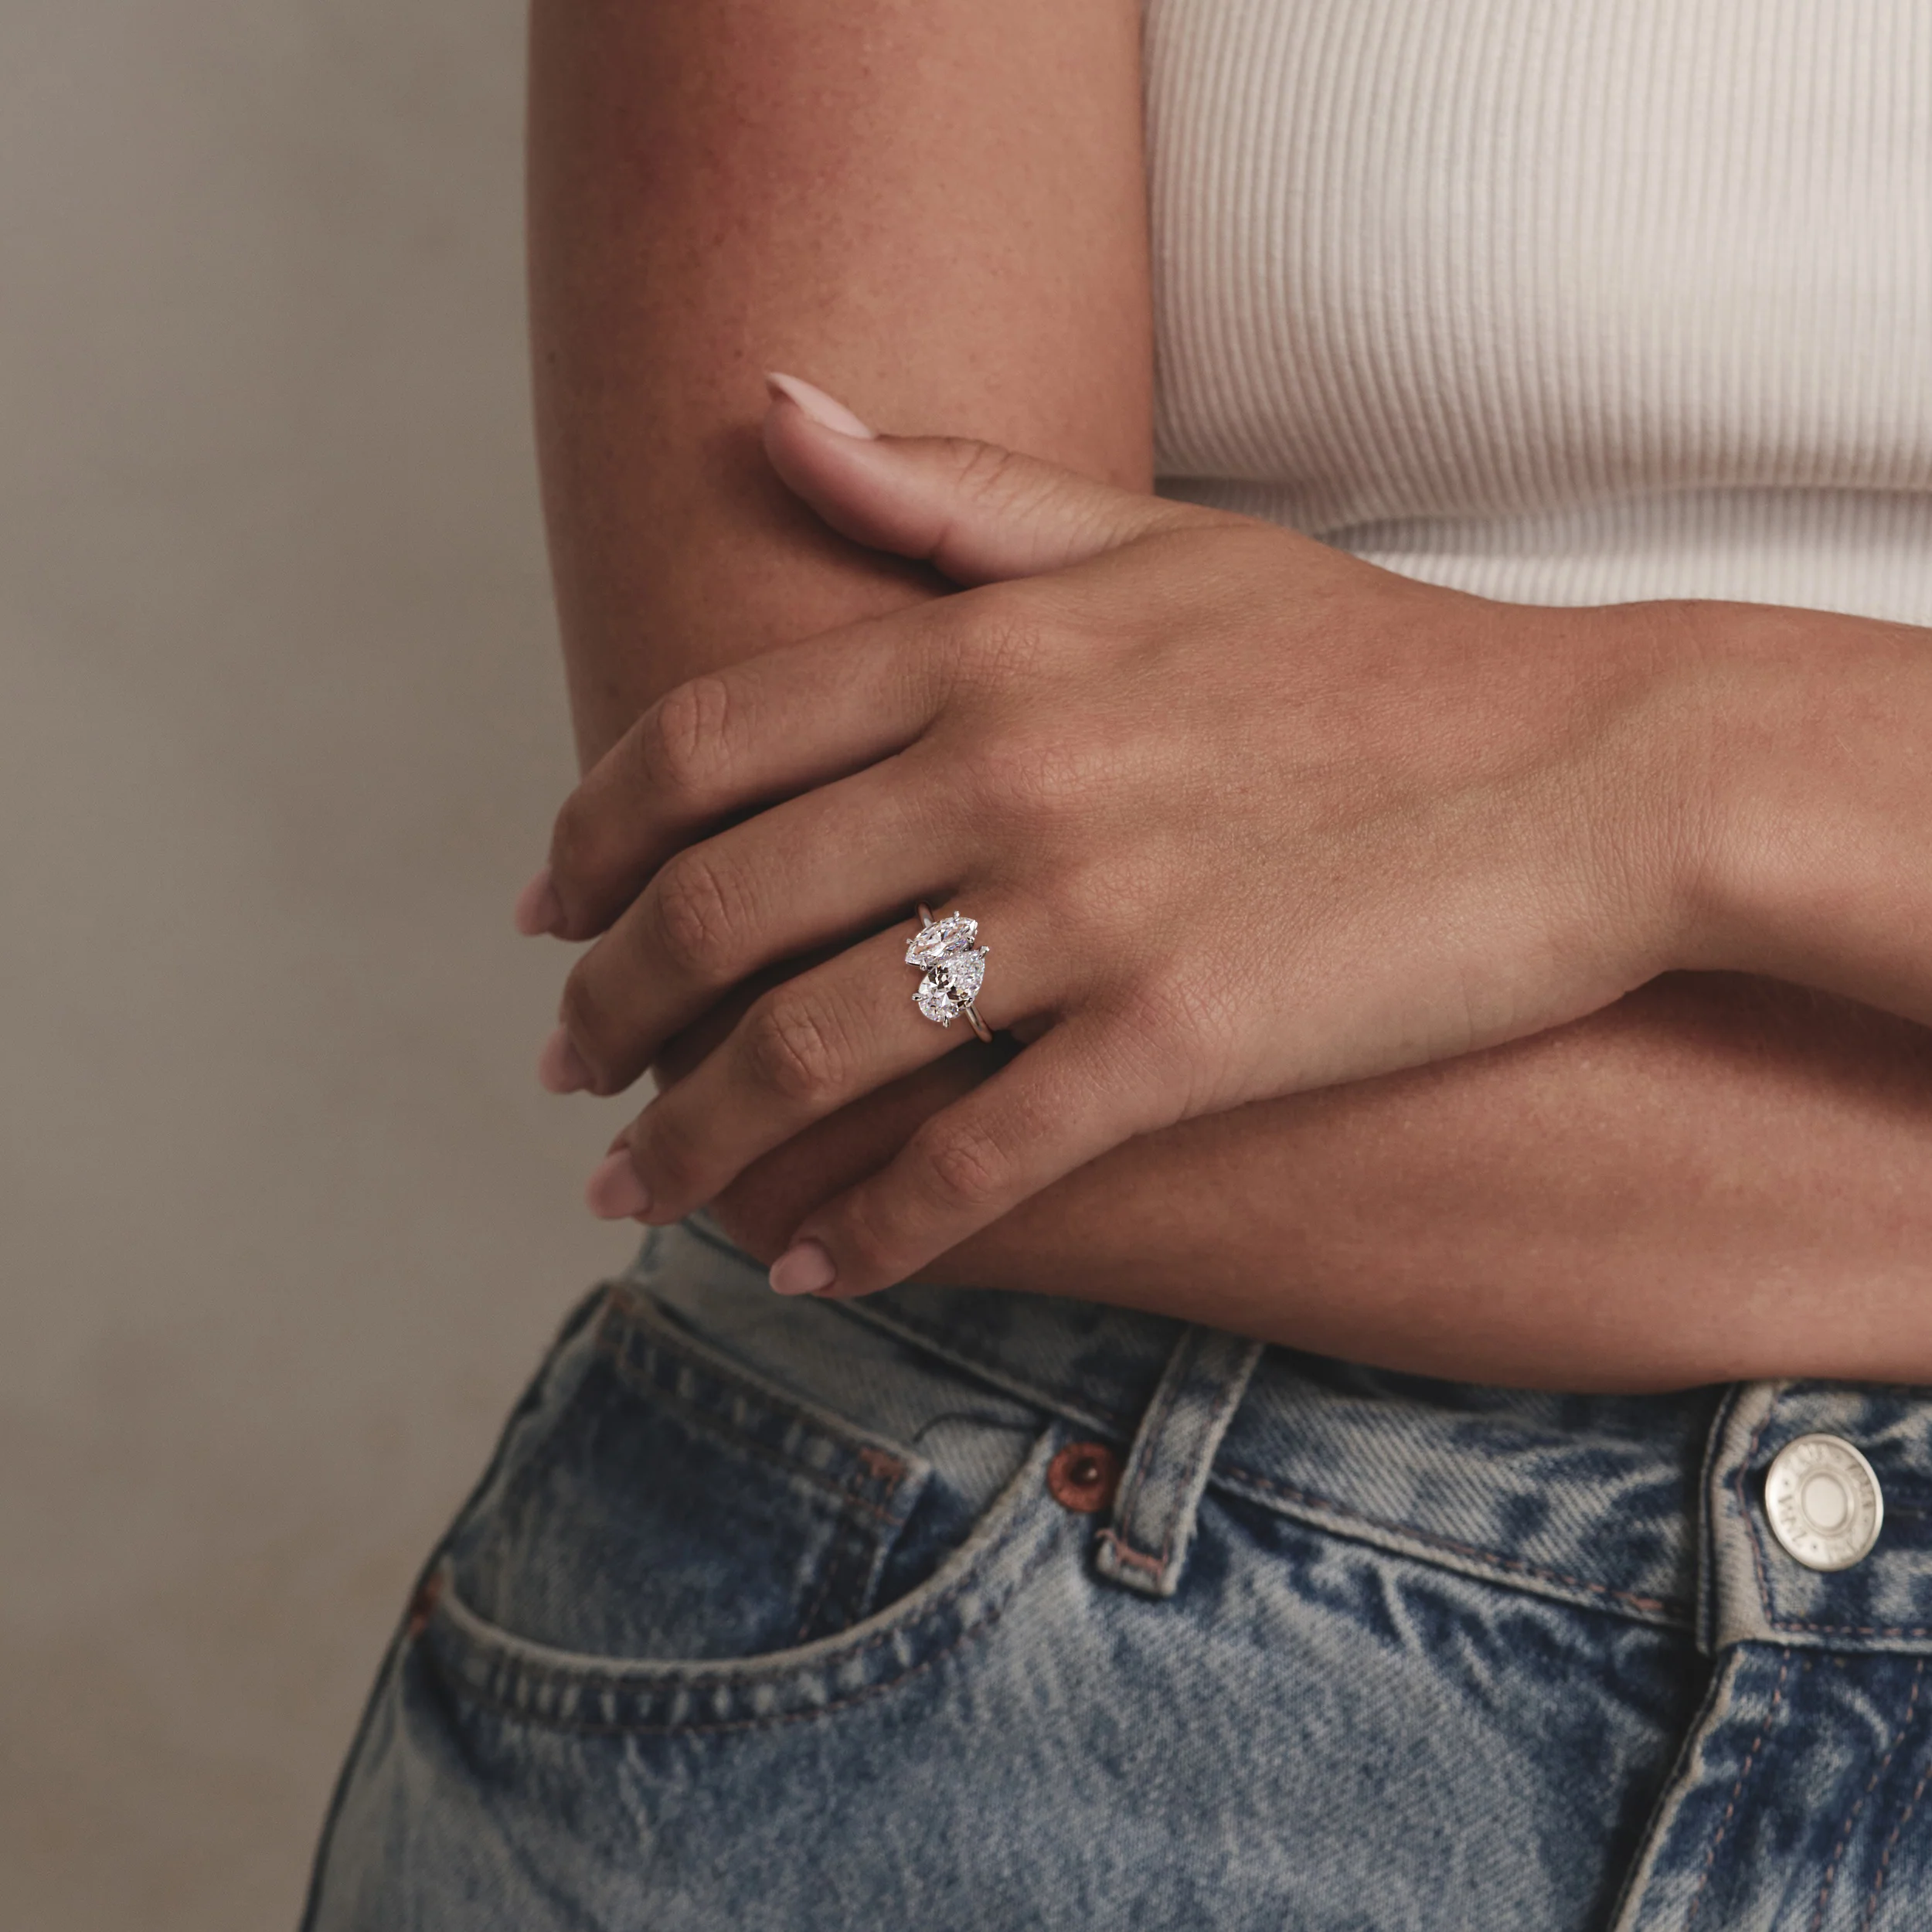
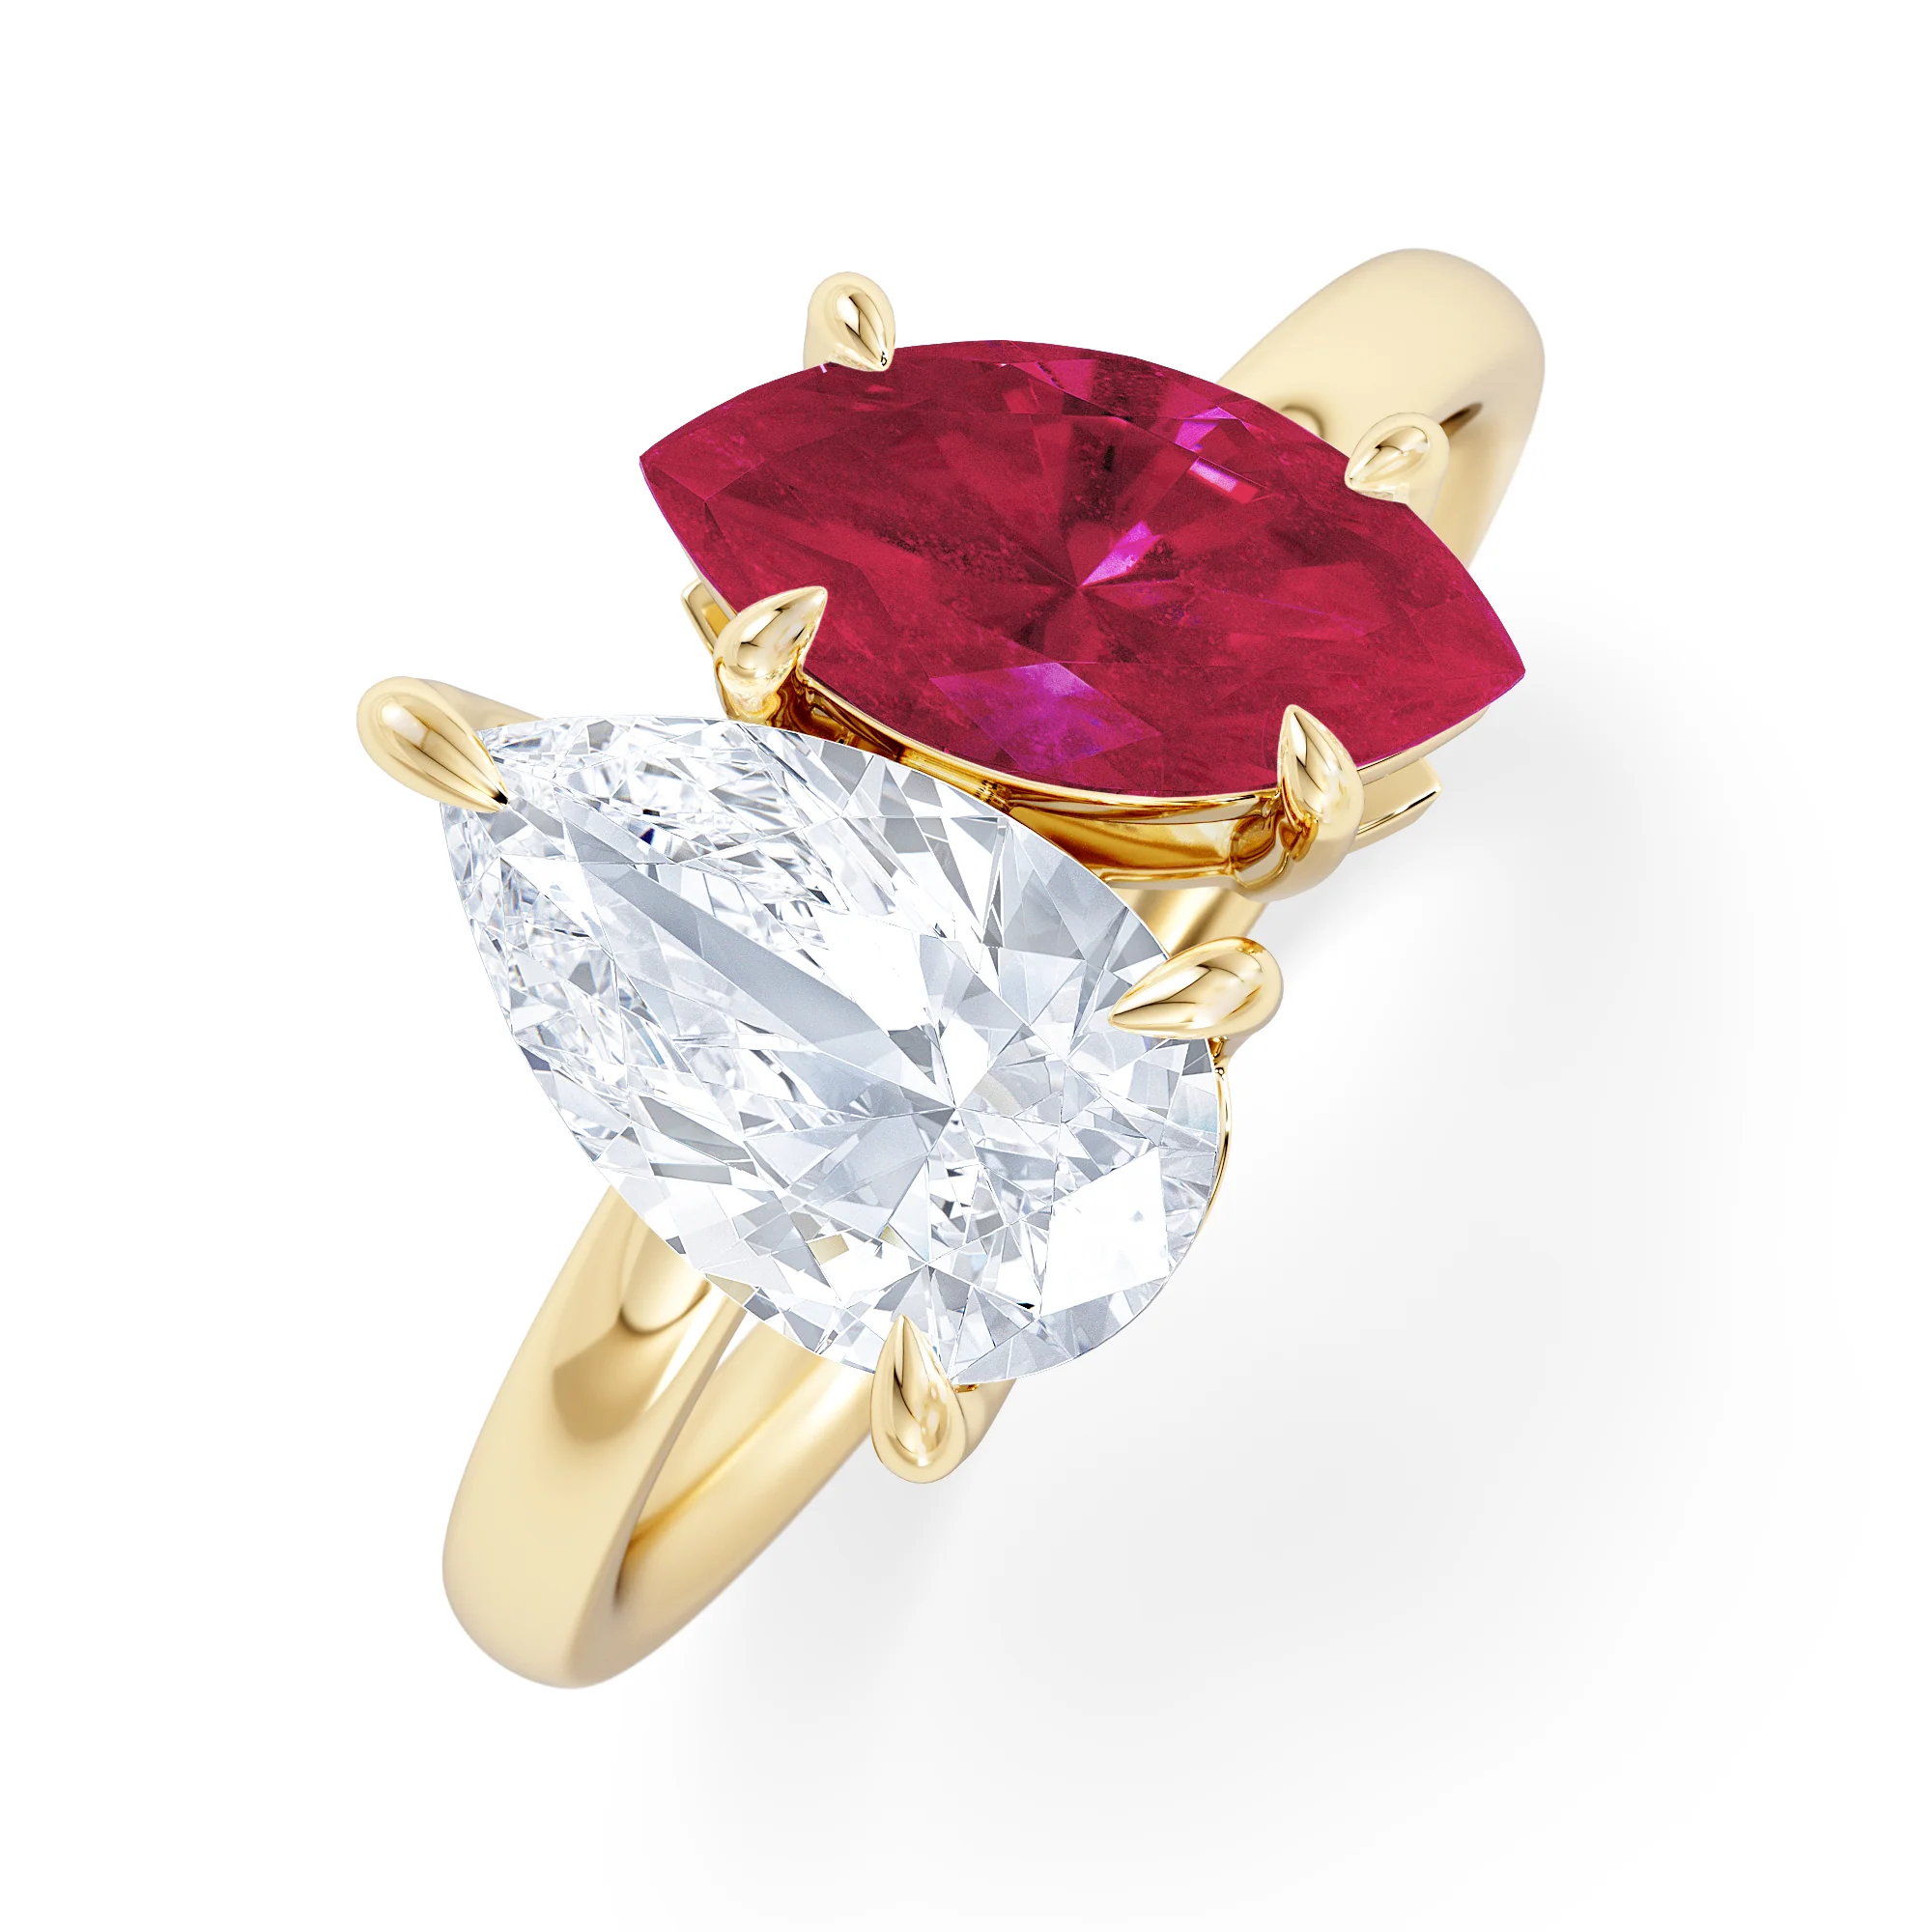
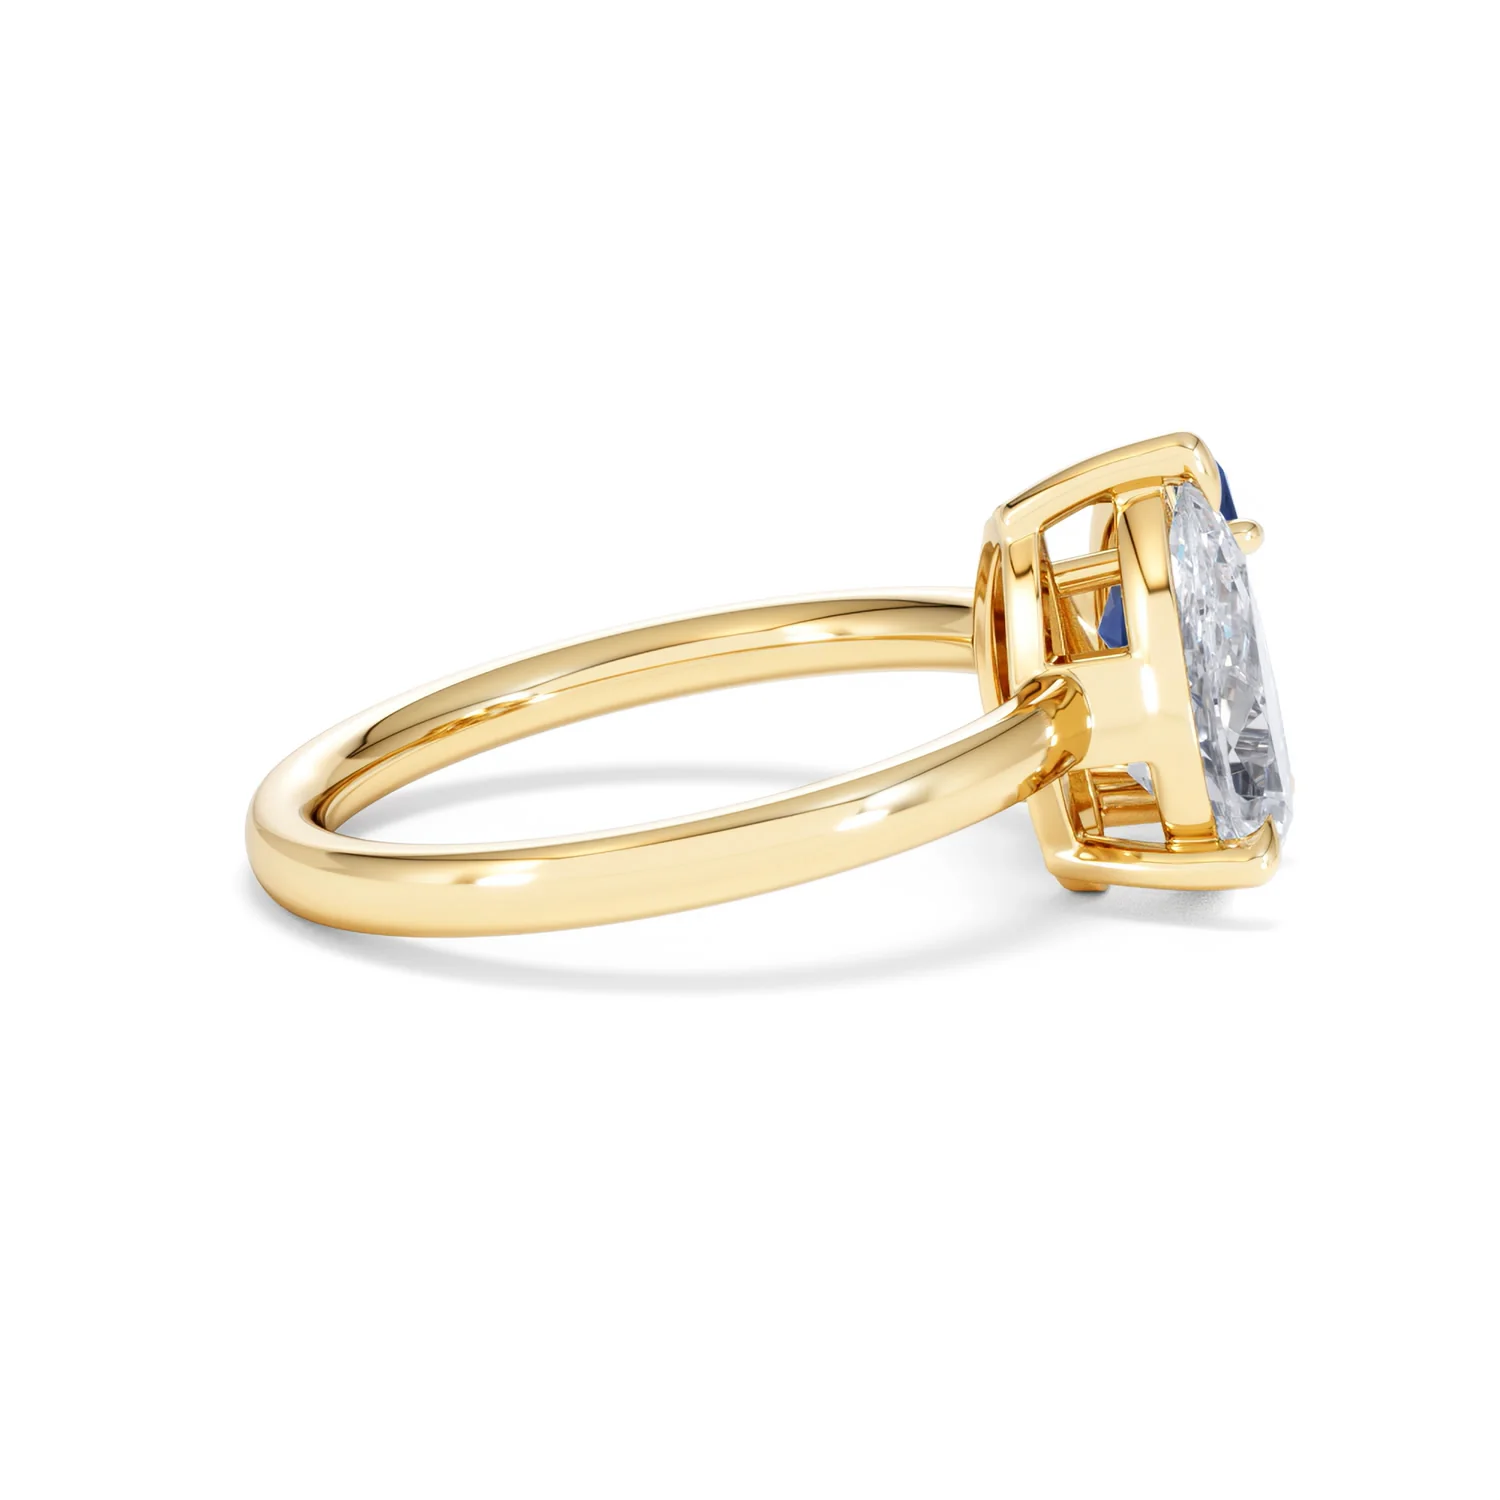
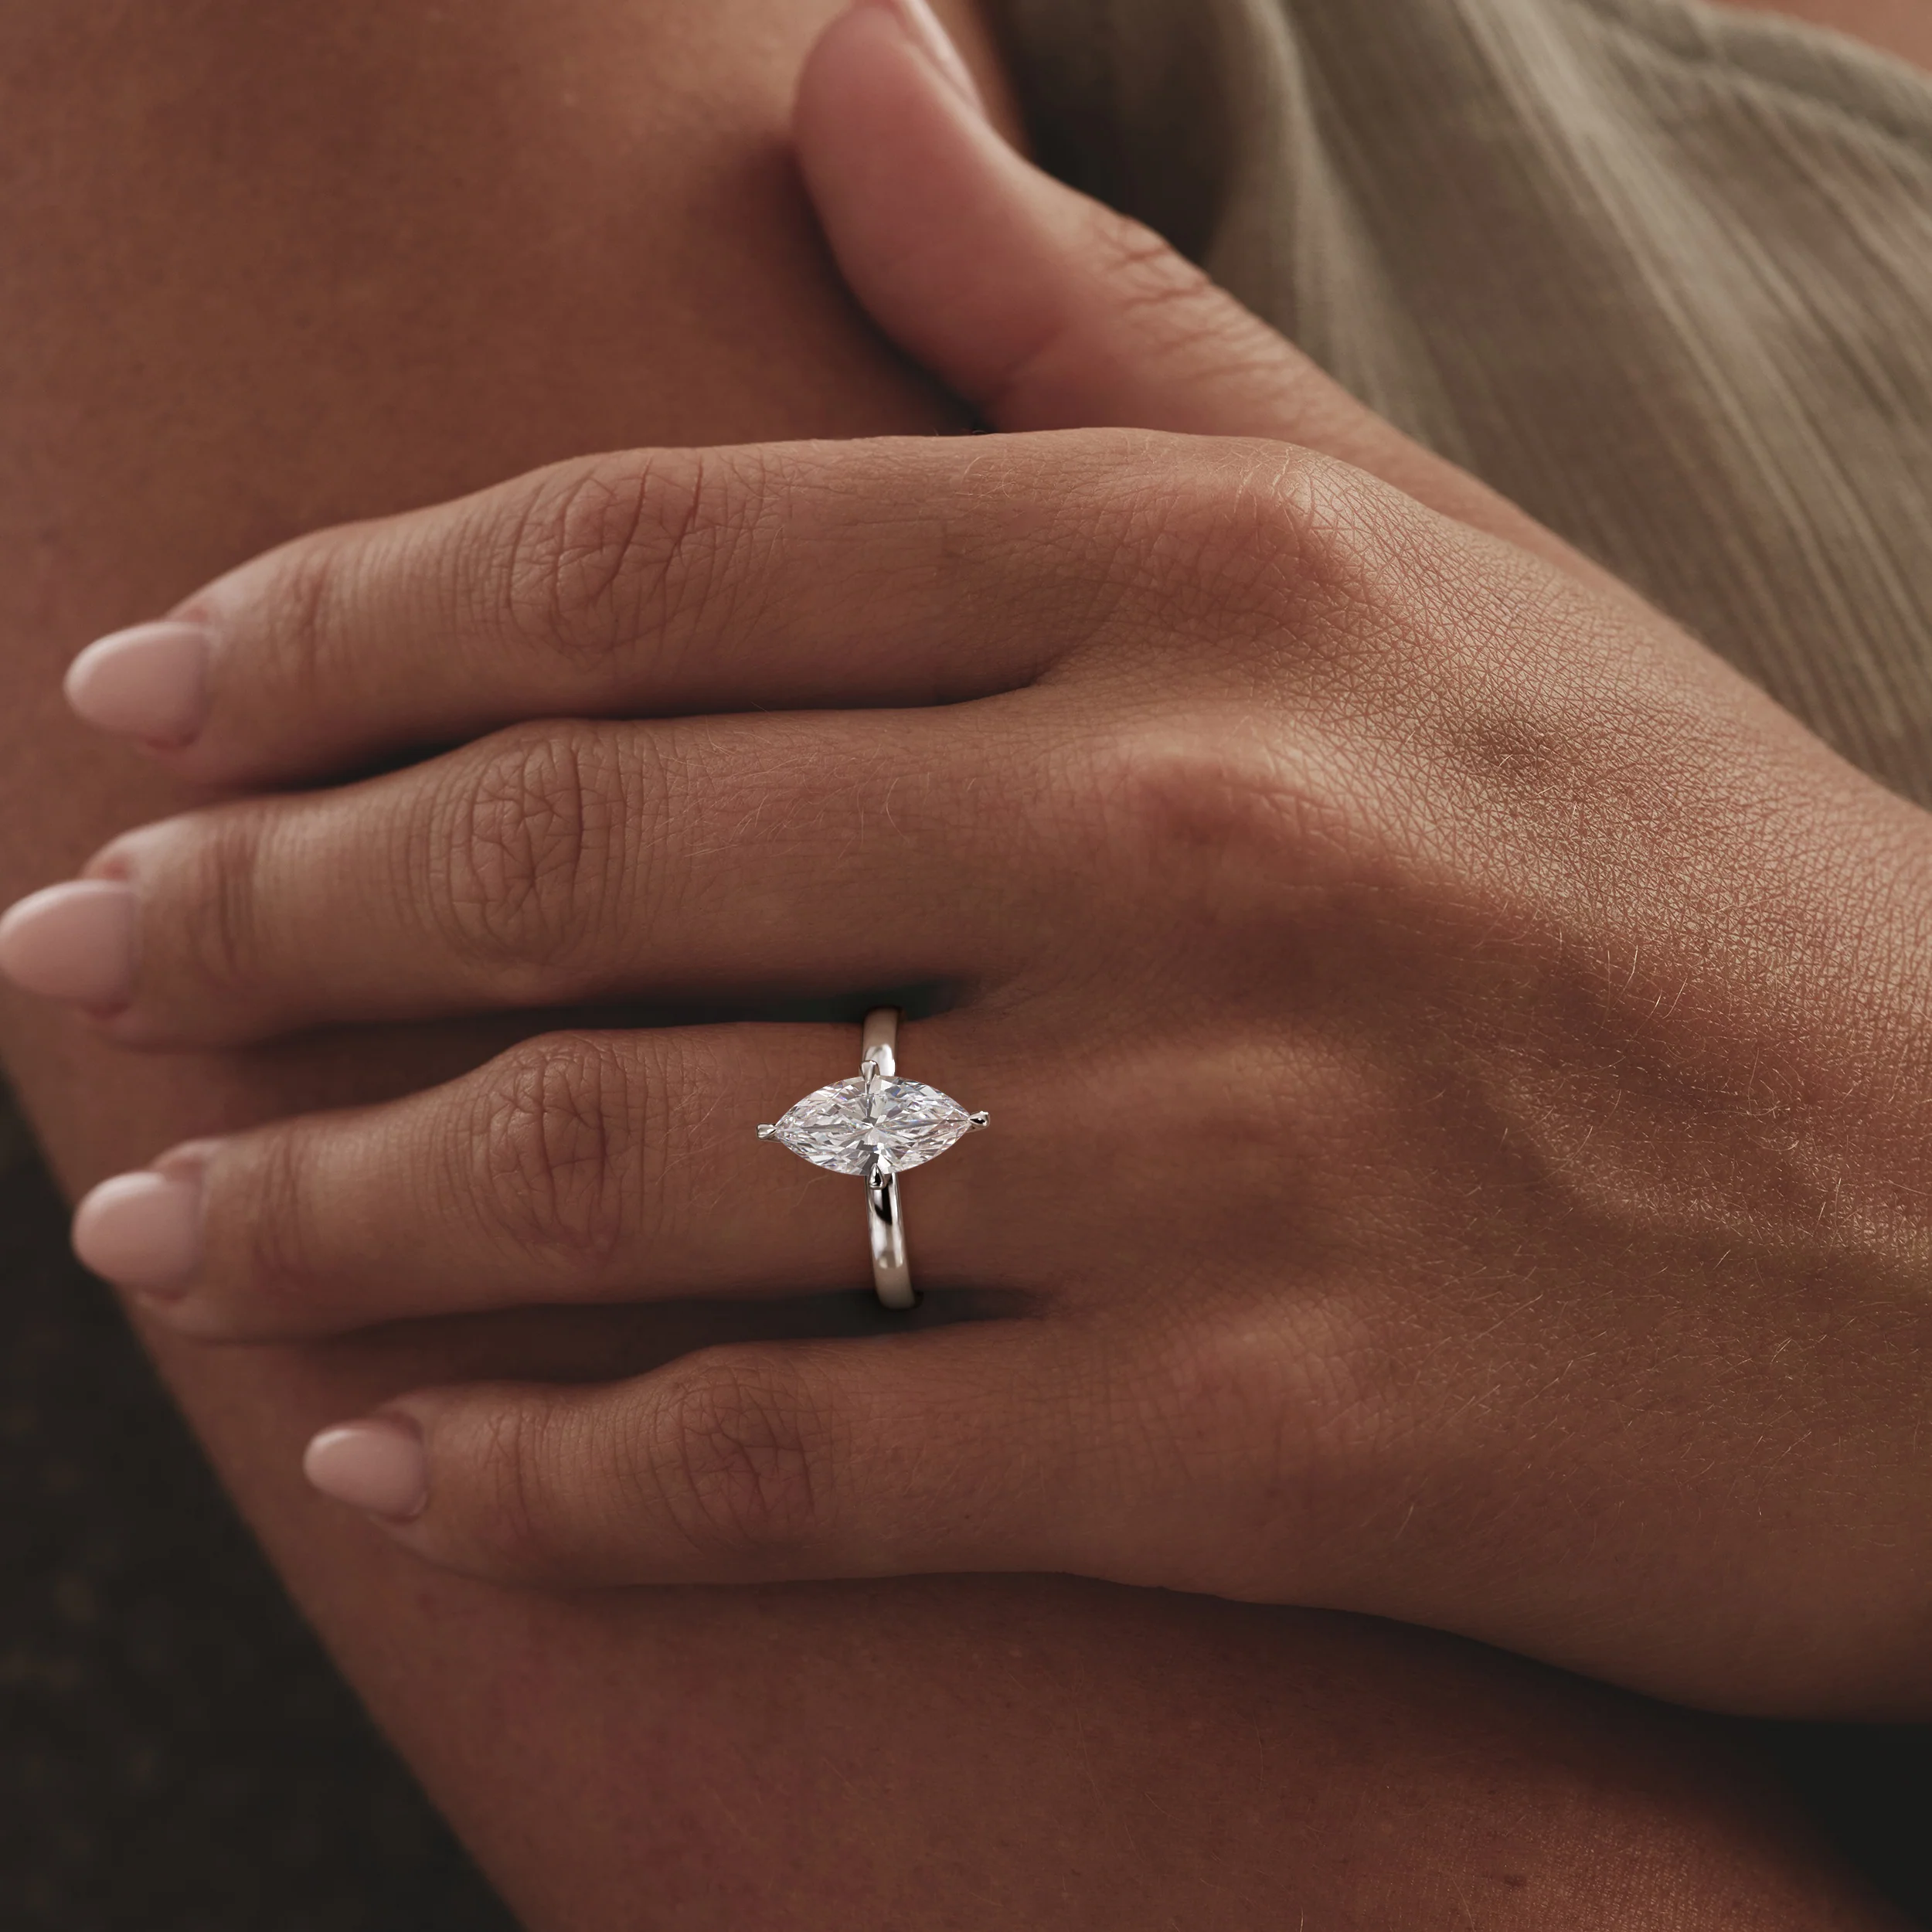
This 18K yellow gold Toi et Moi ring combines a 1.50ct pear-cut lab-grown diamond and a 1.50ct marquise-cut lab blue sapphire, representing you and me. The deep blue contrasts with the diamond’s brilliance for a look of modern romance. A celebrity-favourite design, it’s both meaningful and striking.

Select Title
From $62,634.45

Original: $208,781.50

-70%
Toi Et Moi 1.50ct Pear Lab Diamond and 1.50ct Marquise Lab Sapphire Engagement Ring in 18K Yellow Gold

$208,781.50

$62,634.45

More Images
Toi Et Moi 1.50ct Pear Lab Diamond and 1.50ct Marquise Lab Sapphire Engagement Ring in 18K Yellow Gold - Image 2
Toi Et Moi 1.50ct Pear Lab Diamond and 1.50ct Marquise Lab Sapphire Engagement Ring in 18K Yellow Gold - Image 3
Toi Et Moi 1.50ct Pear Lab Diamond and 1.50ct Marquise Lab Sapphire Engagement Ring in 18K Yellow Gold - Image 4
Toi Et Moi 1.50ct Pear Lab Diamond and 1.50ct Marquise Lab Sapphire Engagement Ring in 18K Yellow Gold - Image 5
Toi Et Moi 1.50ct Pear Lab Diamond and 1.50ct Marquise Lab Sapphire Engagement Ring in 18K Yellow Gold - Image 6
Toi Et Moi 1.50ct Pear Lab Diamond and 1.50ct Marquise Lab Sapphire Engagement Ring in 18K Yellow Gold - Image 7
Toi Et Moi 1.50ct Pear Lab Diamond and 1.50ct Marquise Lab Sapphire Engagement Ring in 18K Yellow Gold - Image 8
Toi Et Moi 1.50ct Pear Lab Diamond and 1.50ct Marquise Lab Sapphire Engagement Ring in 18K Yellow Gold - Image 9
Toi Et Moi 1.50ct Pear Lab Diamond and 1.50ct Marquise Lab Sapphire Engagement Ring in 18K Yellow Gold - Image 10
Toi Et Moi 1.50ct Pear Lab Diamond and 1.50ct Marquise Lab Sapphire Engagement Ring in 18K Yellow Gold - Image 11
Toi Et Moi 1.50ct Pear Lab Diamond and 1.50ct Marquise Lab Sapphire Engagement Ring in 18K Yellow Gold - Image 12
Toi Et Moi 1.50ct Pear Lab Diamond and 1.50ct Marquise Lab Sapphire Engagement Ring in 18K Yellow Gold - Image 13
Toi Et Moi 1.50ct Pear Lab Diamond and 1.50ct Marquise Lab Sapphire Engagement Ring in 18K Yellow Gold - Image 14
Toi Et Moi 1.50ct Pear Lab Diamond and 1.50ct Marquise Lab Sapphire Engagement Ring in 18K Yellow Gold - Image 15
Toi Et Moi 1.50ct Pear Lab Diamond and 1.50ct Marquise Lab Sapphire Engagement Ring in 18K Yellow Gold - Image 16
Toi Et Moi 1.50ct Pear Lab Diamond and 1.50ct Marquise Lab Sapphire Engagement Ring in 18K Yellow Gold - Image 17
Toi Et Moi 1.50ct Pear Lab Diamond and 1.50ct Marquise Lab Sapphire Engagement Ring in 18K Yellow Gold - Image 18
Toi Et Moi 1.50ct Pear Lab Diamond and 1.50ct Marquise Lab Sapphire Engagement Ring in 18K Yellow Gold - Image 19
Toi Et Moi 1.50ct Pear Lab Diamond and 1.50ct Marquise Lab Sapphire Engagement Ring in 18K Yellow Gold - Image 20
Toi Et Moi 1.50ct Pear Lab Diamond and 1.50ct Marquise Lab Sapphire Engagement Ring in 18K Yellow Gold - Image 21
Toi Et Moi 1.50ct Pear Lab Diamond and 1.50ct Marquise Lab Sapphire Engagement Ring in 18K Yellow Gold - Image 22
Toi Et Moi 1.50ct Pear Lab Diamond and 1.50ct Marquise Lab Sapphire Engagement Ring in 18K Yellow Gold - Image 23
Toi Et Moi 1.50ct Pear Lab Diamond and 1.50ct Marquise Lab Sapphire Engagement Ring in 18K Yellow Gold - Image 24
Toi Et Moi 1.50ct Pear Lab Diamond and 1.50ct Marquise Lab Sapphire Engagement Ring in 18K Yellow Gold - Image 25
Toi Et Moi 1.50ct Pear Lab Diamond and 1.50ct Marquise Lab Sapphire Engagement Ring in 18K Yellow Gold - Image 26
Toi Et Moi 1.50ct Pear Lab Diamond and 1.50ct Marquise Lab Sapphire Engagement Ring in 18K Yellow Gold - Image 27
Toi Et Moi 1.50ct Pear Lab Diamond and 1.50ct Marquise Lab Sapphire Engagement Ring in 18K Yellow Gold - Image 28
Toi Et Moi 1.50ct Pear Lab Diamond and 1.50ct Marquise Lab Sapphire Engagement Ring in 18K Yellow Gold - Image 29
Toi Et Moi 1.50ct Pear Lab Diamond and 1.50ct Marquise Lab Sapphire Engagement Ring in 18K Yellow Gold - Image 30
Toi Et Moi 1.50ct Pear Lab Diamond and 1.50ct Marquise Lab Sapphire Engagement Ring in 18K Yellow Gold - Image 31
Toi Et Moi 1.50ct Pear Lab Diamond and 1.50ct Marquise Lab Sapphire Engagement Ring in 18K Yellow Gold - Image 32
Toi Et Moi 1.50ct Pear Lab Diamond and 1.50ct Marquise Lab Sapphire Engagement Ring in 18K Yellow Gold - Image 33
Toi Et Moi 1.50ct Pear Lab Diamond and 1.50ct Marquise Lab Sapphire Engagement Ring in 18K Yellow Gold - Image 34
Toi Et Moi 1.50ct Pear Lab Diamond and 1.50ct Marquise Lab Sapphire Engagement Ring in 18K Yellow Gold - Image 35
Toi Et Moi 1.50ct Pear Lab Diamond and 1.50ct Marquise Lab Sapphire Engagement Ring in 18K Yellow Gold - Image 36
Toi Et Moi 1.50ct Pear Lab Diamond and 1.50ct Marquise Lab Sapphire Engagement Ring in 18K Yellow Gold - Image 37
Toi Et Moi 1.50ct Pear Lab Diamond and 1.50ct Marquise Lab Sapphire Engagement Ring in 18K Yellow Gold - Image 38
Toi Et Moi 1.50ct Pear Lab Diamond and 1.50ct Marquise Lab Sapphire Engagement Ring in 18K Yellow Gold - Image 39
Toi Et Moi 1.50ct Pear Lab Diamond and 1.50ct Marquise Lab Sapphire Engagement Ring in 18K Yellow Gold - Image 40
Toi Et Moi 1.50ct Pear Lab Diamond and 1.50ct Marquise Lab Sapphire Engagement Ring in 18K Yellow Gold - Image 41
Toi Et Moi 1.50ct Pear Lab Diamond and 1.50ct Marquise Lab Sapphire Engagement Ring in 18K Yellow Gold - Image 42
Toi Et Moi 1.50ct Pear Lab Diamond and 1.50ct Marquise Lab Sapphire Engagement Ring in 18K Yellow Gold - Image 43
Toi Et Moi 1.50ct Pear Lab Diamond and 1.50ct Marquise Lab Sapphire Engagement Ring in 18K Yellow Gold - Image 44
Toi Et Moi 1.50ct Pear Lab Diamond and 1.50ct Marquise Lab Sapphire Engagement Ring in 18K Yellow Gold - Image 45
Toi Et Moi 1.50ct Pear Lab Diamond and 1.50ct Marquise Lab Sapphire Engagement Ring in 18K Yellow Gold - Image 46
Toi Et Moi 1.50ct Pear Lab Diamond and 1.50ct Marquise Lab Sapphire Engagement Ring in 18K Yellow Gold - Image 47
Toi Et Moi 1.50ct Pear Lab Diamond and 1.50ct Marquise Lab Sapphire Engagement Ring in 18K Yellow Gold - Image 48
Toi Et Moi 1.50ct Pear Lab Diamond and 1.50ct Marquise Lab Sapphire Engagement Ring in 18K Yellow Gold - Image 49
Toi Et Moi 1.50ct Pear Lab Diamond and 1.50ct Marquise Lab Sapphire Engagement Ring in 18K Yellow Gold - Image 50
Toi Et Moi 1.50ct Pear Lab Diamond and 1.50ct Marquise Lab Sapphire Engagement Ring in 18K Yellow Gold - Image 51
Toi Et Moi 1.50ct Pear Lab Diamond and 1.50ct Marquise Lab Sapphire Engagement Ring in 18K Yellow Gold - Image 52
Toi Et Moi 1.50ct Pear Lab Diamond and 1.50ct Marquise Lab Sapphire Engagement Ring in 18K Yellow Gold - Image 53
Toi Et Moi 1.50ct Pear Lab Diamond and 1.50ct Marquise Lab Sapphire Engagement Ring in 18K Yellow Gold - Image 54
Toi Et Moi 1.50ct Pear Lab Diamond and 1.50ct Marquise Lab Sapphire Engagement Ring in 18K Yellow Gold - Image 55
Toi Et Moi 1.50ct Pear Lab Diamond and 1.50ct Marquise Lab Sapphire Engagement Ring in 18K Yellow Gold - Image 56
Toi Et Moi 1.50ct Pear Lab Diamond and 1.50ct Marquise Lab Sapphire Engagement Ring in 18K Yellow Gold - Image 57
Toi Et Moi 1.50ct Pear Lab Diamond and 1.50ct Marquise Lab Sapphire Engagement Ring in 18K Yellow Gold - Image 58
Toi Et Moi 1.50ct Pear Lab Diamond and 1.50ct Marquise Lab Sapphire Engagement Ring in 18K Yellow Gold - Image 59
Toi Et Moi 1.50ct Pear Lab Diamond and 1.50ct Marquise Lab Sapphire Engagement Ring in 18K Yellow Gold - Image 60
Toi Et Moi 1.50ct Pear Lab Diamond and 1.50ct Marquise Lab Sapphire Engagement Ring in 18K Yellow Gold - Image 61
Toi Et Moi 1.50ct Pear Lab Diamond and 1.50ct Marquise Lab Sapphire Engagement Ring in 18K Yellow Gold - Image 62
Toi Et Moi 1.50ct Pear Lab Diamond and 1.50ct Marquise Lab Sapphire Engagement Ring in 18K Yellow Gold - Image 63
Toi Et Moi 1.50ct Pear Lab Diamond and 1.50ct Marquise Lab Sapphire Engagement Ring in 18K Yellow Gold - Image 64
Toi Et Moi 1.50ct Pear Lab Diamond and 1.50ct Marquise Lab Sapphire Engagement Ring in 18K Yellow Gold - Image 65
Toi Et Moi 1.50ct Pear Lab Diamond and 1.50ct Marquise Lab Sapphire Engagement Ring in 18K Yellow Gold - Image 66
Toi Et Moi 1.50ct Pear Lab Diamond and 1.50ct Marquise Lab Sapphire Engagement Ring in 18K Yellow Gold - Image 67
Toi Et Moi 1.50ct Pear Lab Diamond and 1.50ct Marquise Lab Sapphire Engagement Ring in 18K Yellow Gold - Image 68
Toi Et Moi 1.50ct Pear Lab Diamond and 1.50ct Marquise Lab Sapphire Engagement Ring in 18K Yellow Gold - Image 69
Toi Et Moi 1.50ct Pear Lab Diamond and 1.50ct Marquise Lab Sapphire Engagement Ring in 18K Yellow Gold - Image 70
Toi Et Moi 1.50ct Pear Lab Diamond and 1.50ct Marquise Lab Sapphire Engagement Ring in 18K Yellow Gold - Image 71
Toi Et Moi 1.50ct Pear Lab Diamond and 1.50ct Marquise Lab Sapphire Engagement Ring in 18K Yellow Gold - Image 72
Toi Et Moi 1.50ct Pear Lab Diamond and 1.50ct Marquise Lab Sapphire Engagement Ring in 18K Yellow Gold - Image 73
Toi Et Moi 1.50ct Pear Lab Diamond and 1.50ct Marquise Lab Sapphire Engagement Ring in 18K Yellow Gold - Image 74
Toi Et Moi 1.50ct Pear Lab Diamond and 1.50ct Marquise Lab Sapphire Engagement Ring in 18K Yellow Gold - Image 75
Toi Et Moi 1.50ct Pear Lab Diamond and 1.50ct Marquise Lab Sapphire Engagement Ring in 18K Yellow Gold - Image 76
Toi Et Moi 1.50ct Pear Lab Diamond and 1.50ct Marquise Lab Sapphire Engagement Ring in 18K Yellow Gold - Image 77
Toi Et Moi 1.50ct Pear Lab Diamond and 1.50ct Marquise Lab Sapphire Engagement Ring in 18K Yellow Gold - Image 78
Toi Et Moi 1.50ct Pear Lab Diamond and 1.50ct Marquise Lab Sapphire Engagement Ring in 18K Yellow Gold - Image 79
Toi Et Moi 1.50ct Pear Lab Diamond and 1.50ct Marquise Lab Sapphire Engagement Ring in 18K Yellow Gold - Image 80
Toi Et Moi 1.50ct Pear Lab Diamond and 1.50ct Marquise Lab Sapphire Engagement Ring in 18K Yellow Gold - Image 81
Toi Et Moi 1.50ct Pear Lab Diamond and 1.50ct Marquise Lab Sapphire Engagement Ring in 18K Yellow Gold - Image 82
Toi Et Moi 1.50ct Pear Lab Diamond and 1.50ct Marquise Lab Sapphire Engagement Ring in 18K Yellow Gold - Image 83
Toi Et Moi 1.50ct Pear Lab Diamond and 1.50ct Marquise Lab Sapphire Engagement Ring in 18K Yellow Gold - Image 84
Toi Et Moi 1.50ct Pear Lab Diamond and 1.50ct Marquise Lab Sapphire Engagement Ring in 18K Yellow Gold - Image 85
Toi Et Moi 1.50ct Pear Lab Diamond and 1.50ct Marquise Lab Sapphire Engagement Ring in 18K Yellow Gold - Image 86
Toi Et Moi 1.50ct Pear Lab Diamond and 1.50ct Marquise Lab Sapphire Engagement Ring in 18K Yellow Gold - Image 87
Toi Et Moi 1.50ct Pear Lab Diamond and 1.50ct Marquise Lab Sapphire Engagement Ring in 18K Yellow Gold - Image 88

Toi Et Moi 1.50ct Pear Lab Diamond and 1.50ct Marquise Lab Sapphire Engagement Ring in 18K Yellow Gold

This 18K yellow gold Toi et Moi ring combines a 1.50ct pear-cut lab-grown diamond and a 1.50ct marquise-cut lab blue sapphire, representing you and me. The deep blue contrasts with the diamond’s brilliance for a look of modern romance. A celebrity-favourite design, it’s both meaningful and striking.

Product Information

Shipping & Returns

Description

This 18K yellow gold Toi et Moi ring combines a 1.50ct pear-cut lab-grown diamond and a 1.50ct marquise-cut lab blue sapphire, representing you and me. The deep blue contrasts with the diamond’s brilliance for a look of modern romance. A celebrity-favourite design, it’s both meaningful and striking.

Toi Et Moi 1.50ct Pear Lab Diamond and 1.50ct Marquise Lab Sapphire Engagement Ring in 18K Yellow Gold | The Diamond Store