✨ New Arrivals Just Dropped!Explore
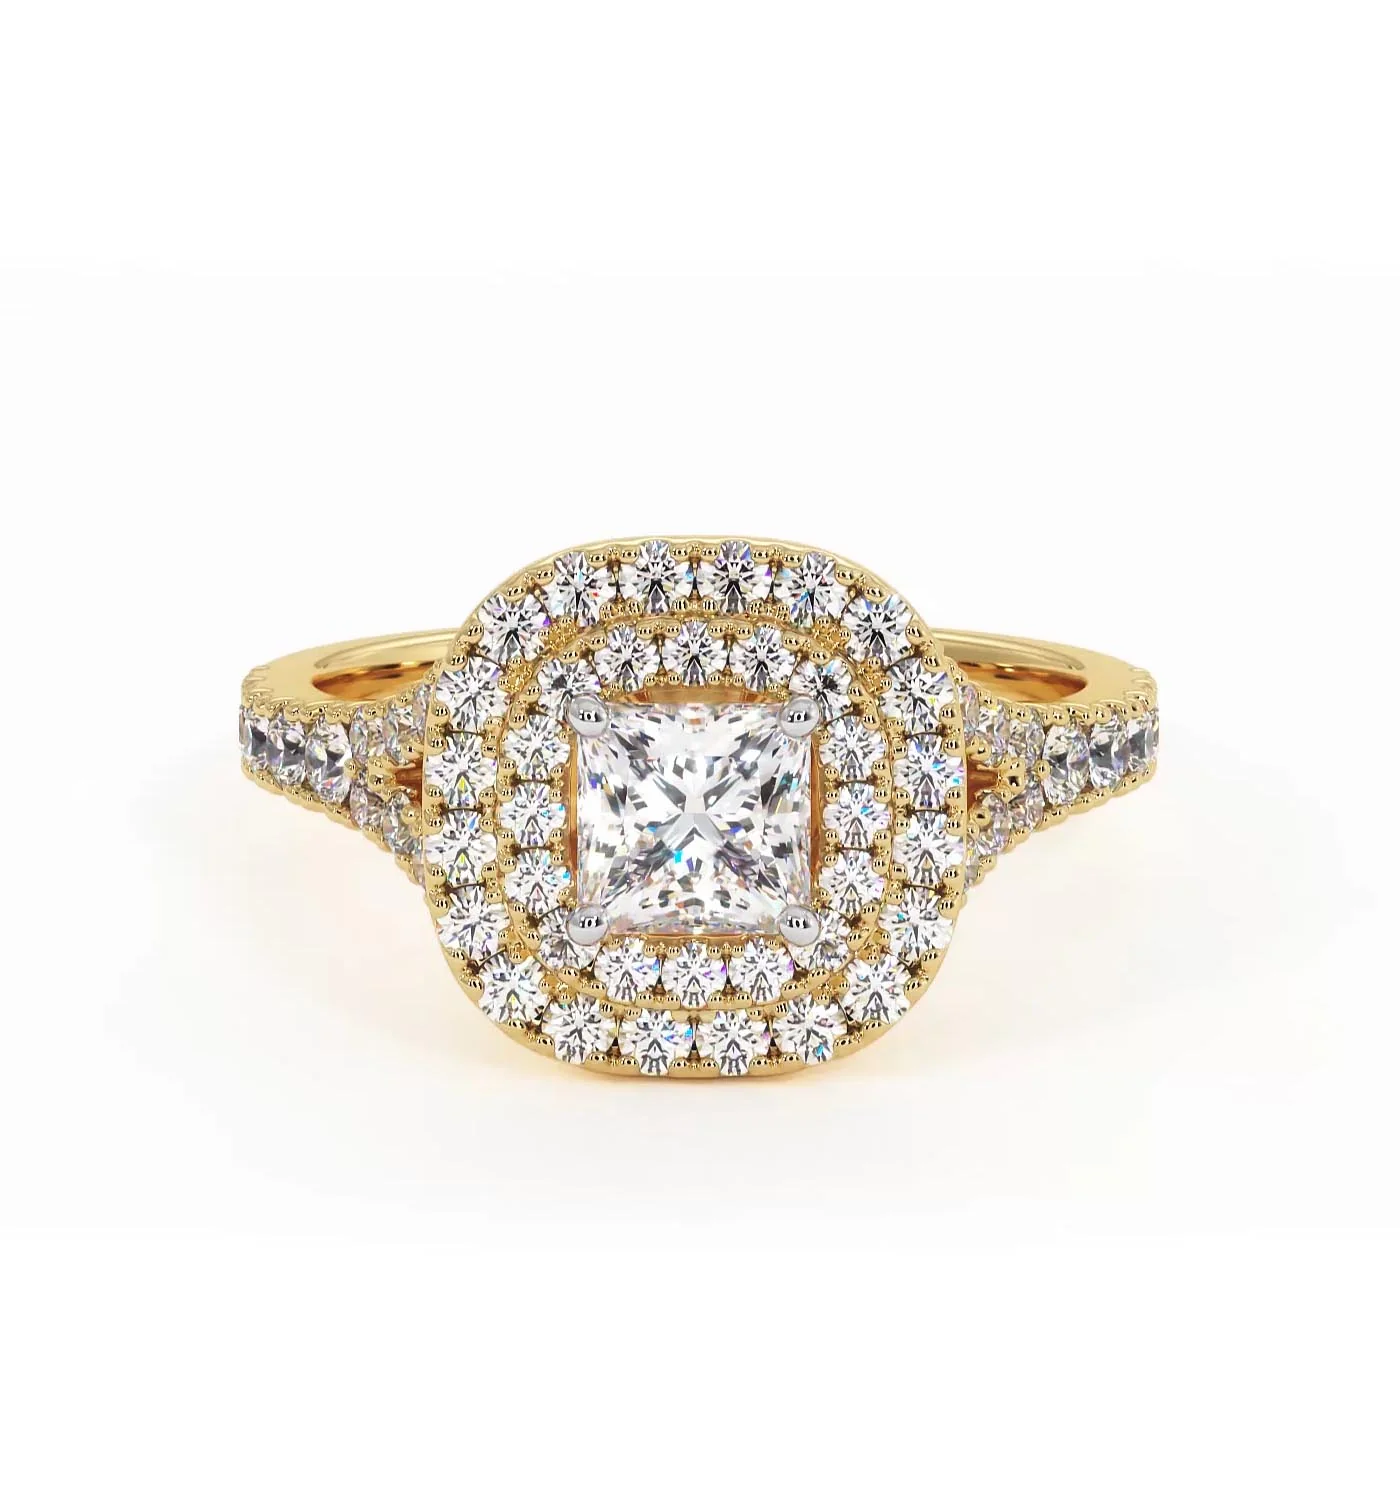
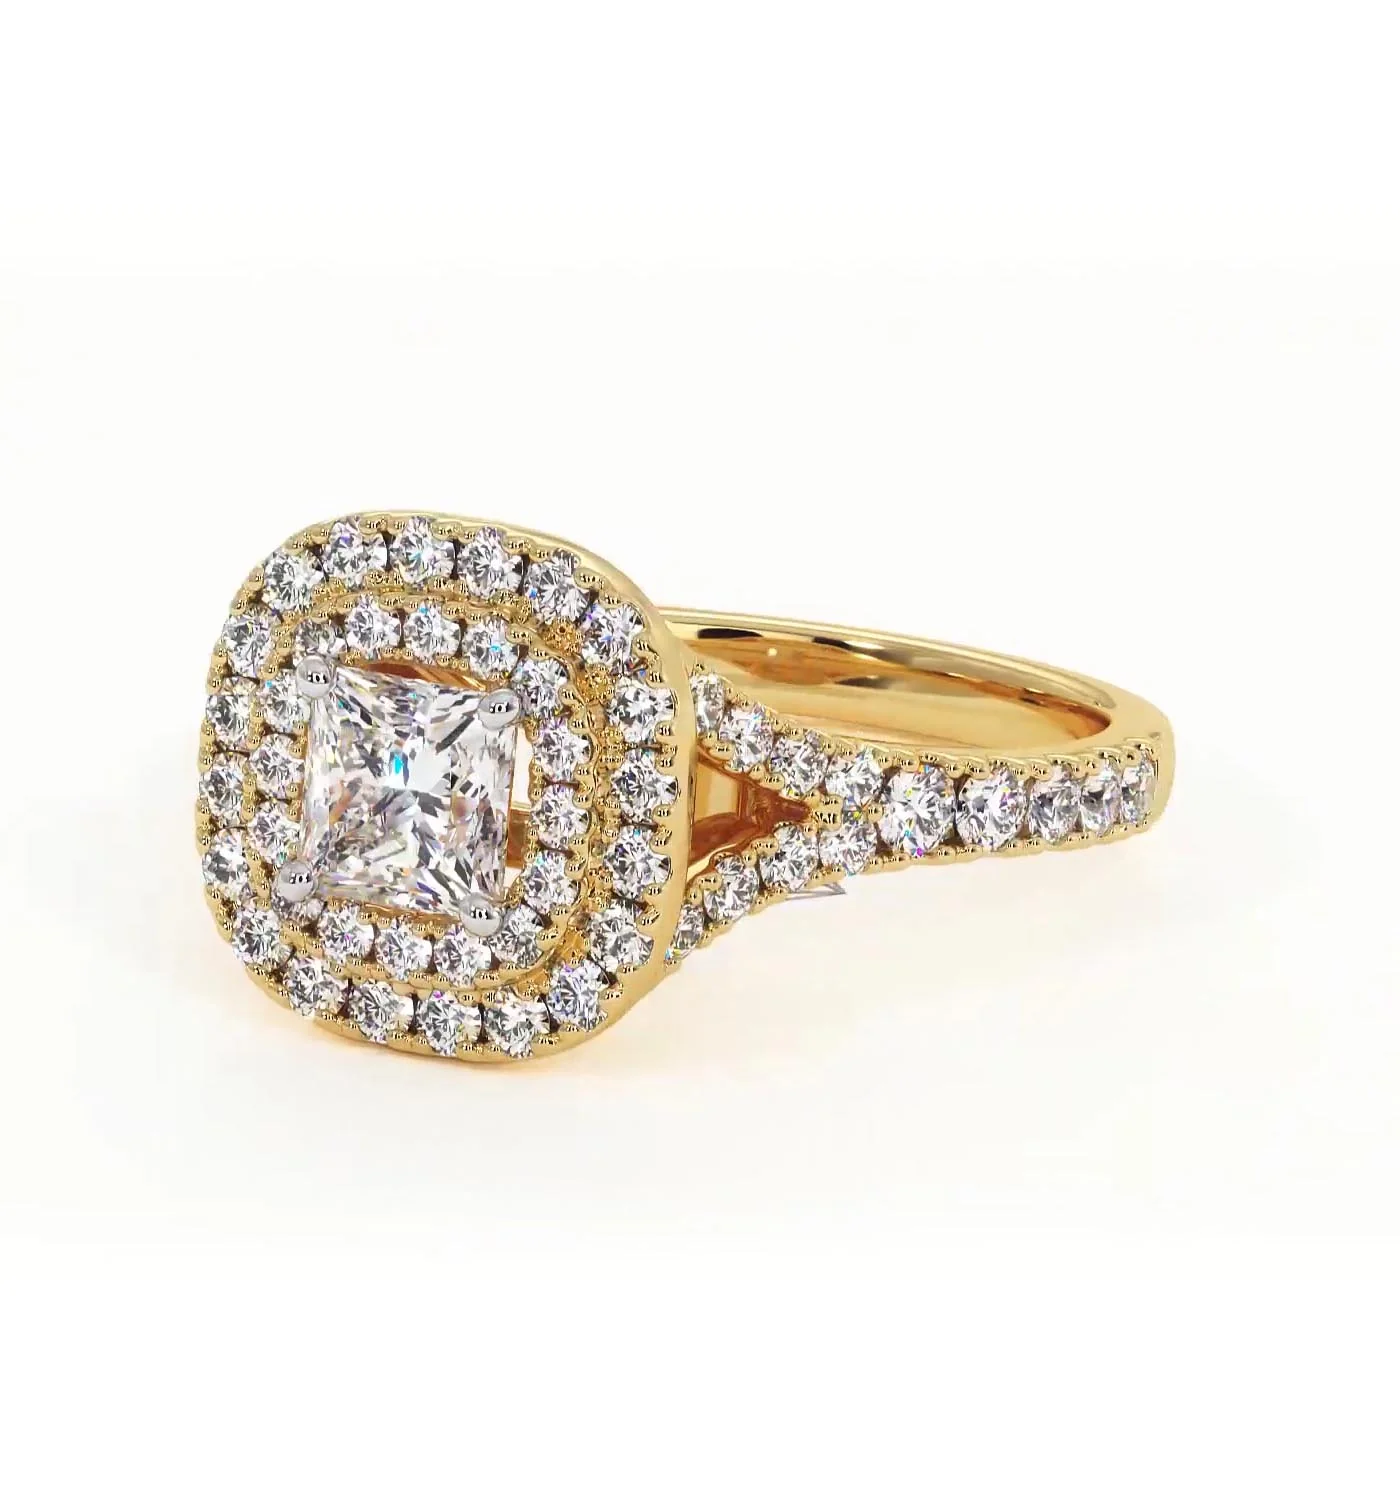
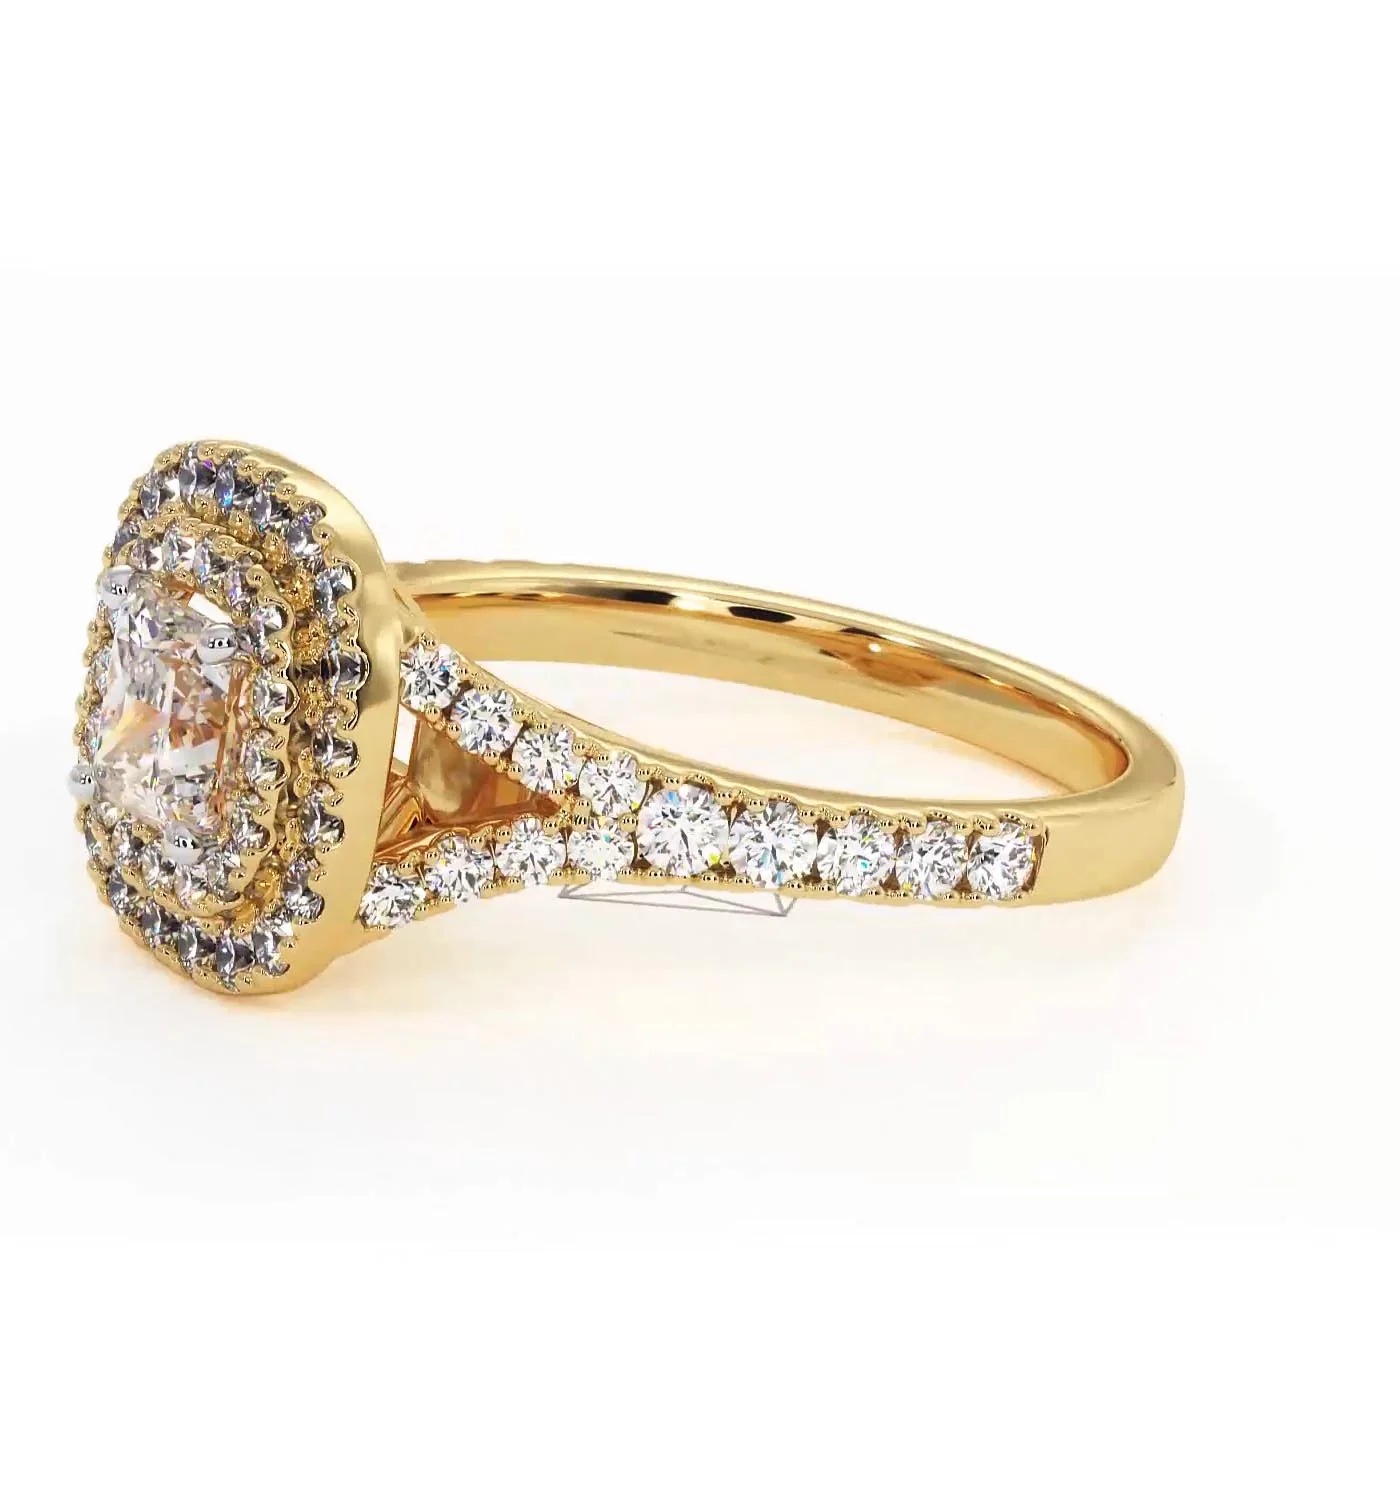
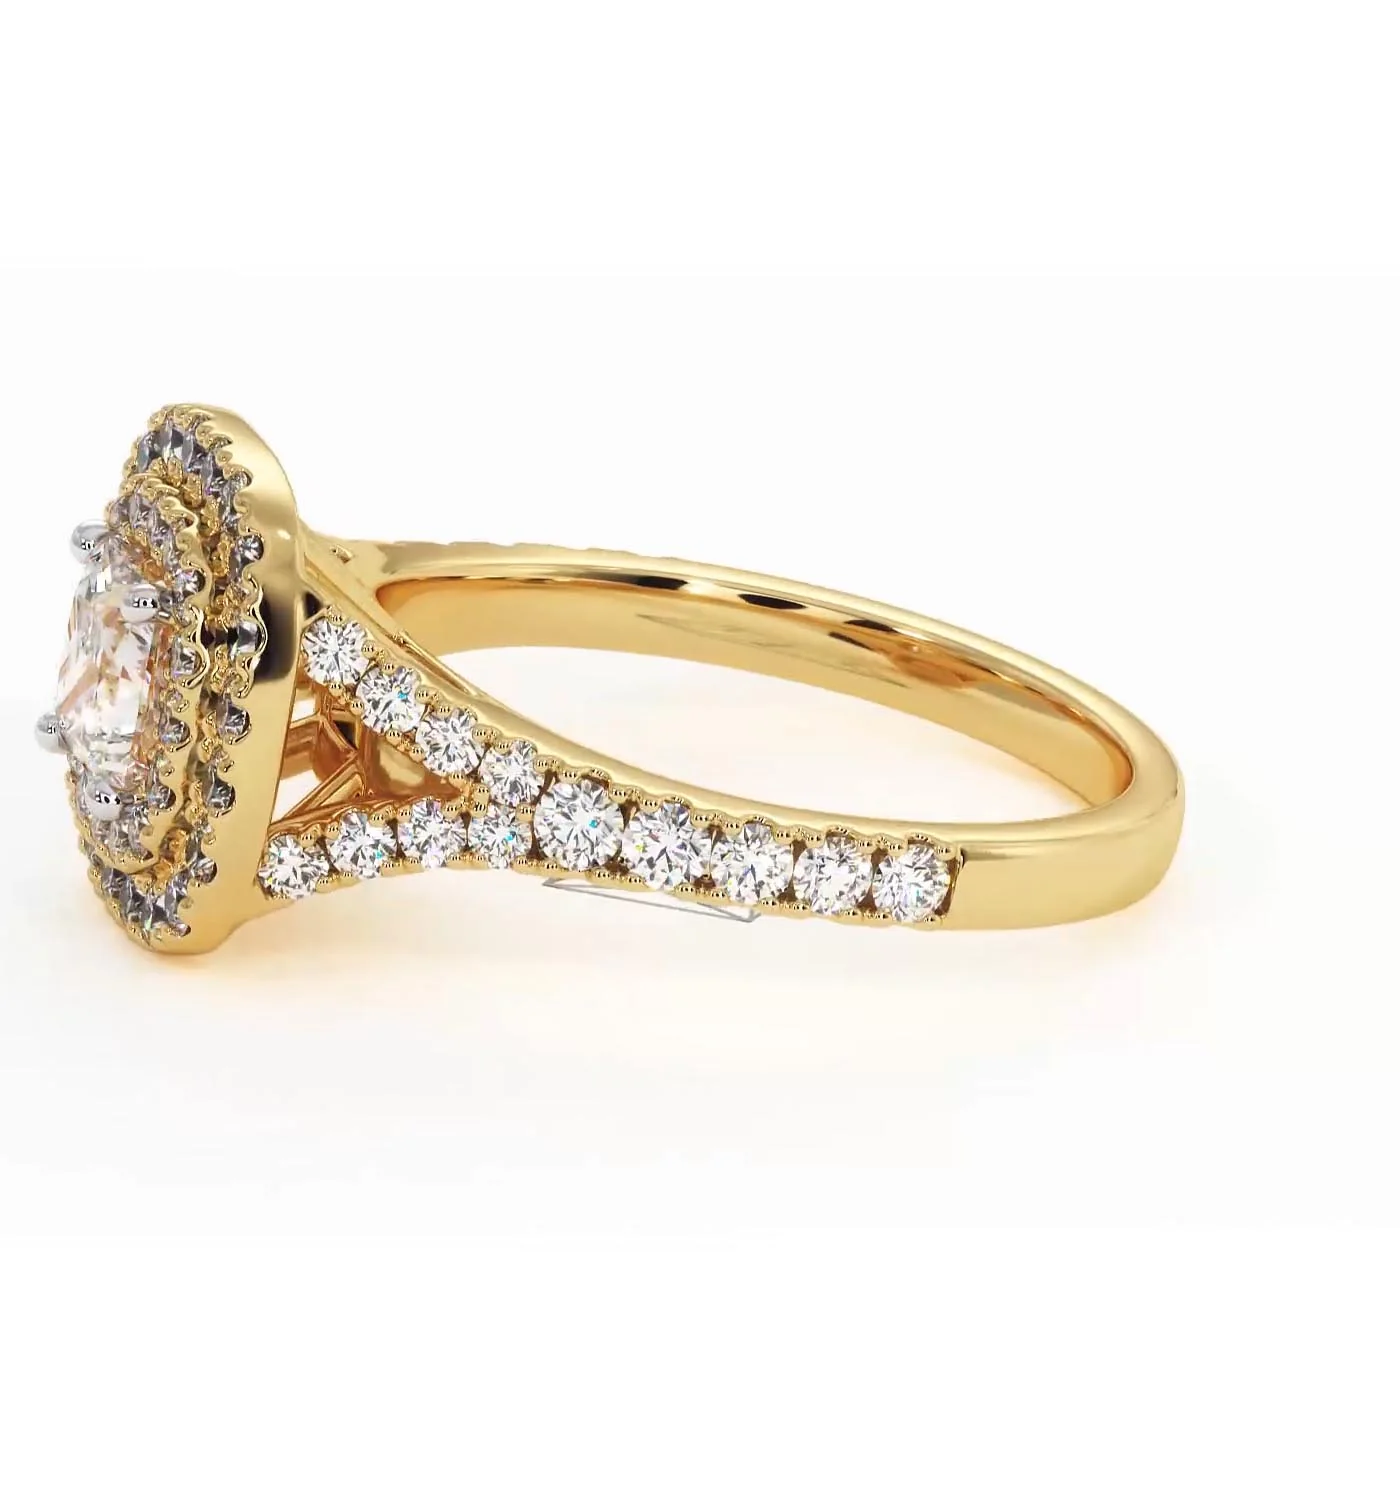
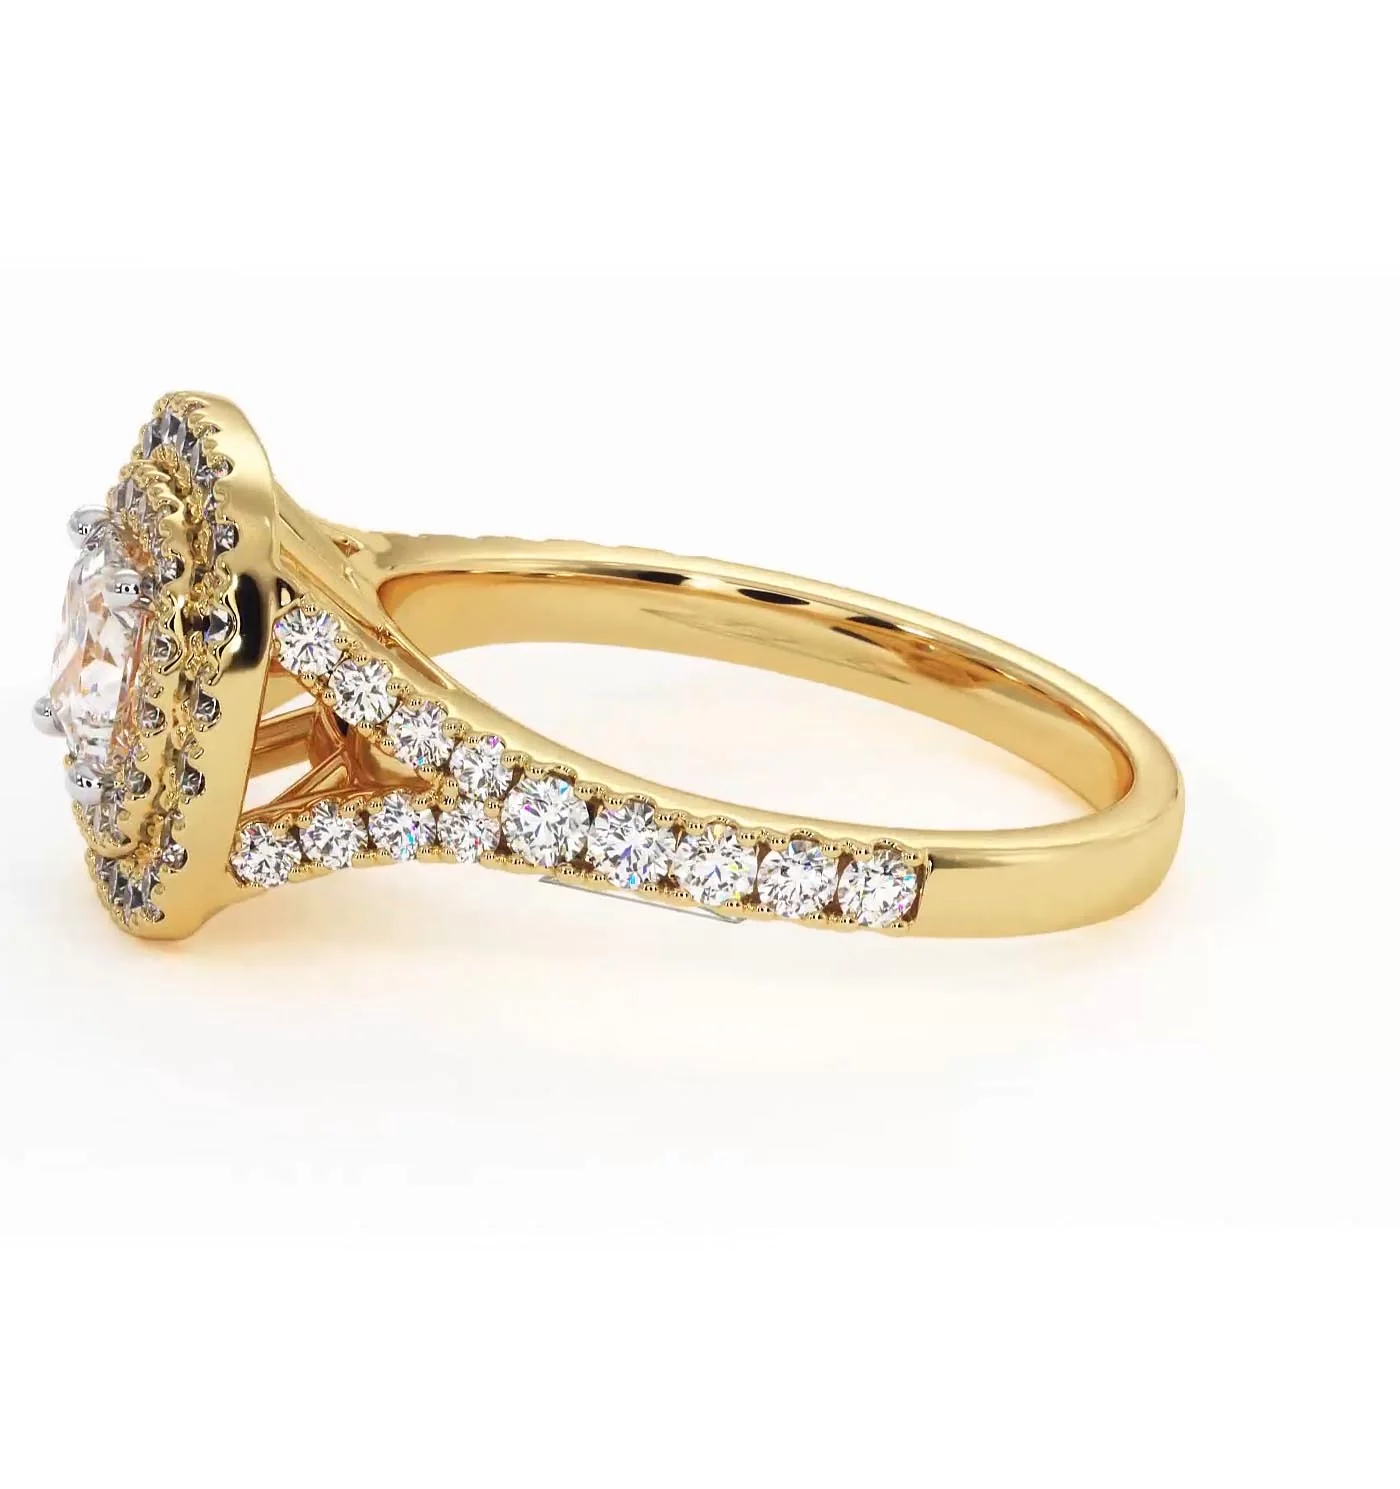
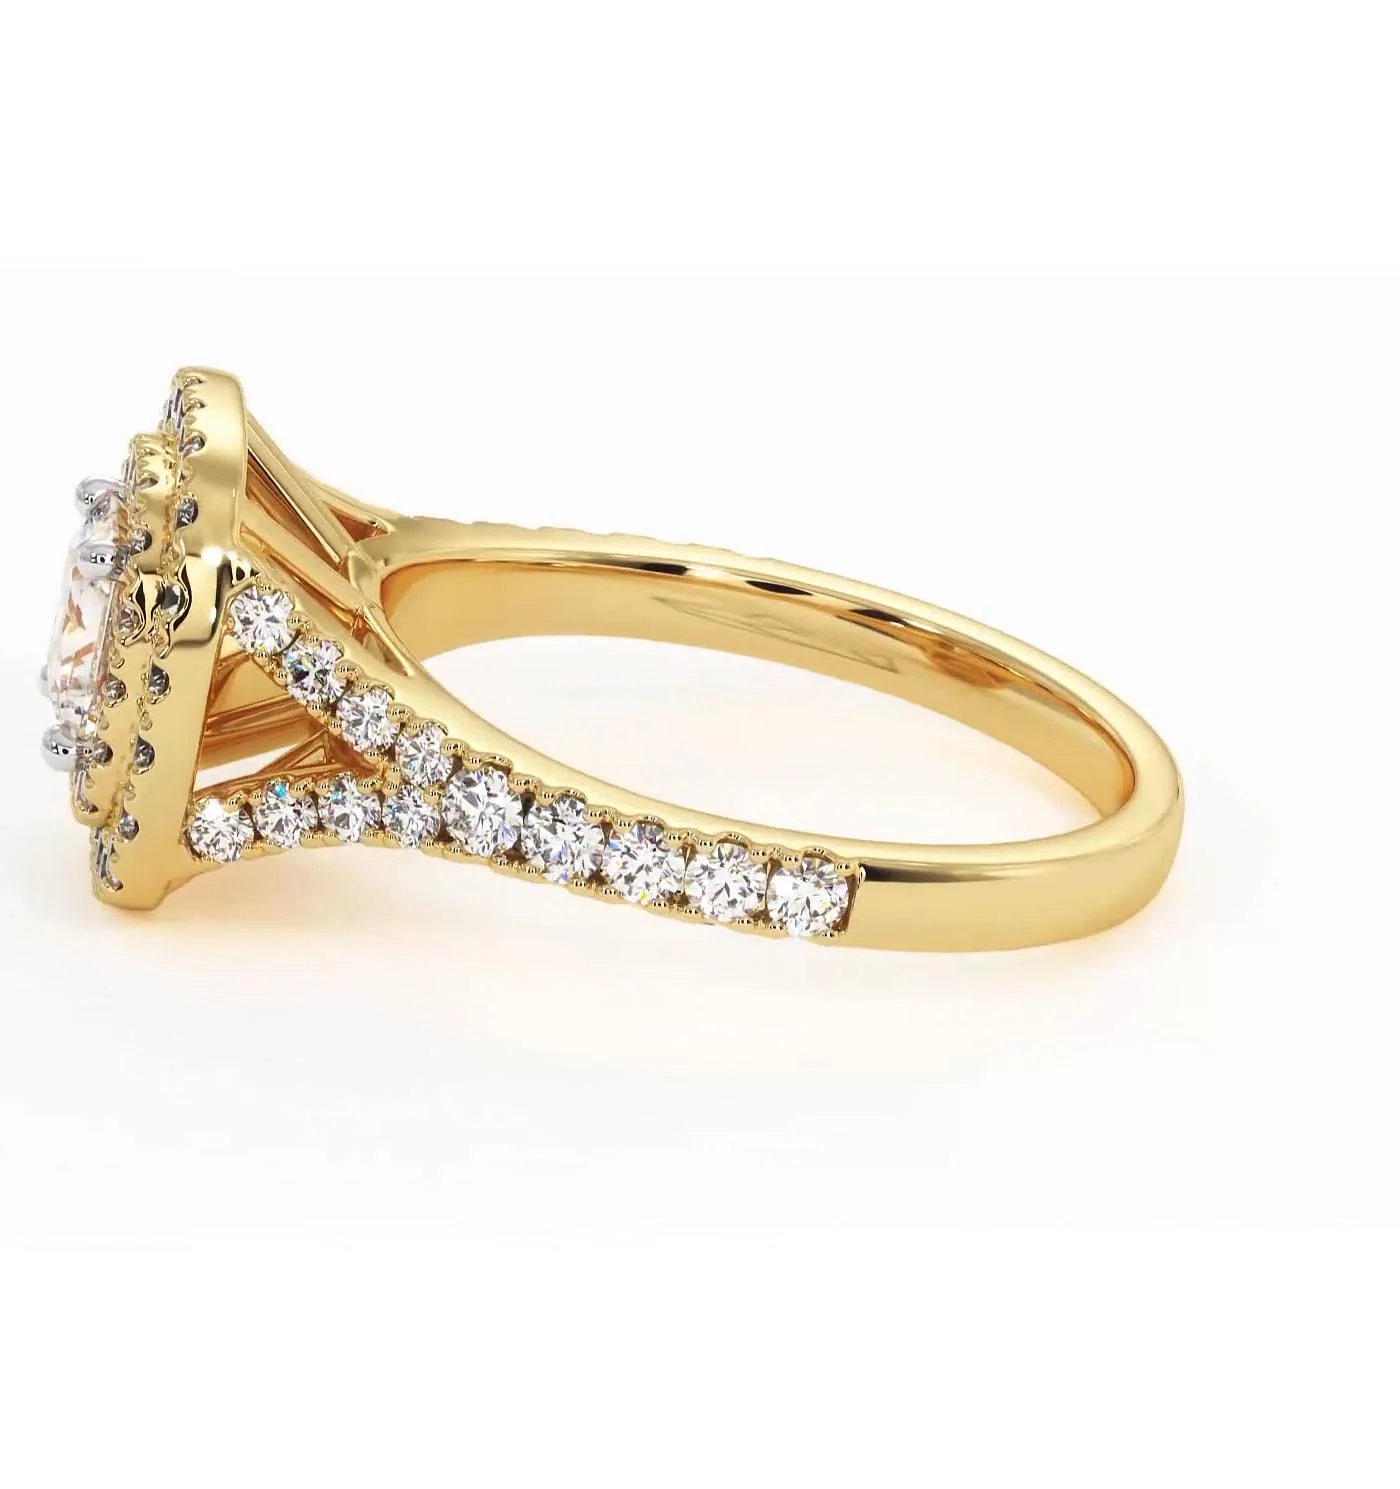
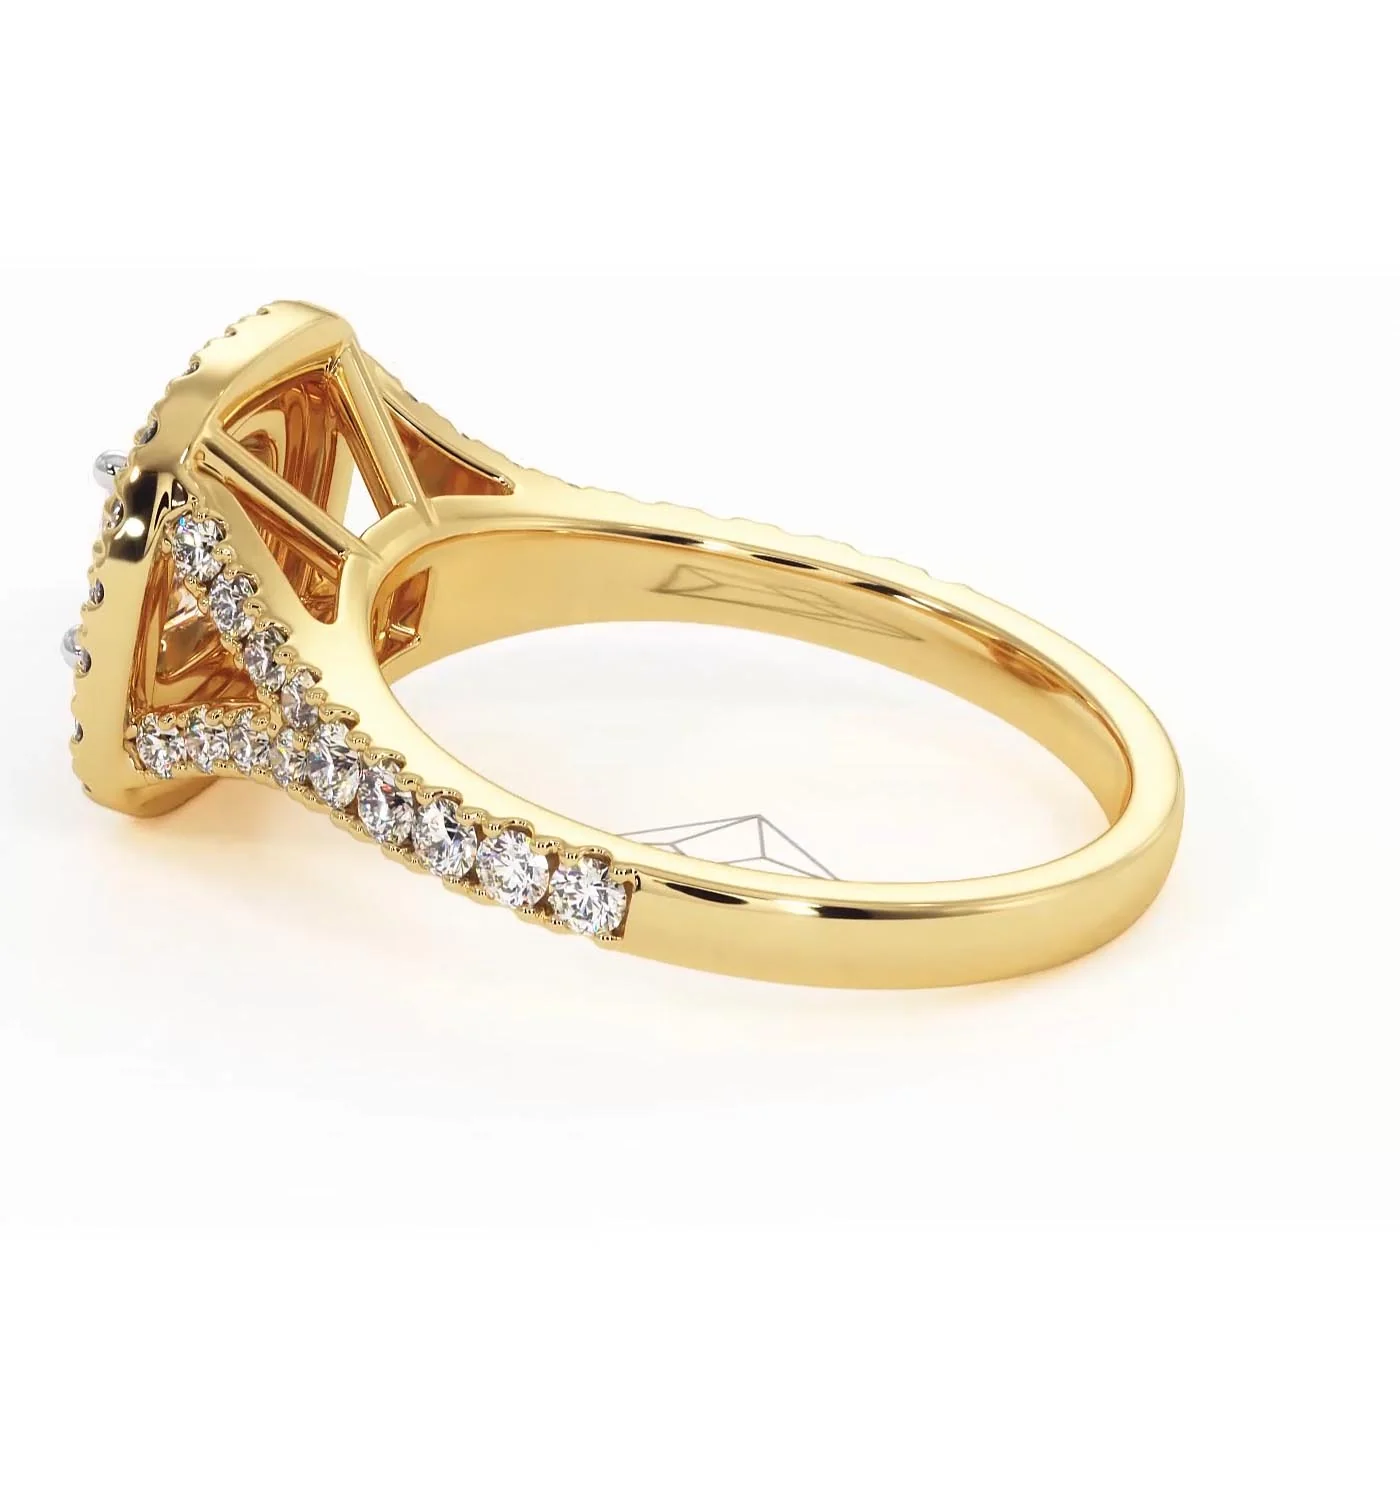
Cleopatra Lab Diamond Halo Engagement Ring in 18K Gold 1.20ct F/VS1
HomeStore

Cleopatra Lab Diamond Halo Engagement Ring in 18K Gold 1.20ct F/VS1

Cleopatra Lab Diamond Halo Engagement Ring in 18K Gold 1.20ct F/VS1

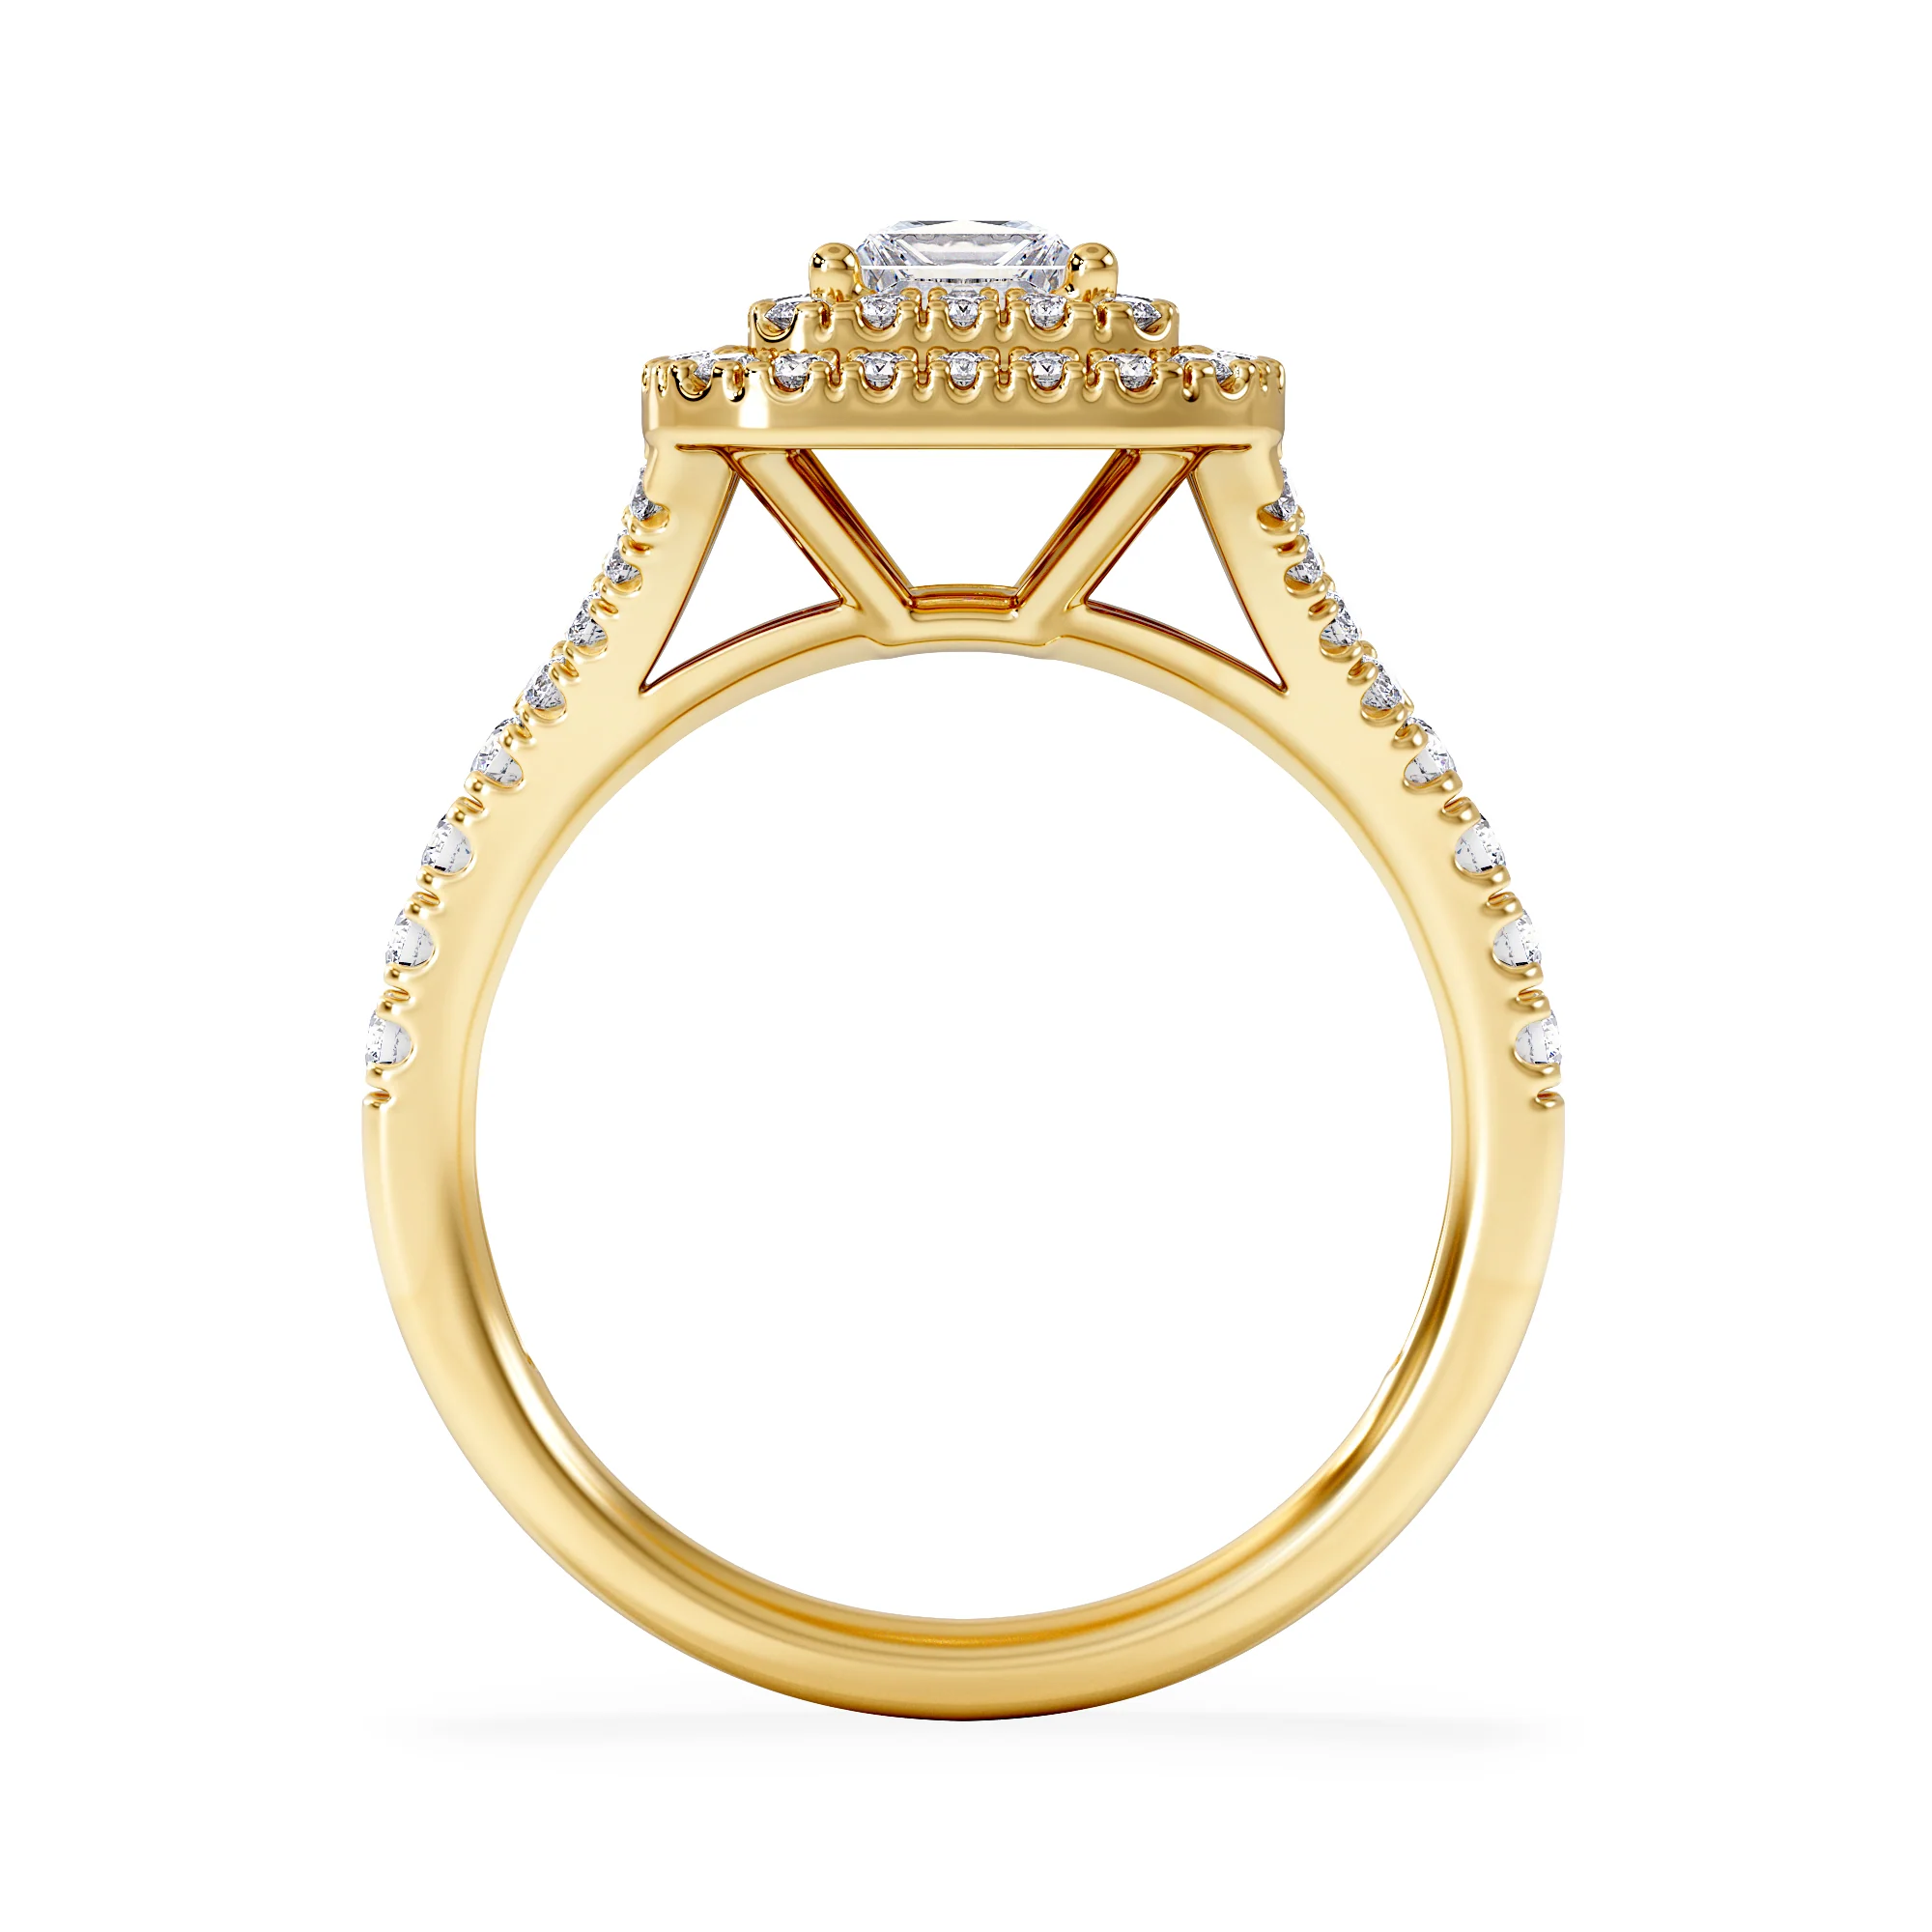
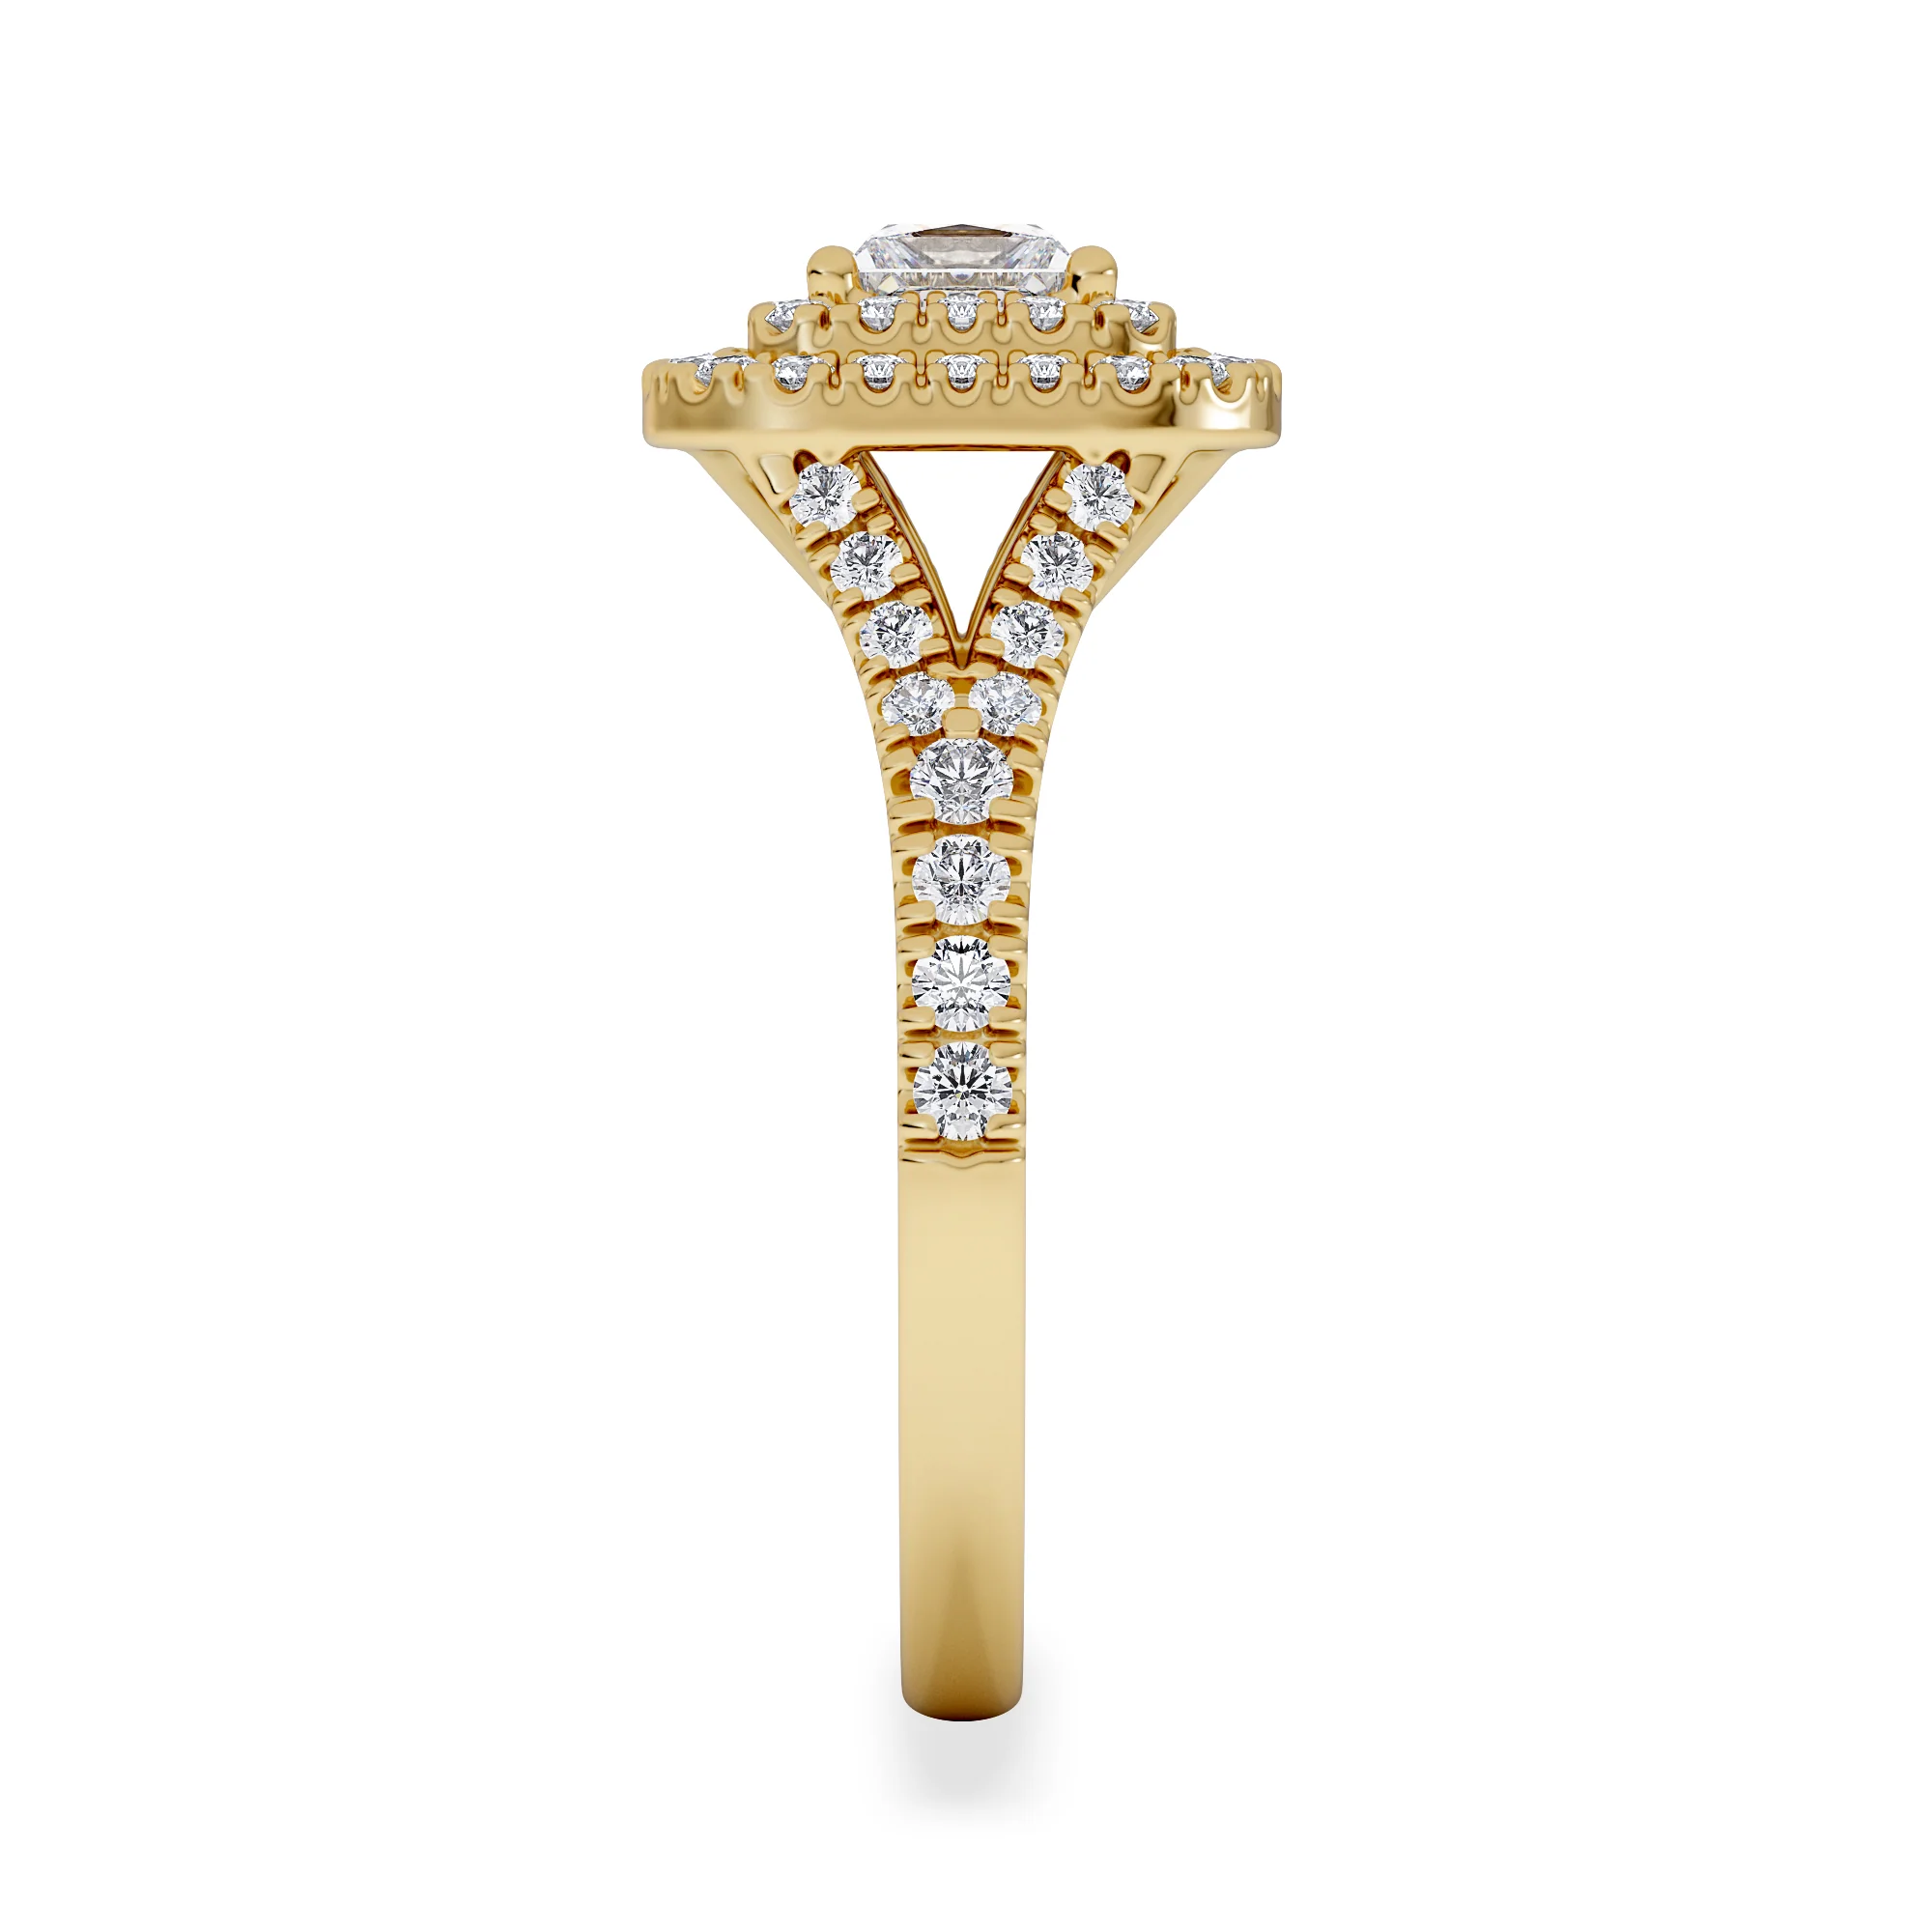
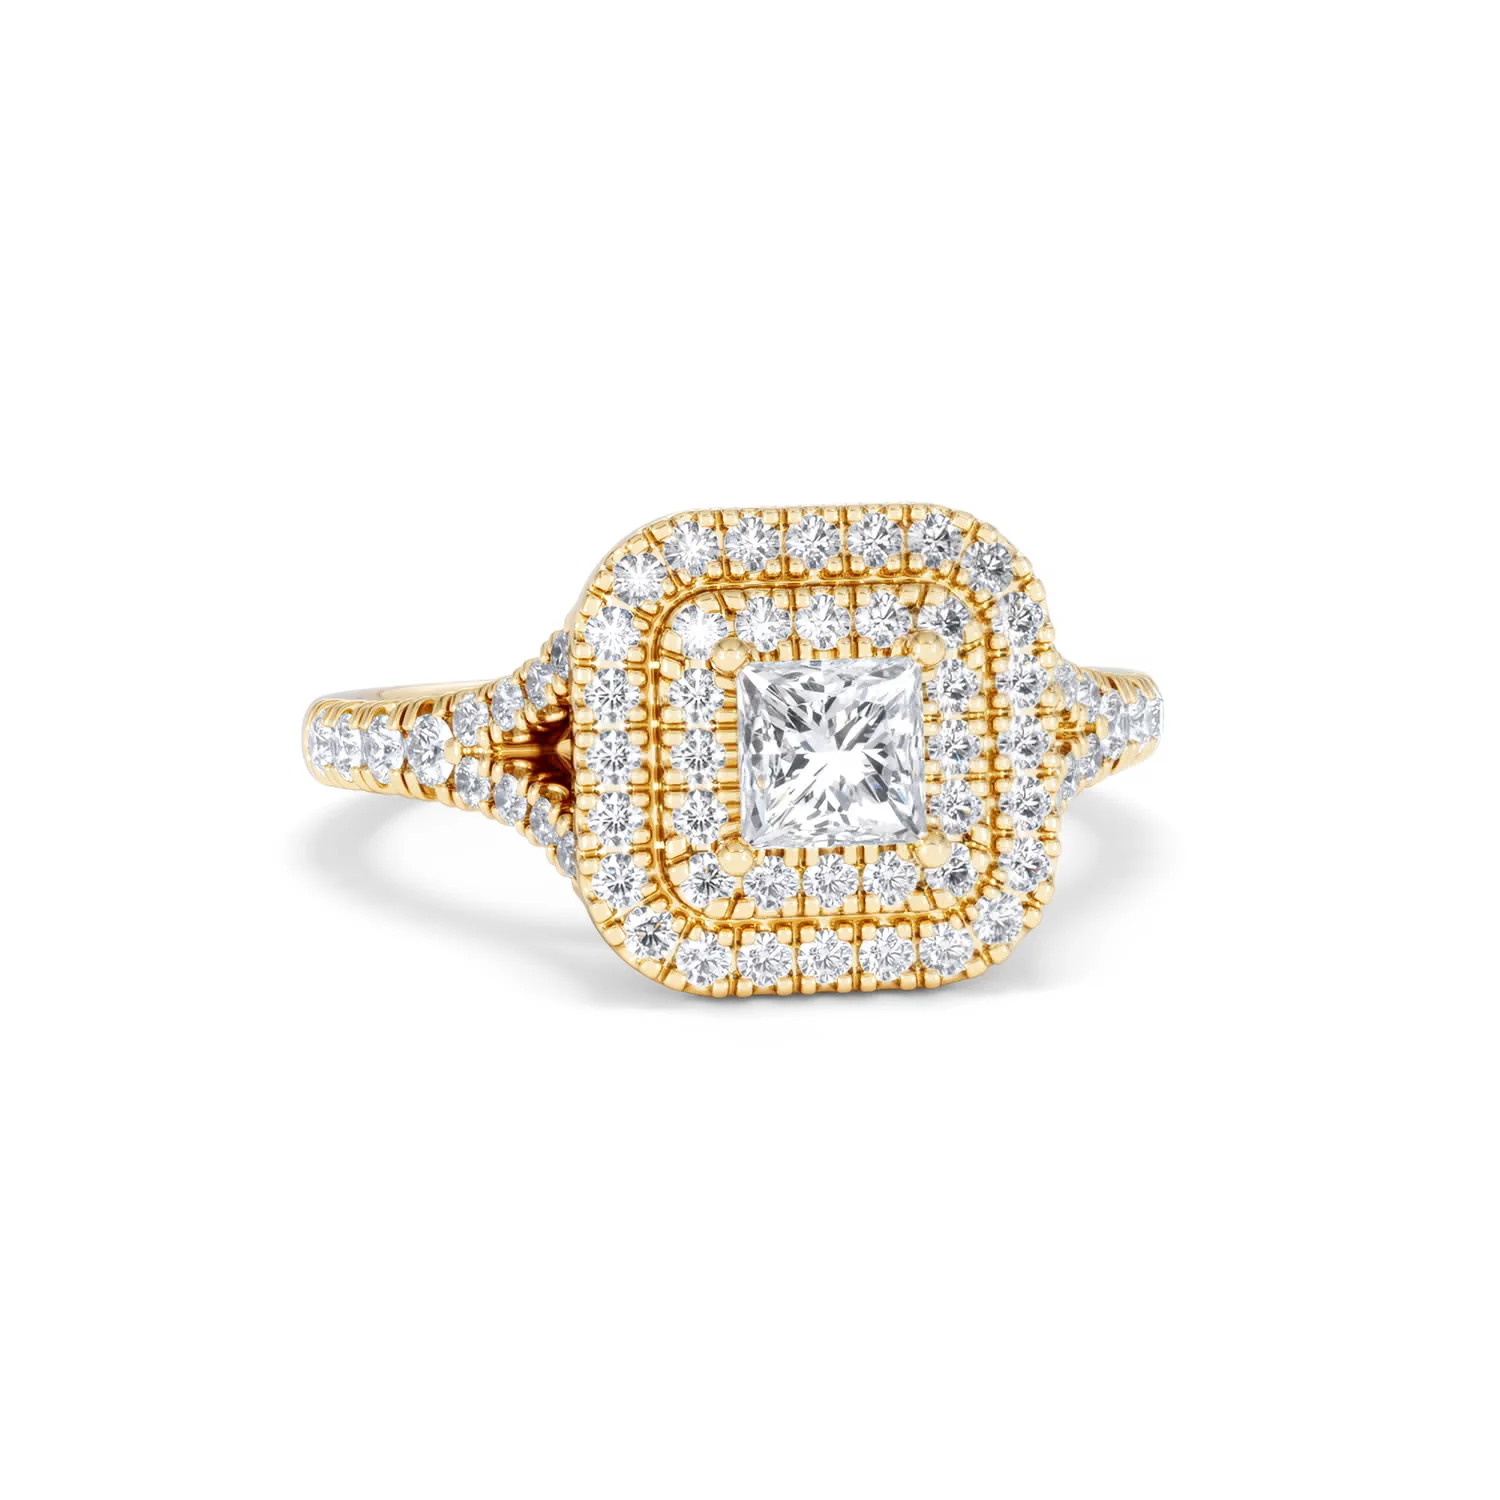
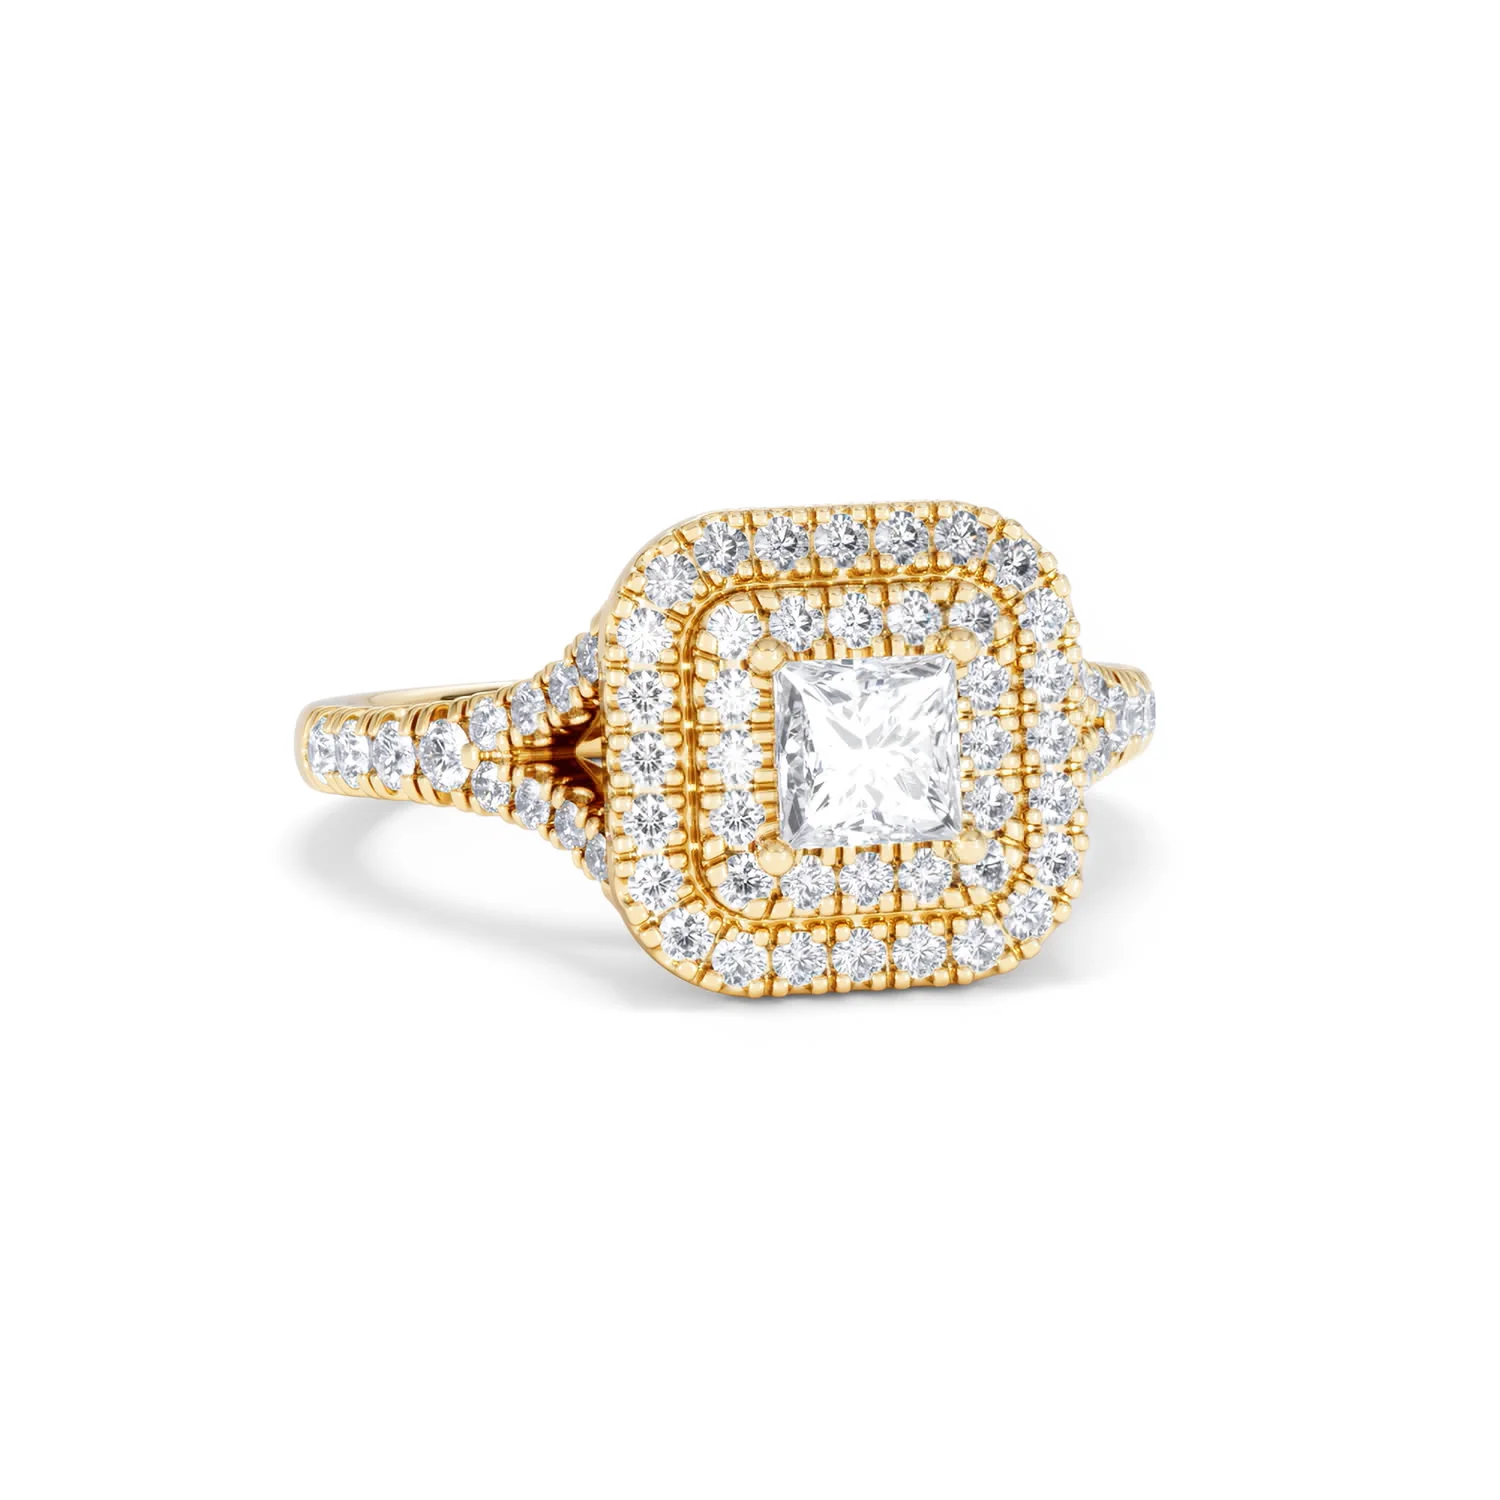
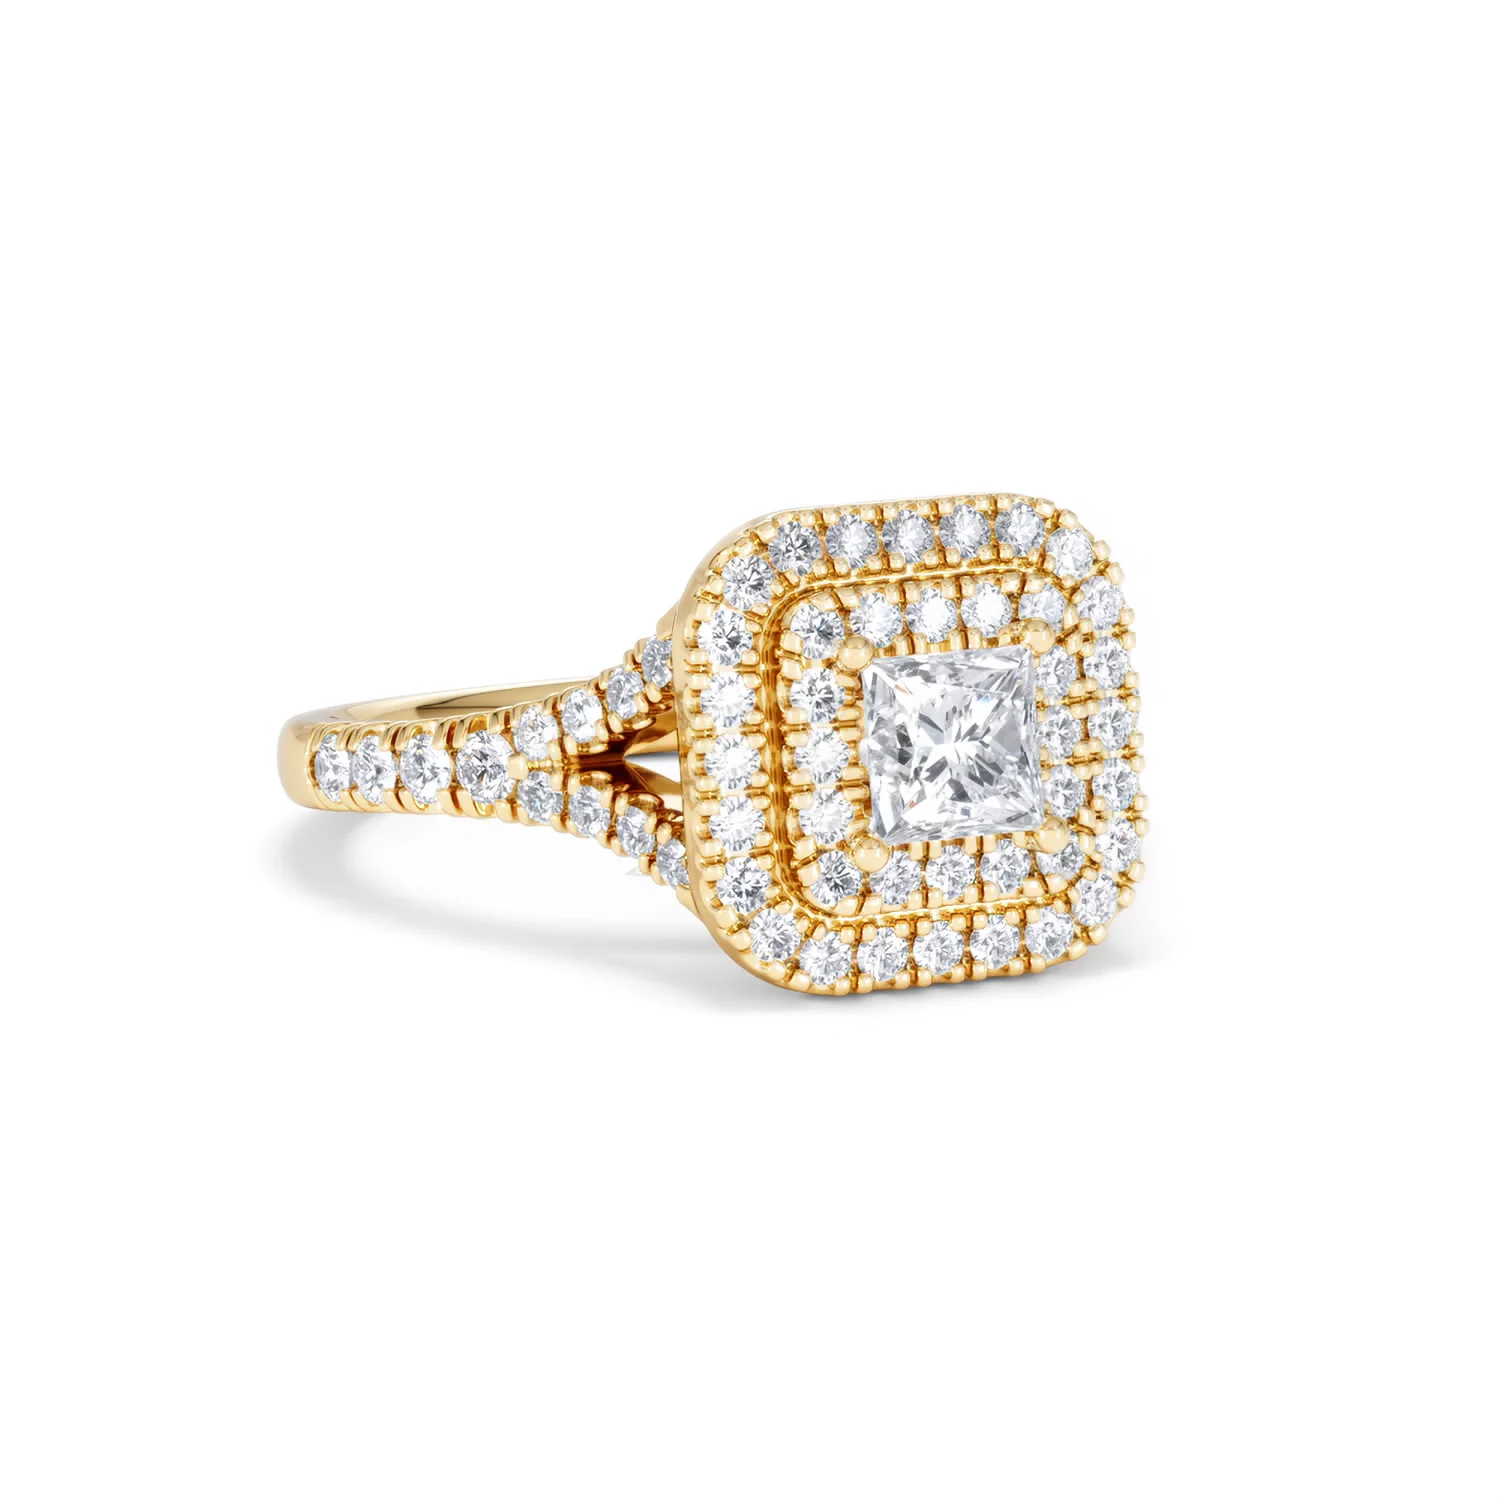
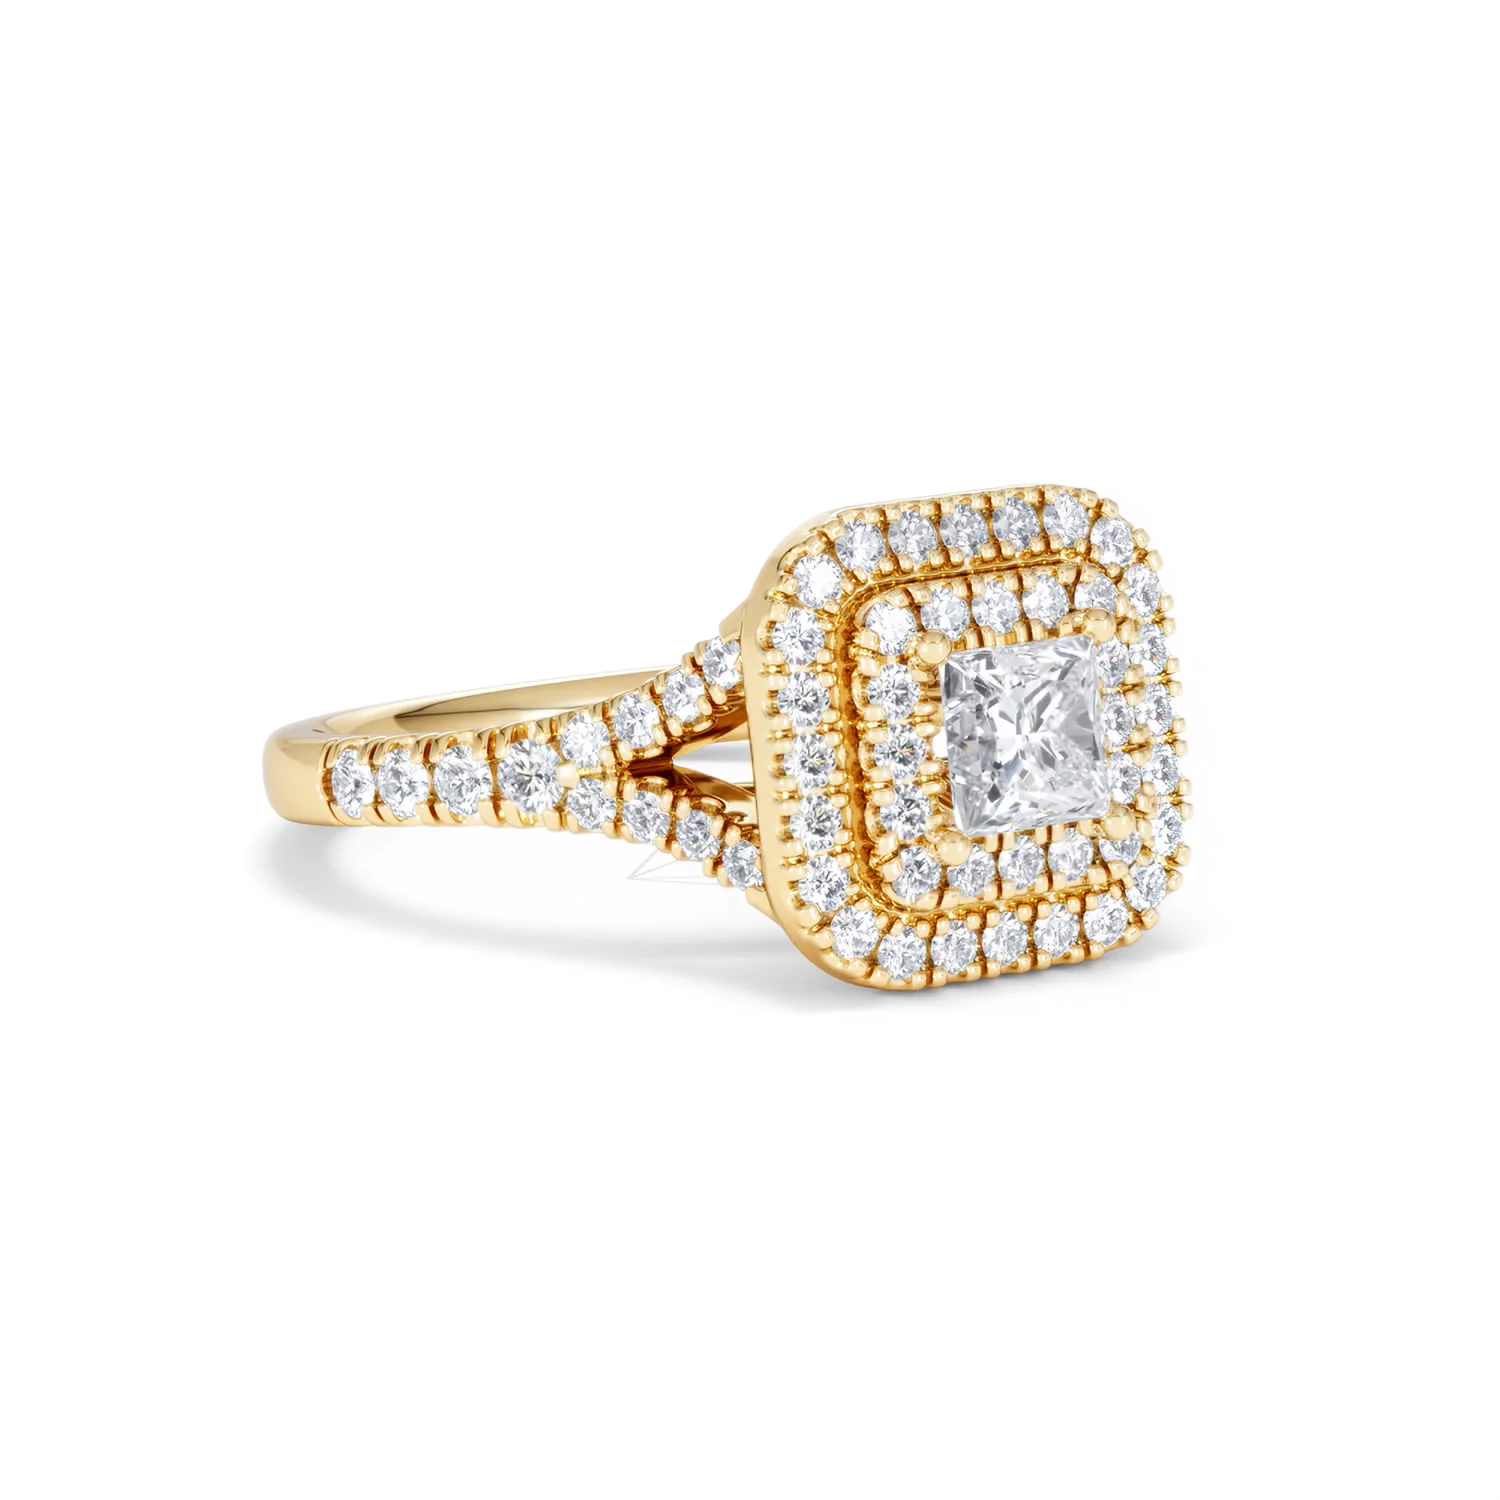
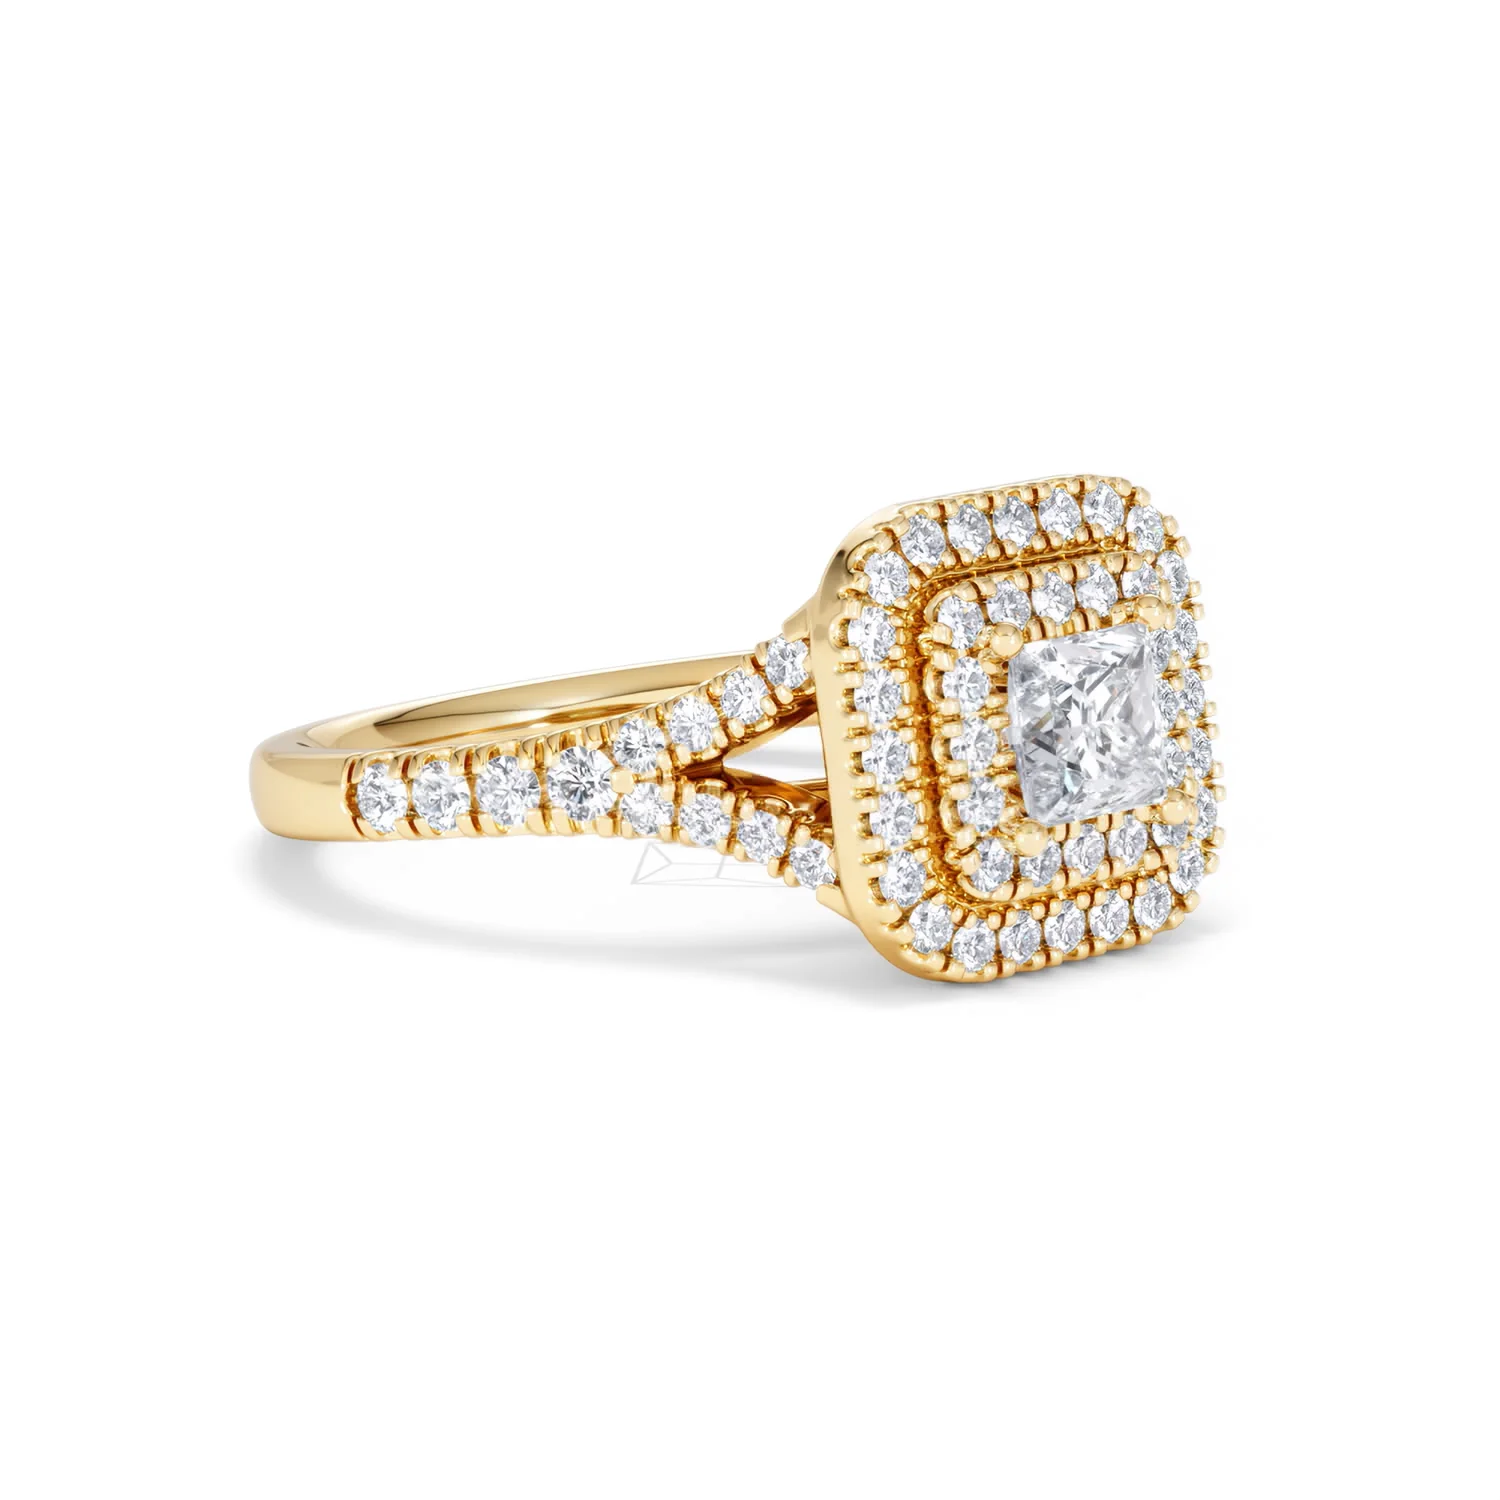
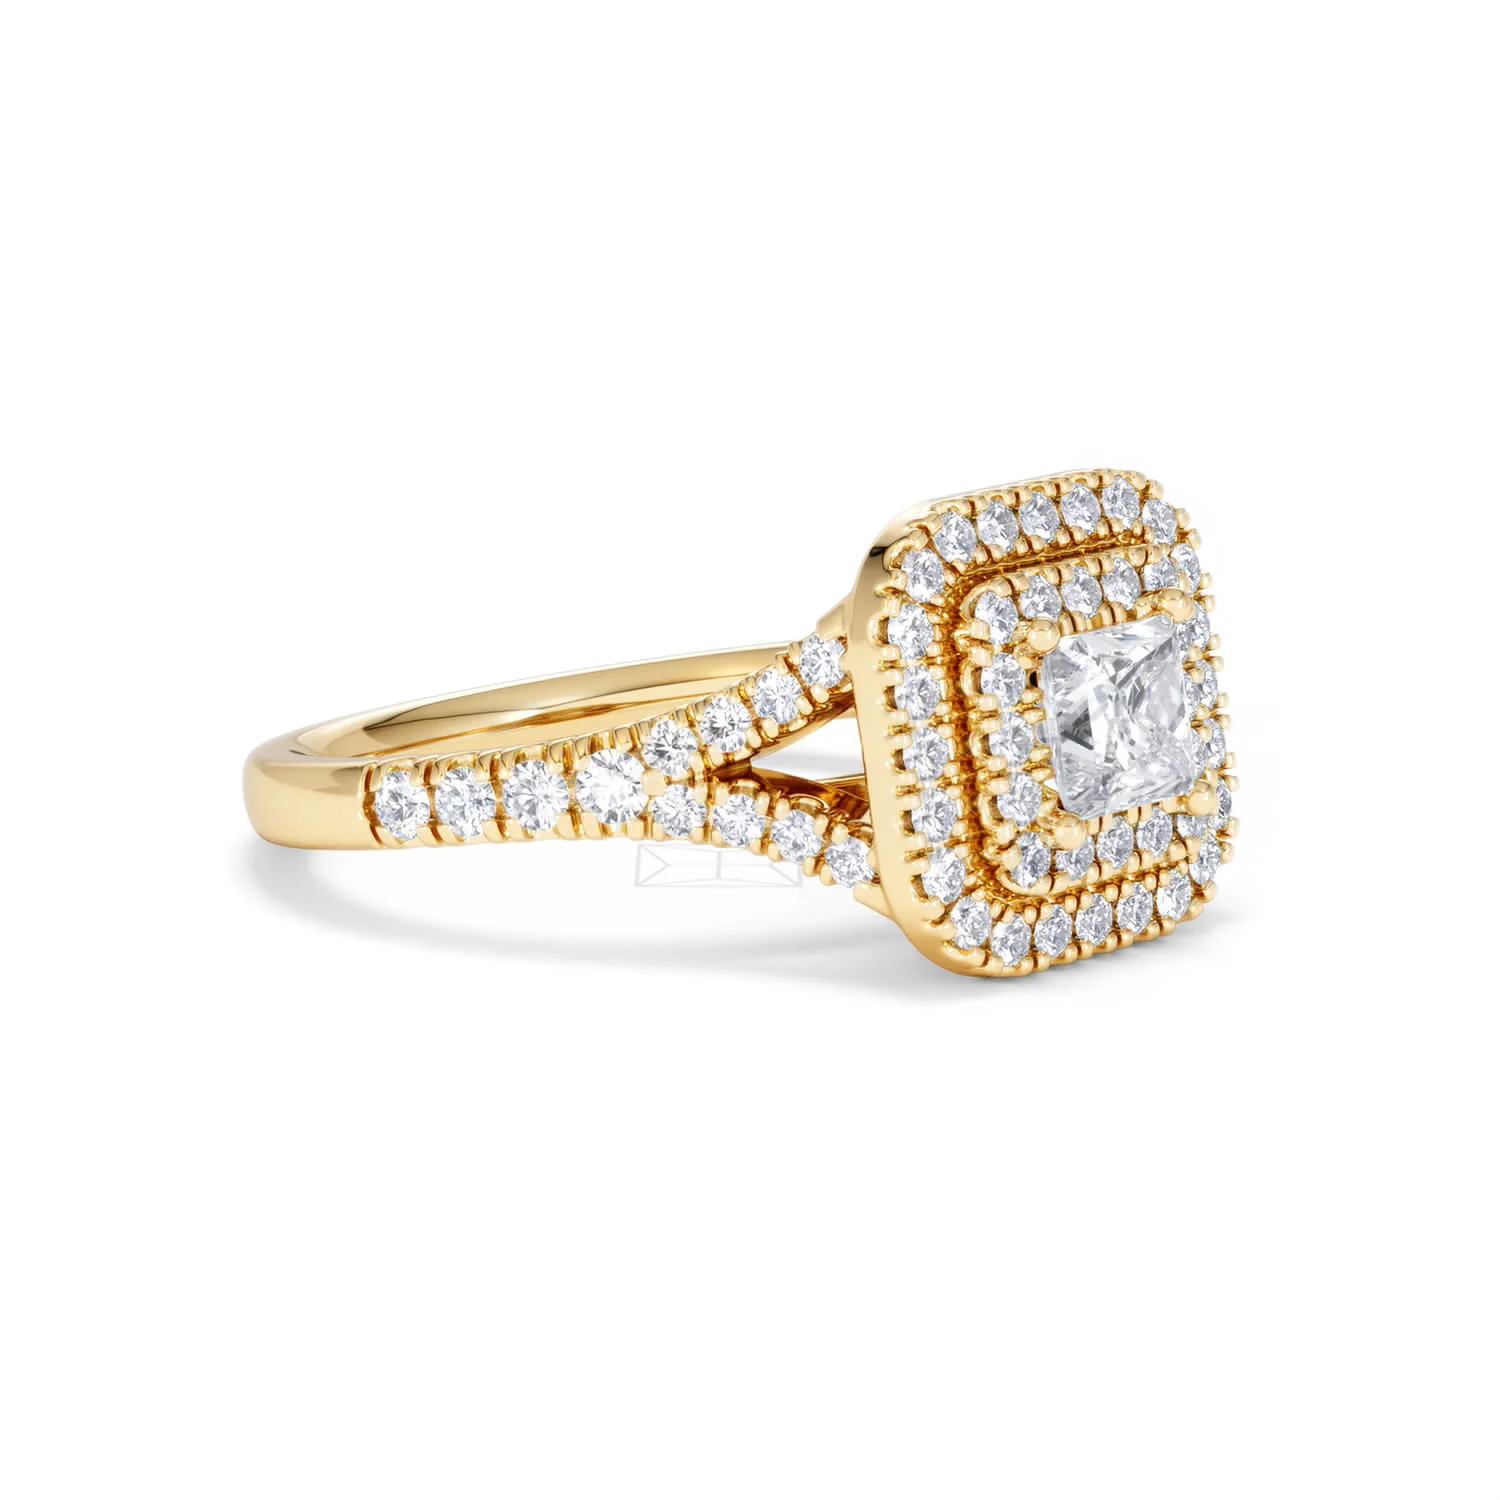
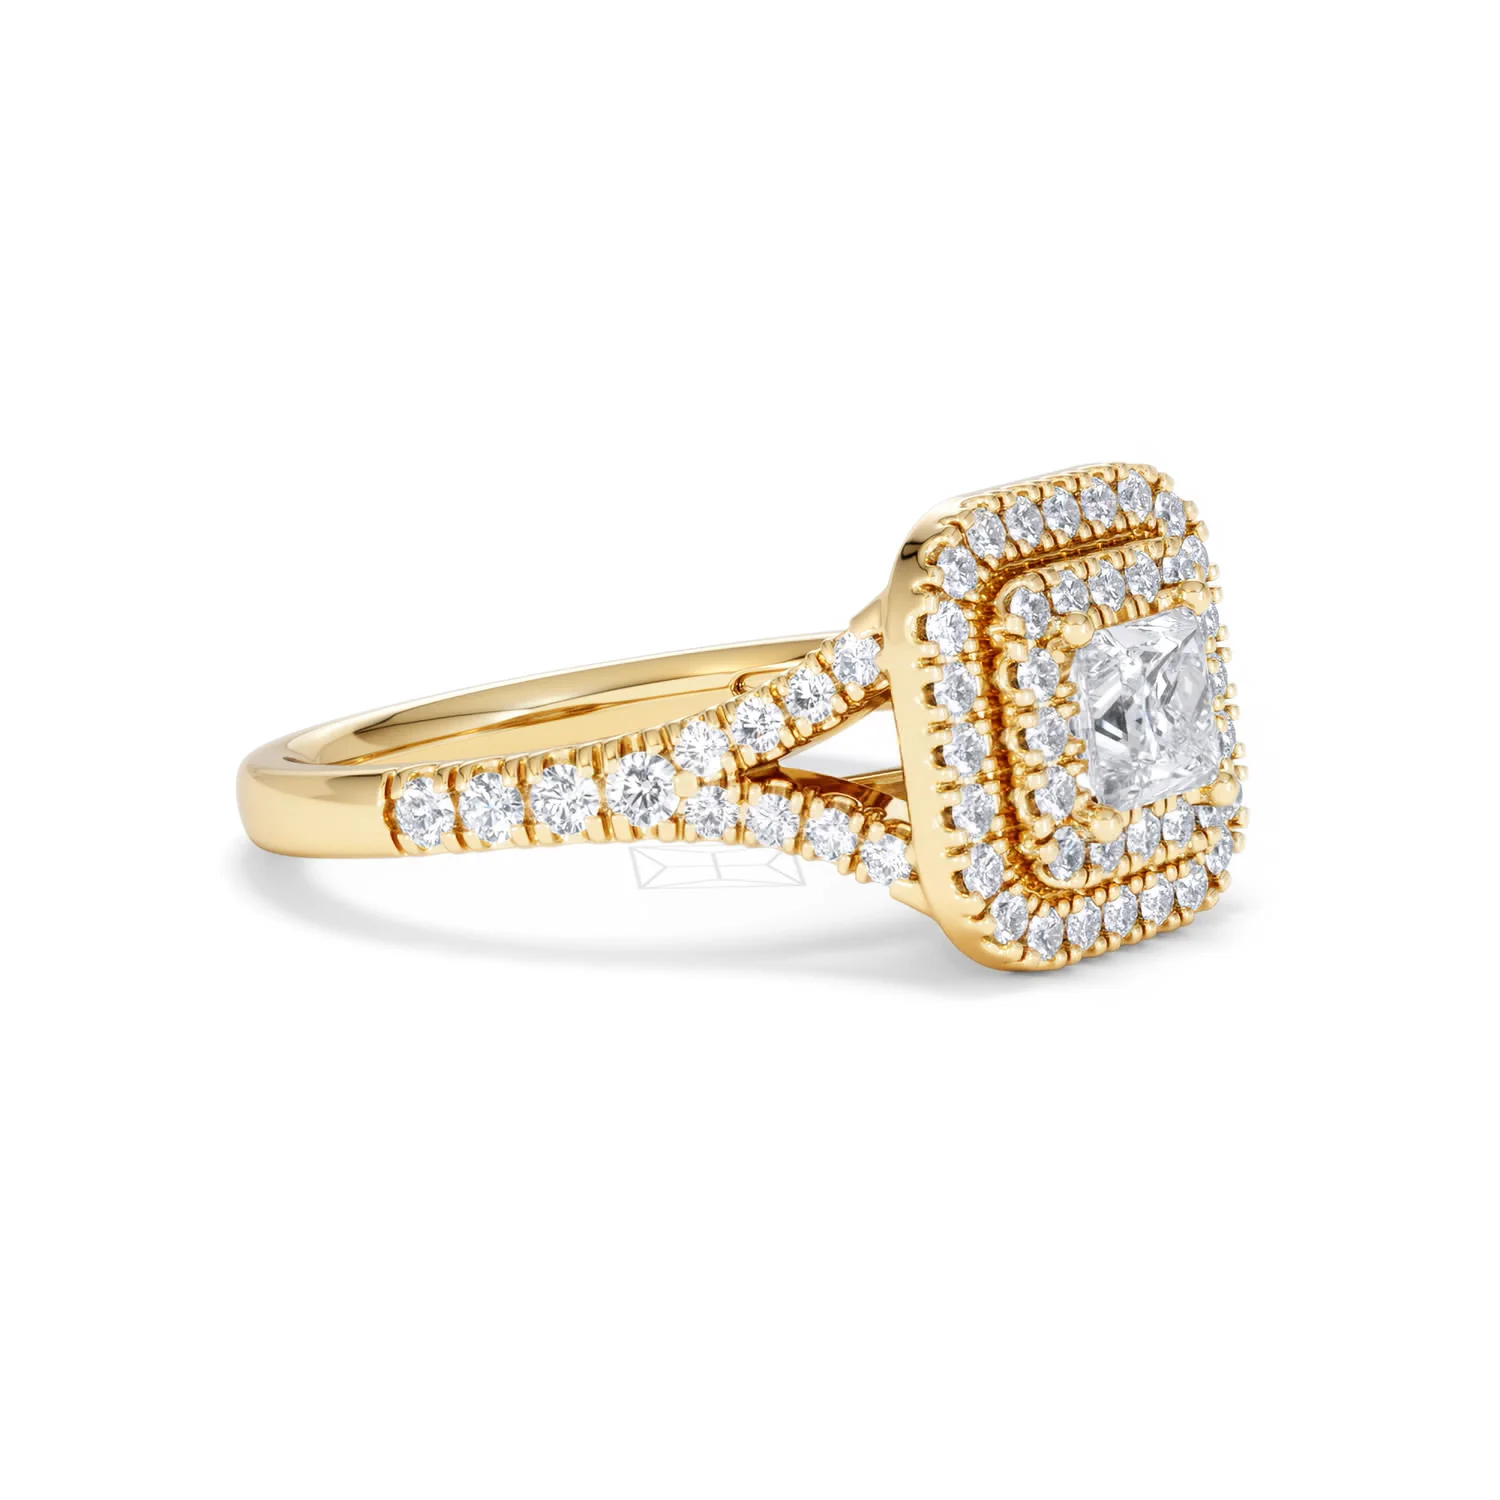
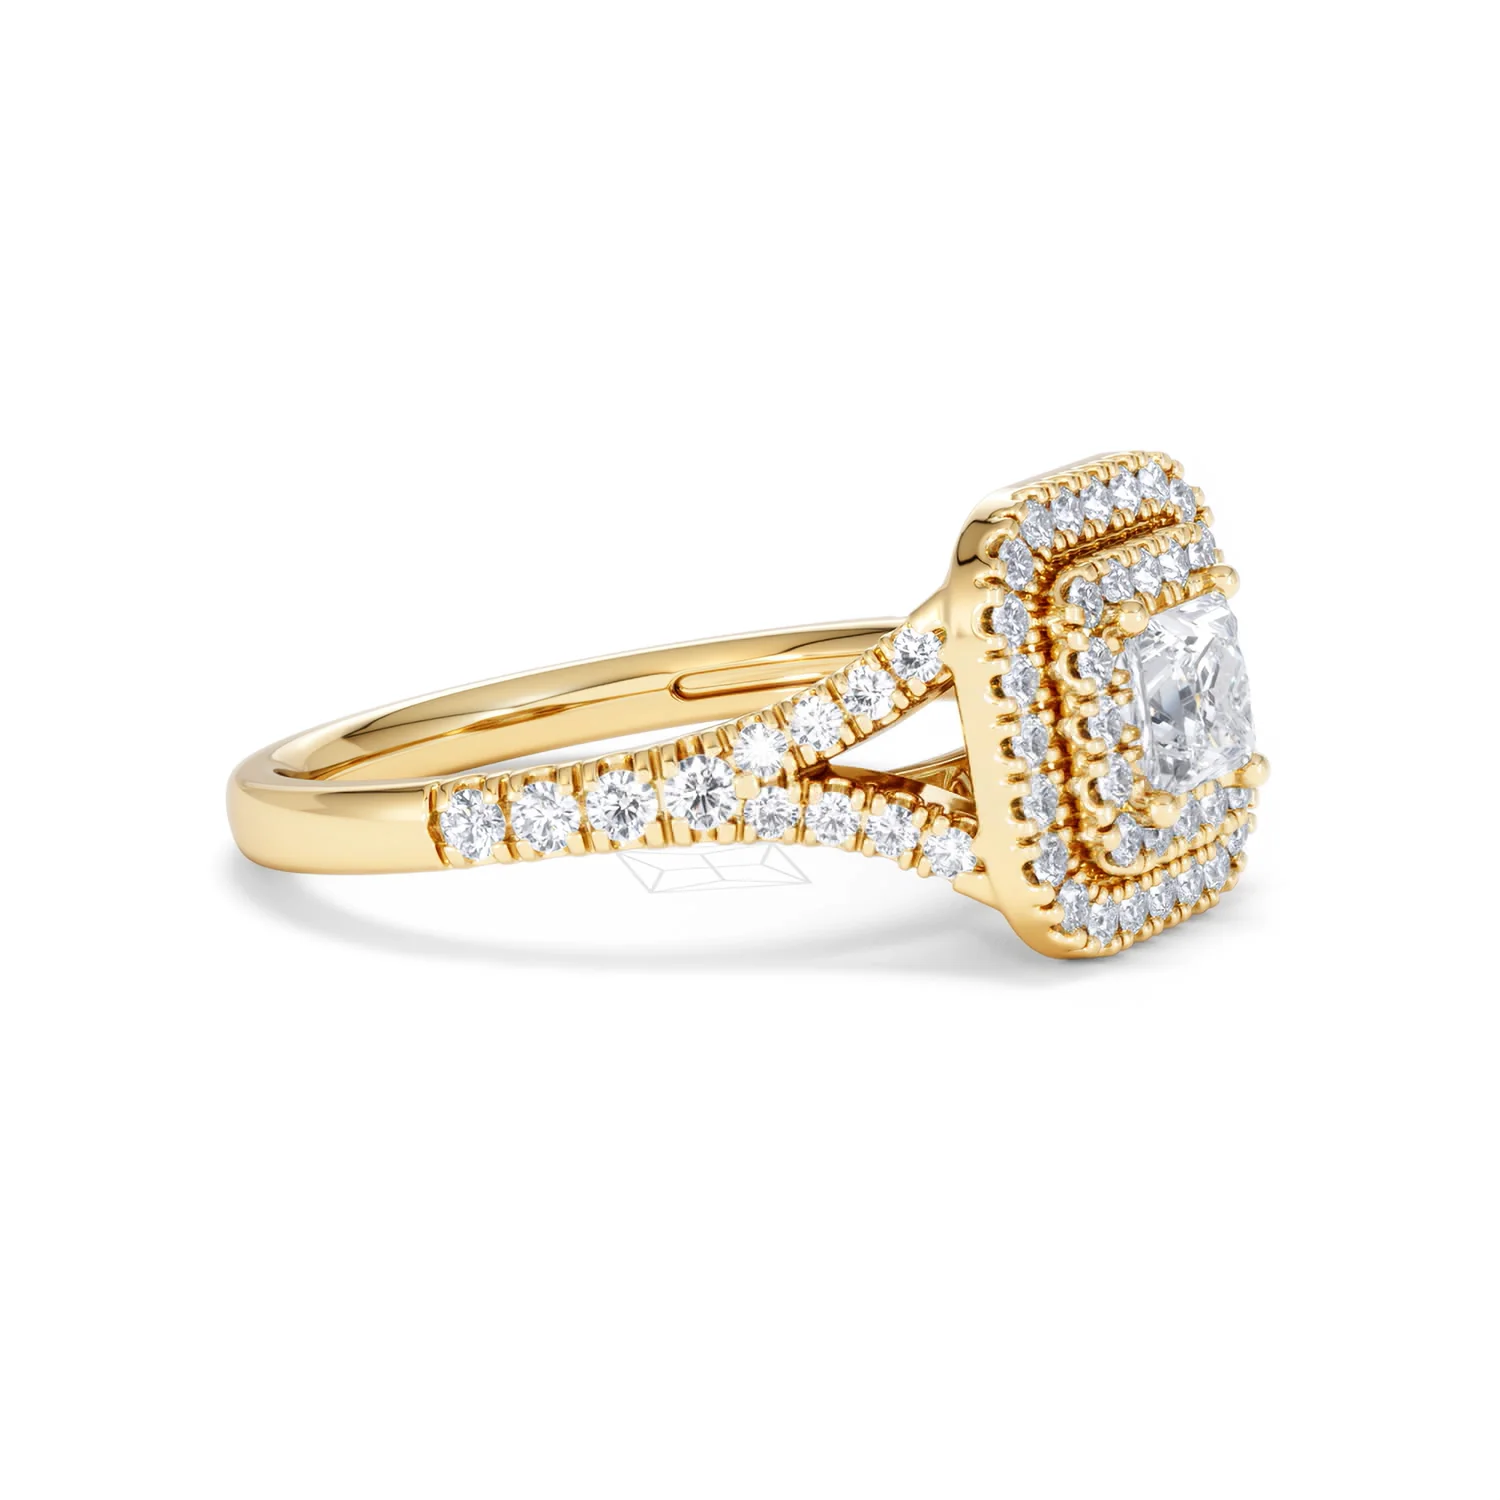
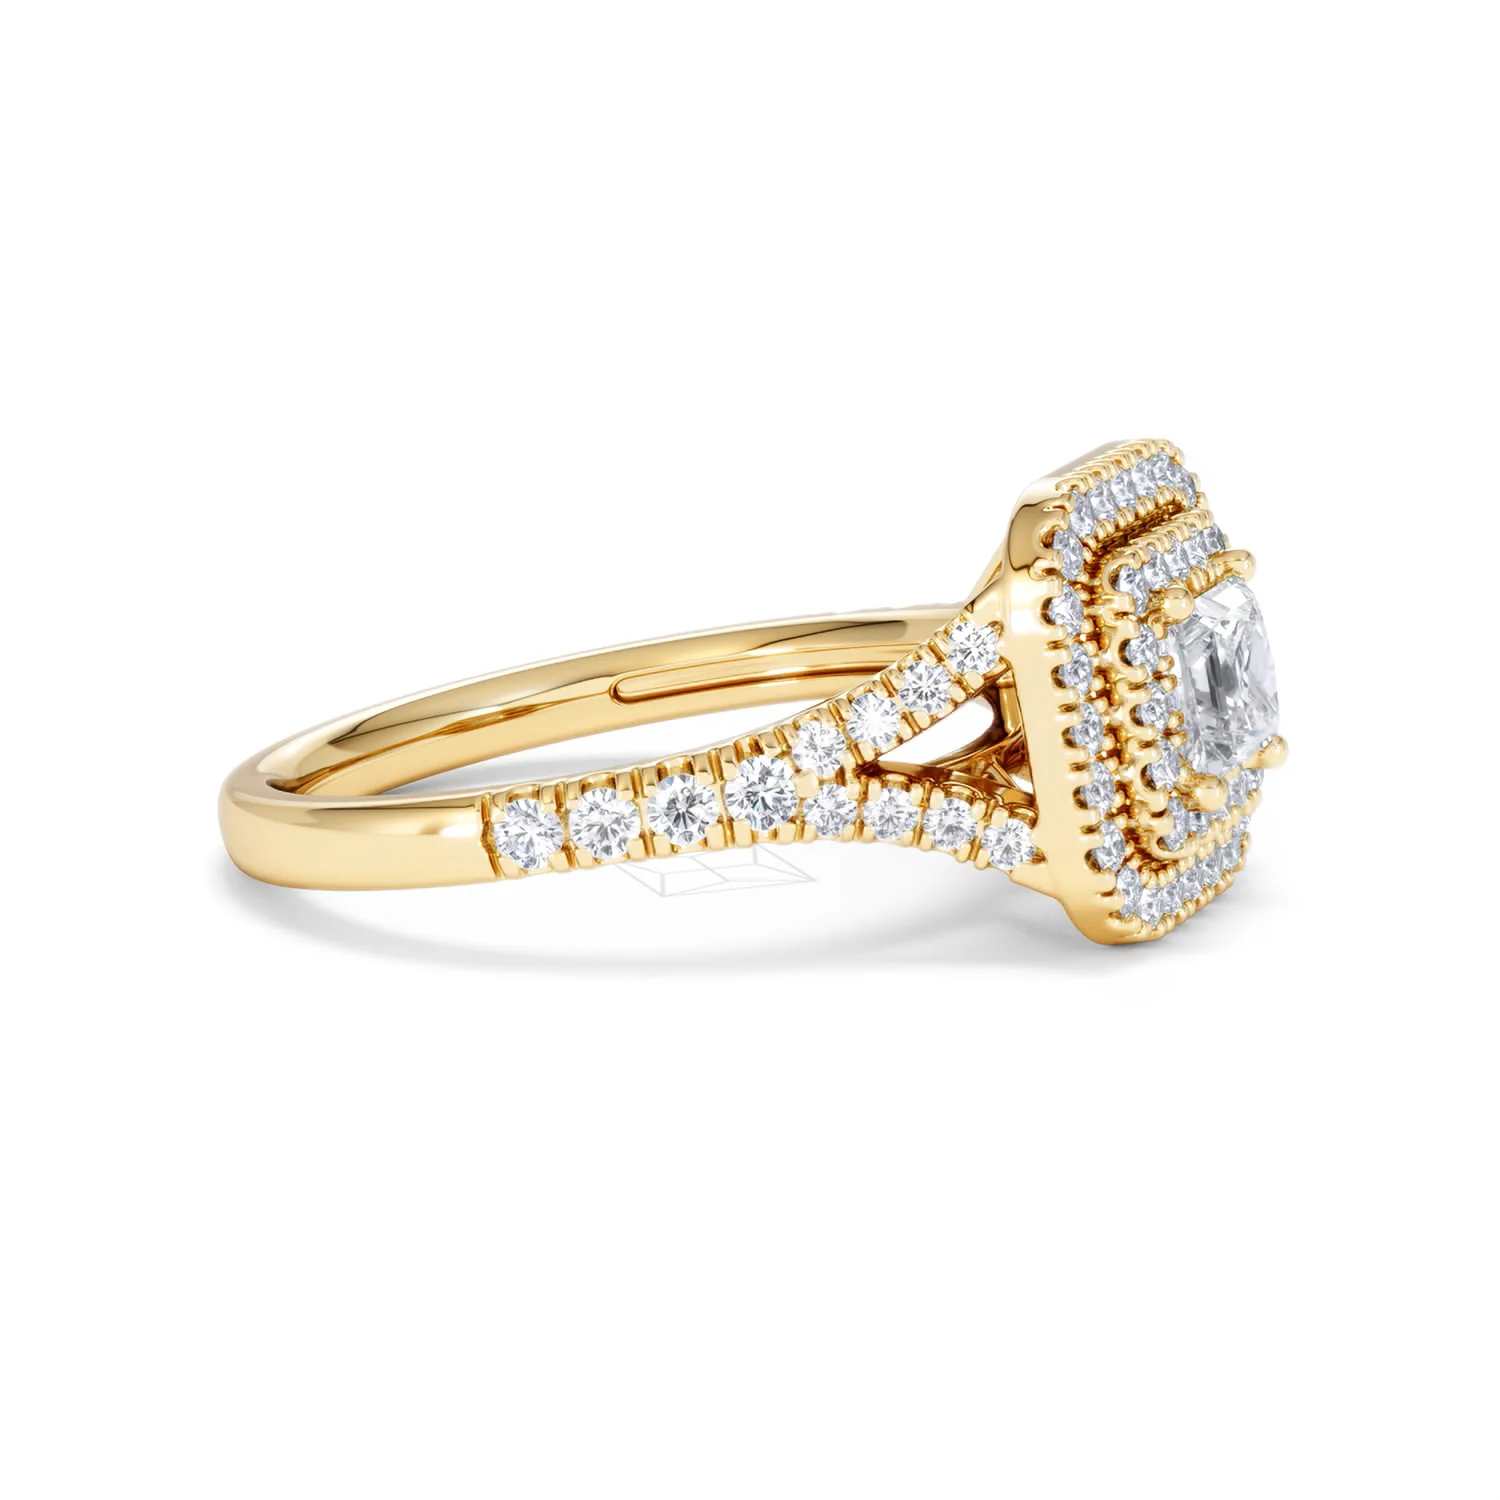
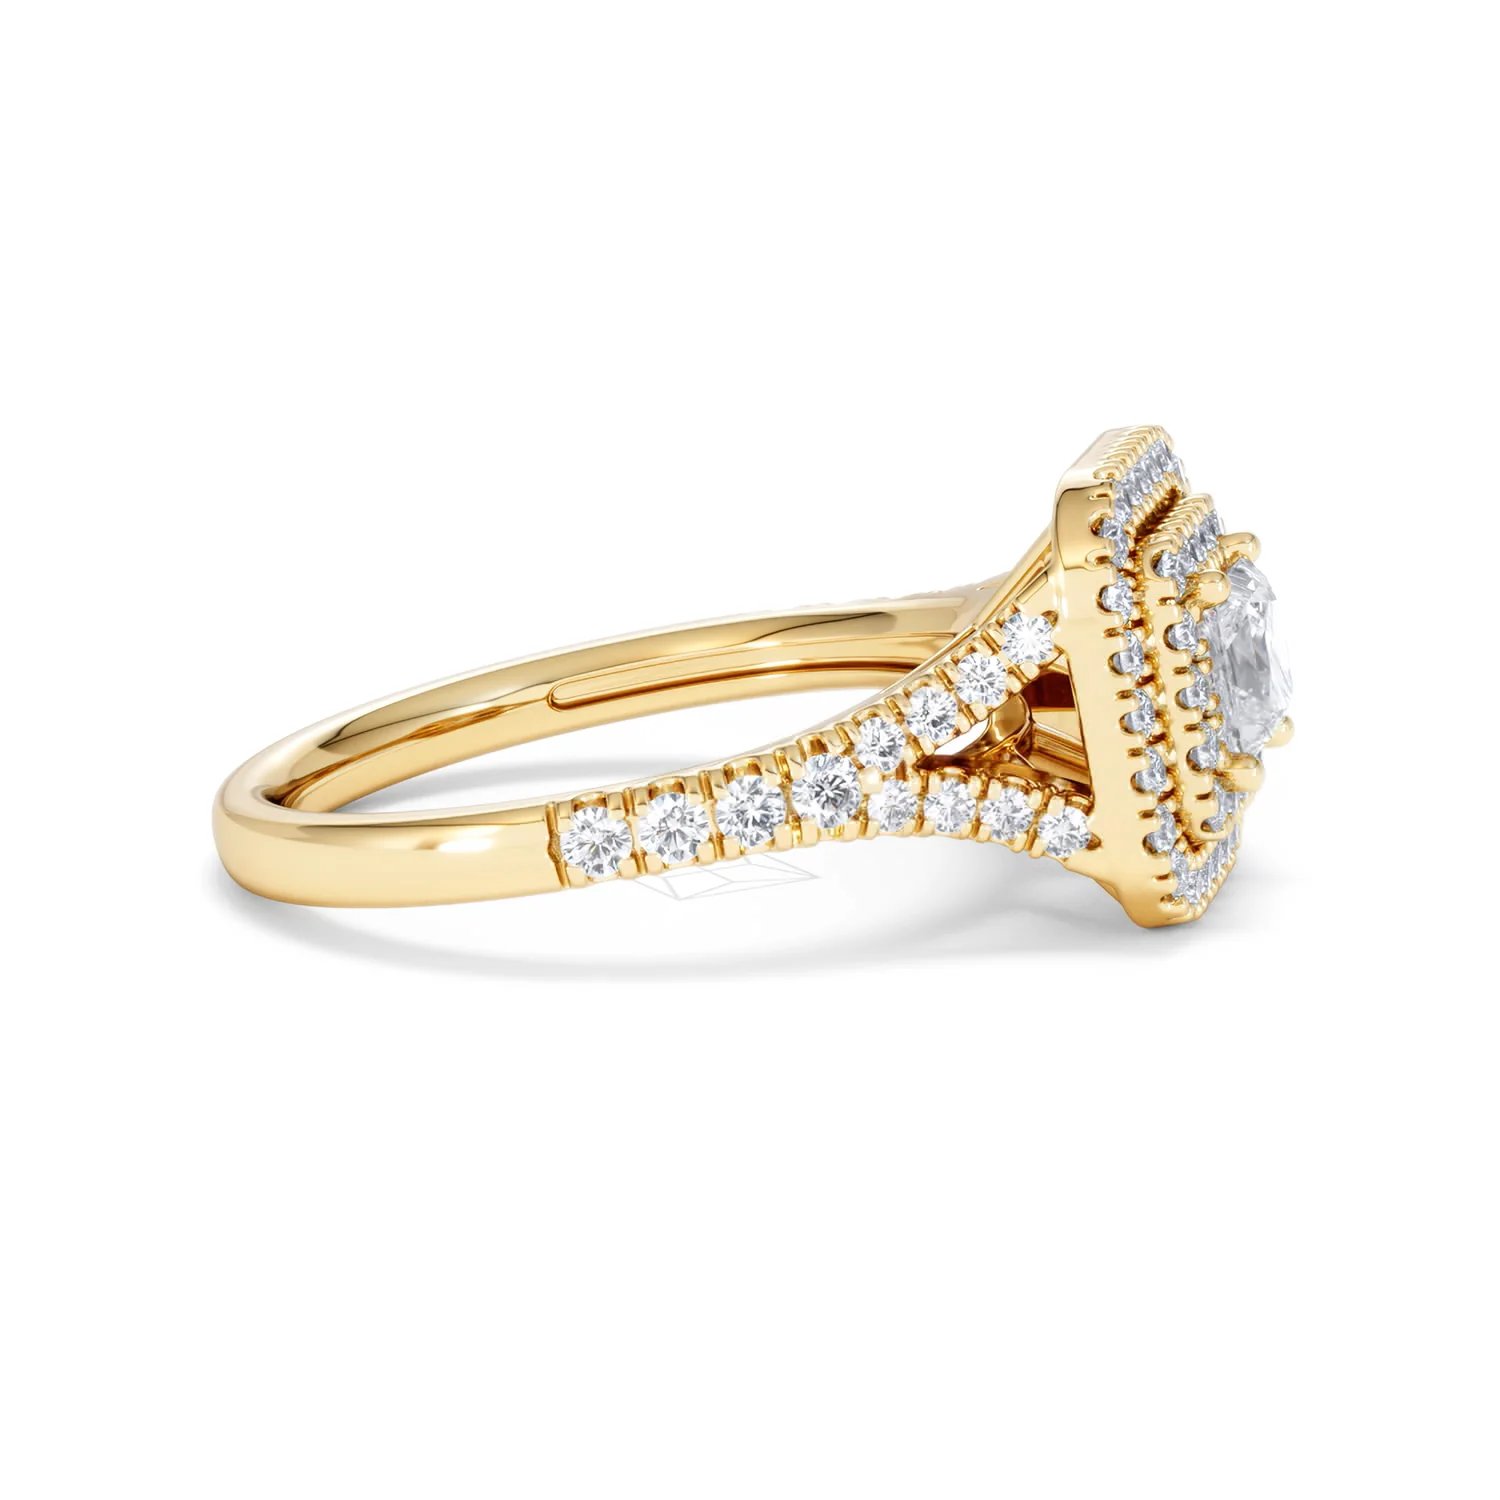
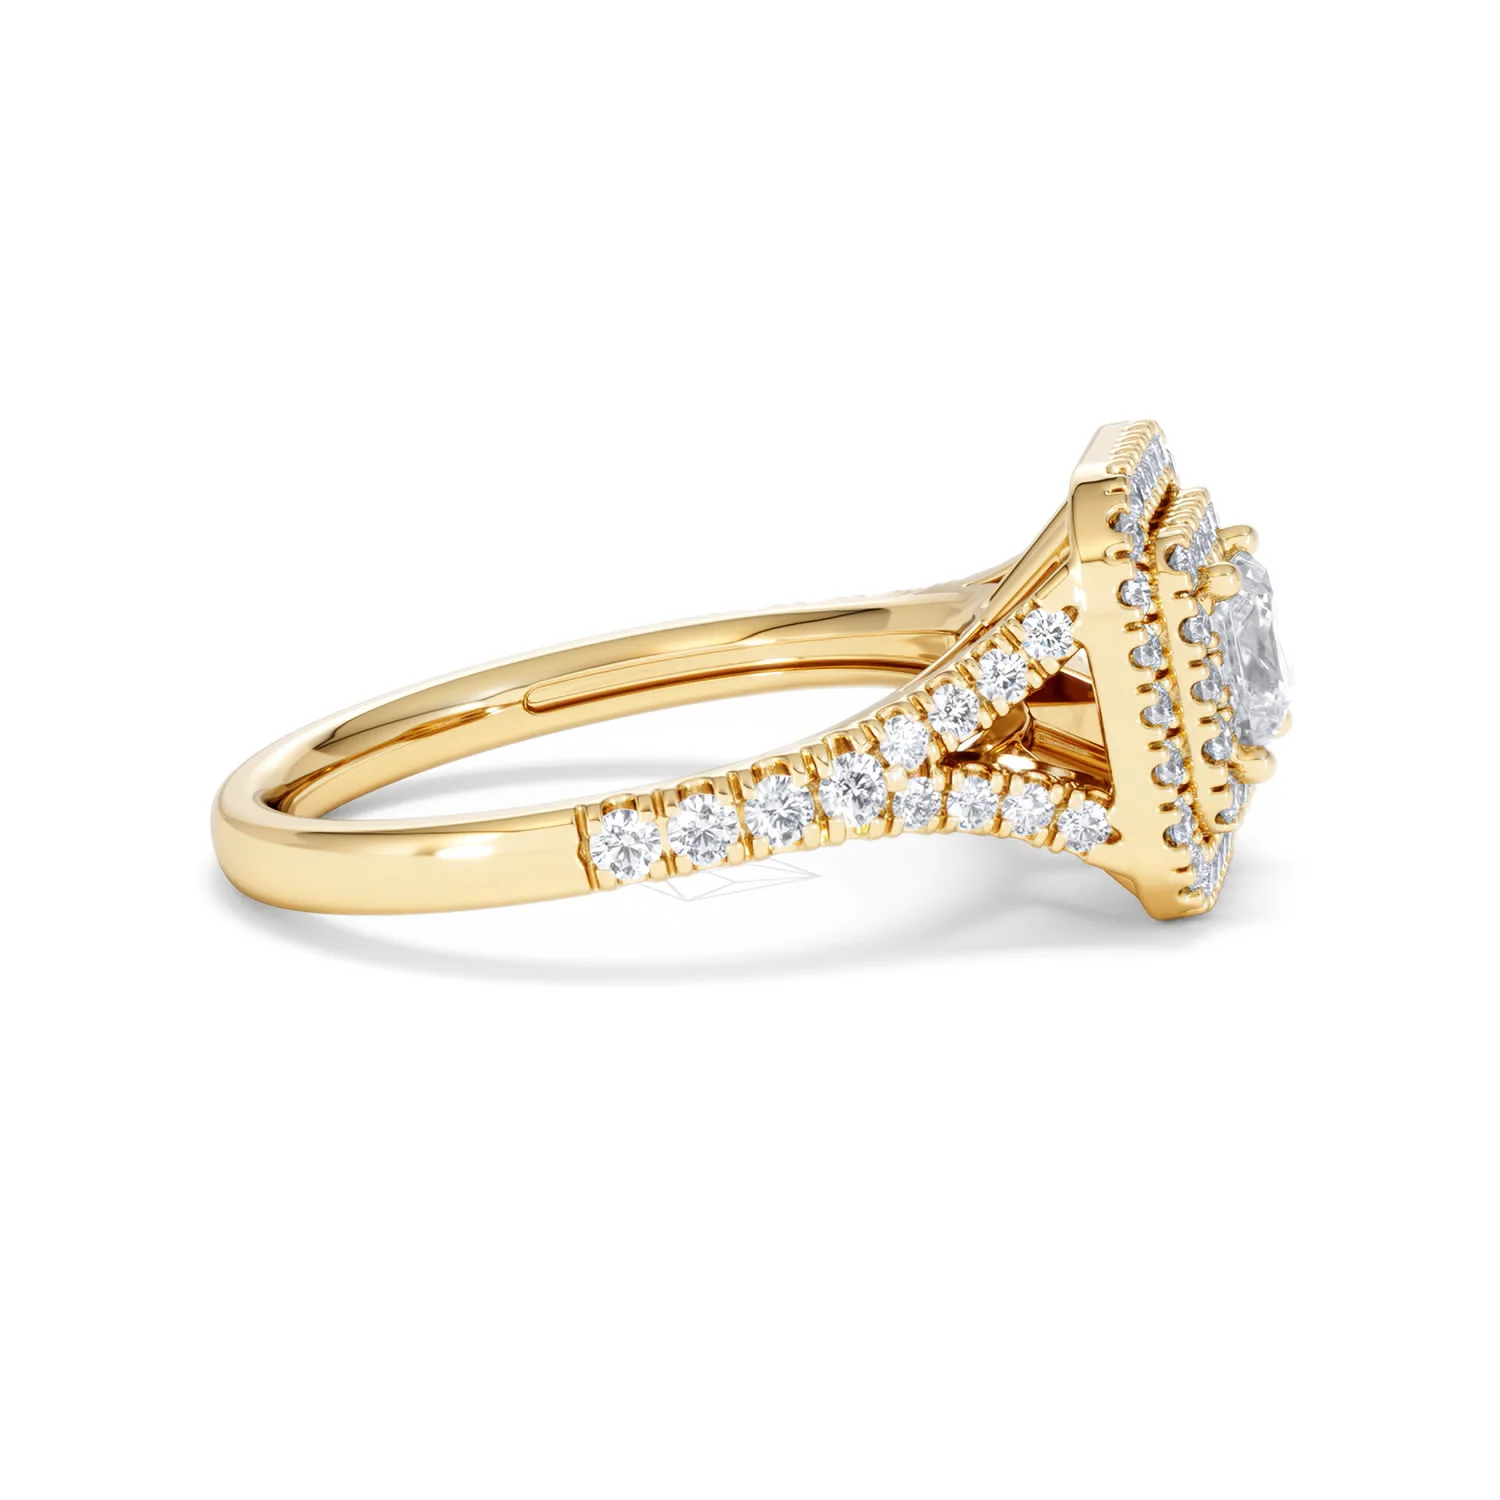
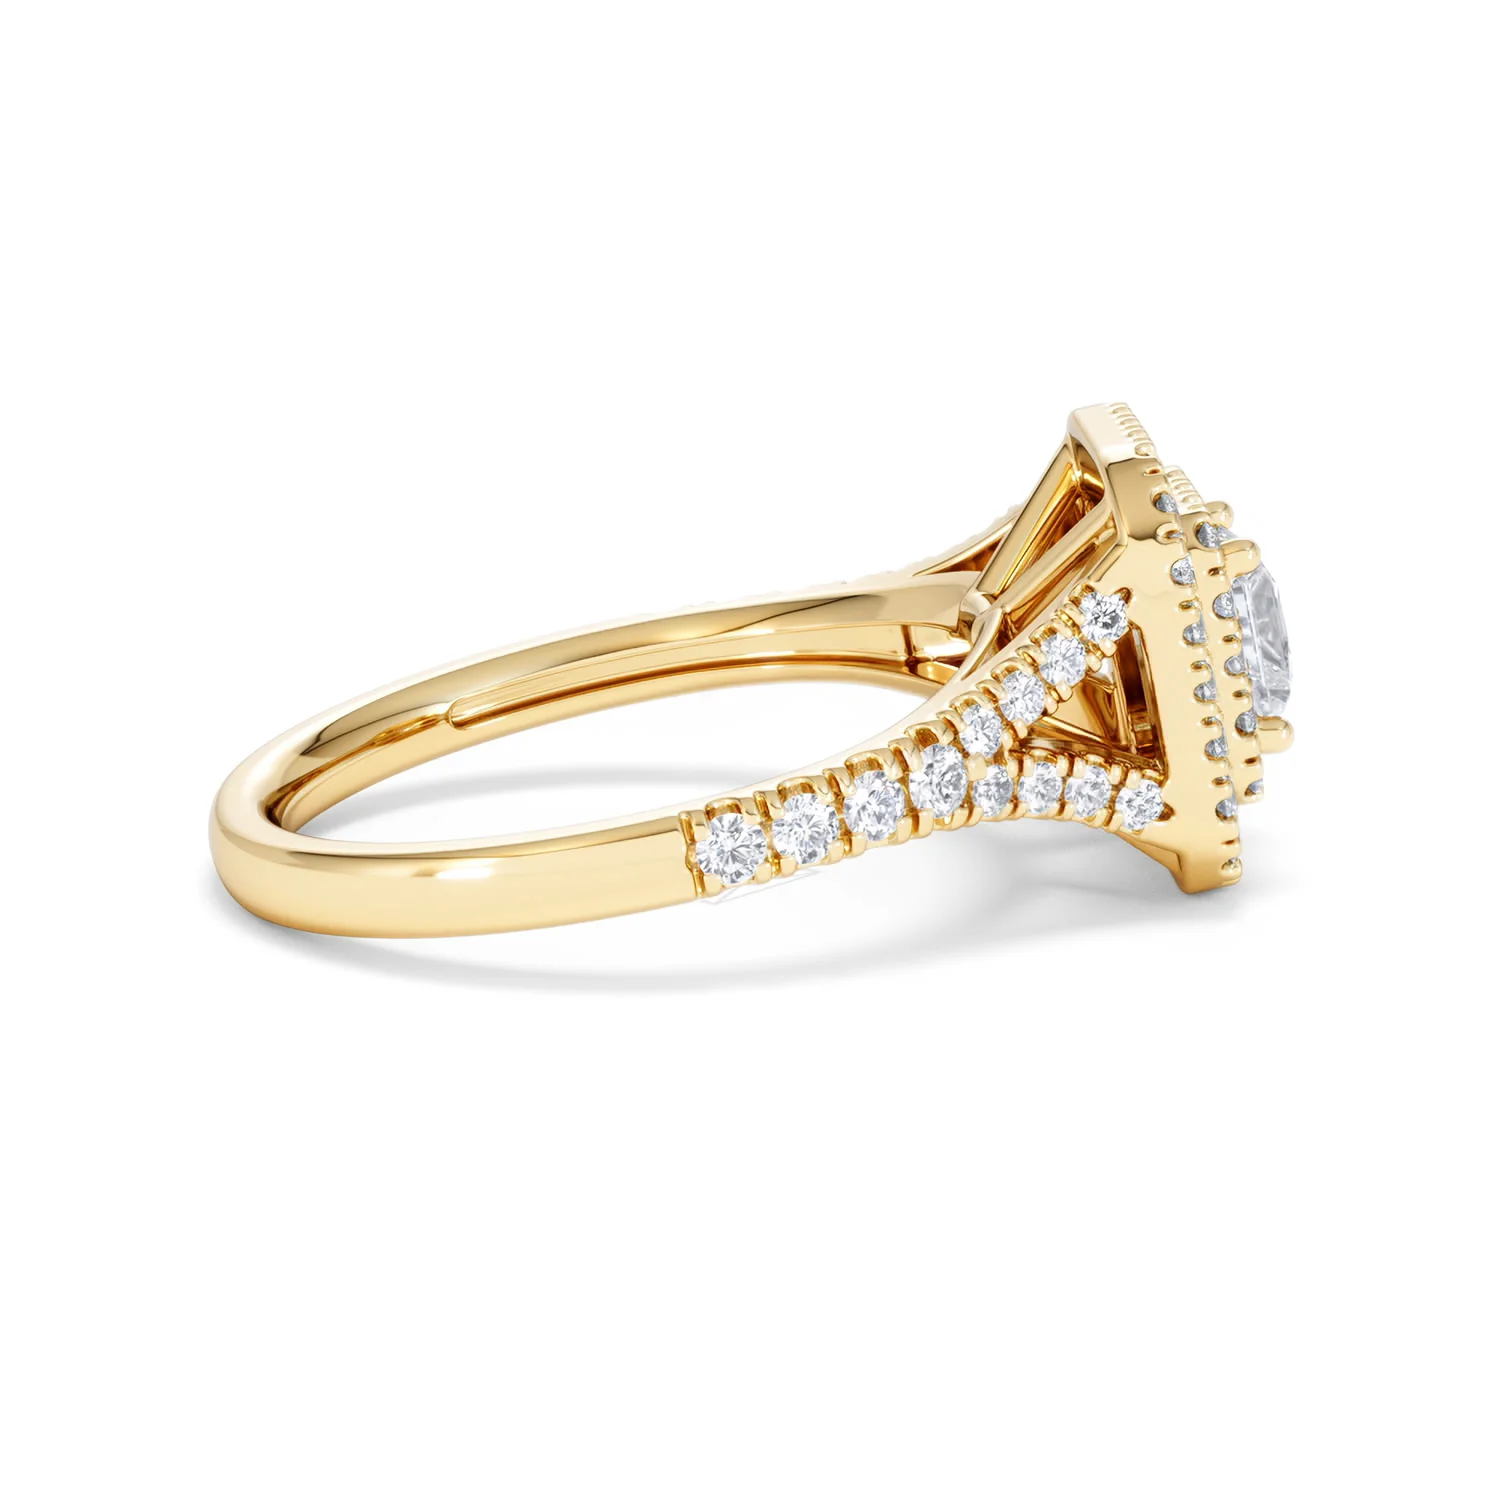
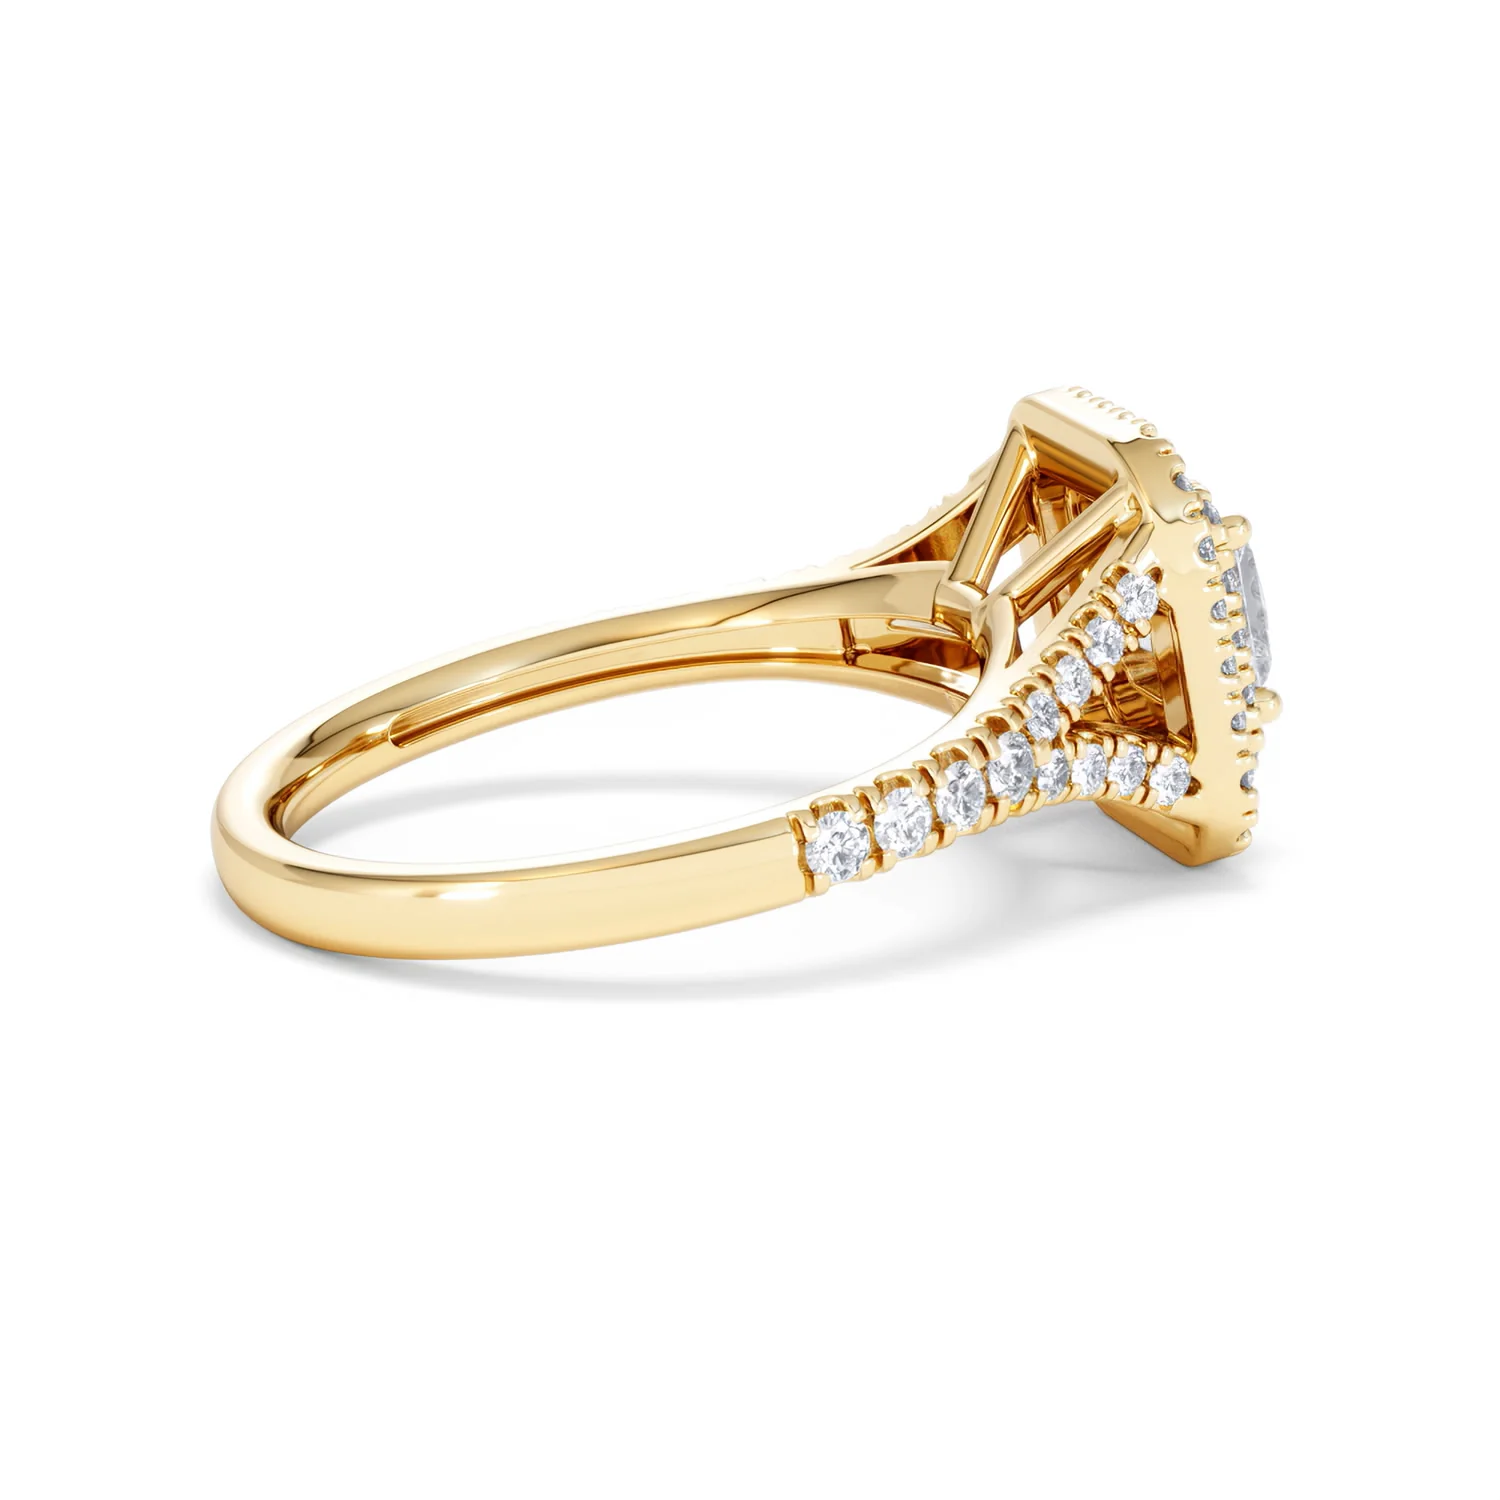
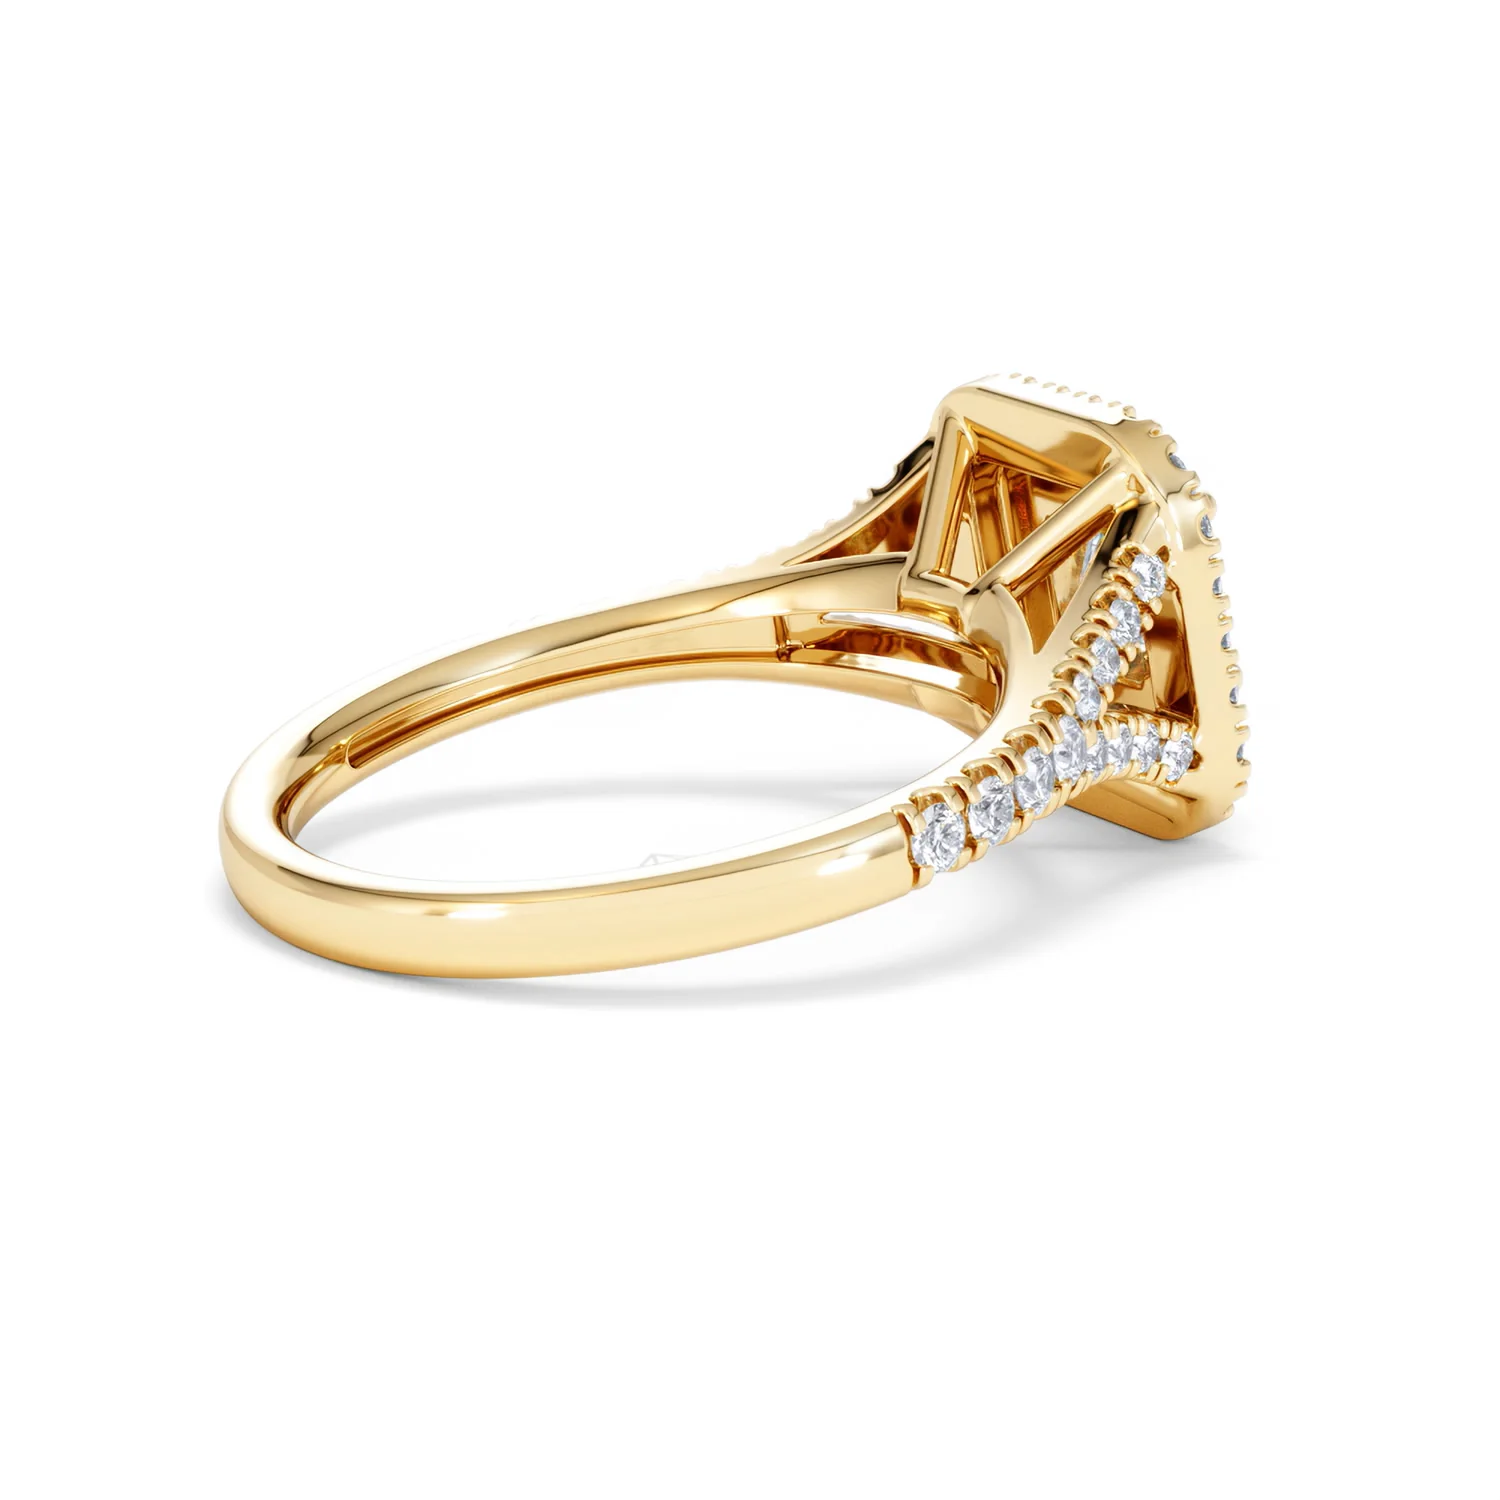
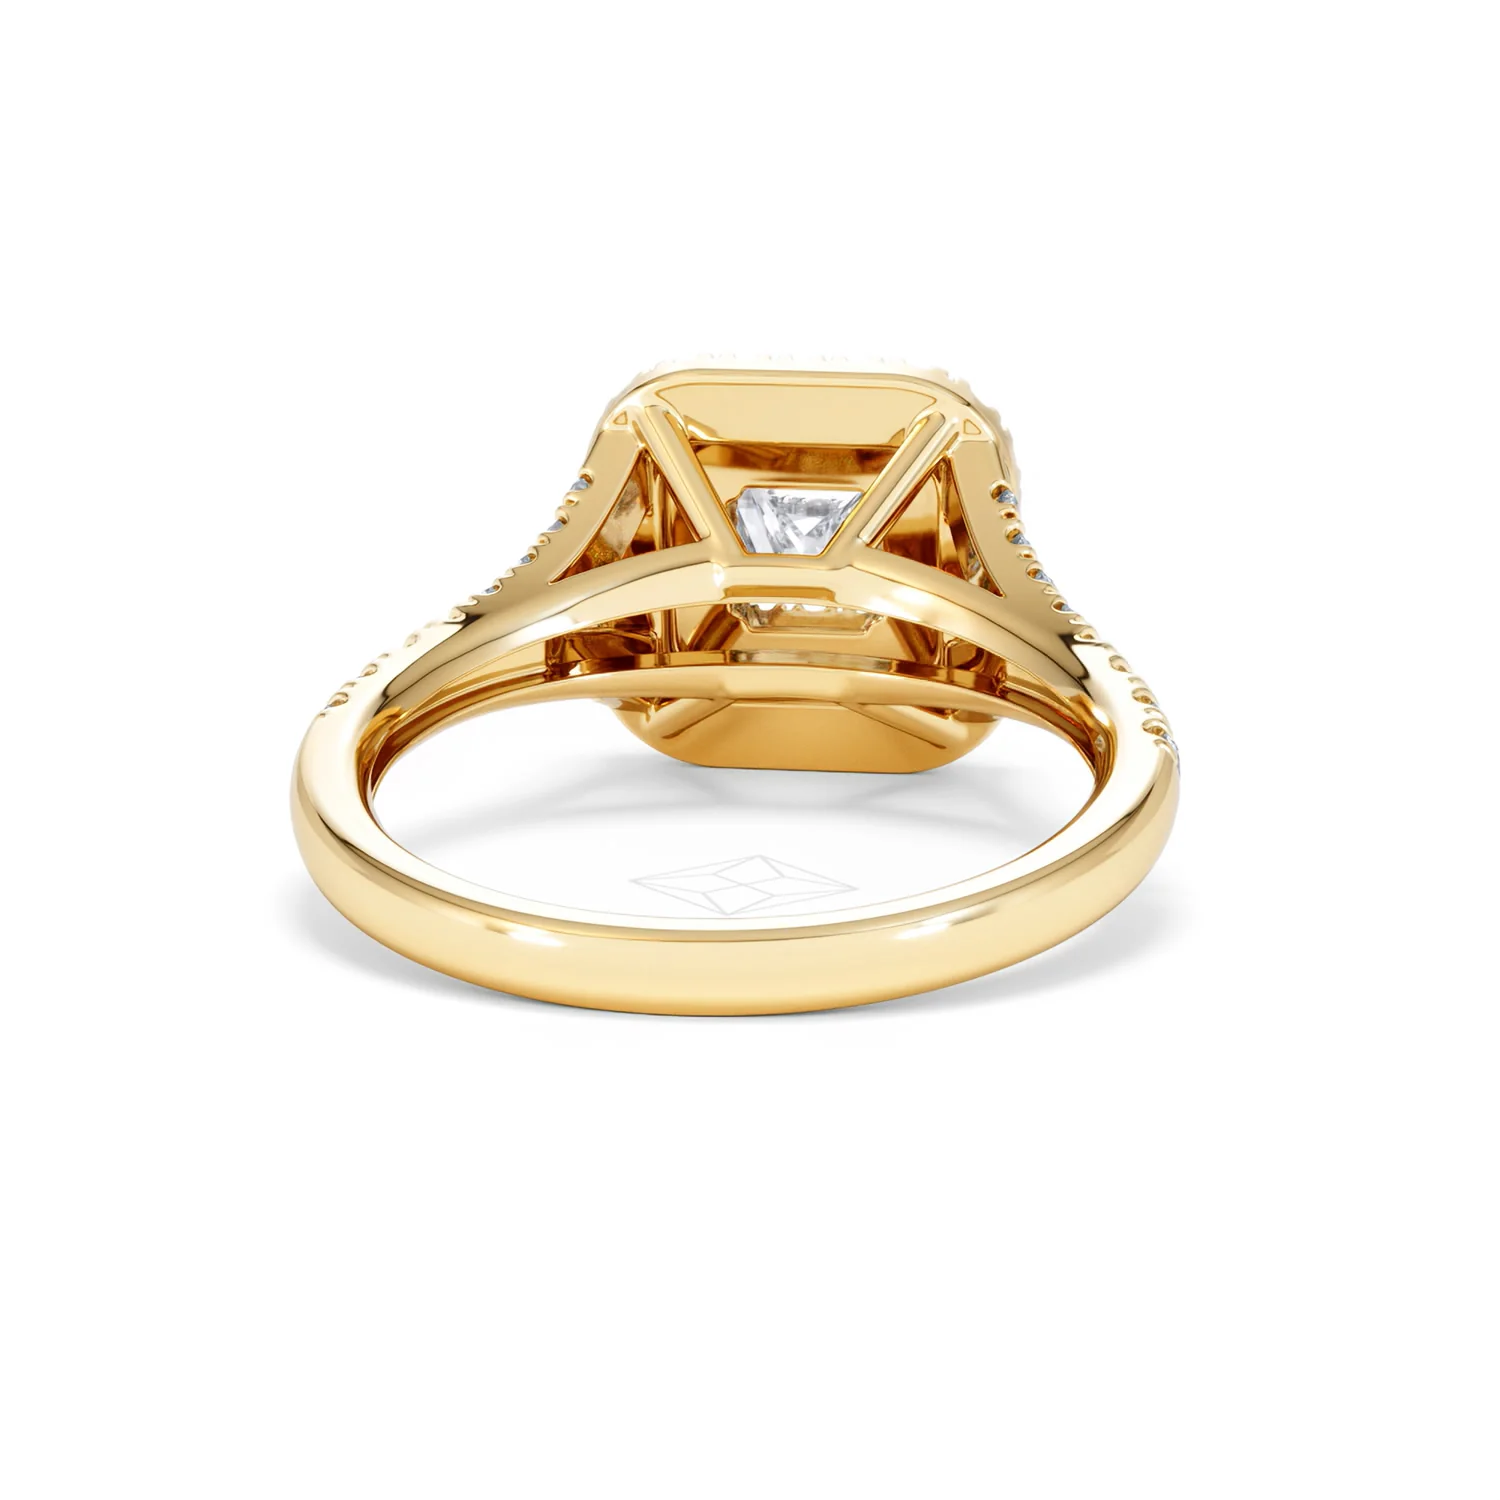
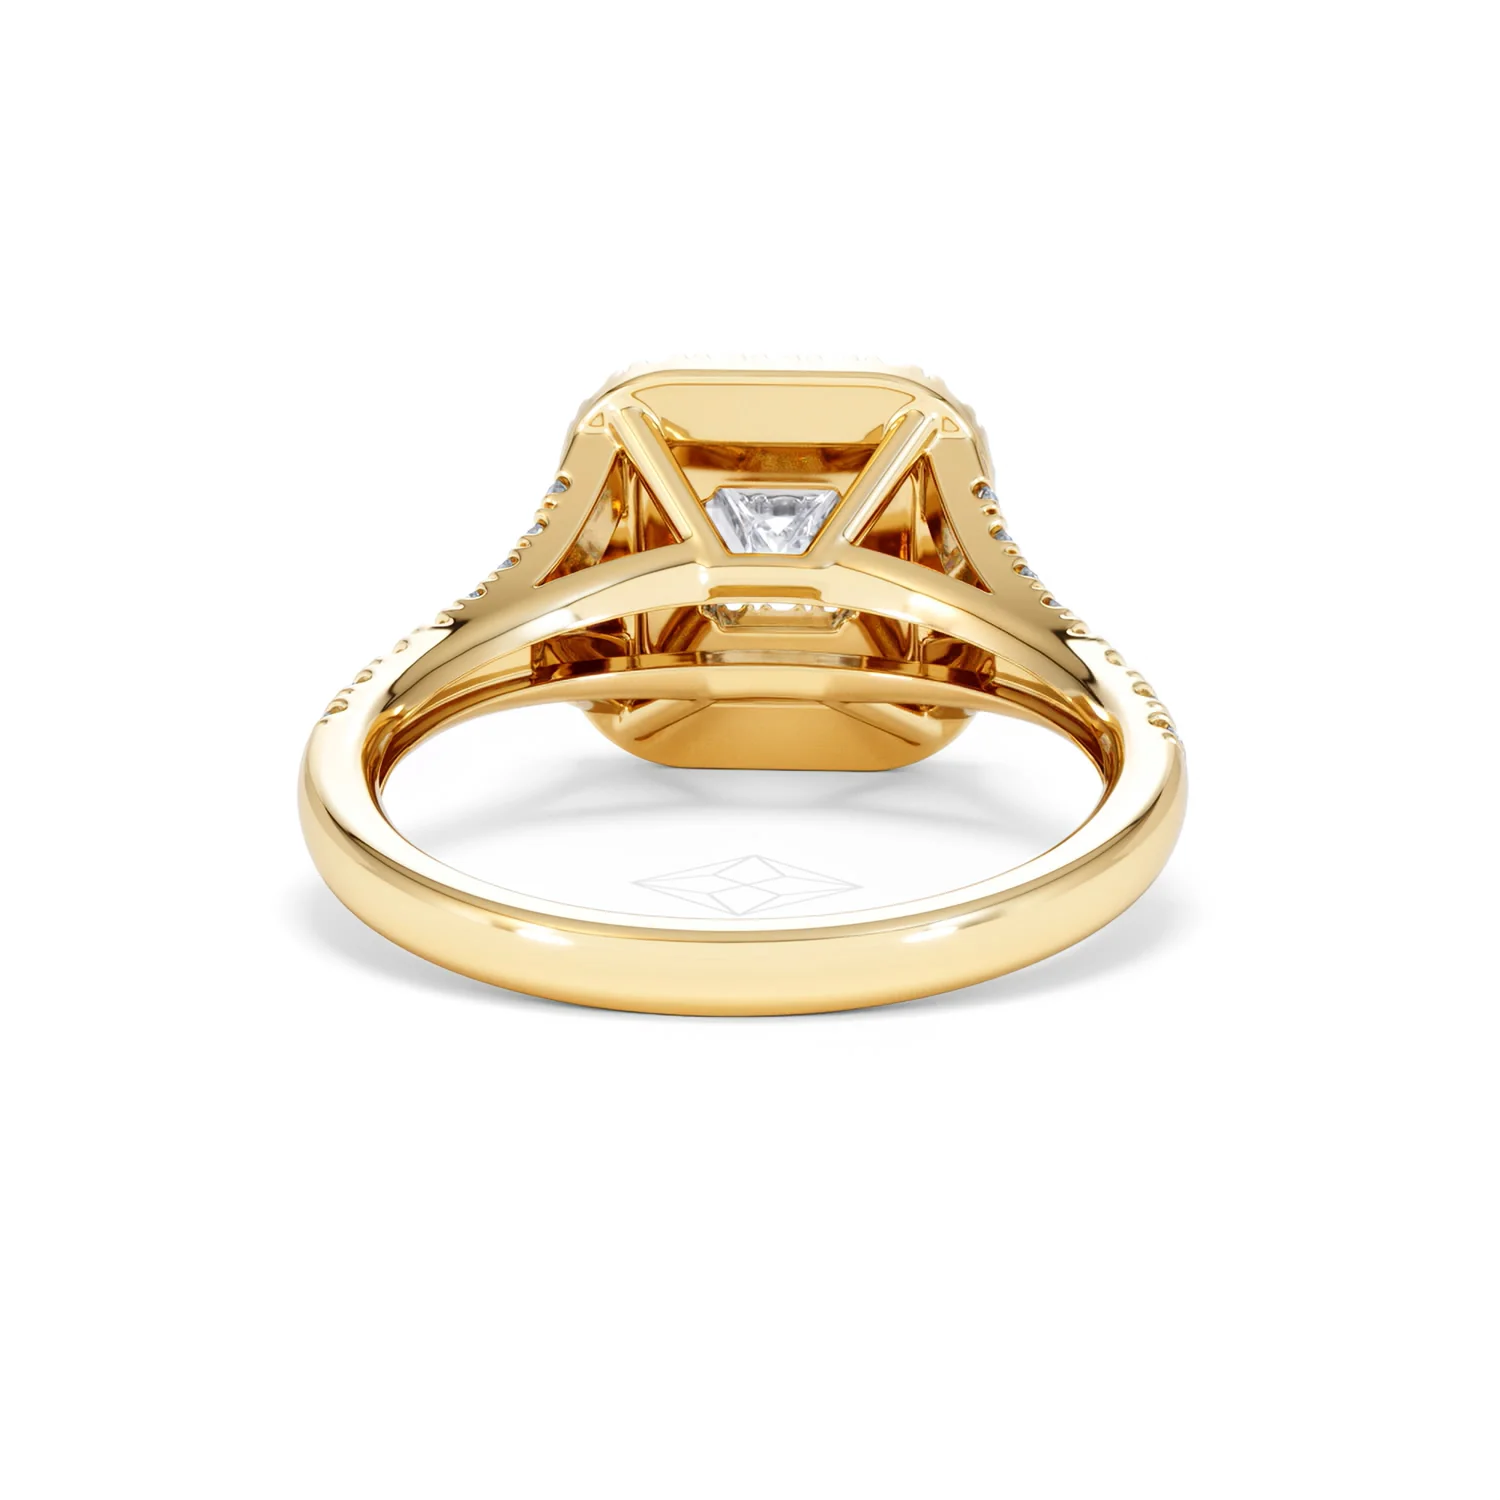
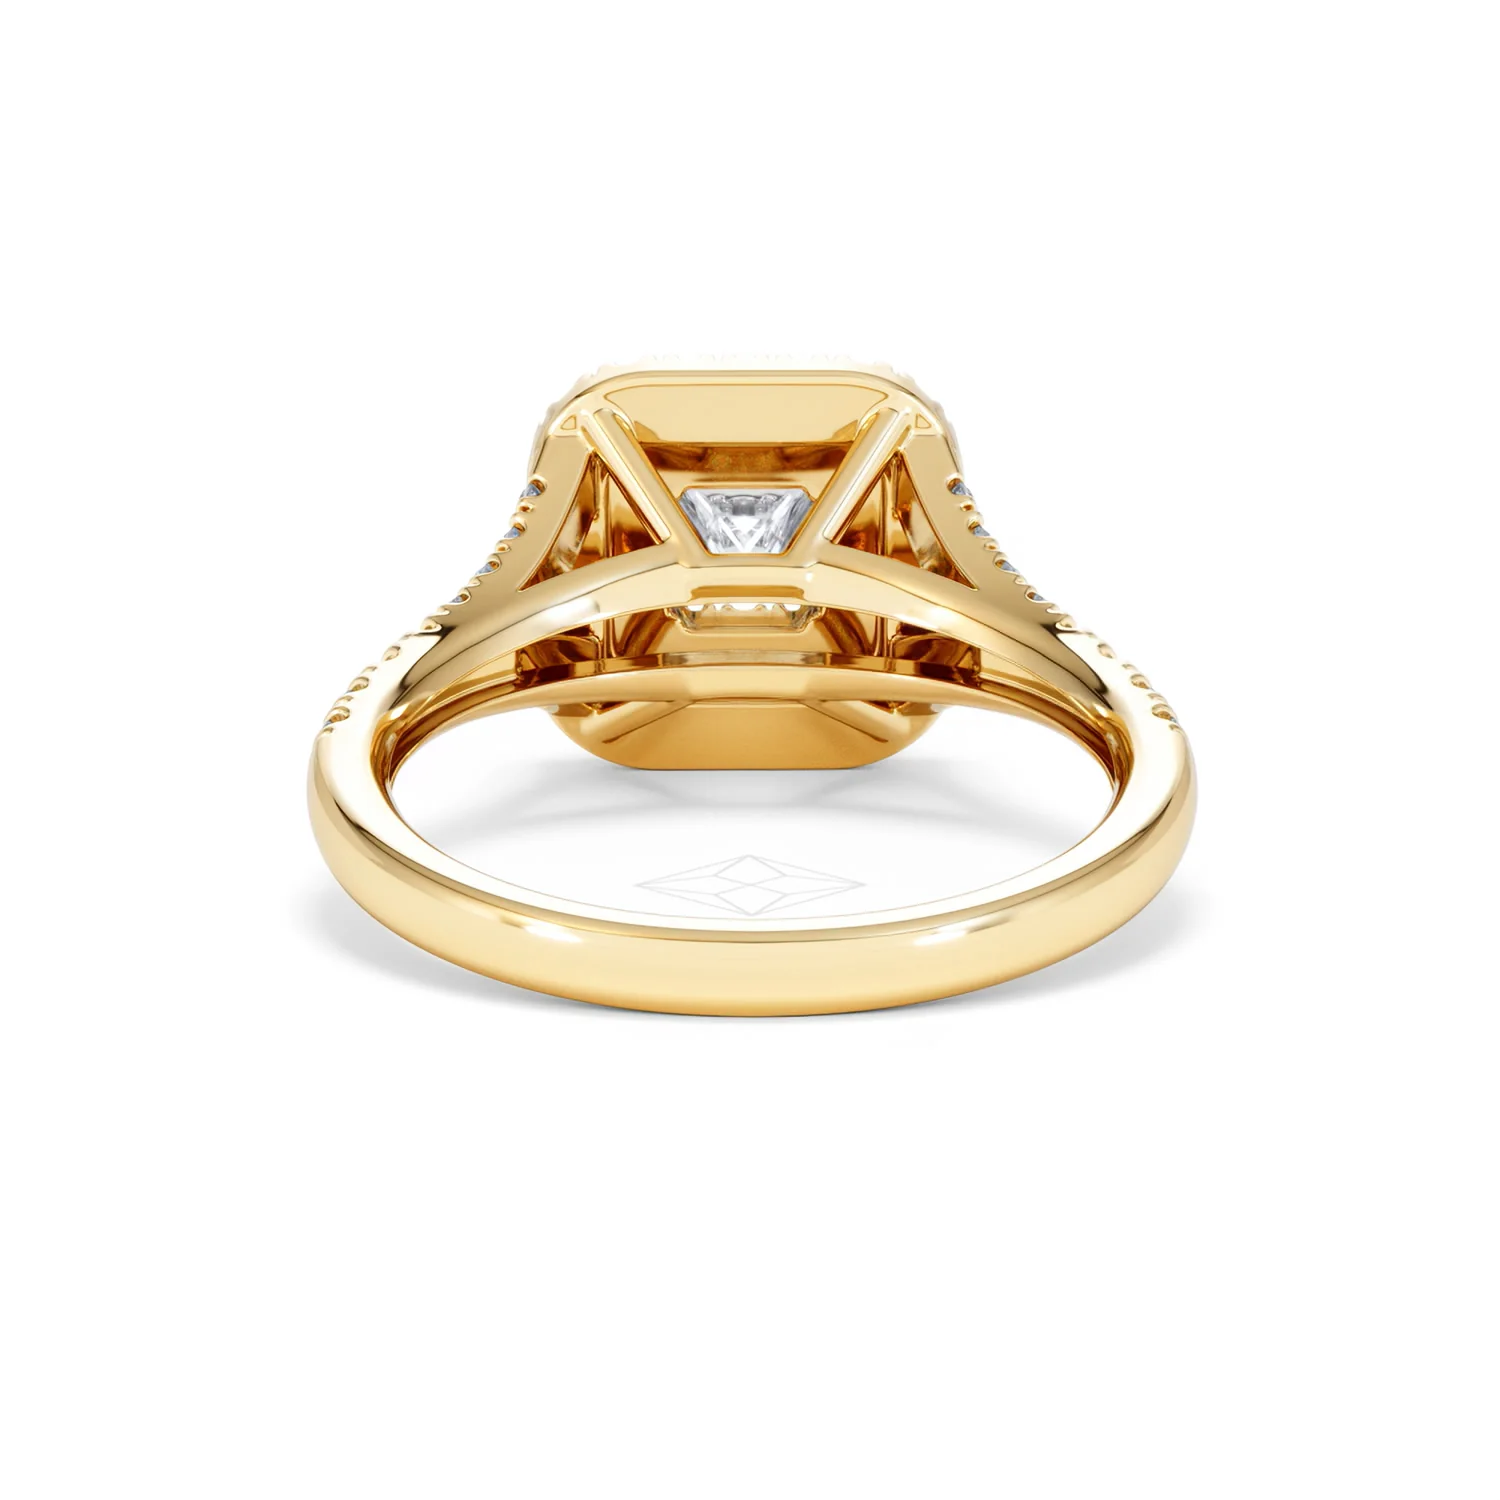
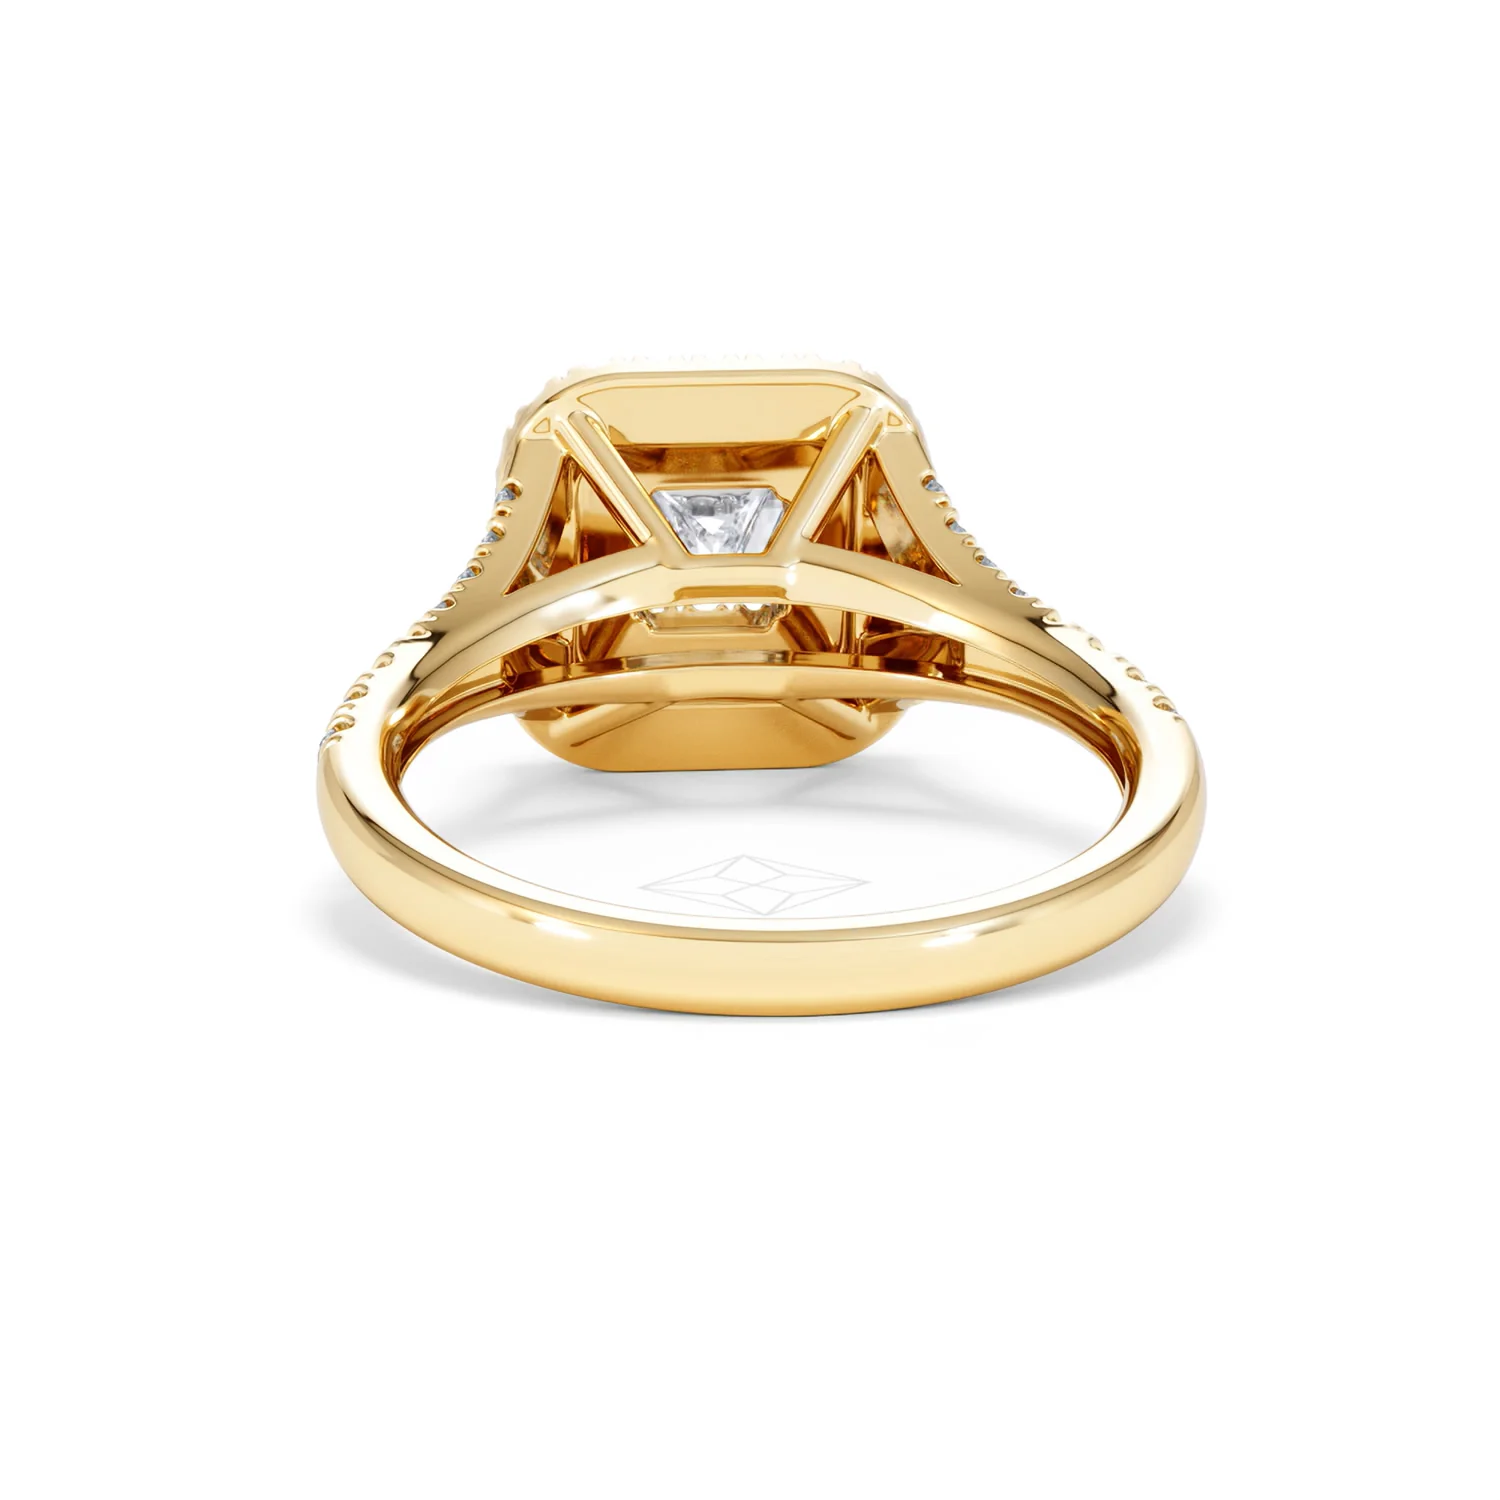
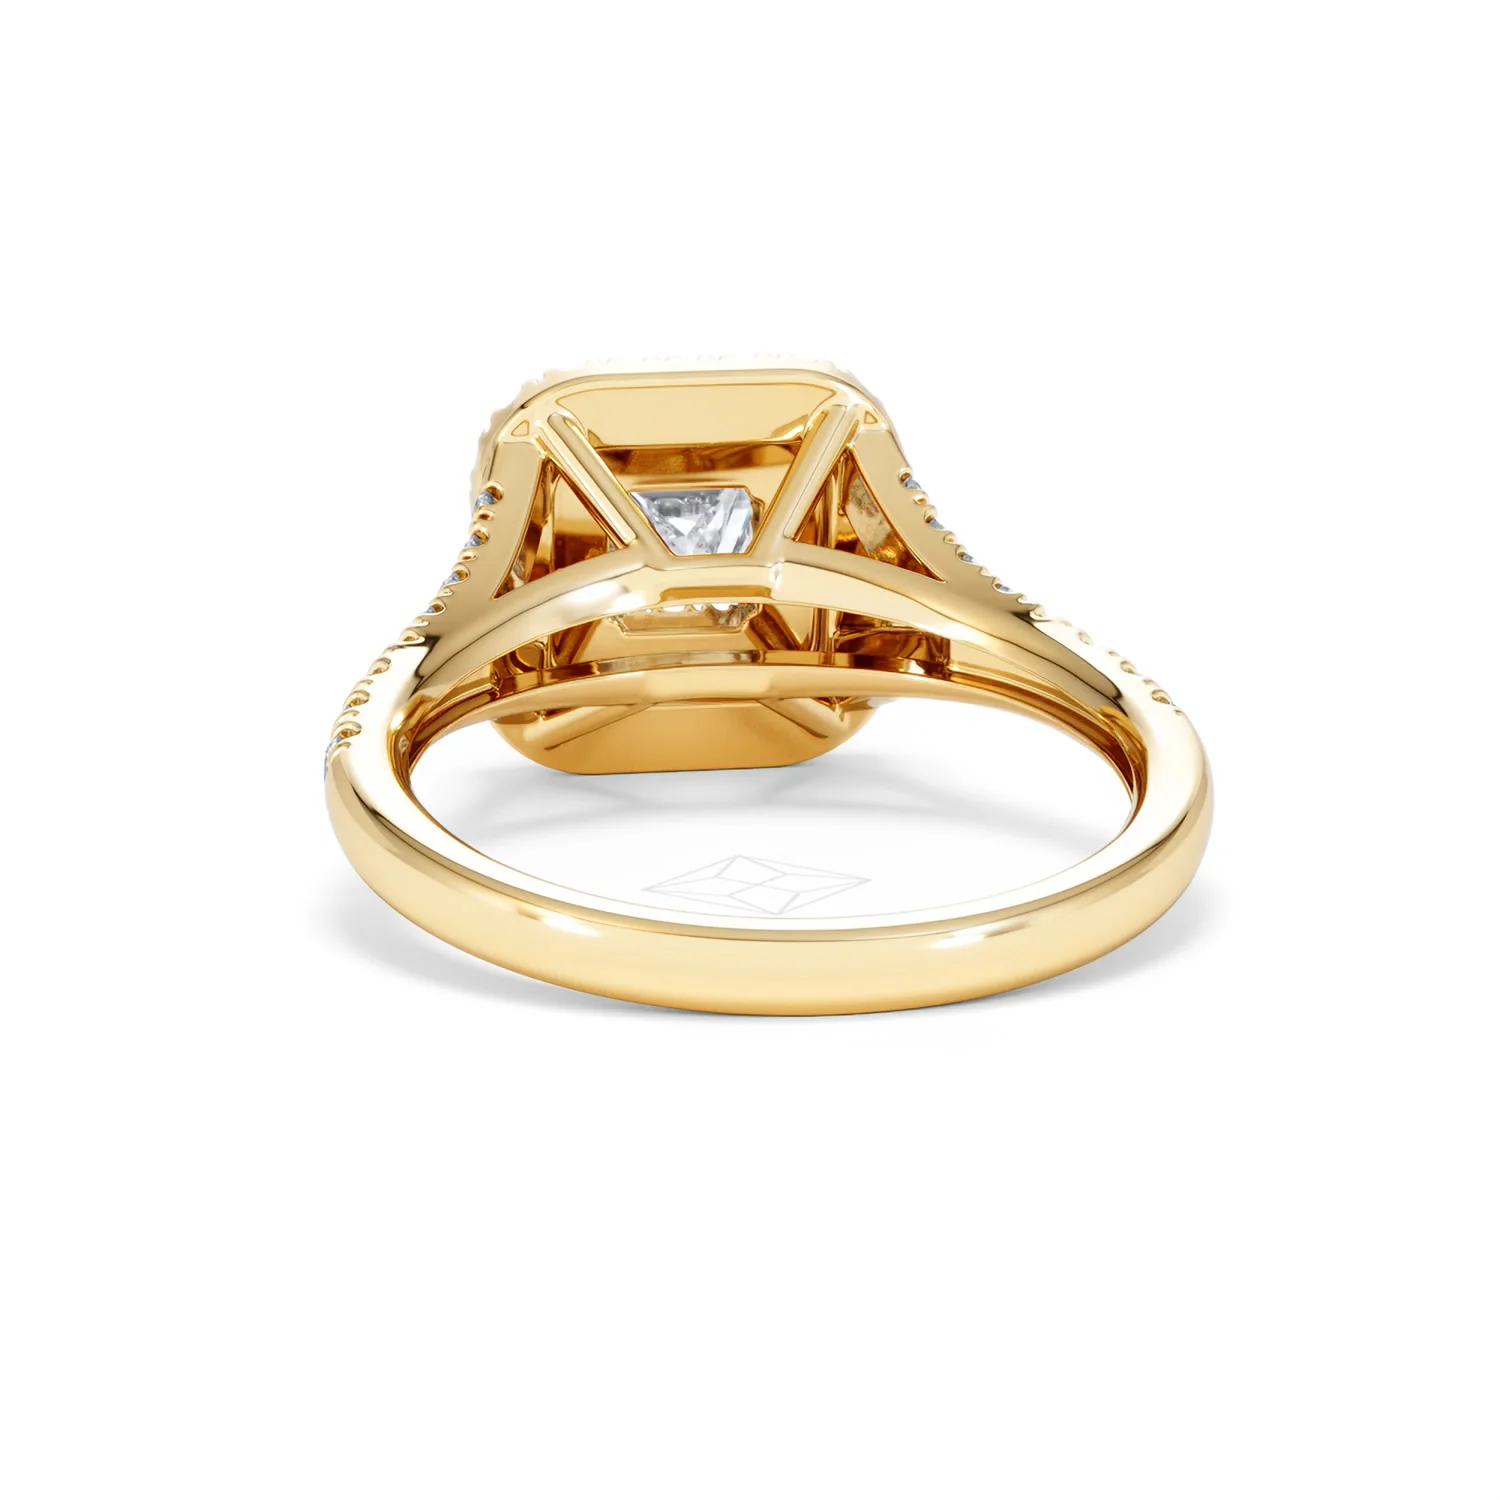
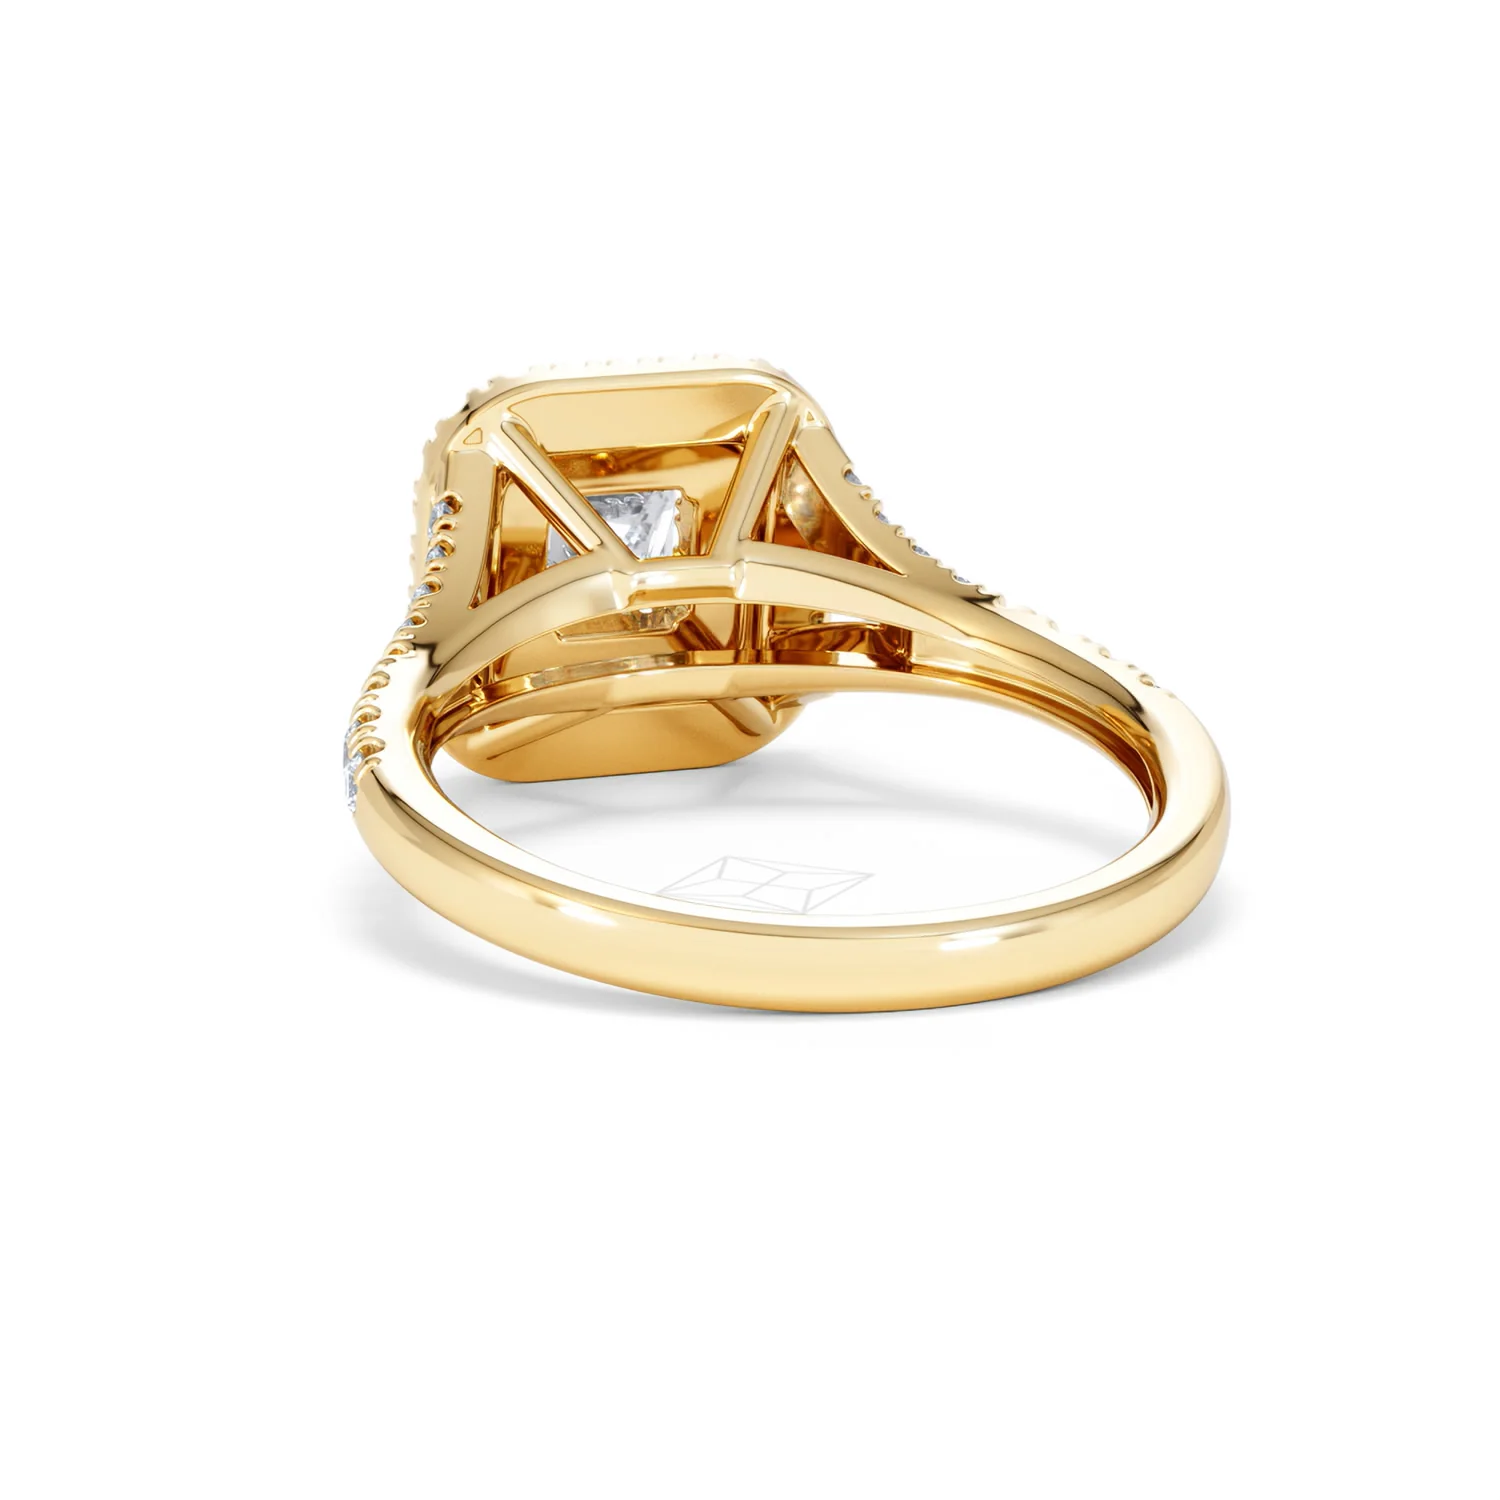
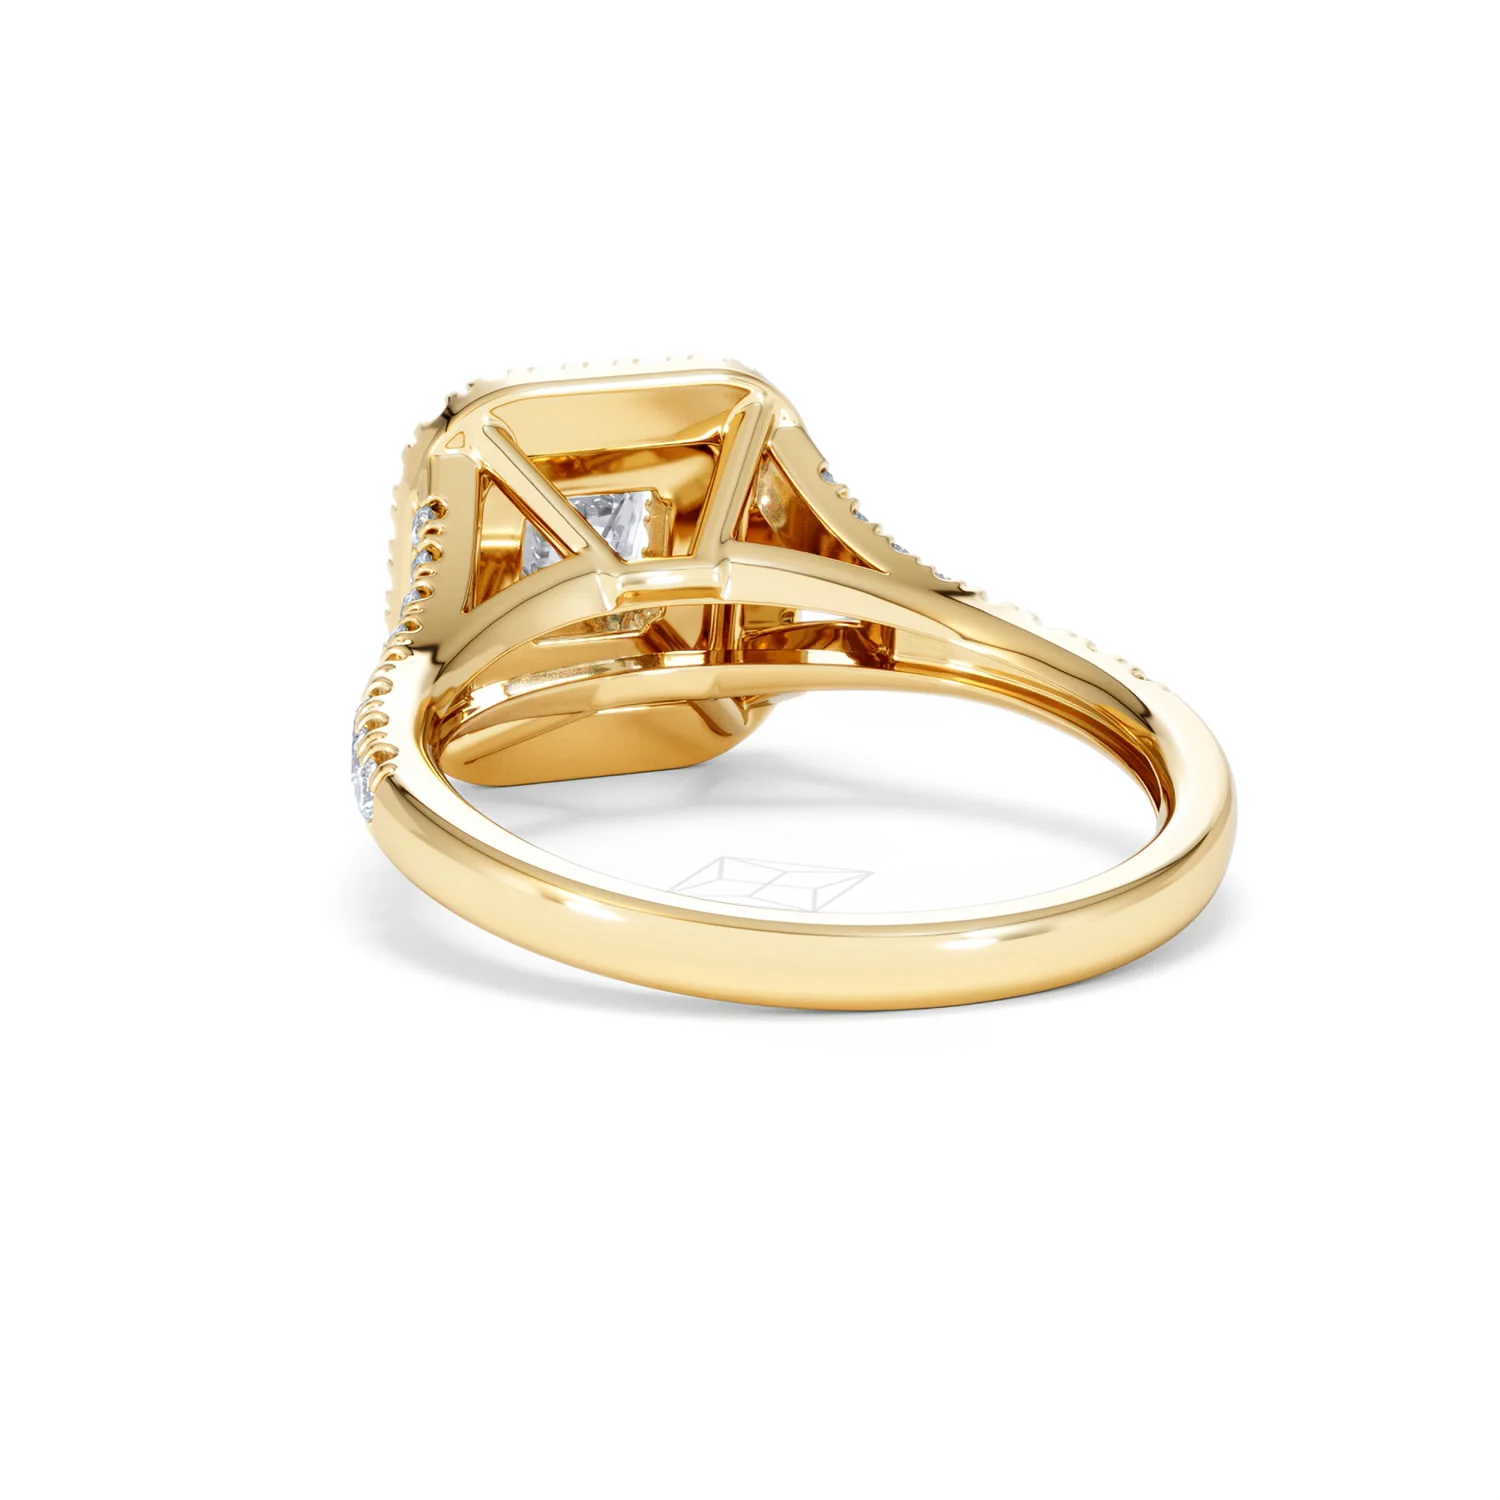
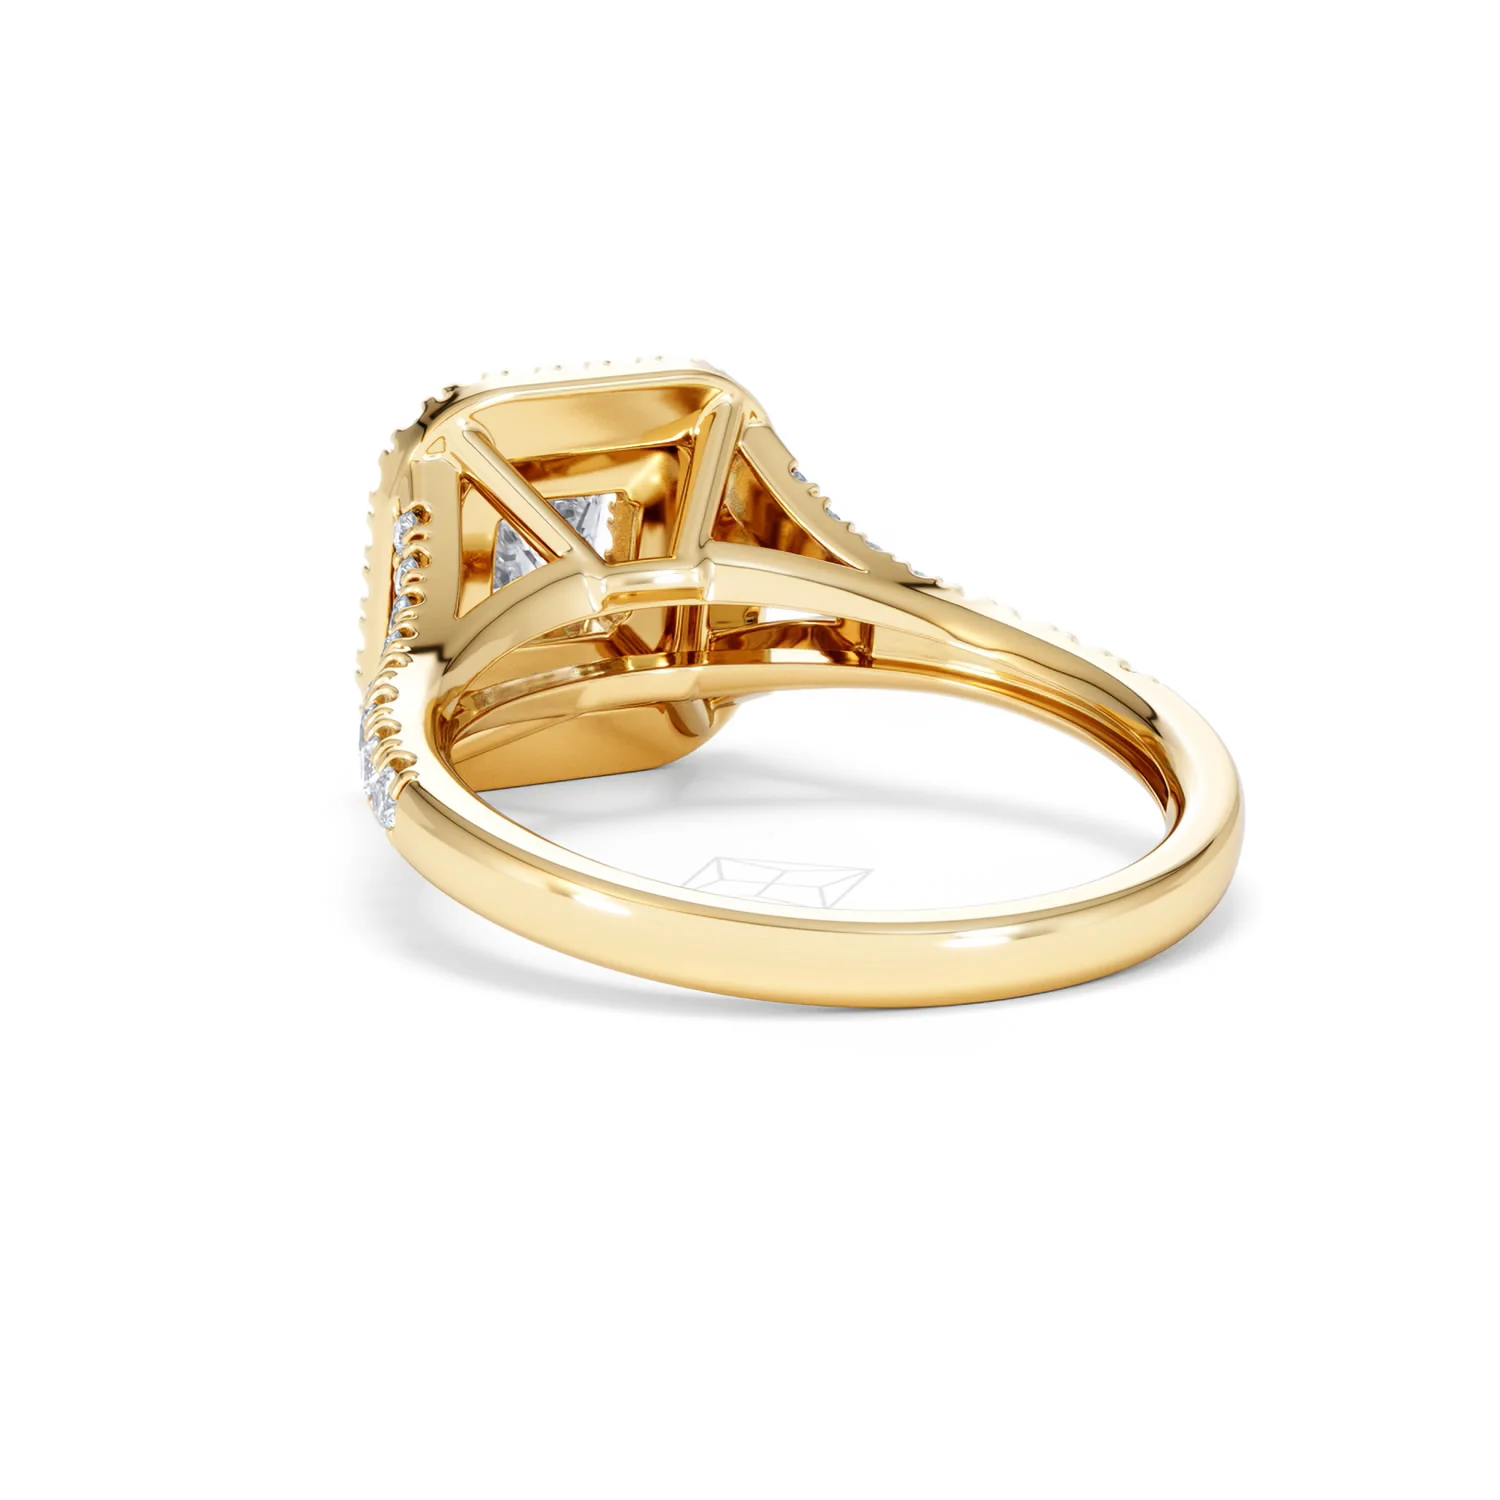
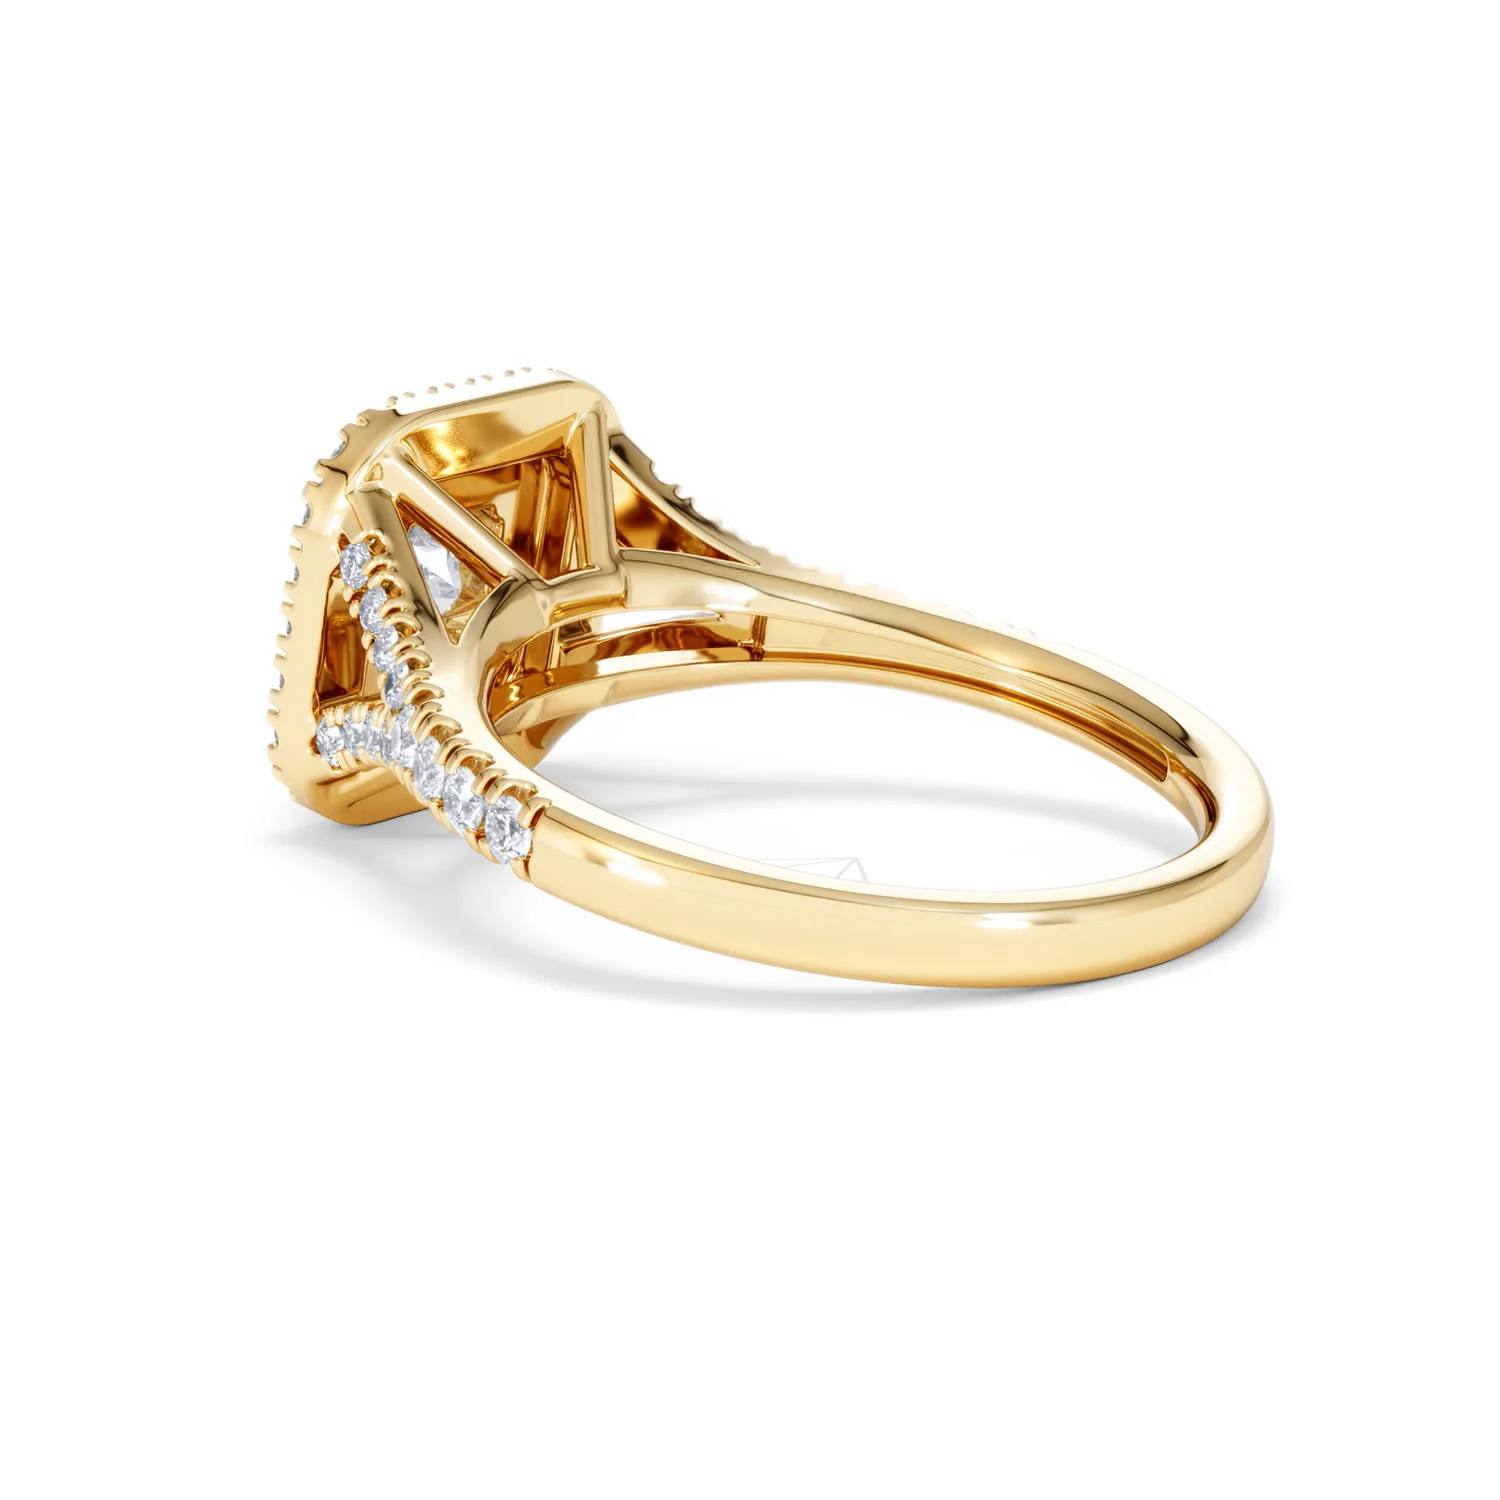
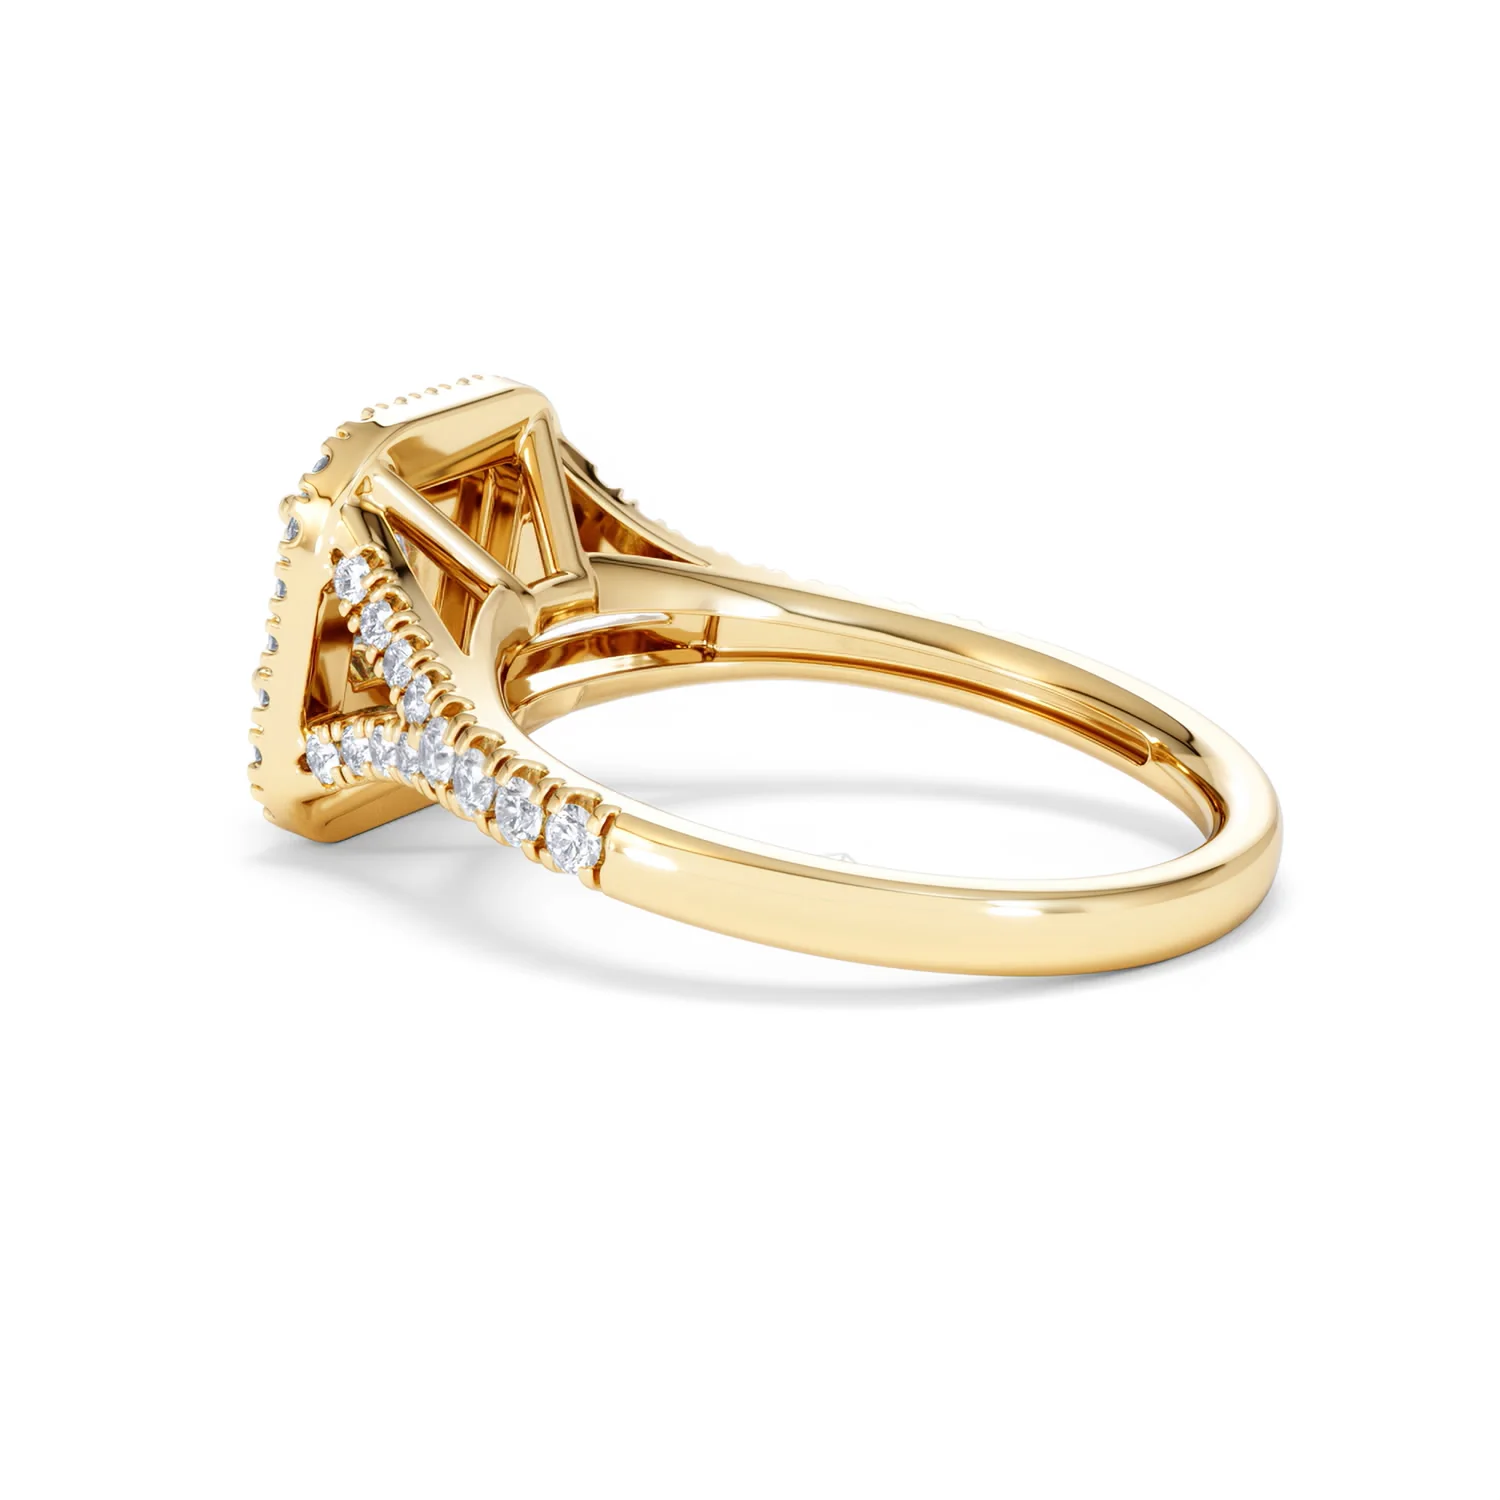
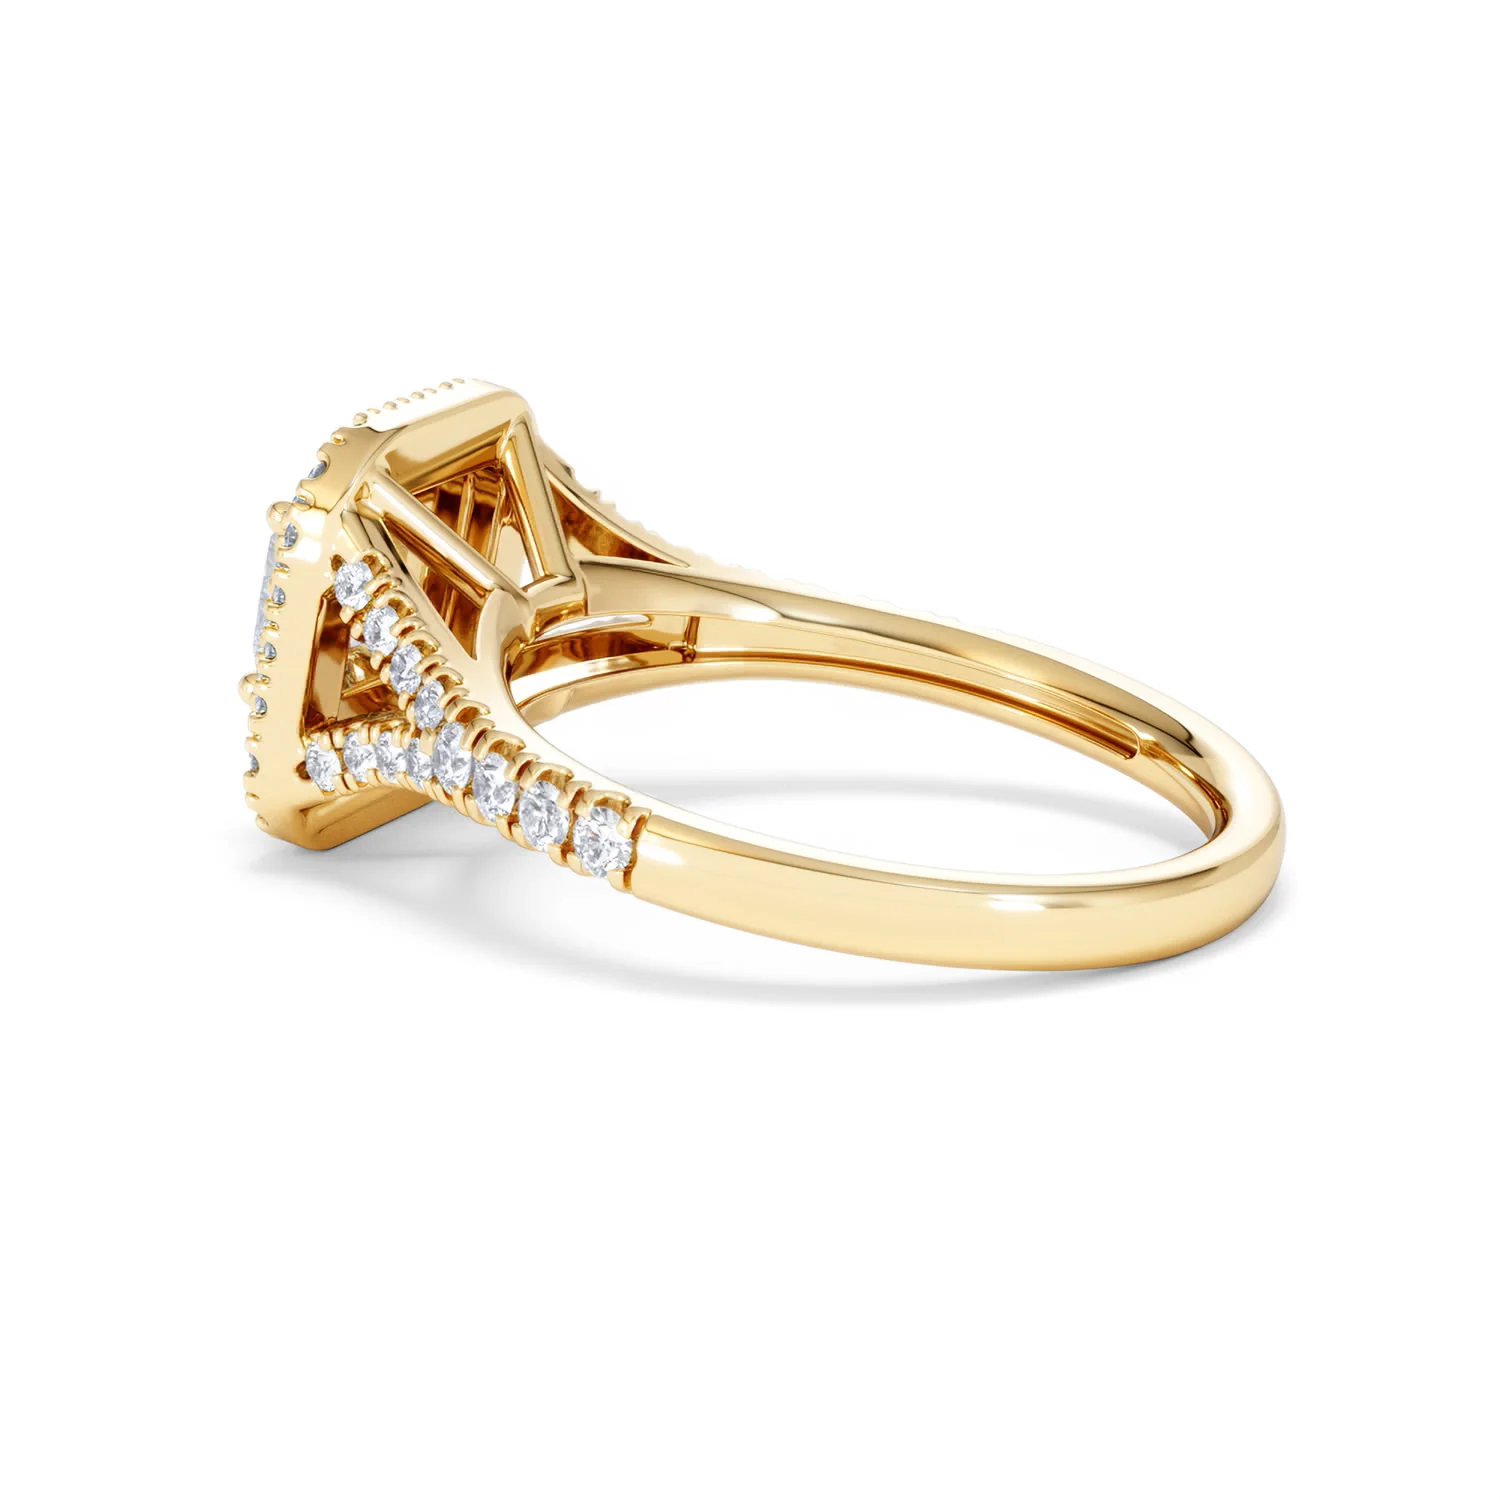
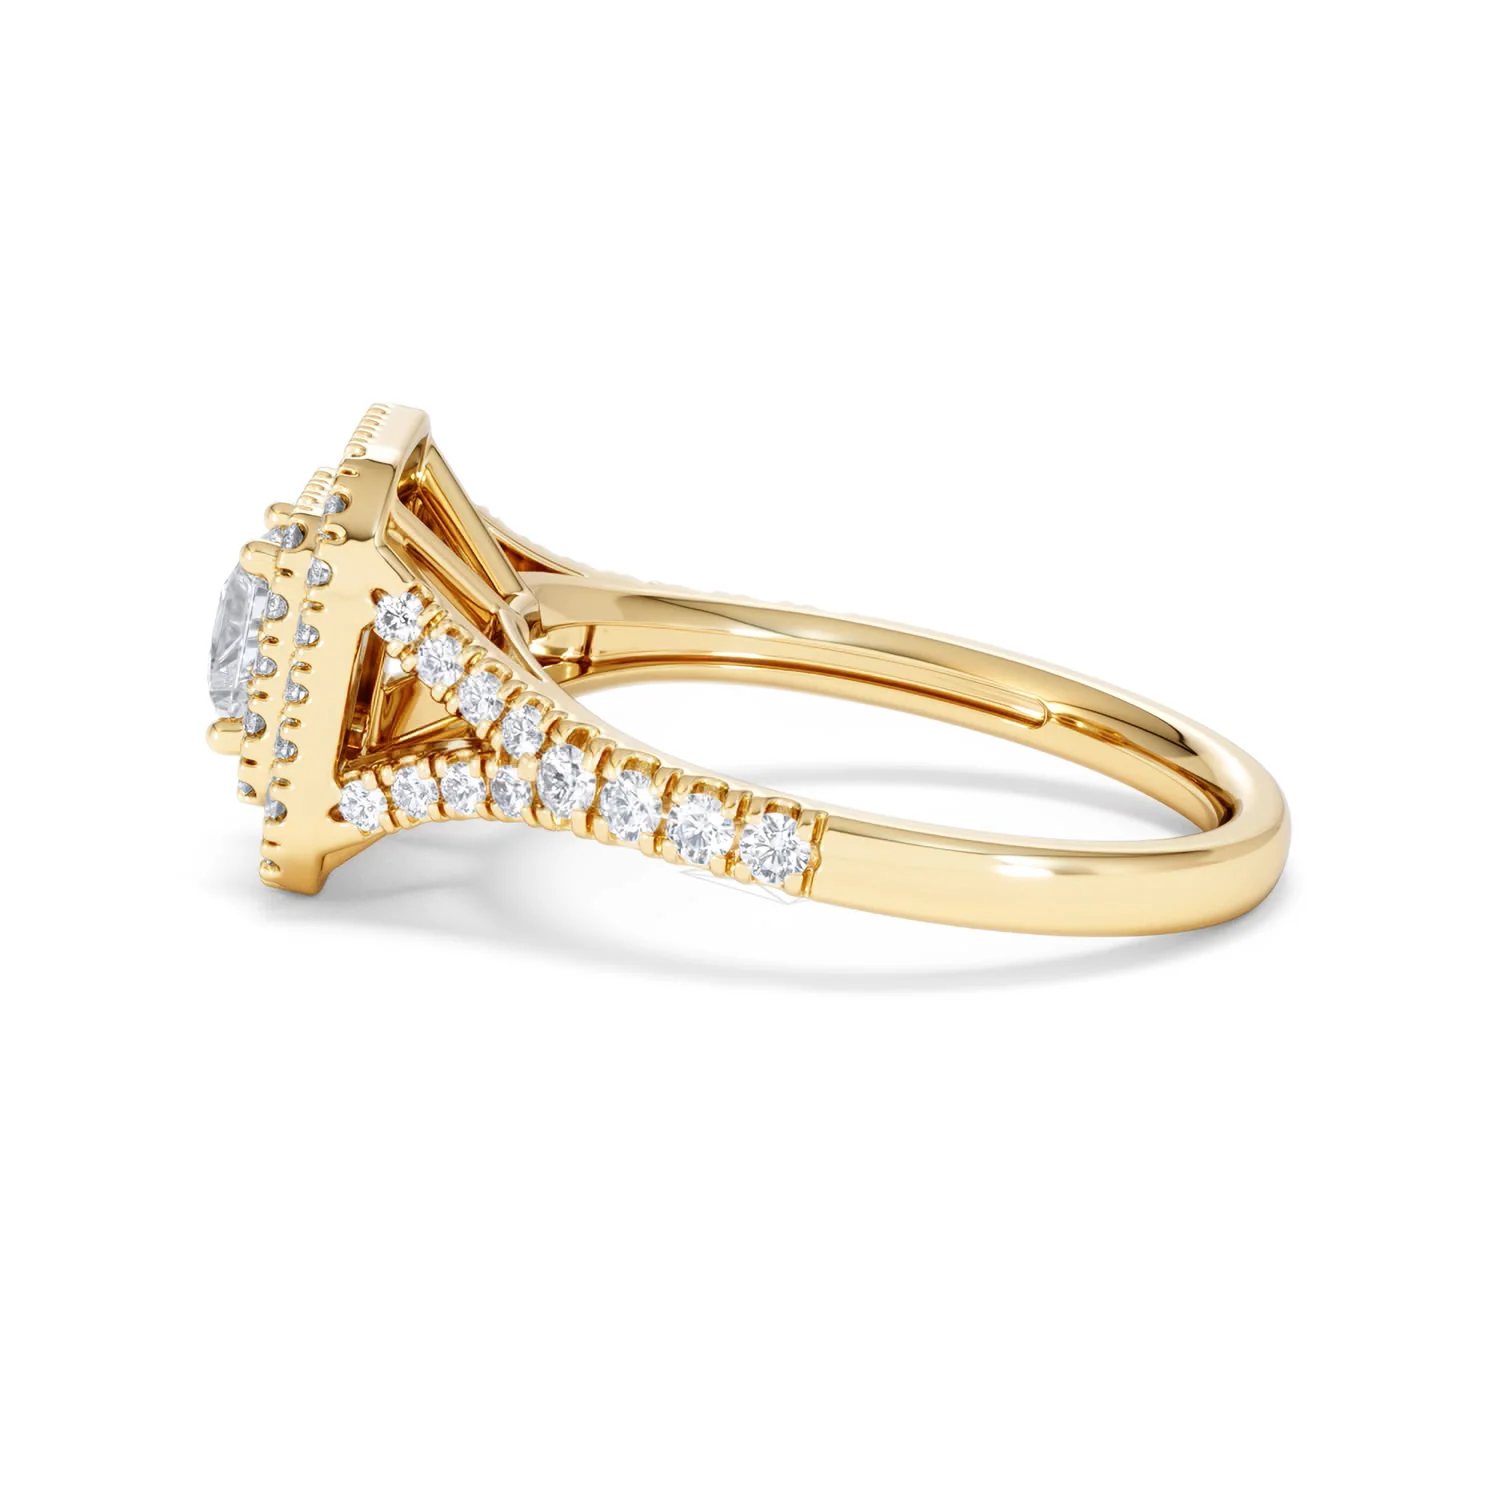
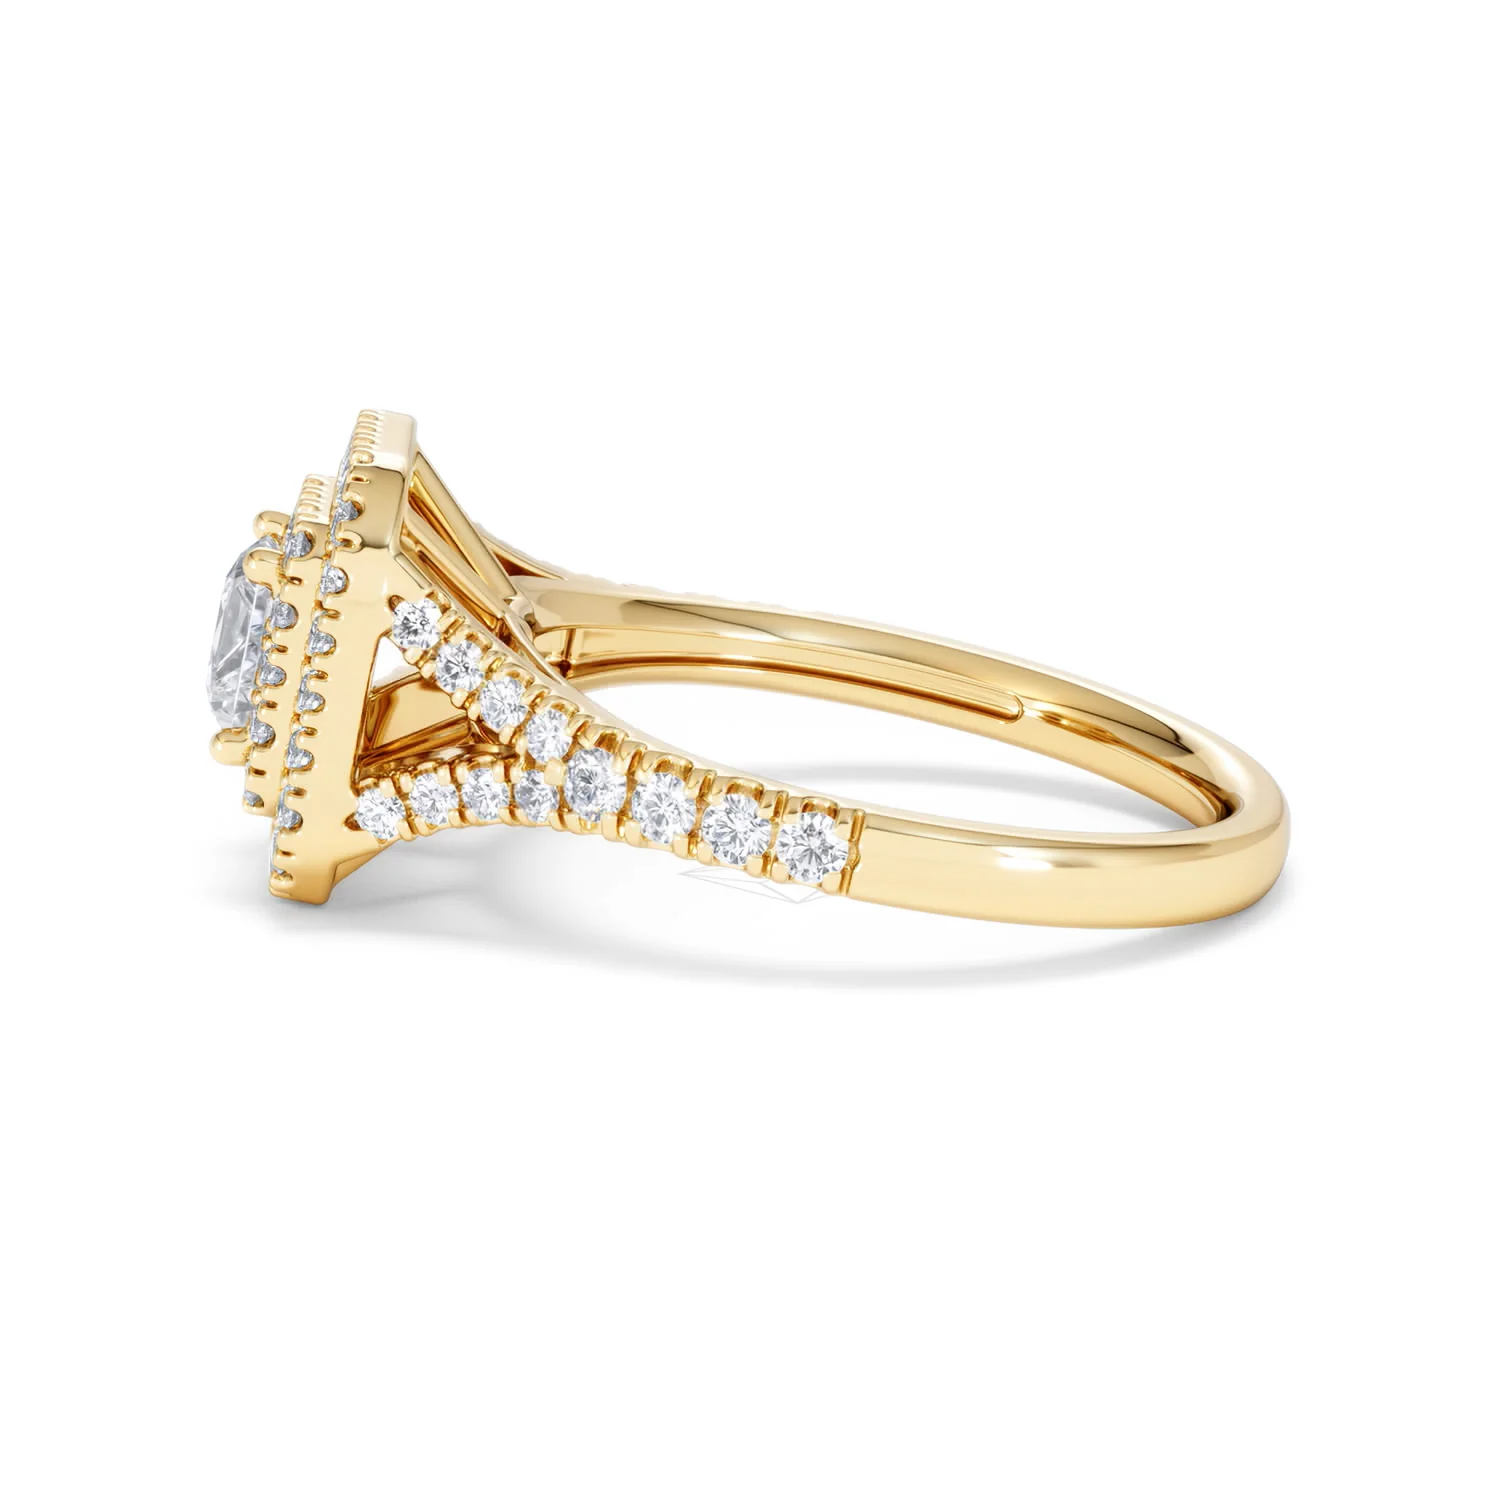
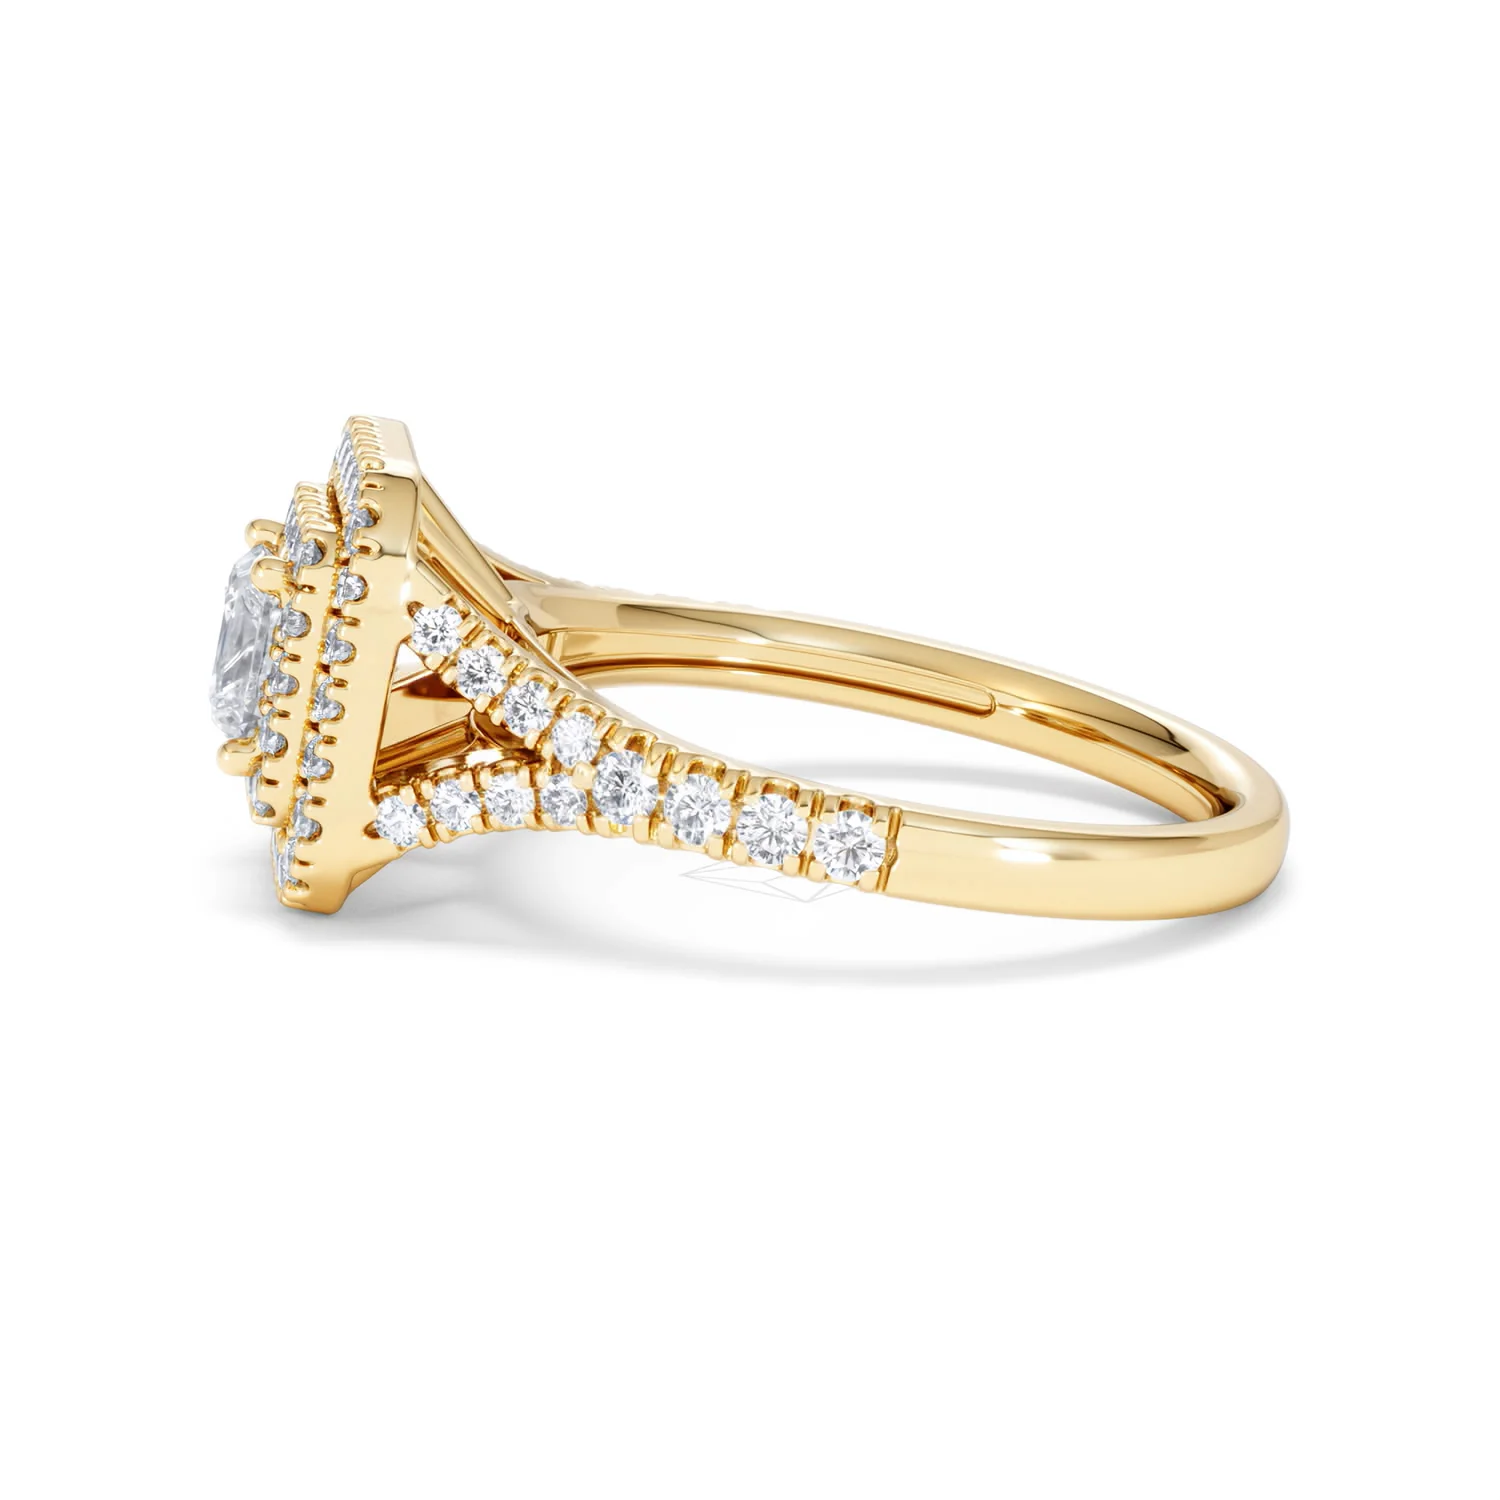
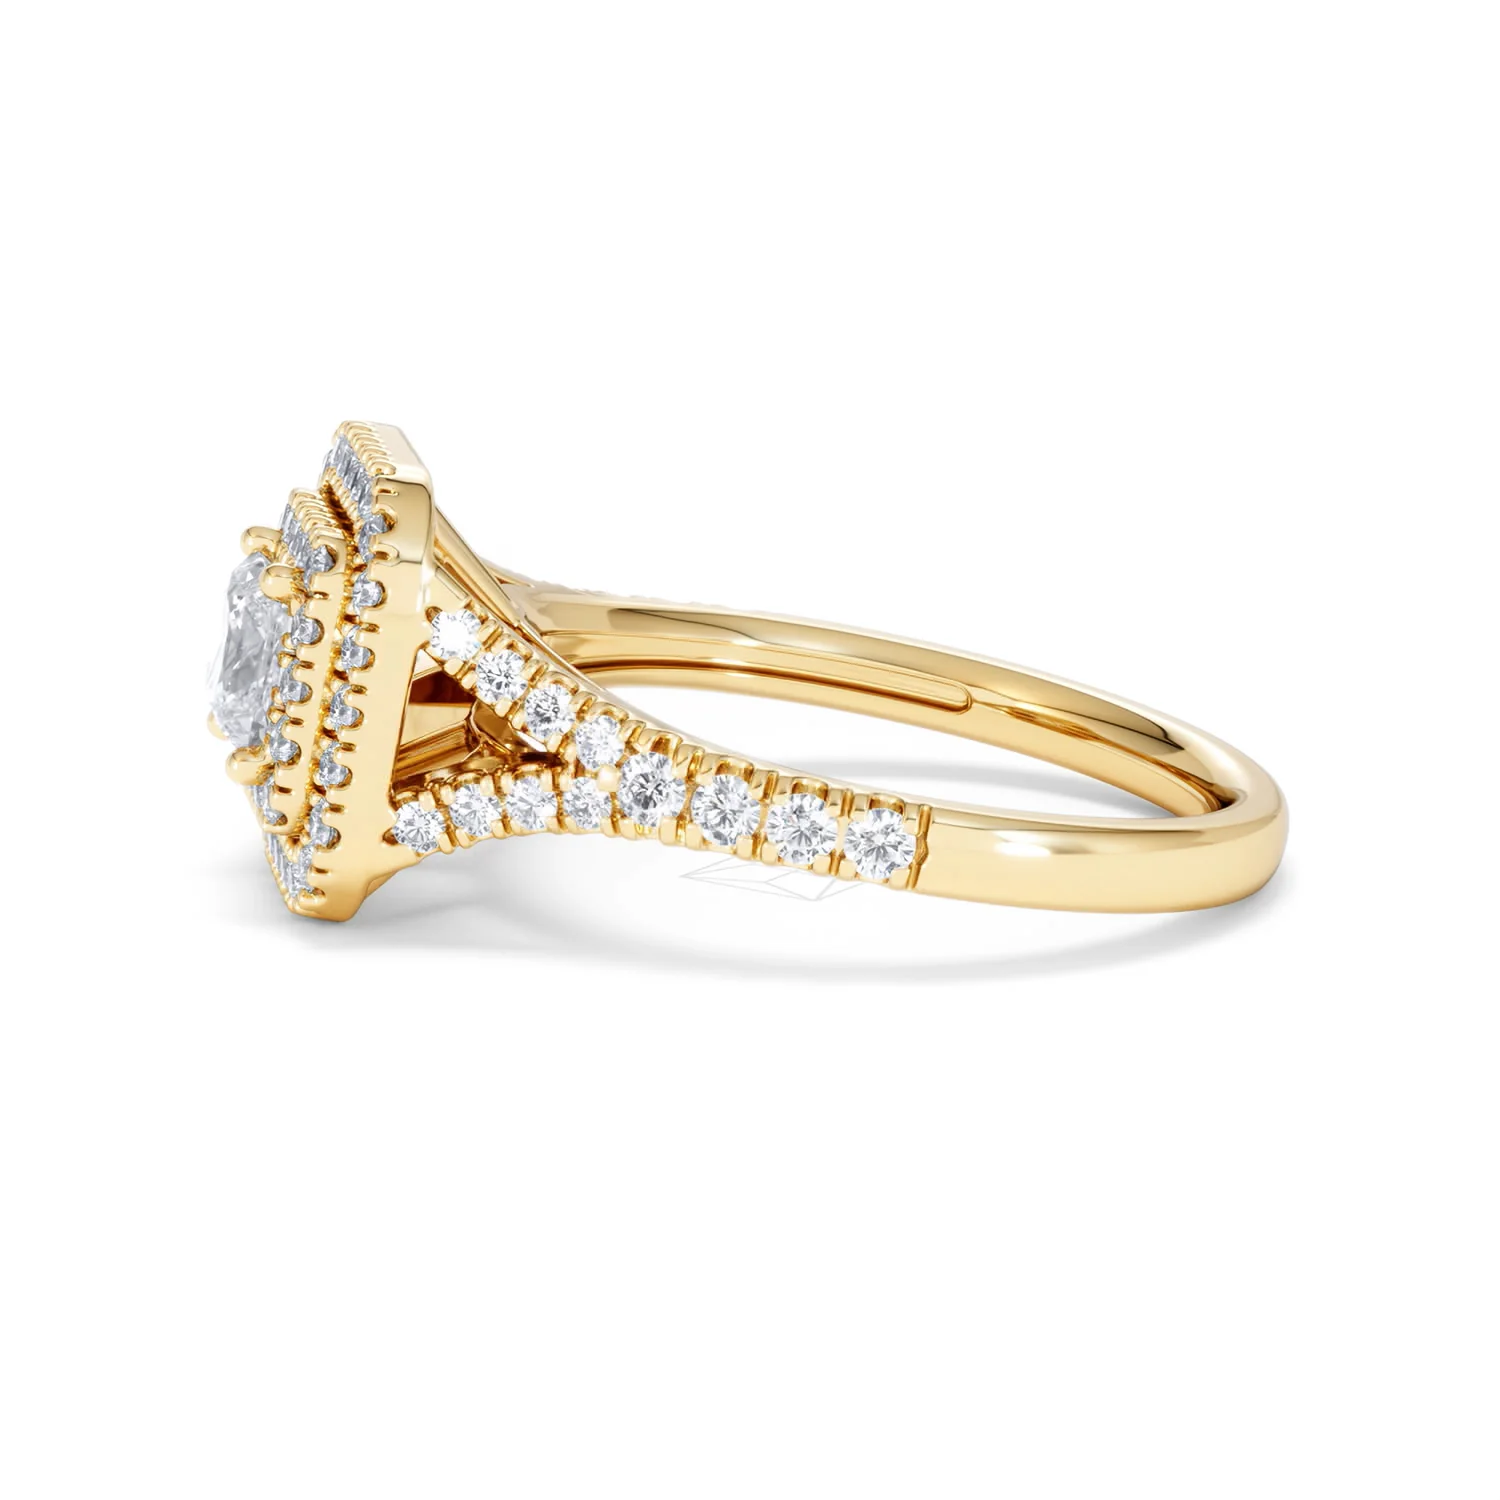
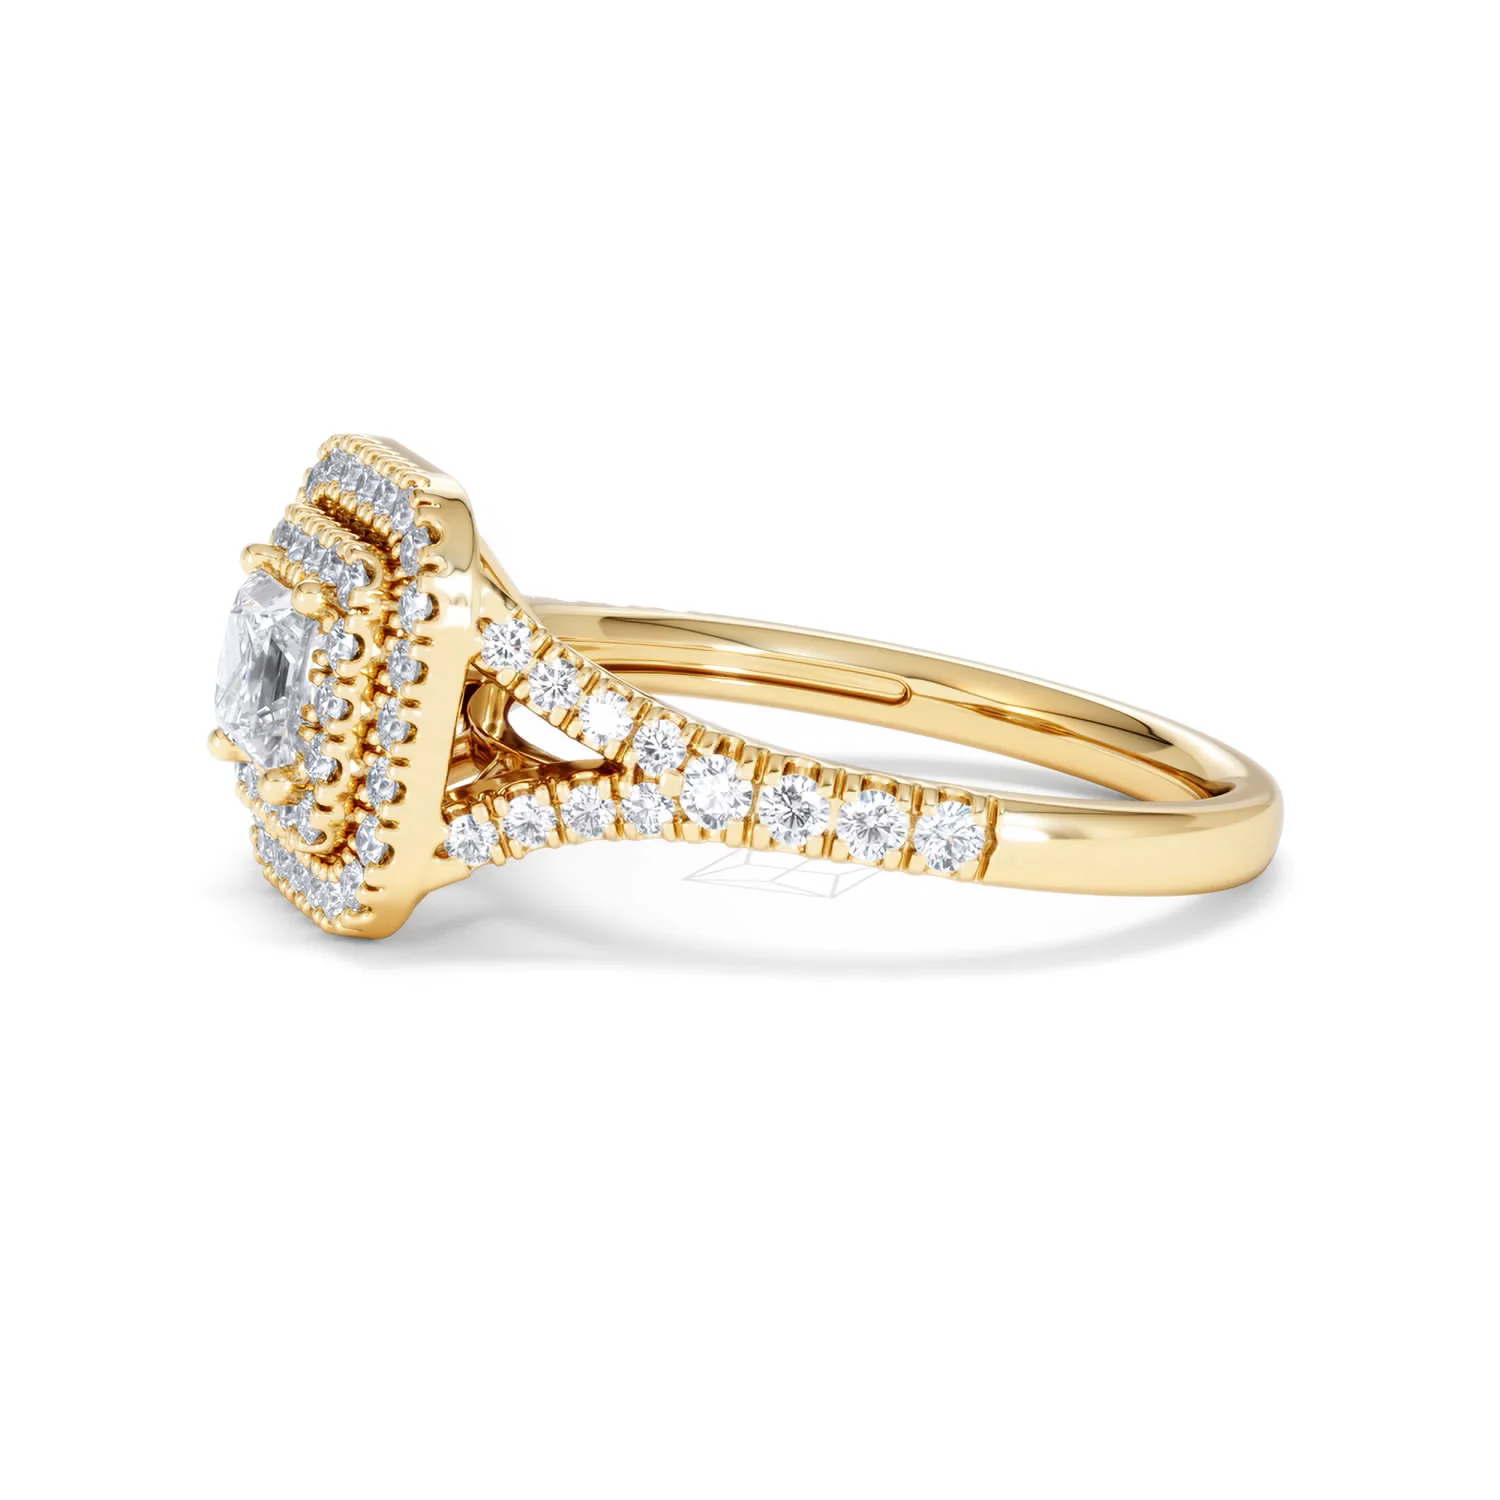
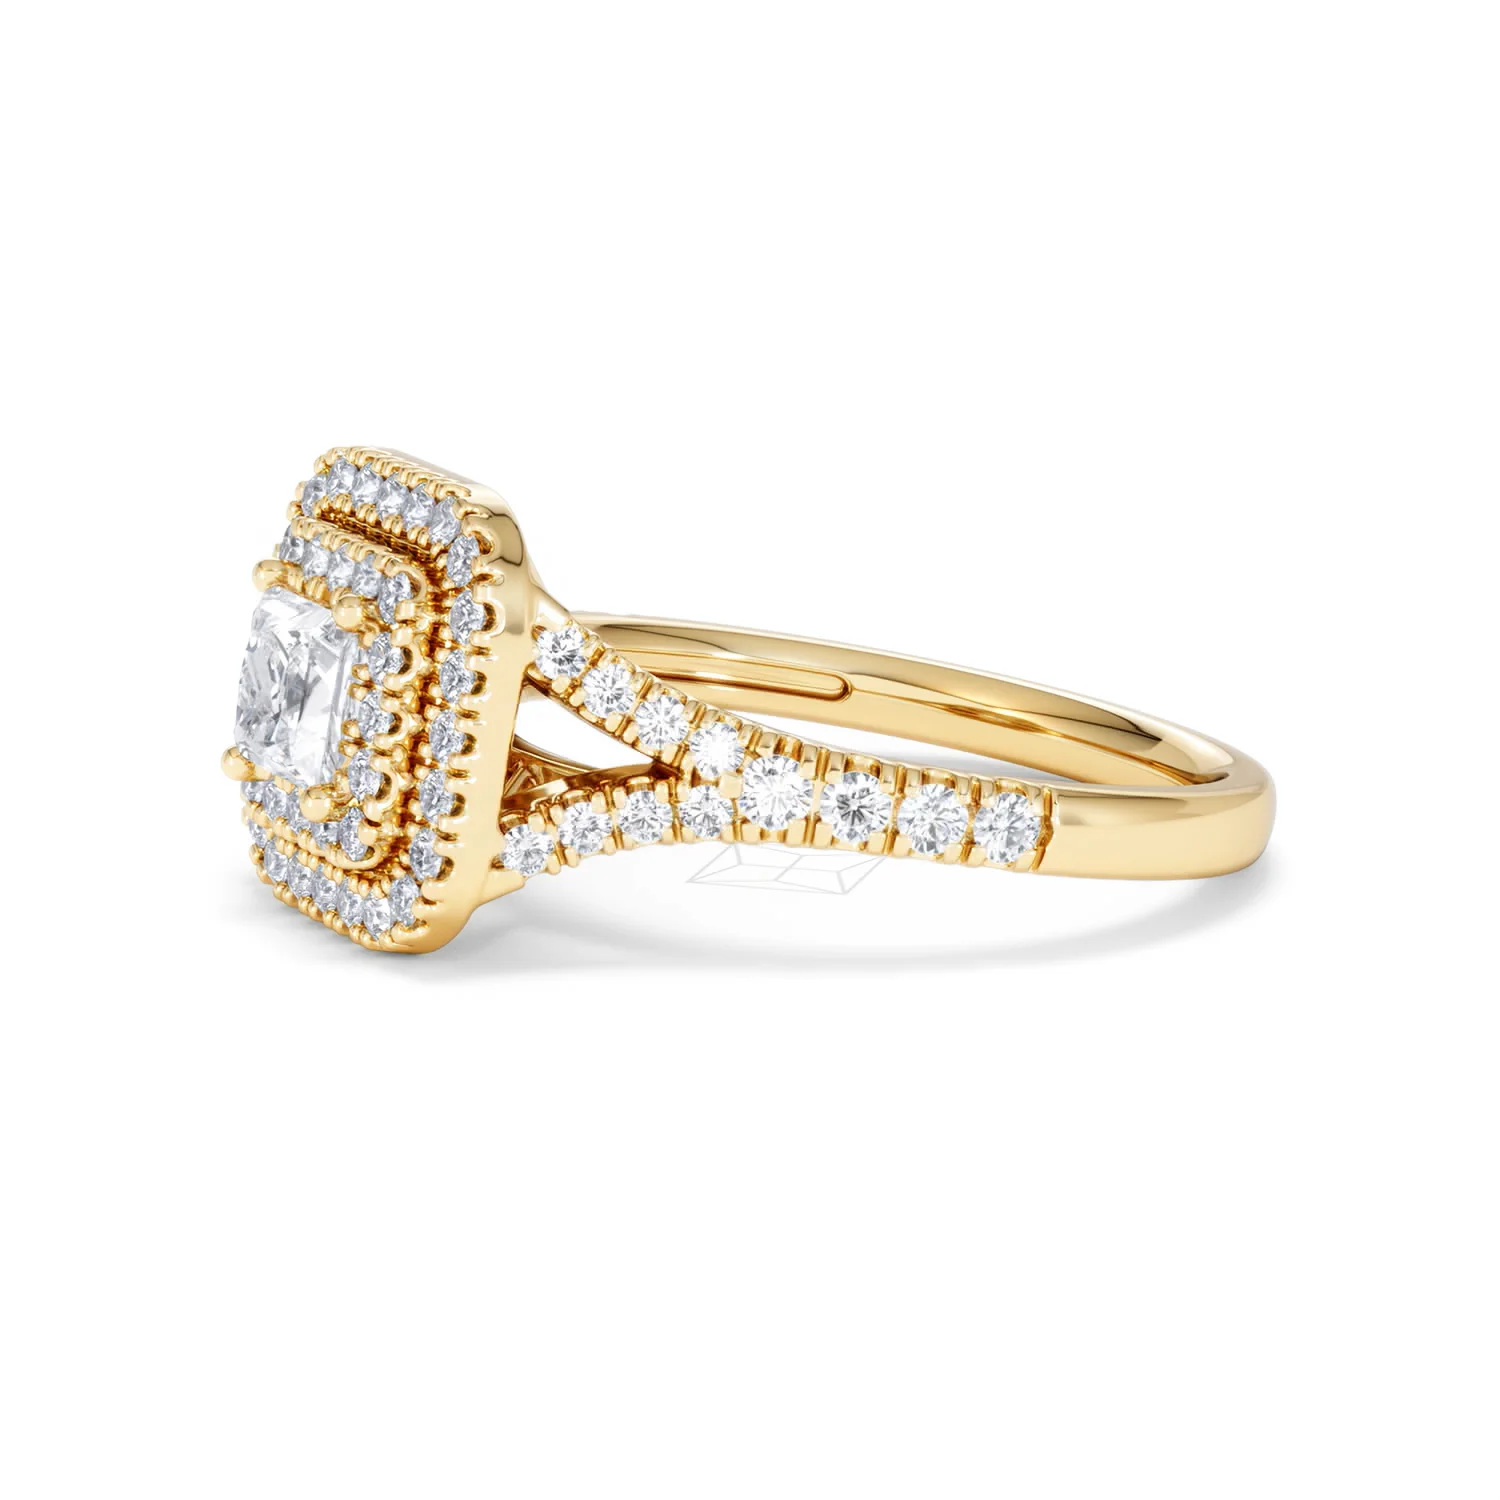
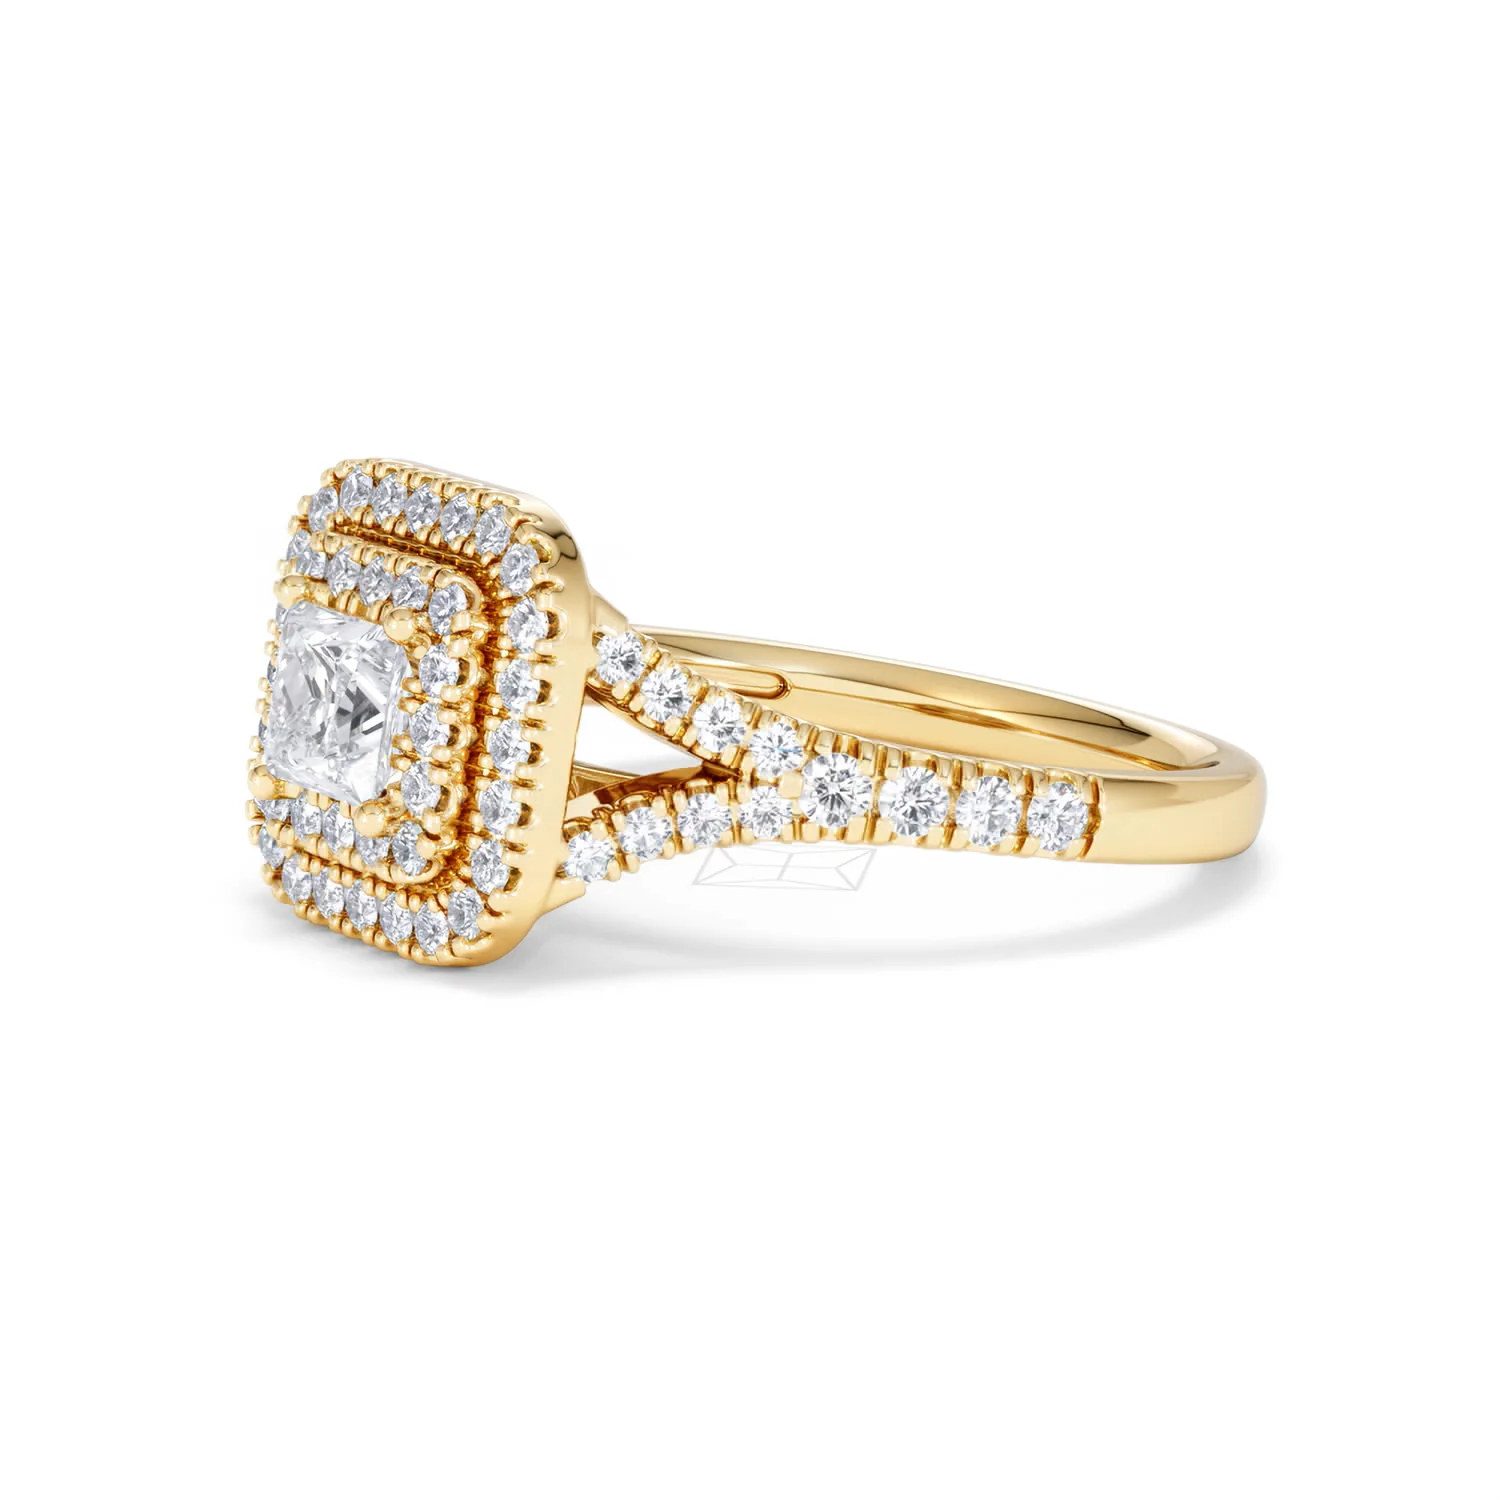
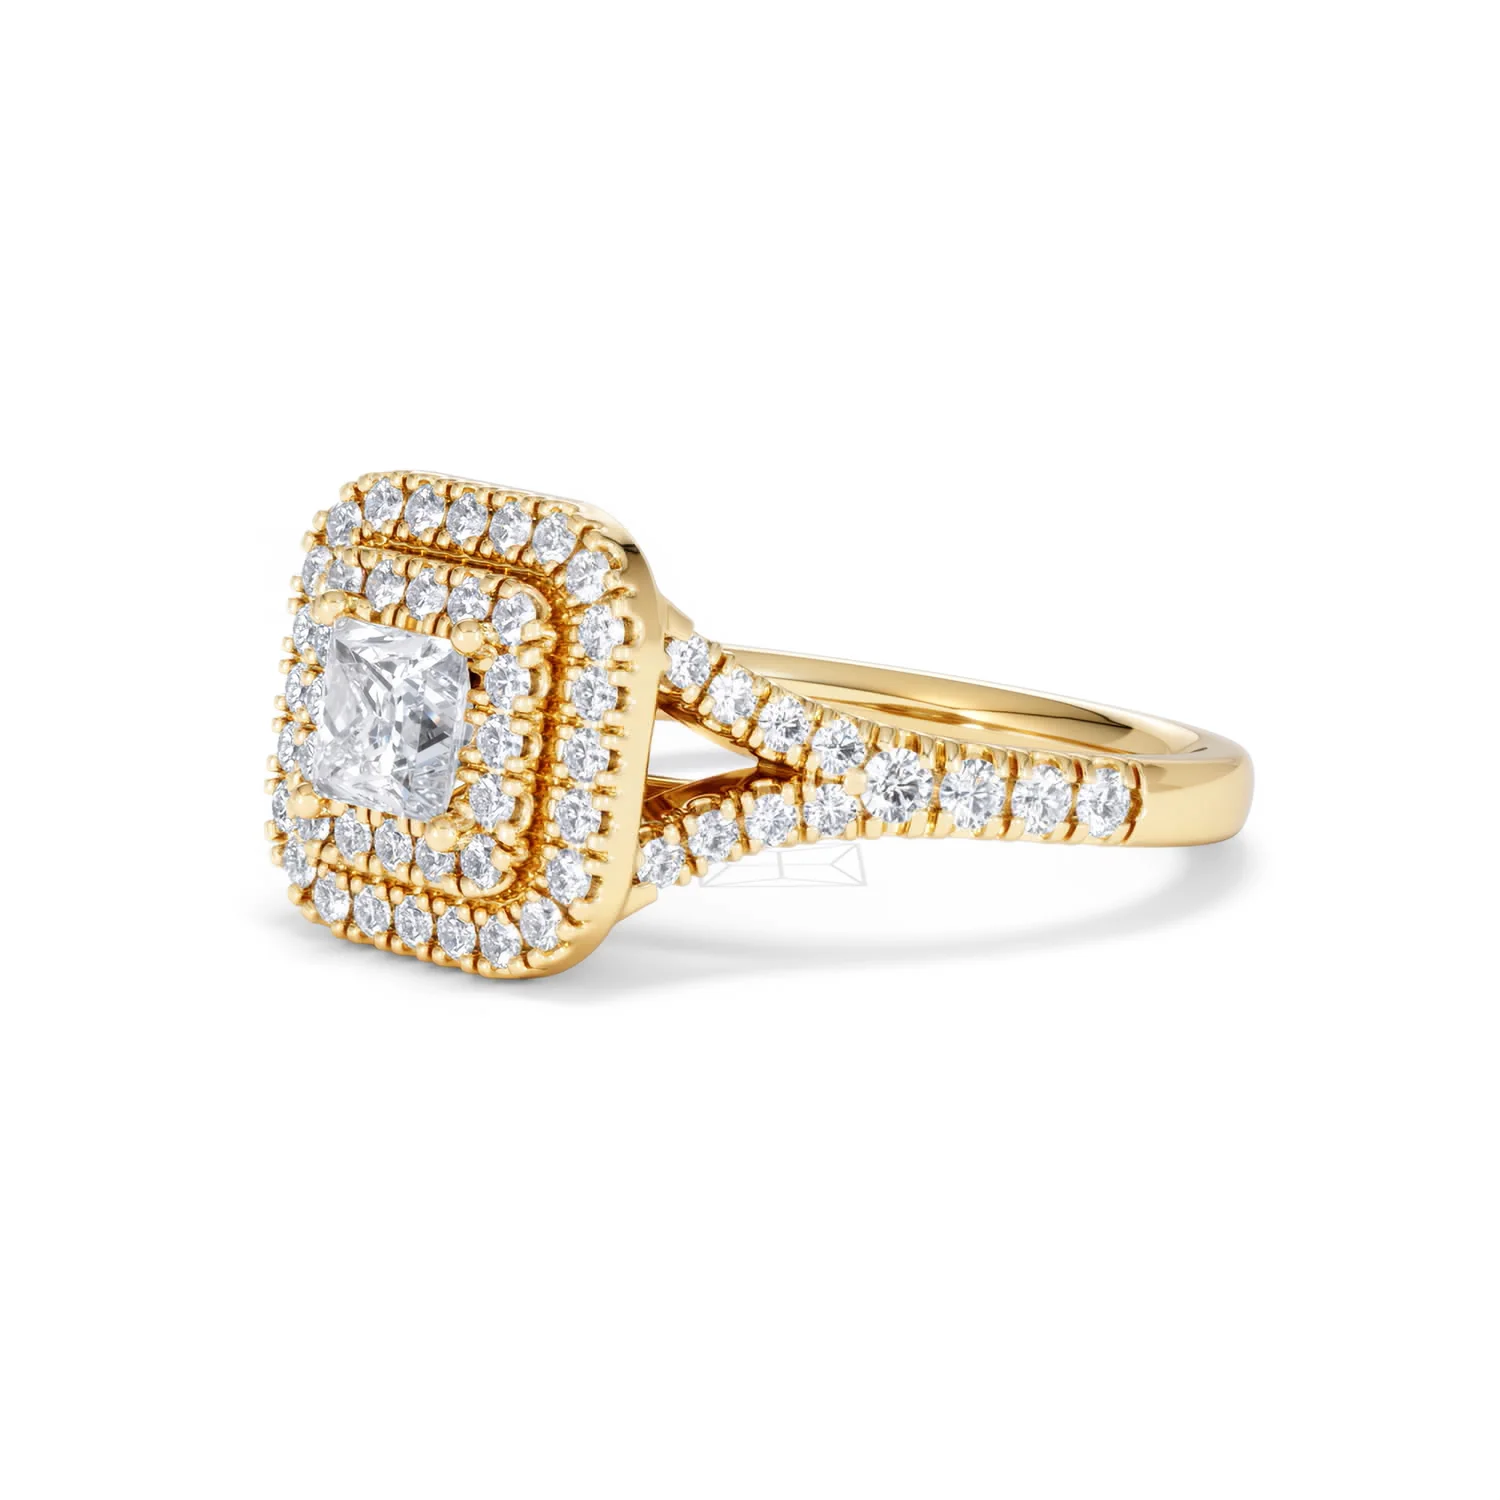
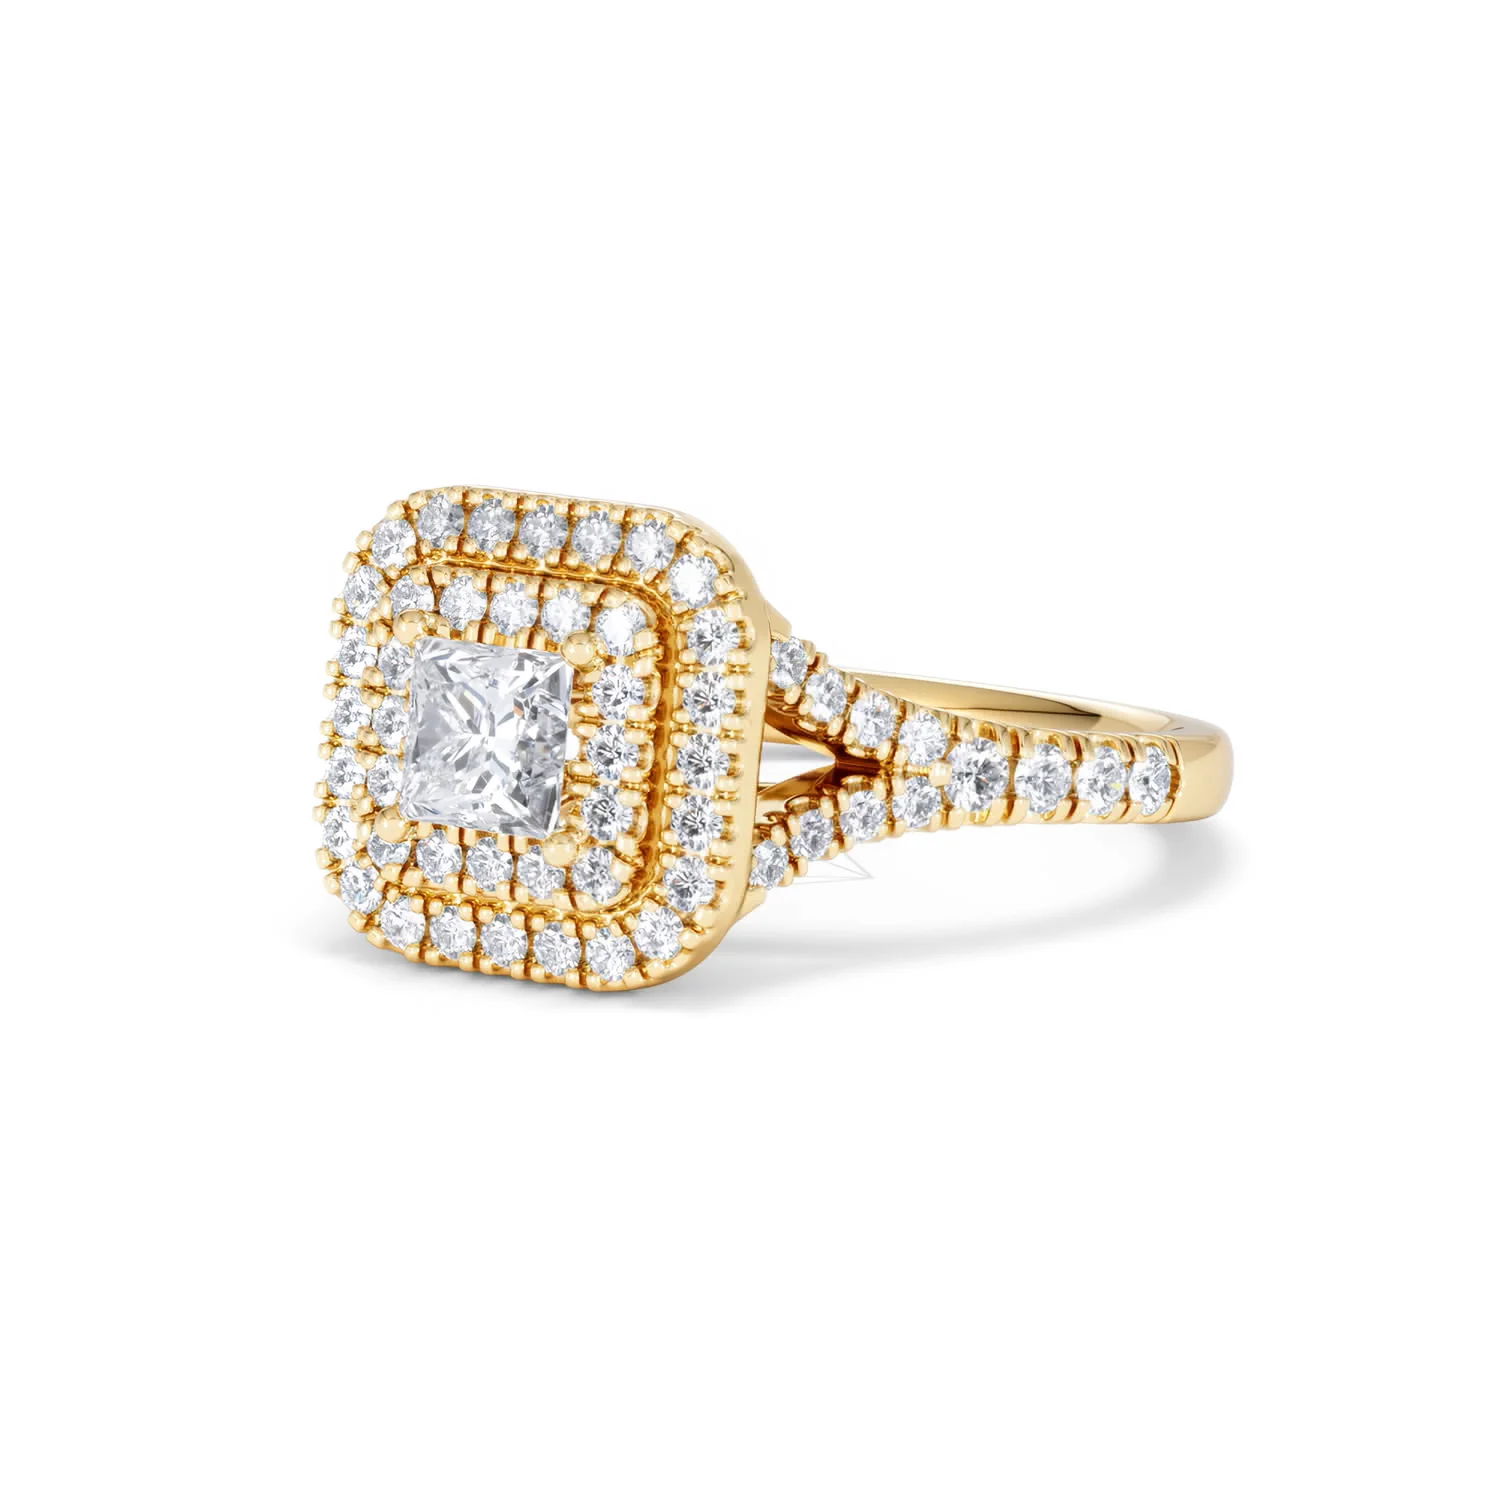
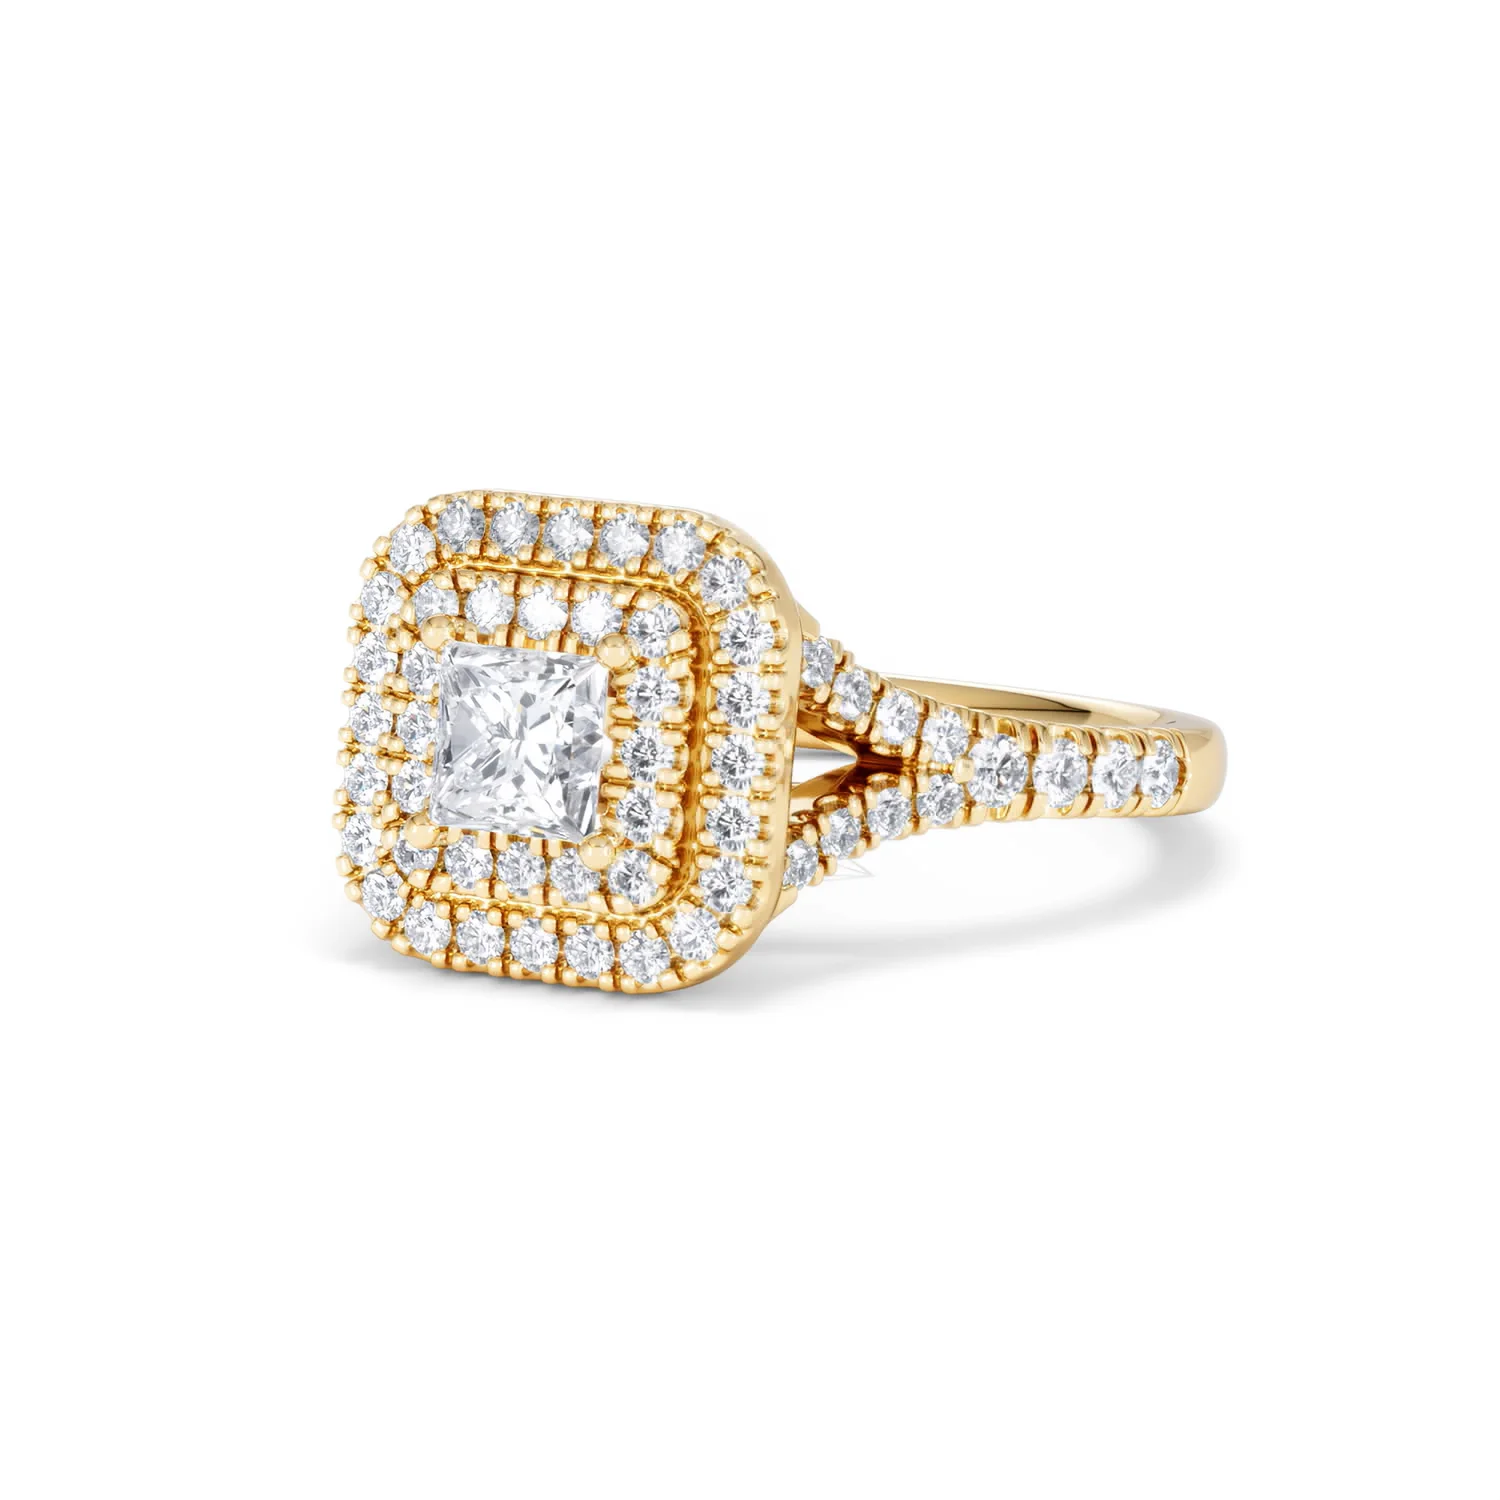
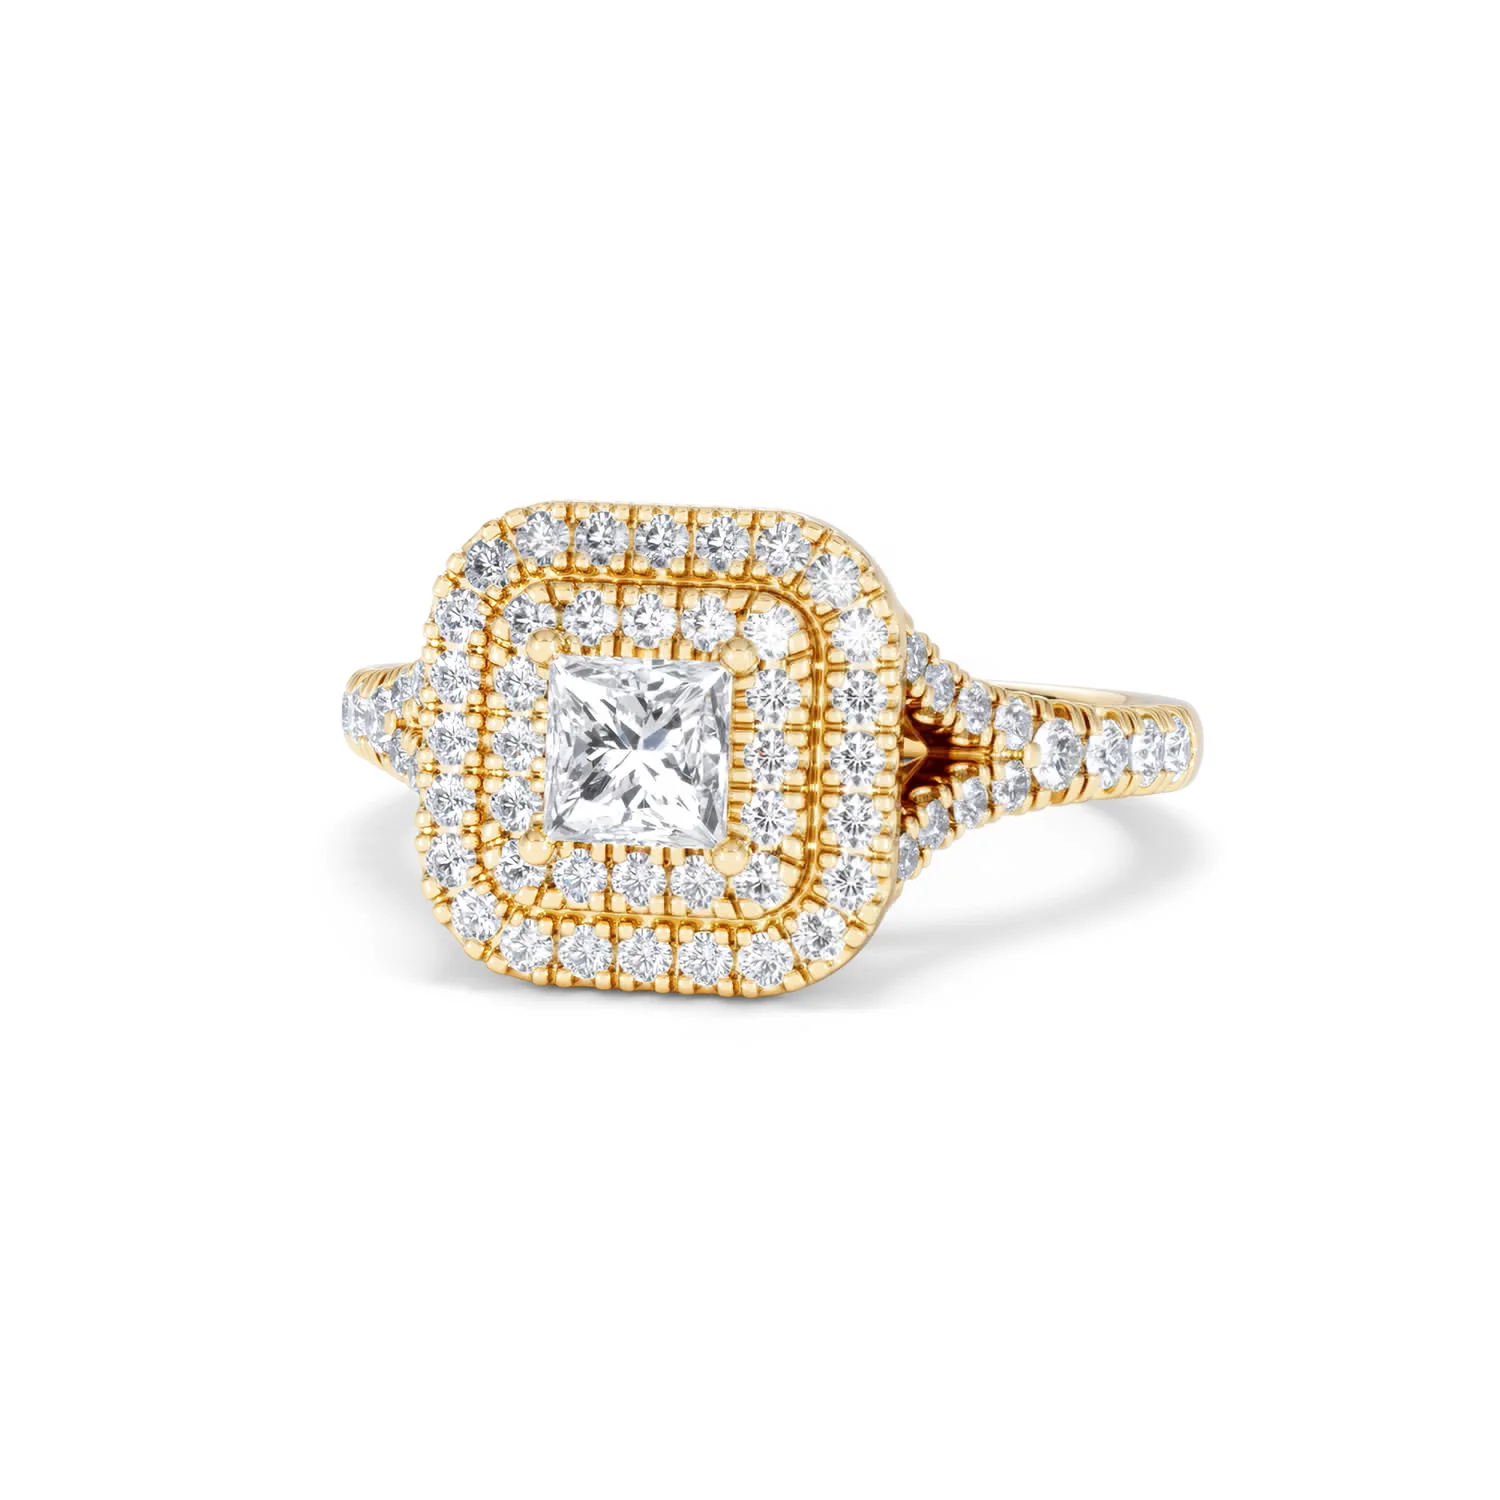
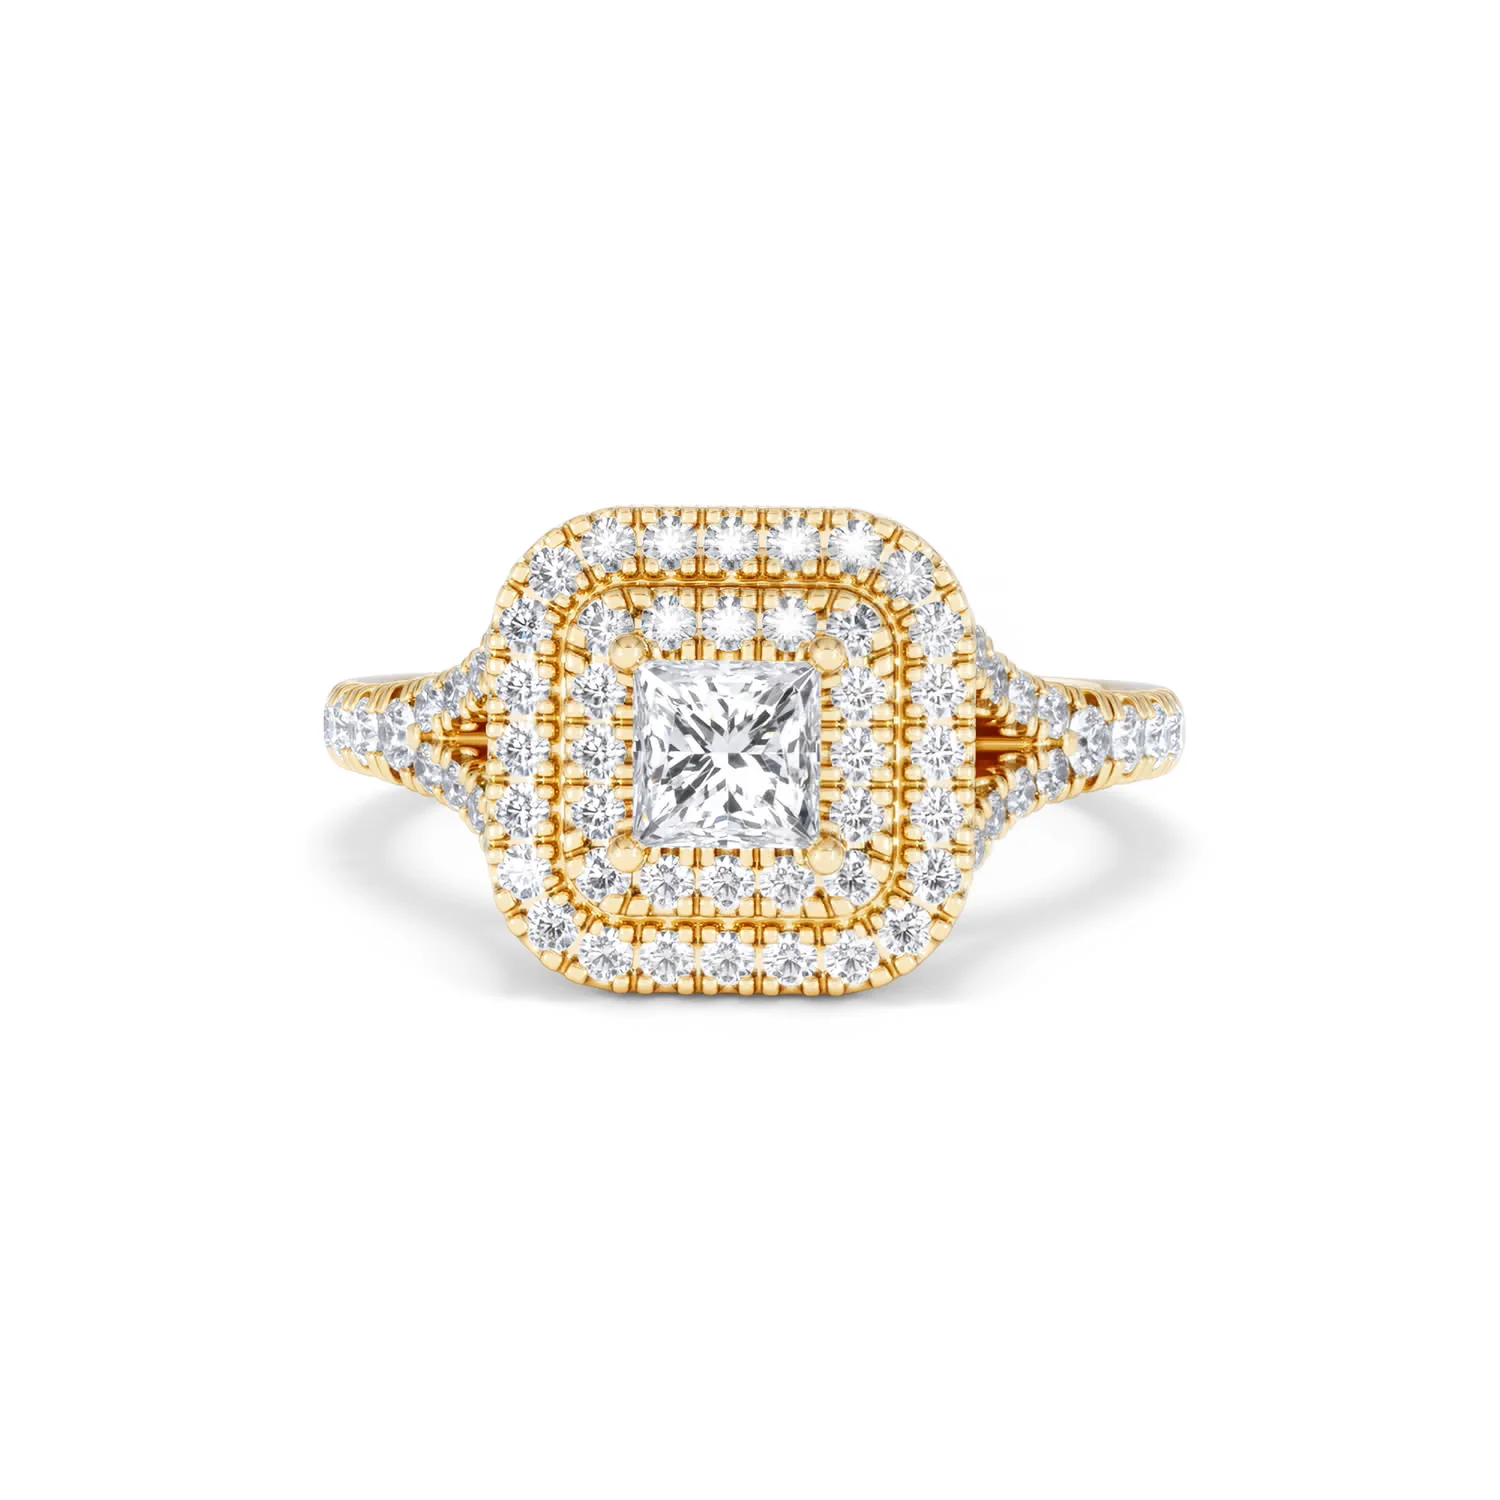
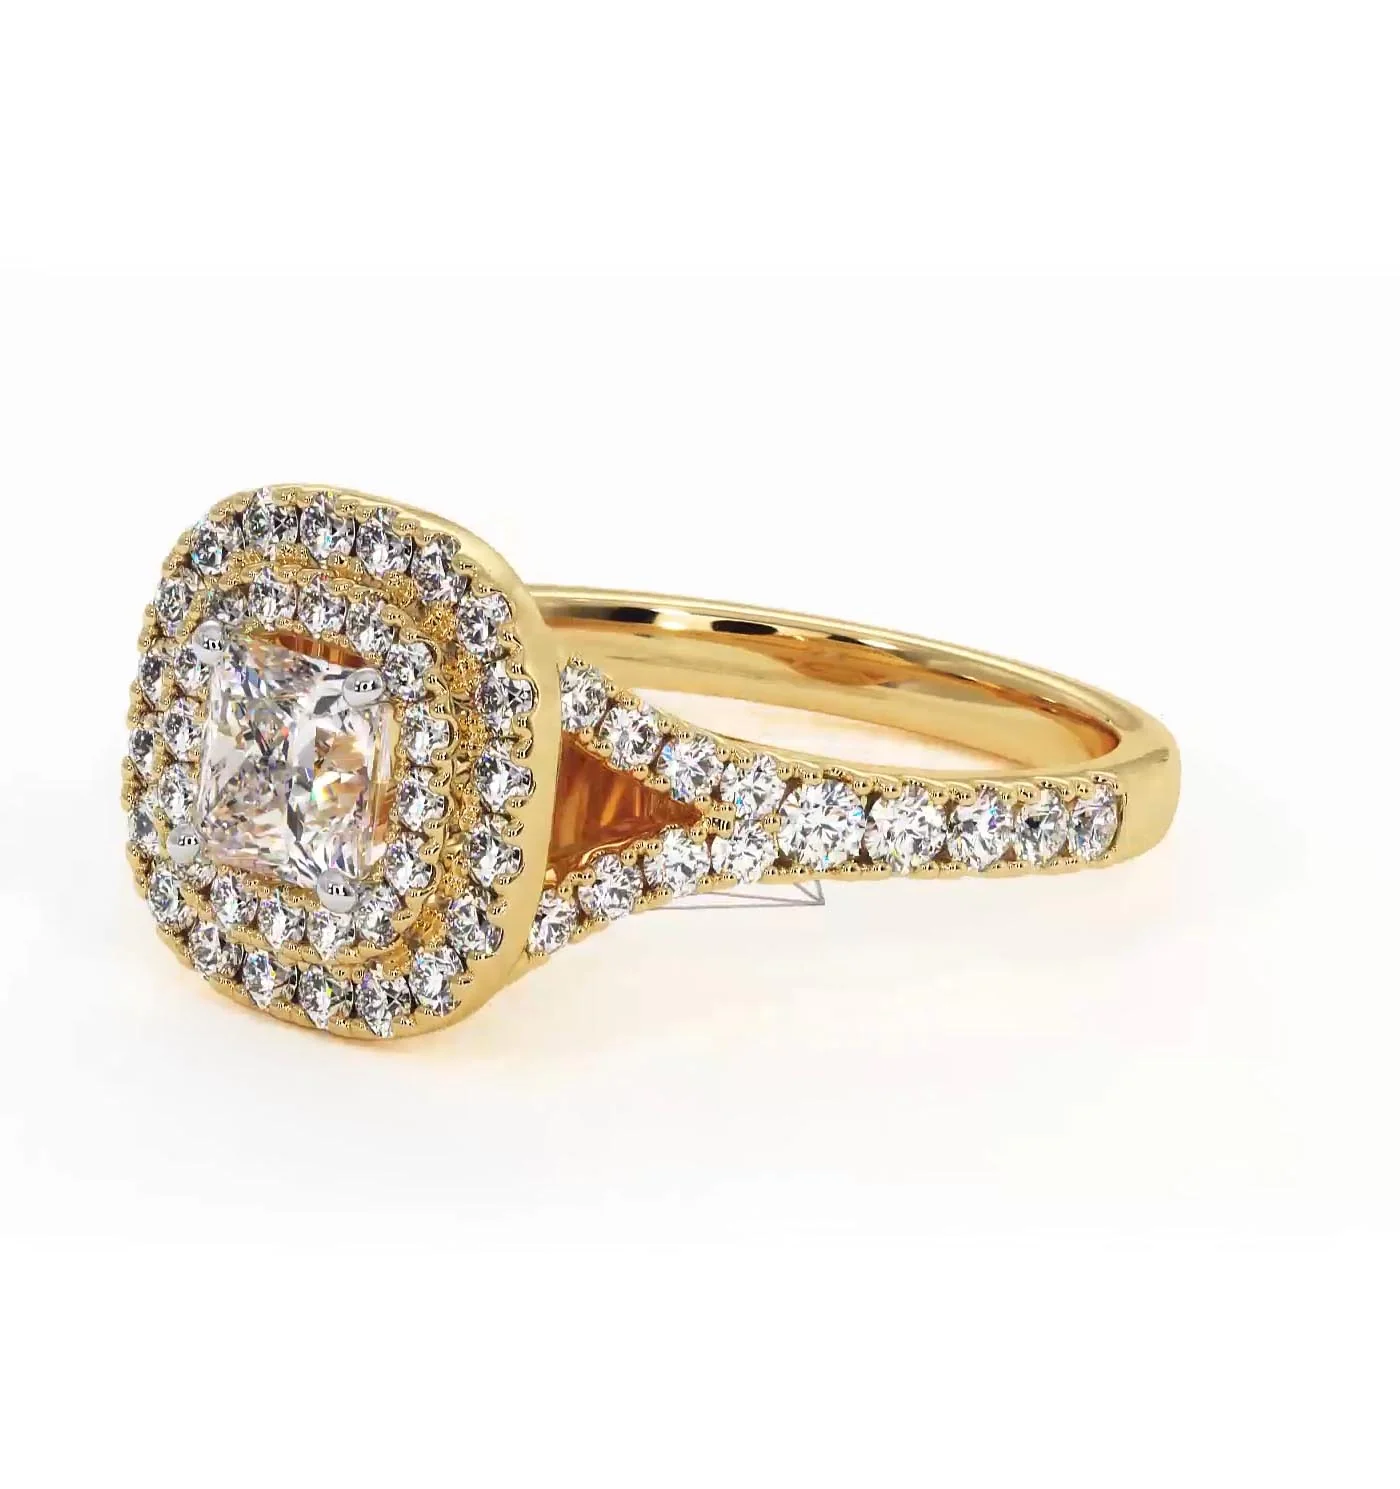
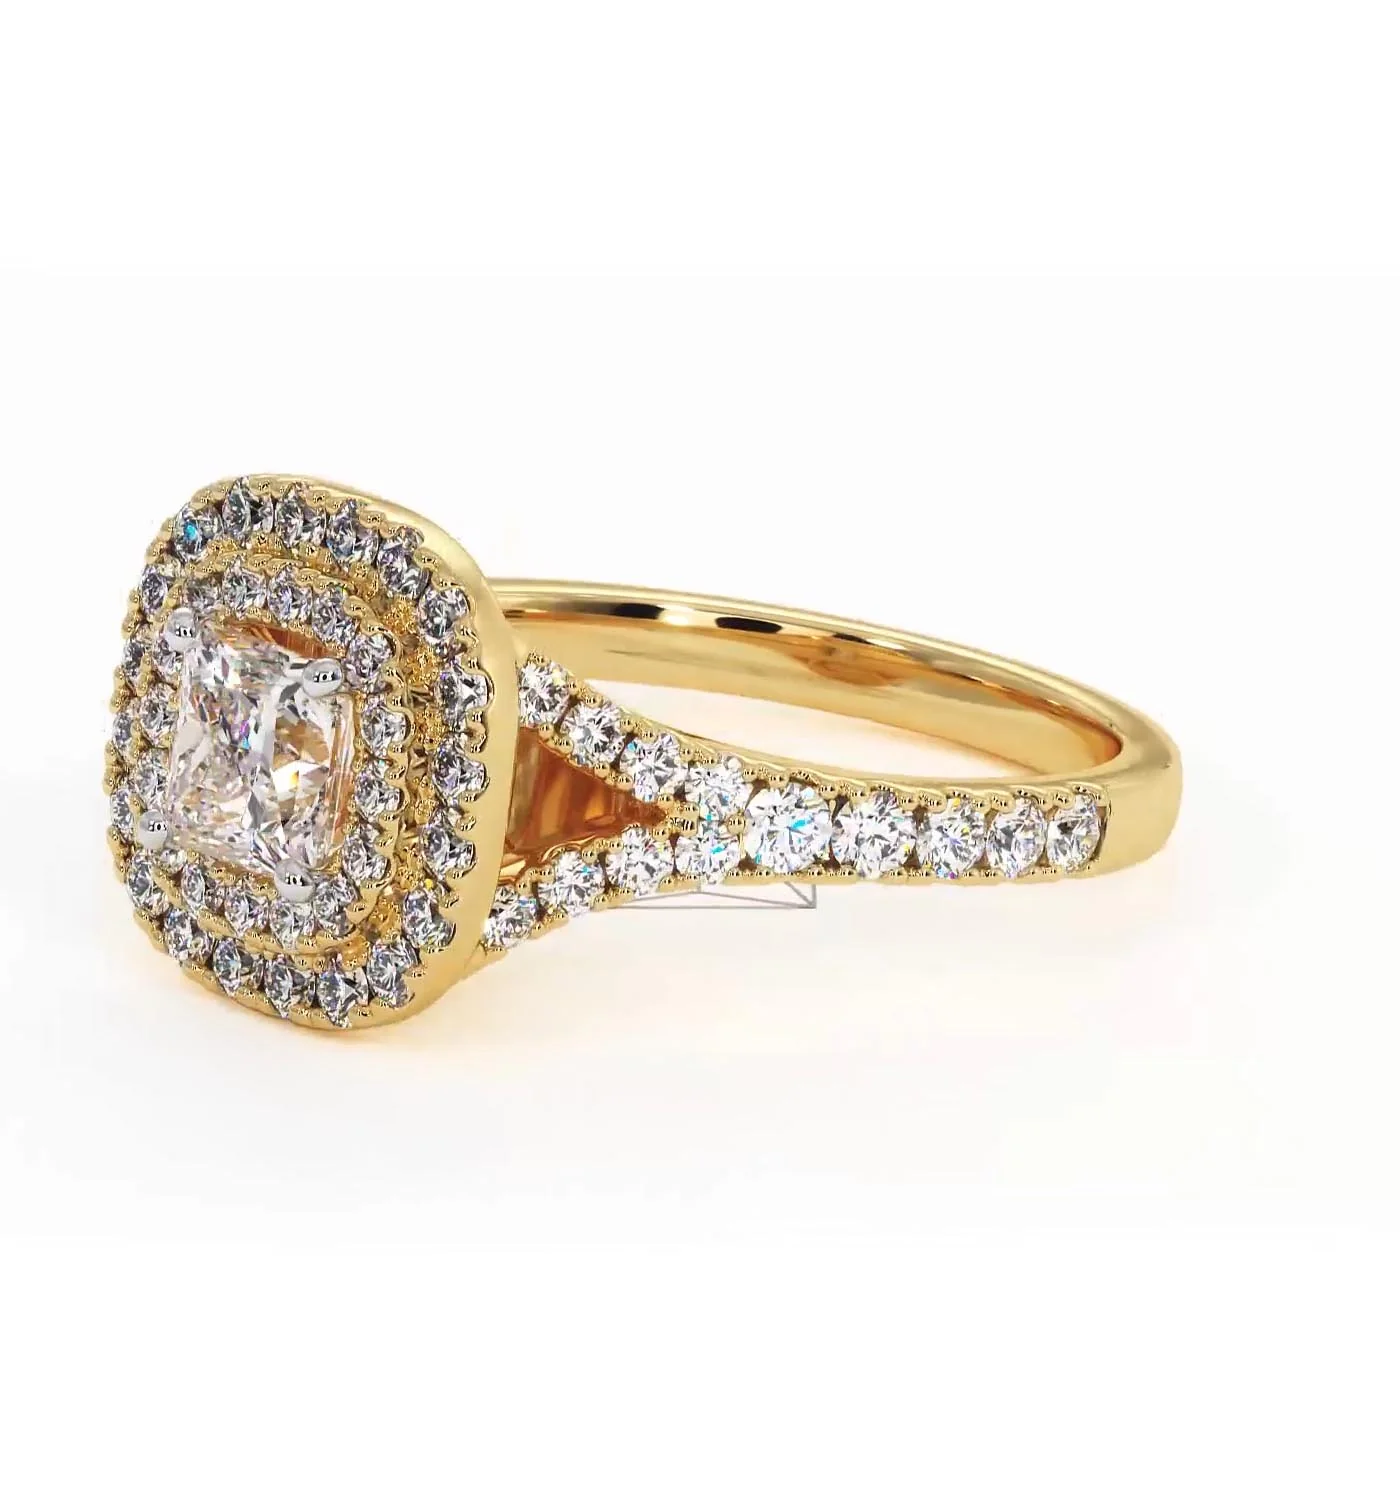
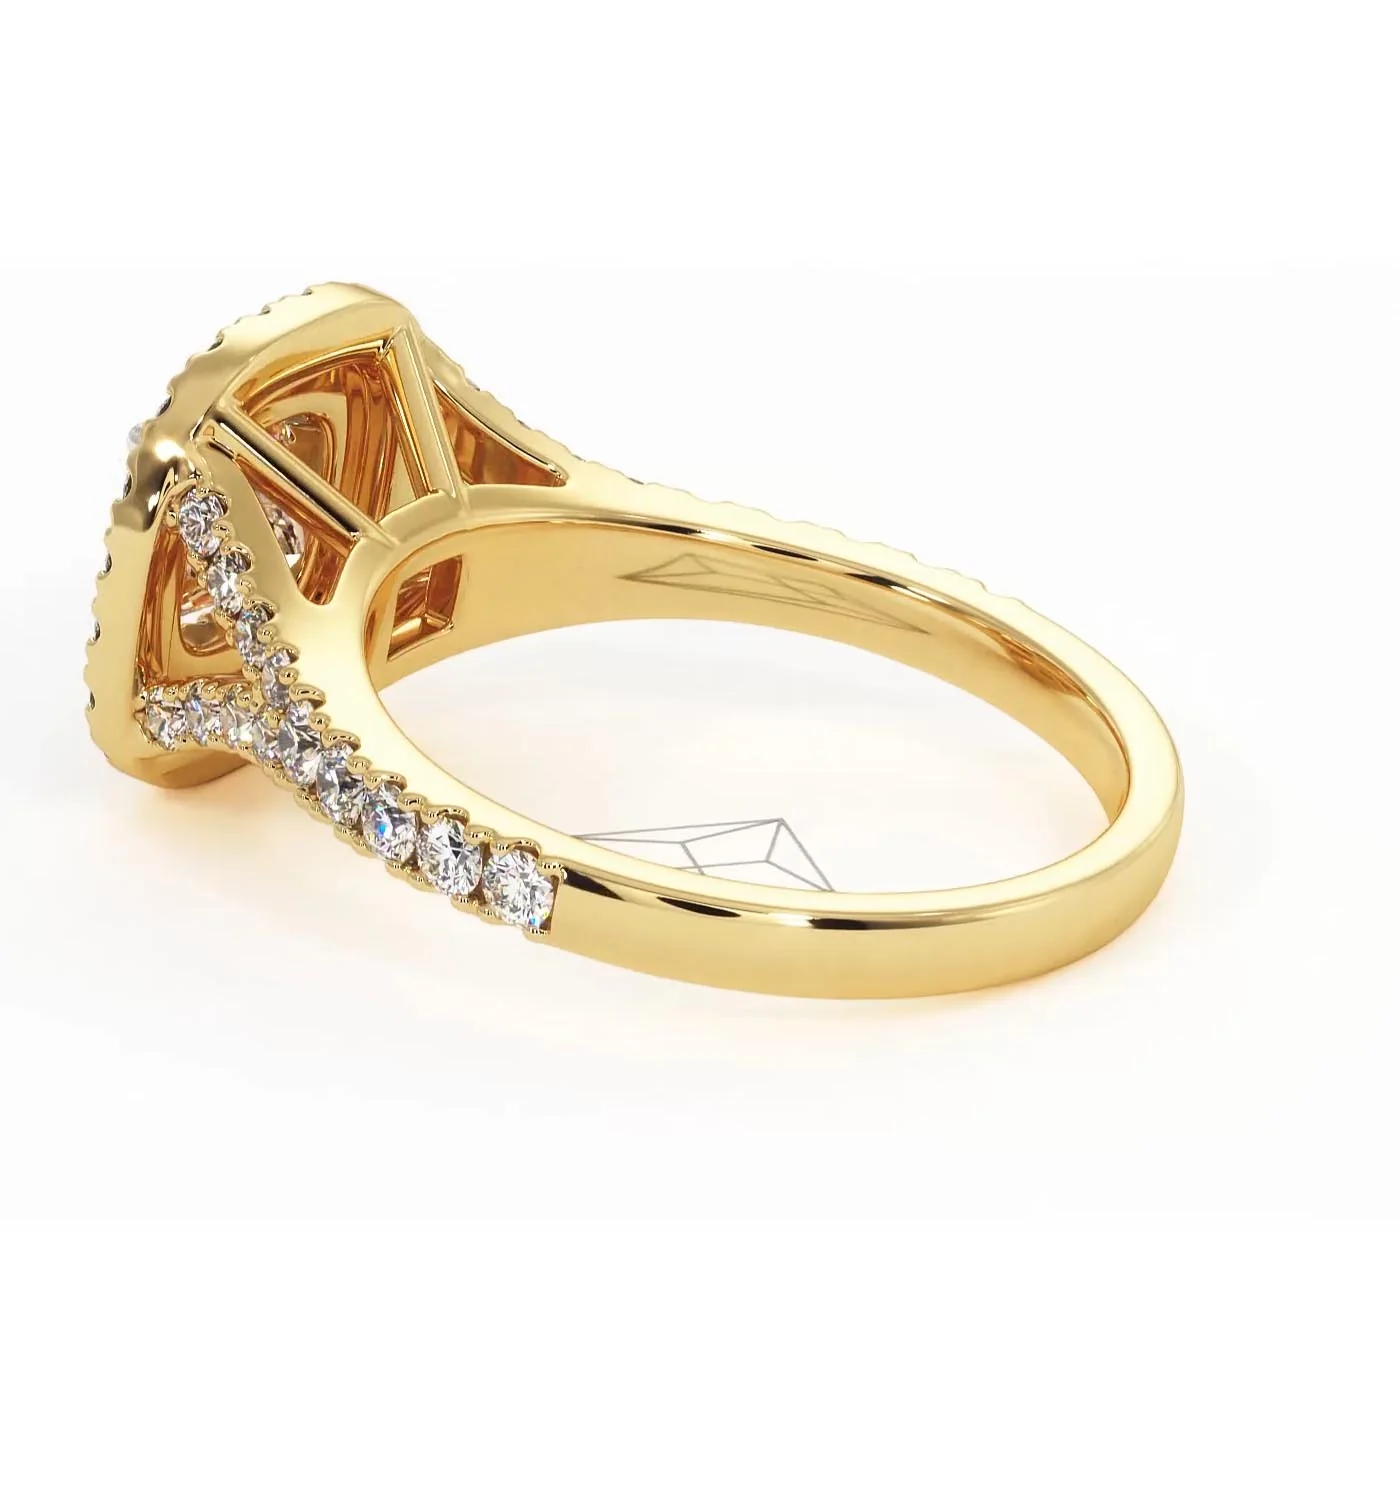
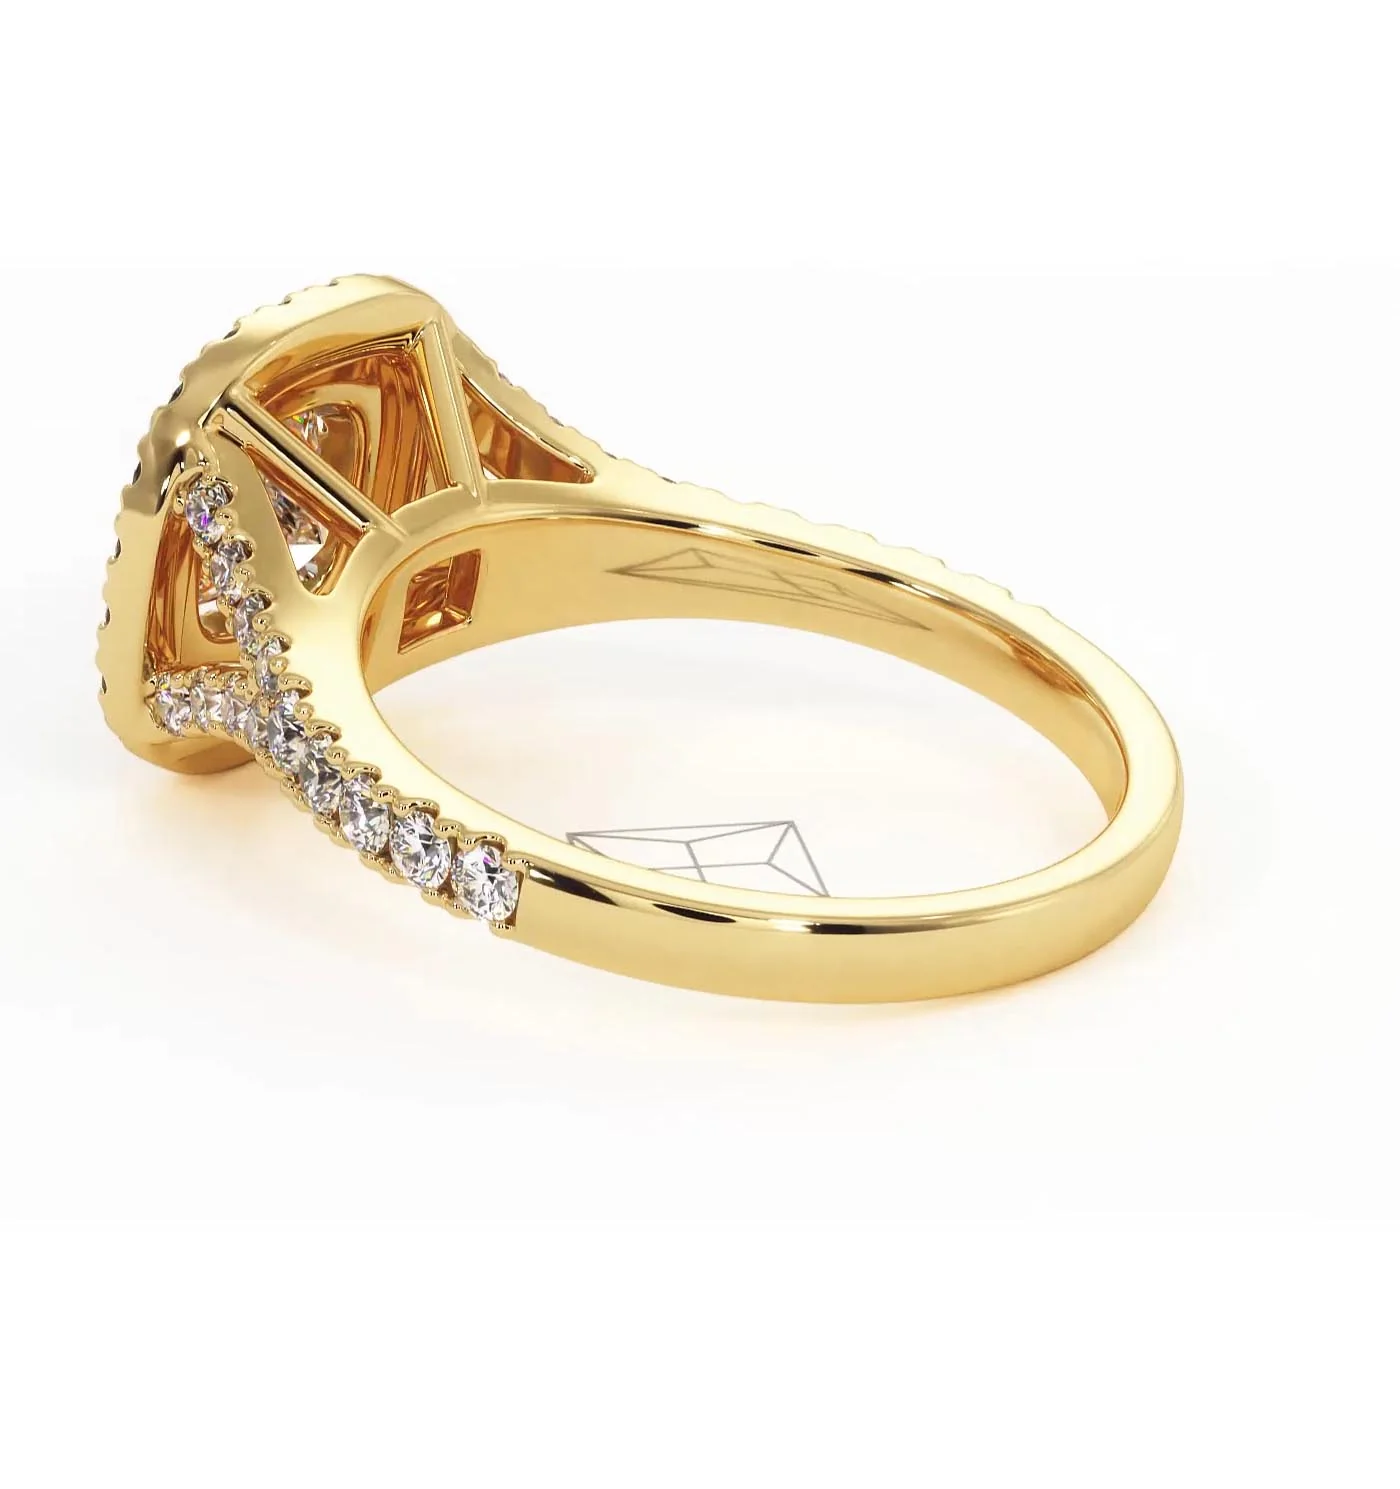
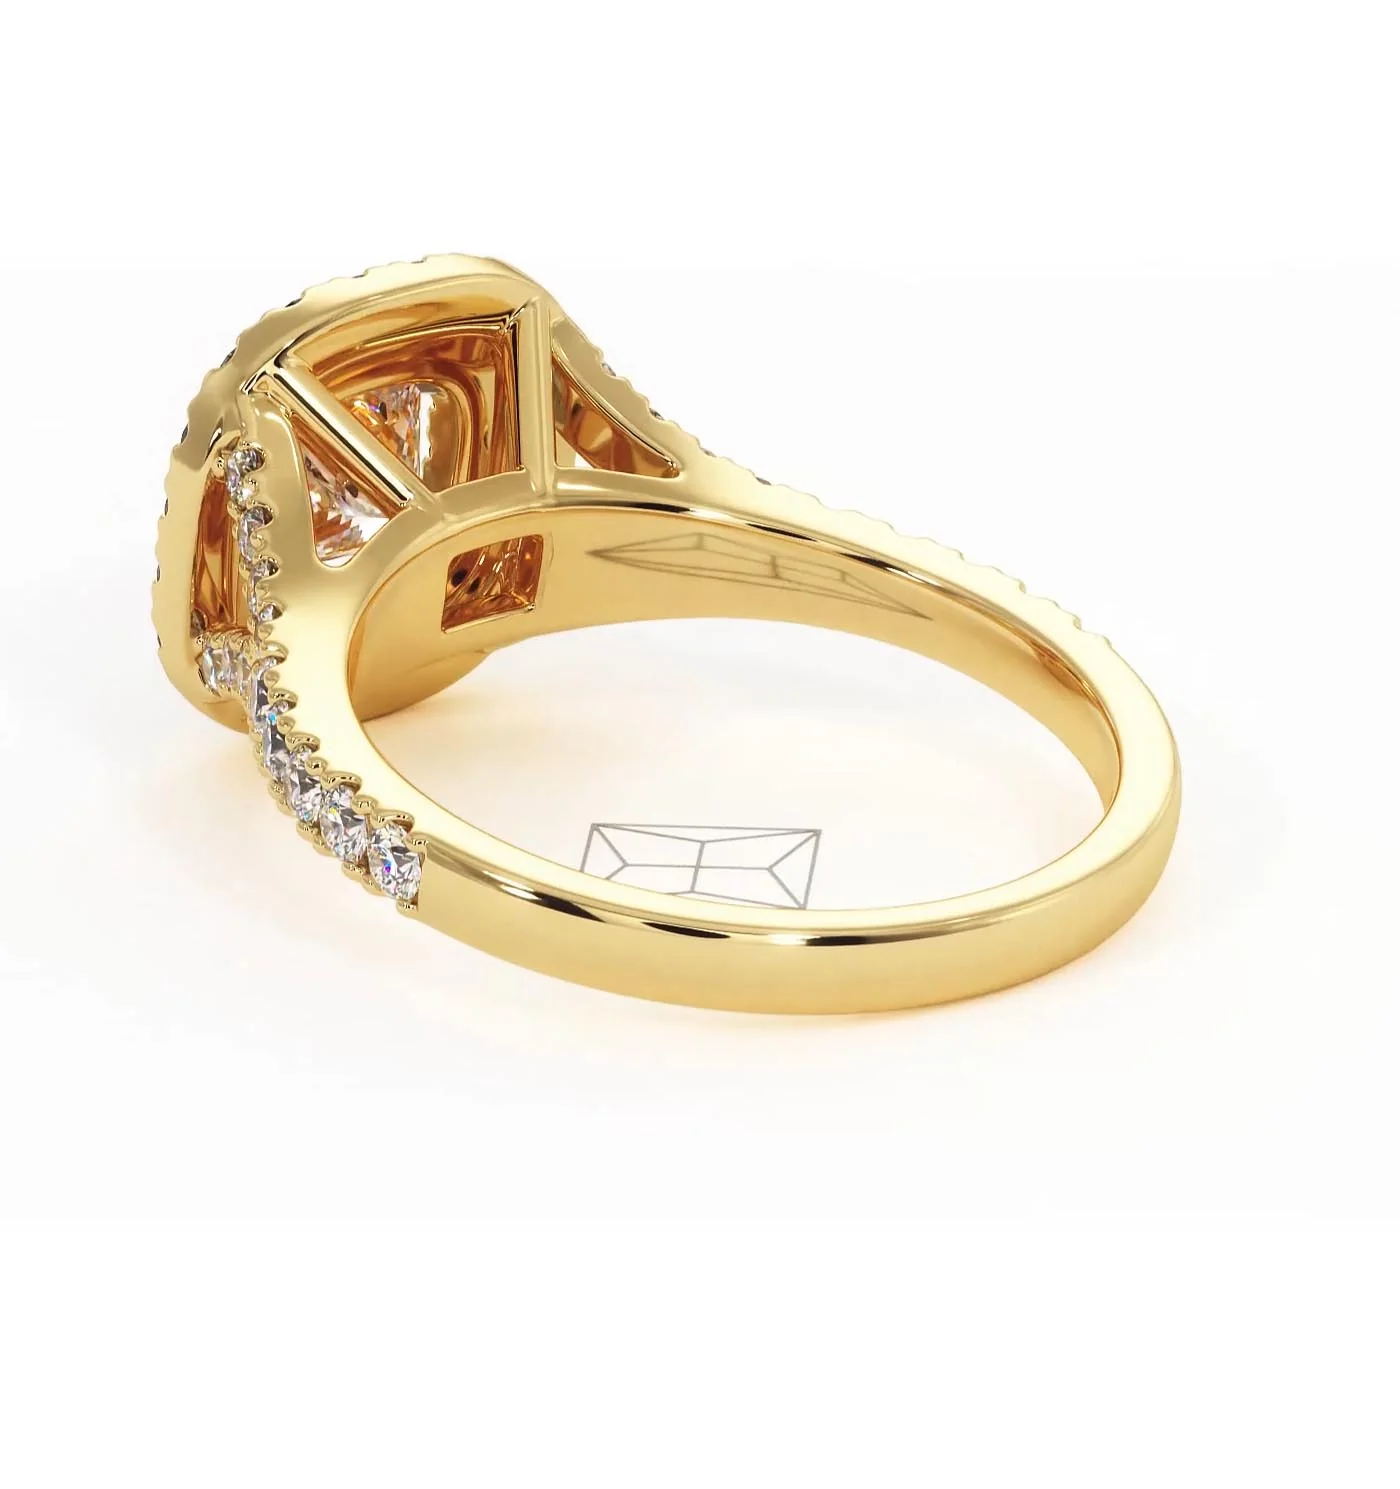
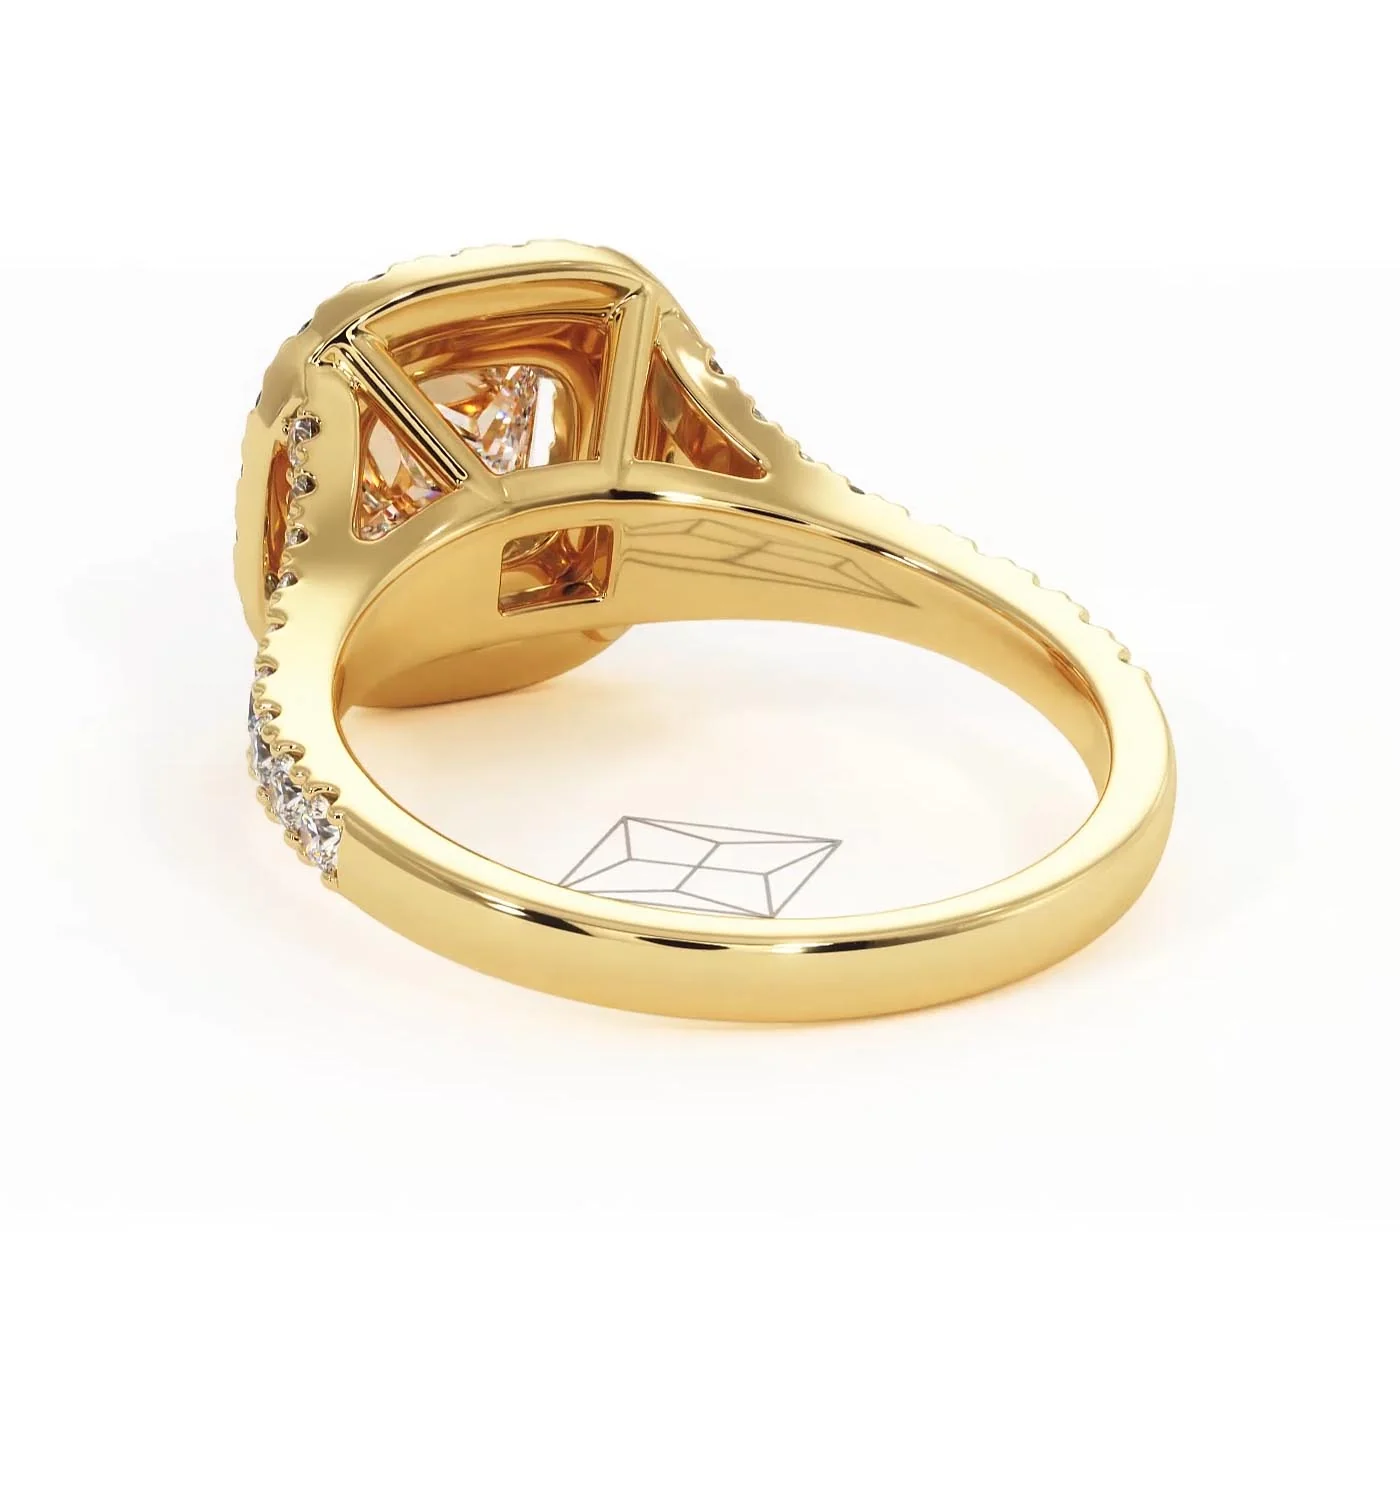
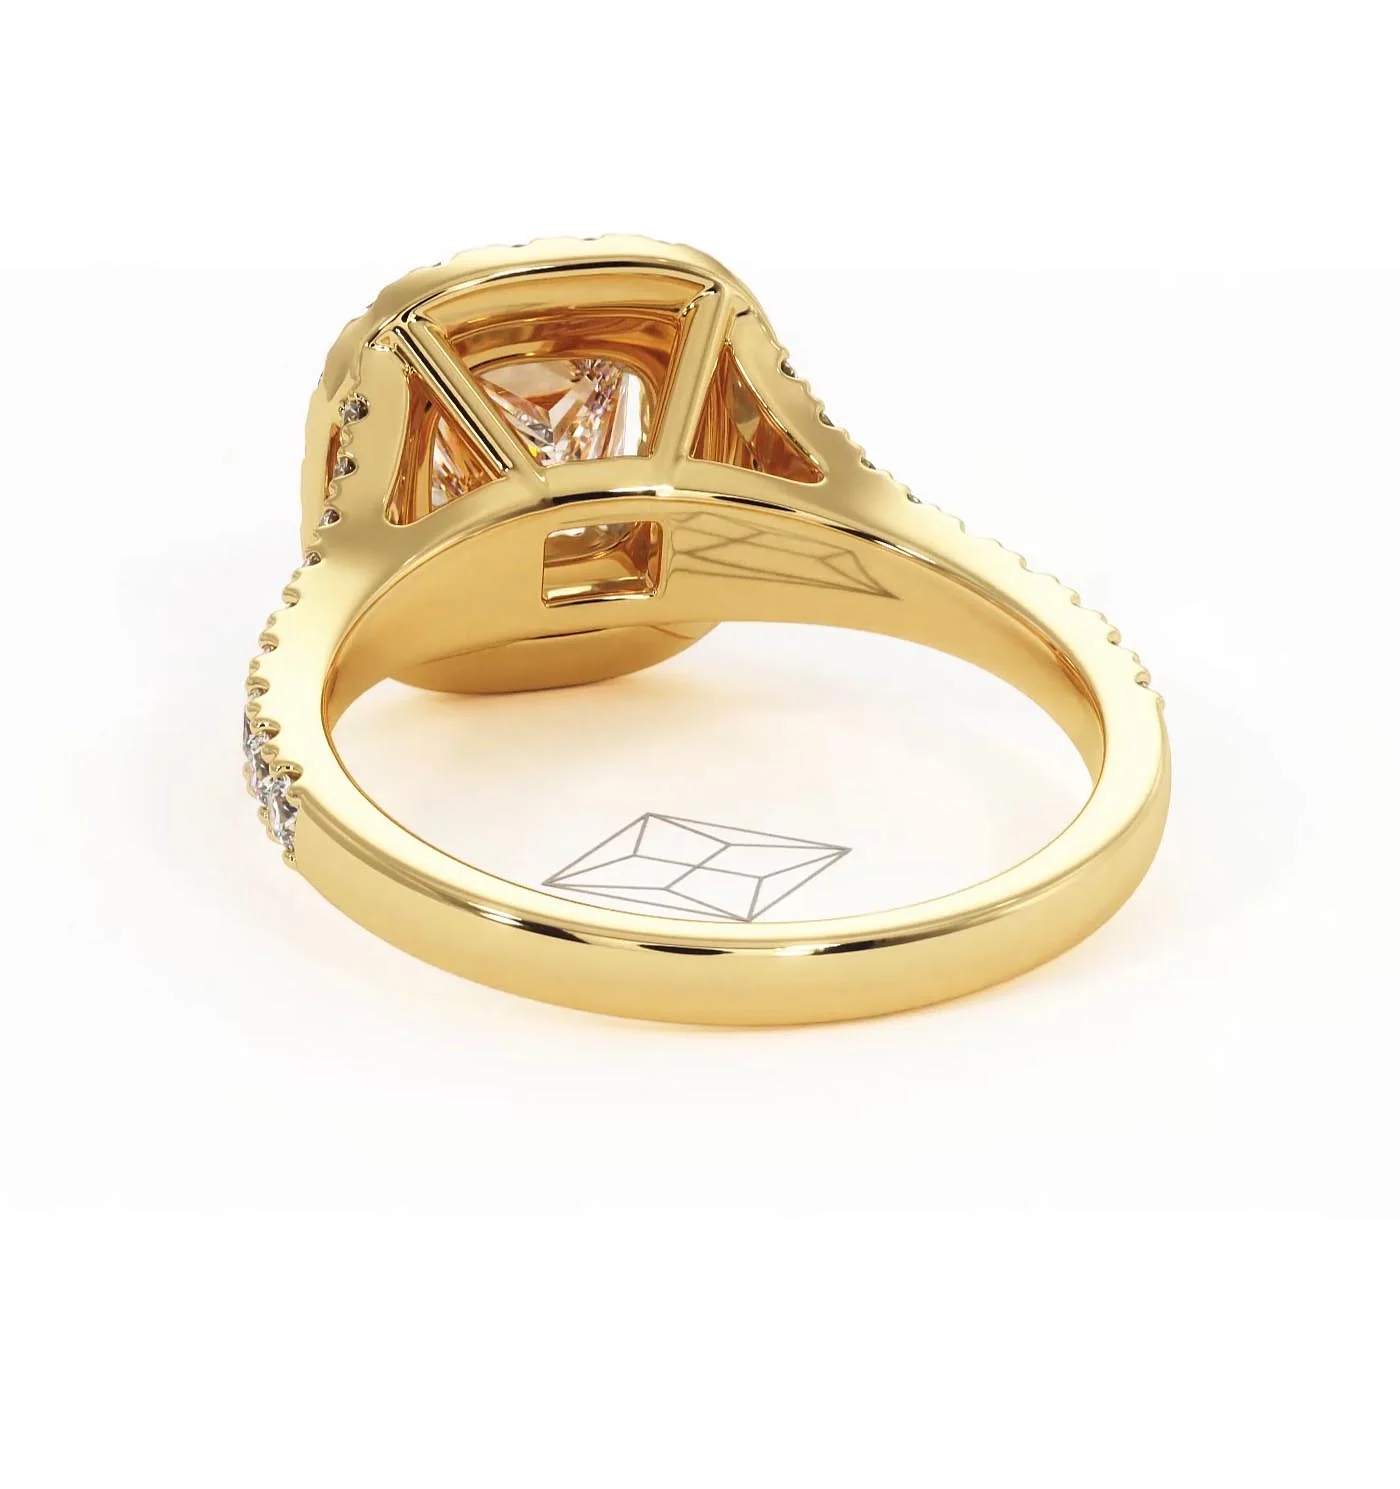
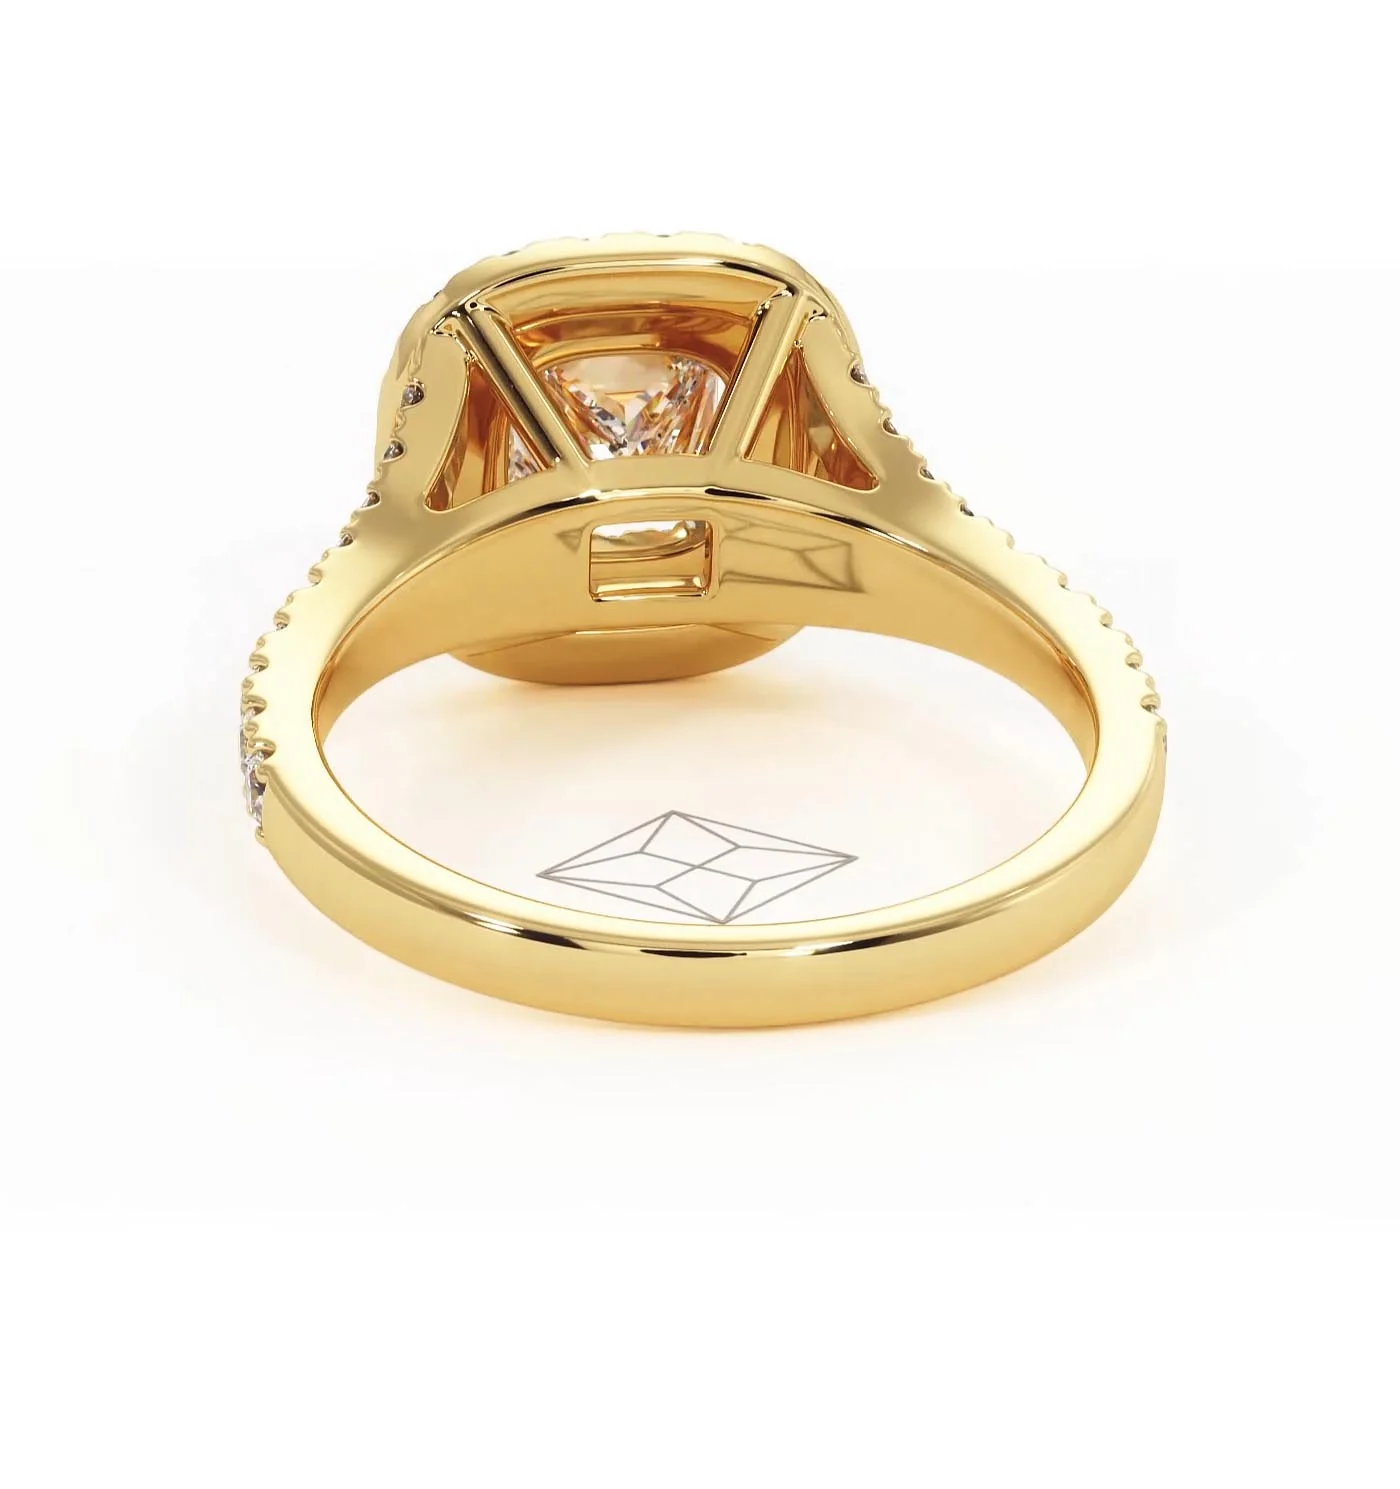
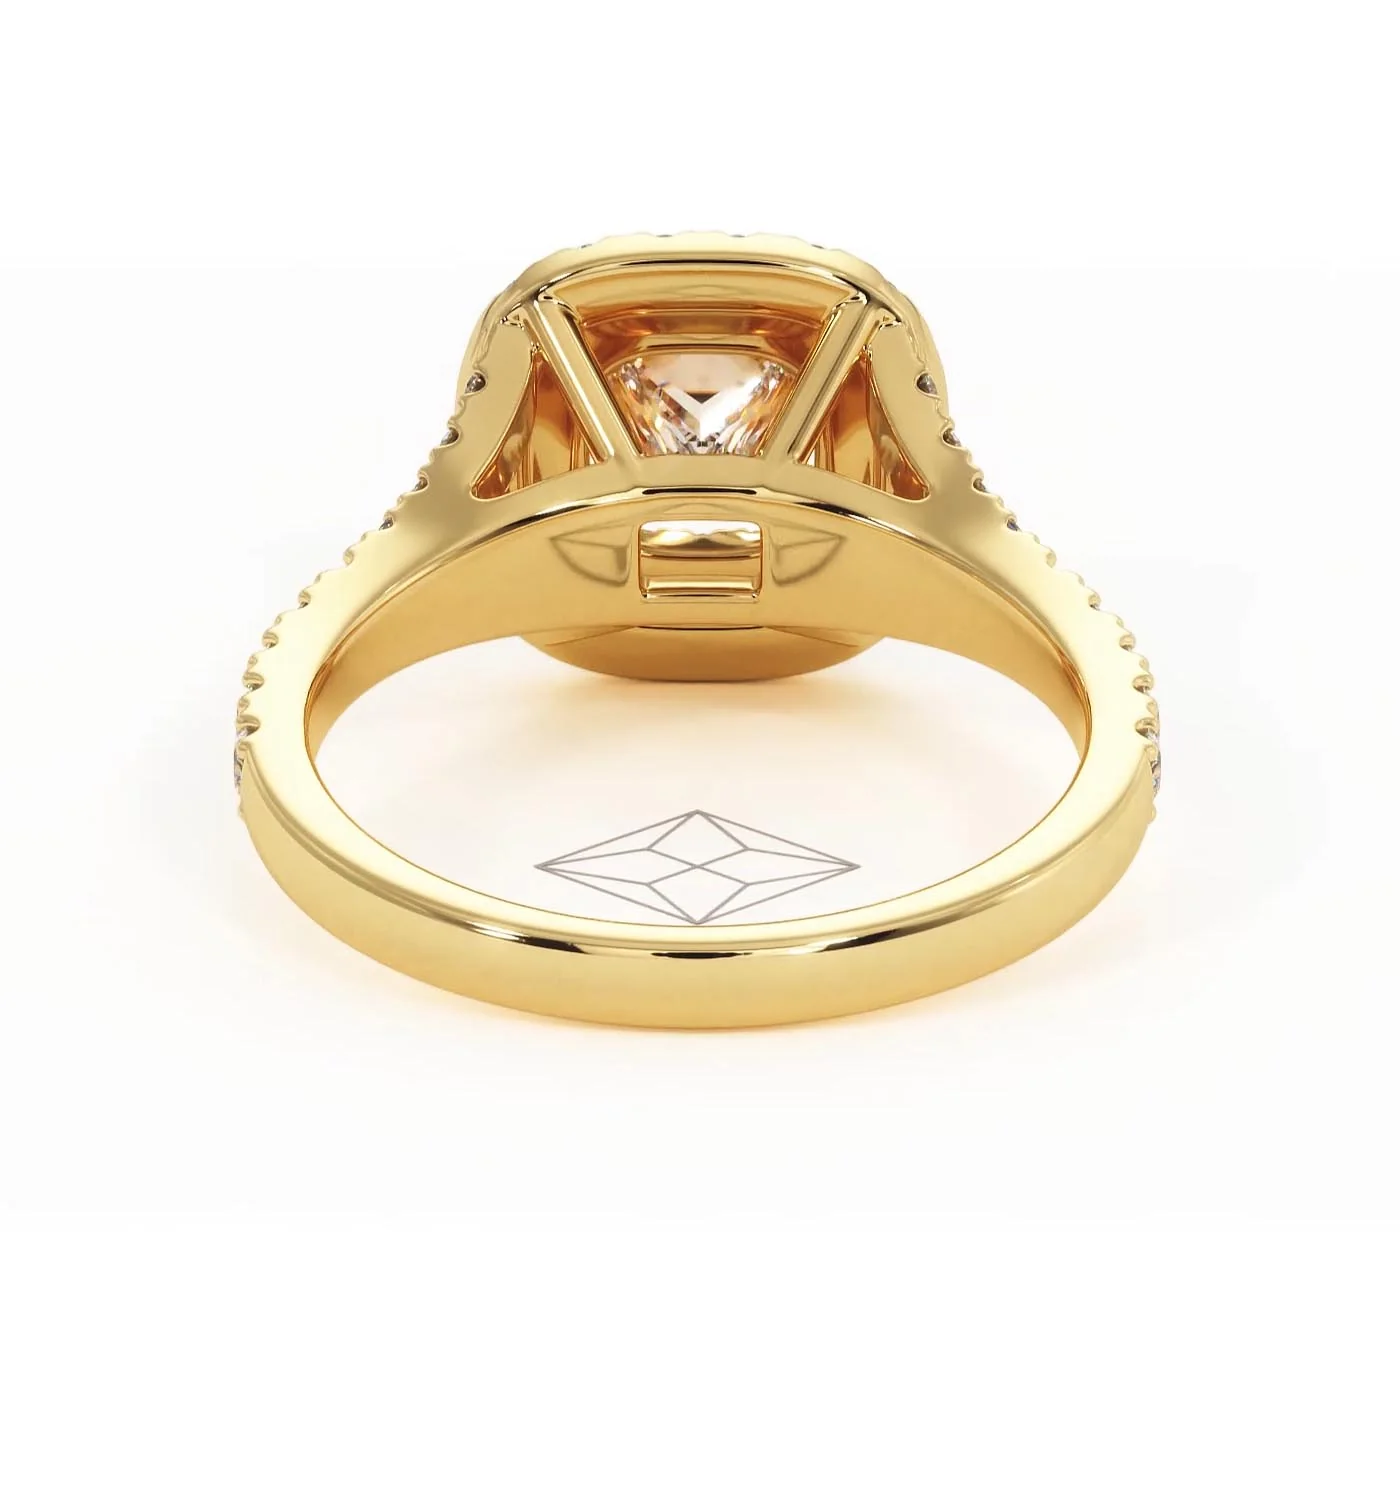
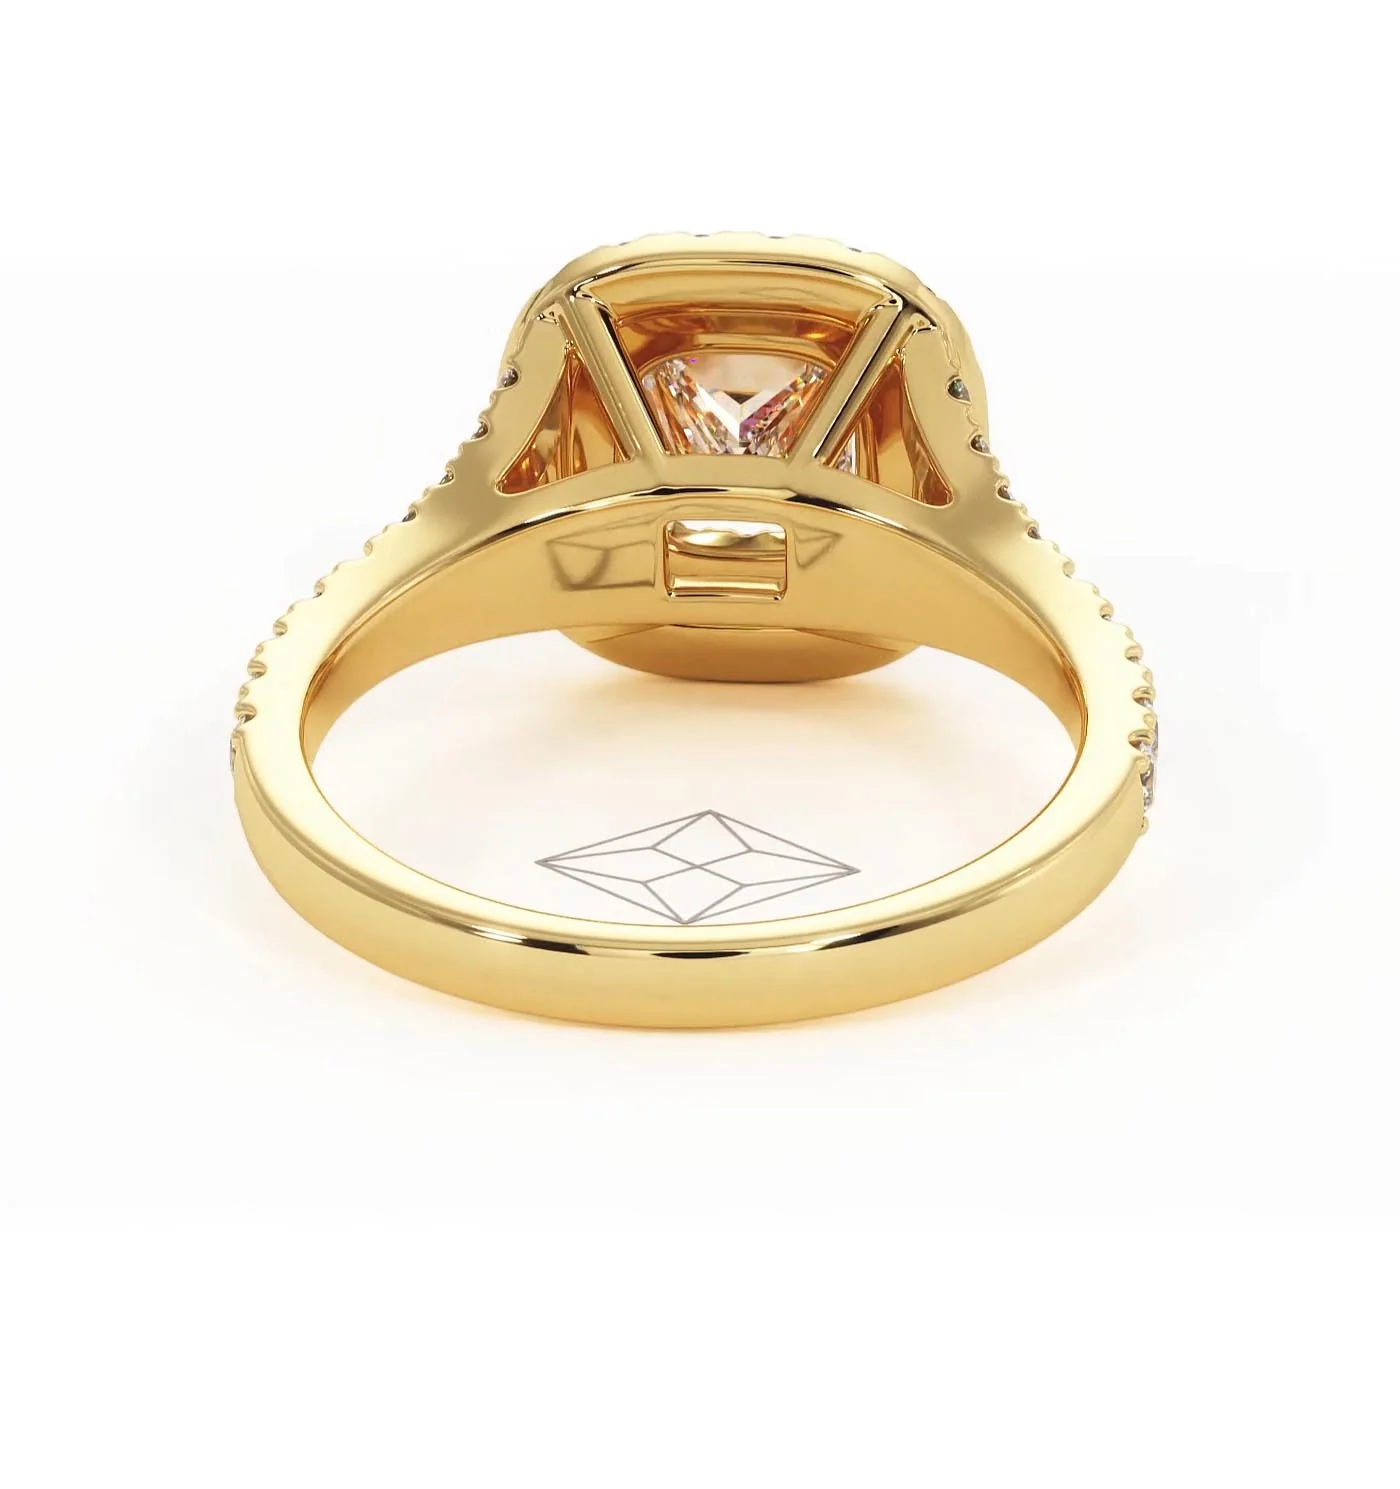
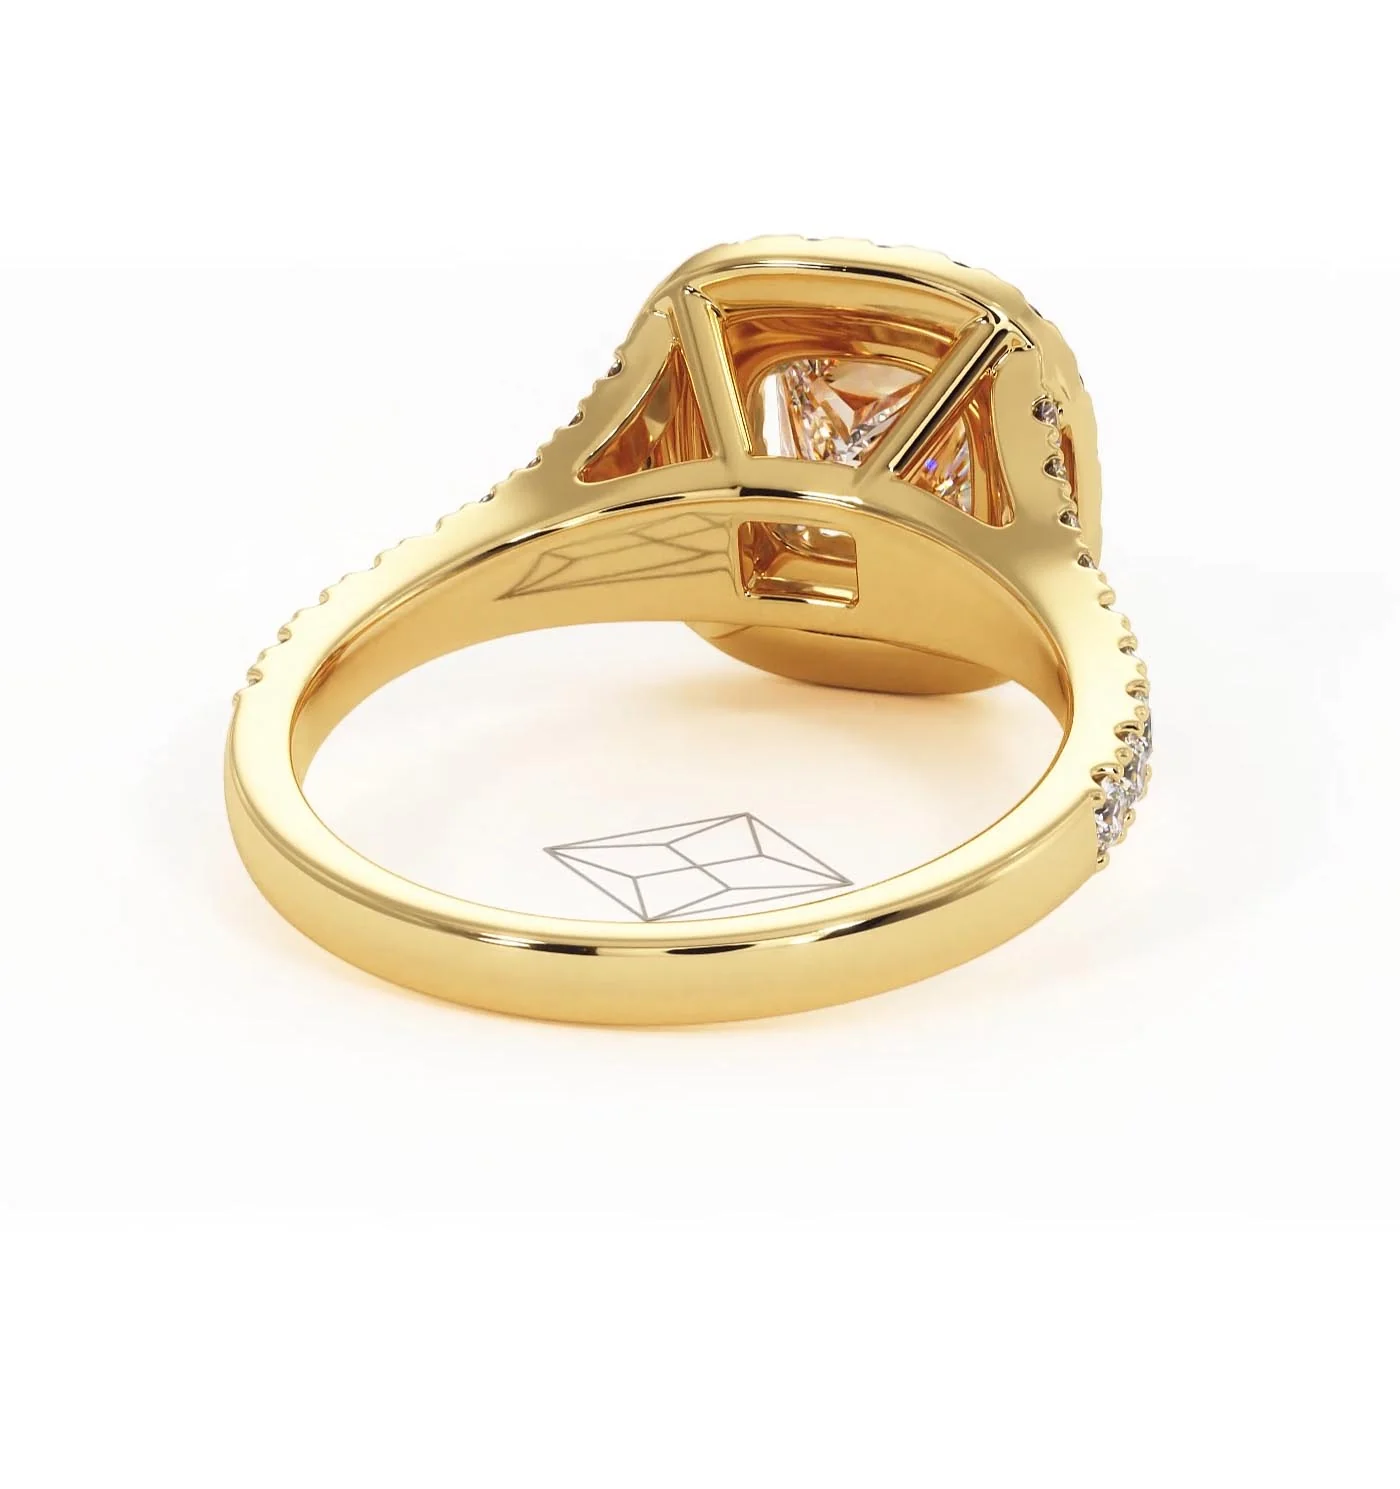
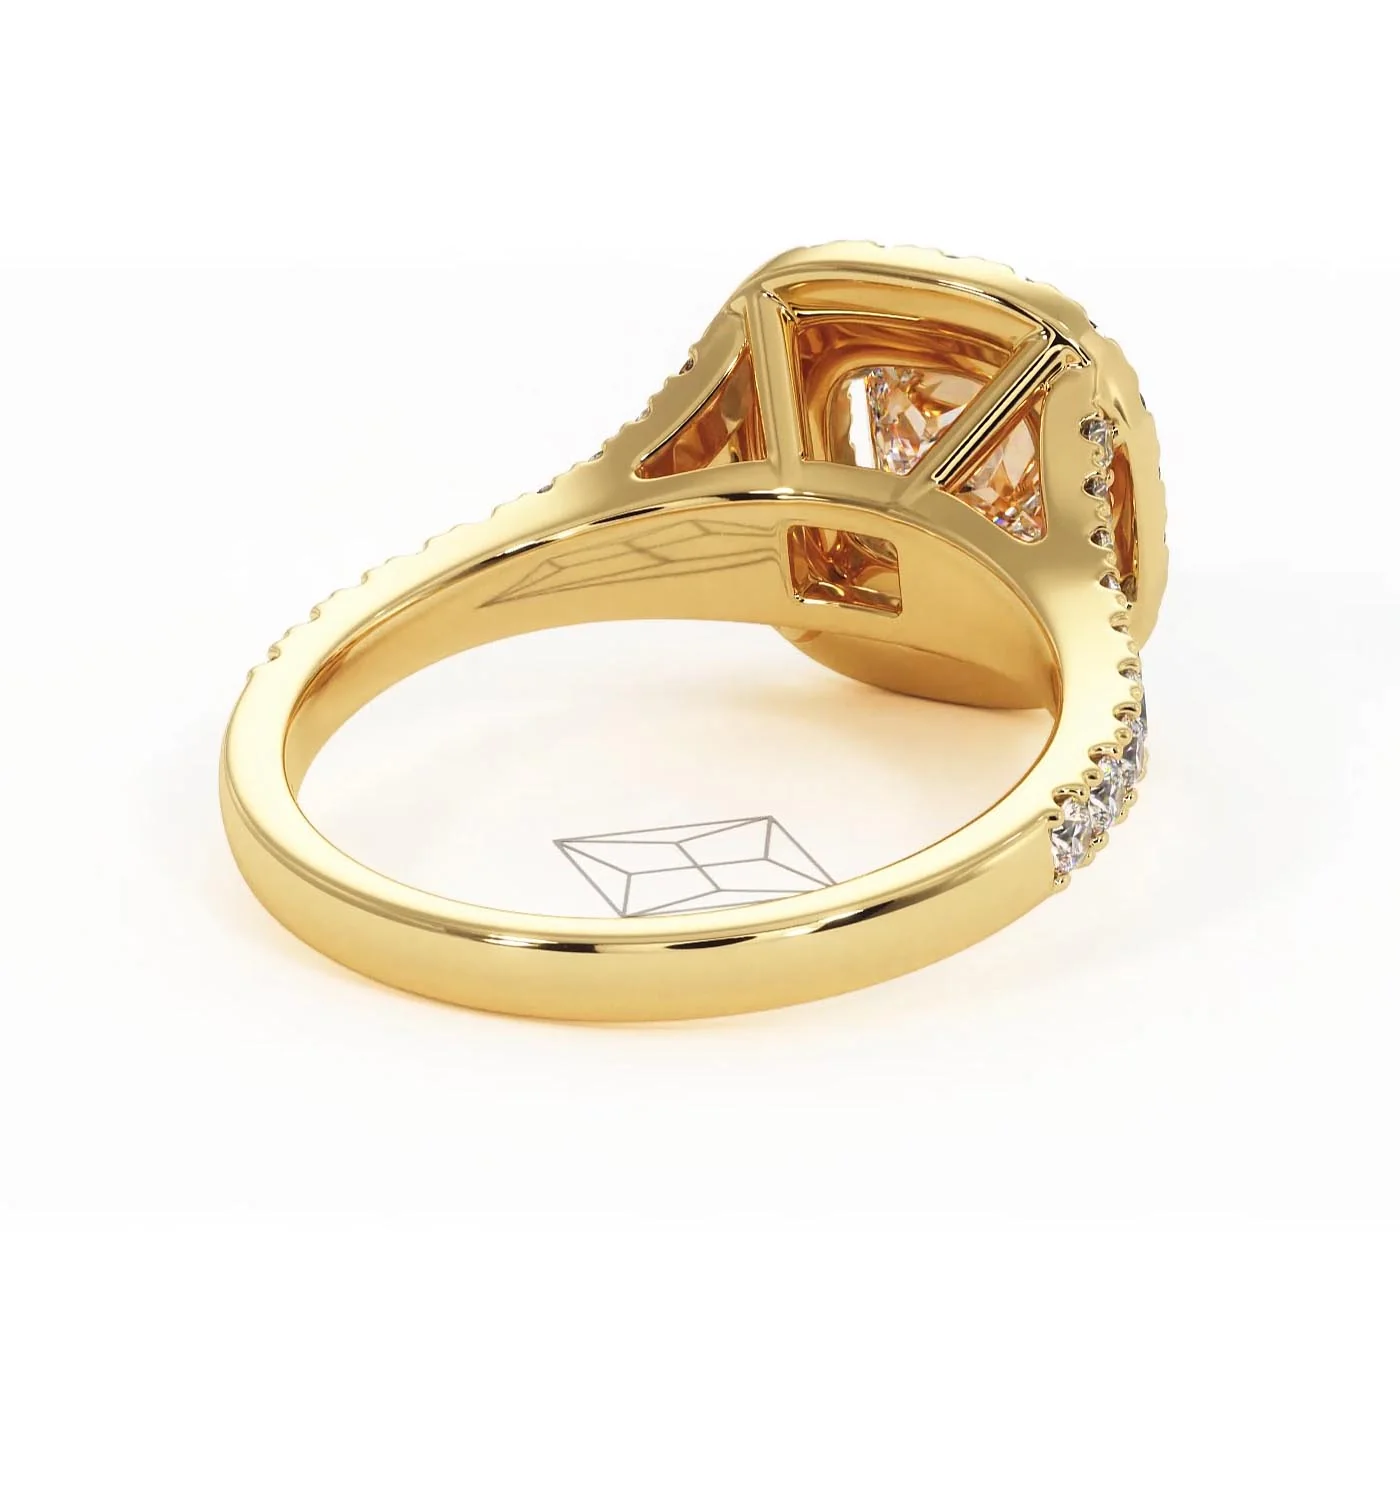
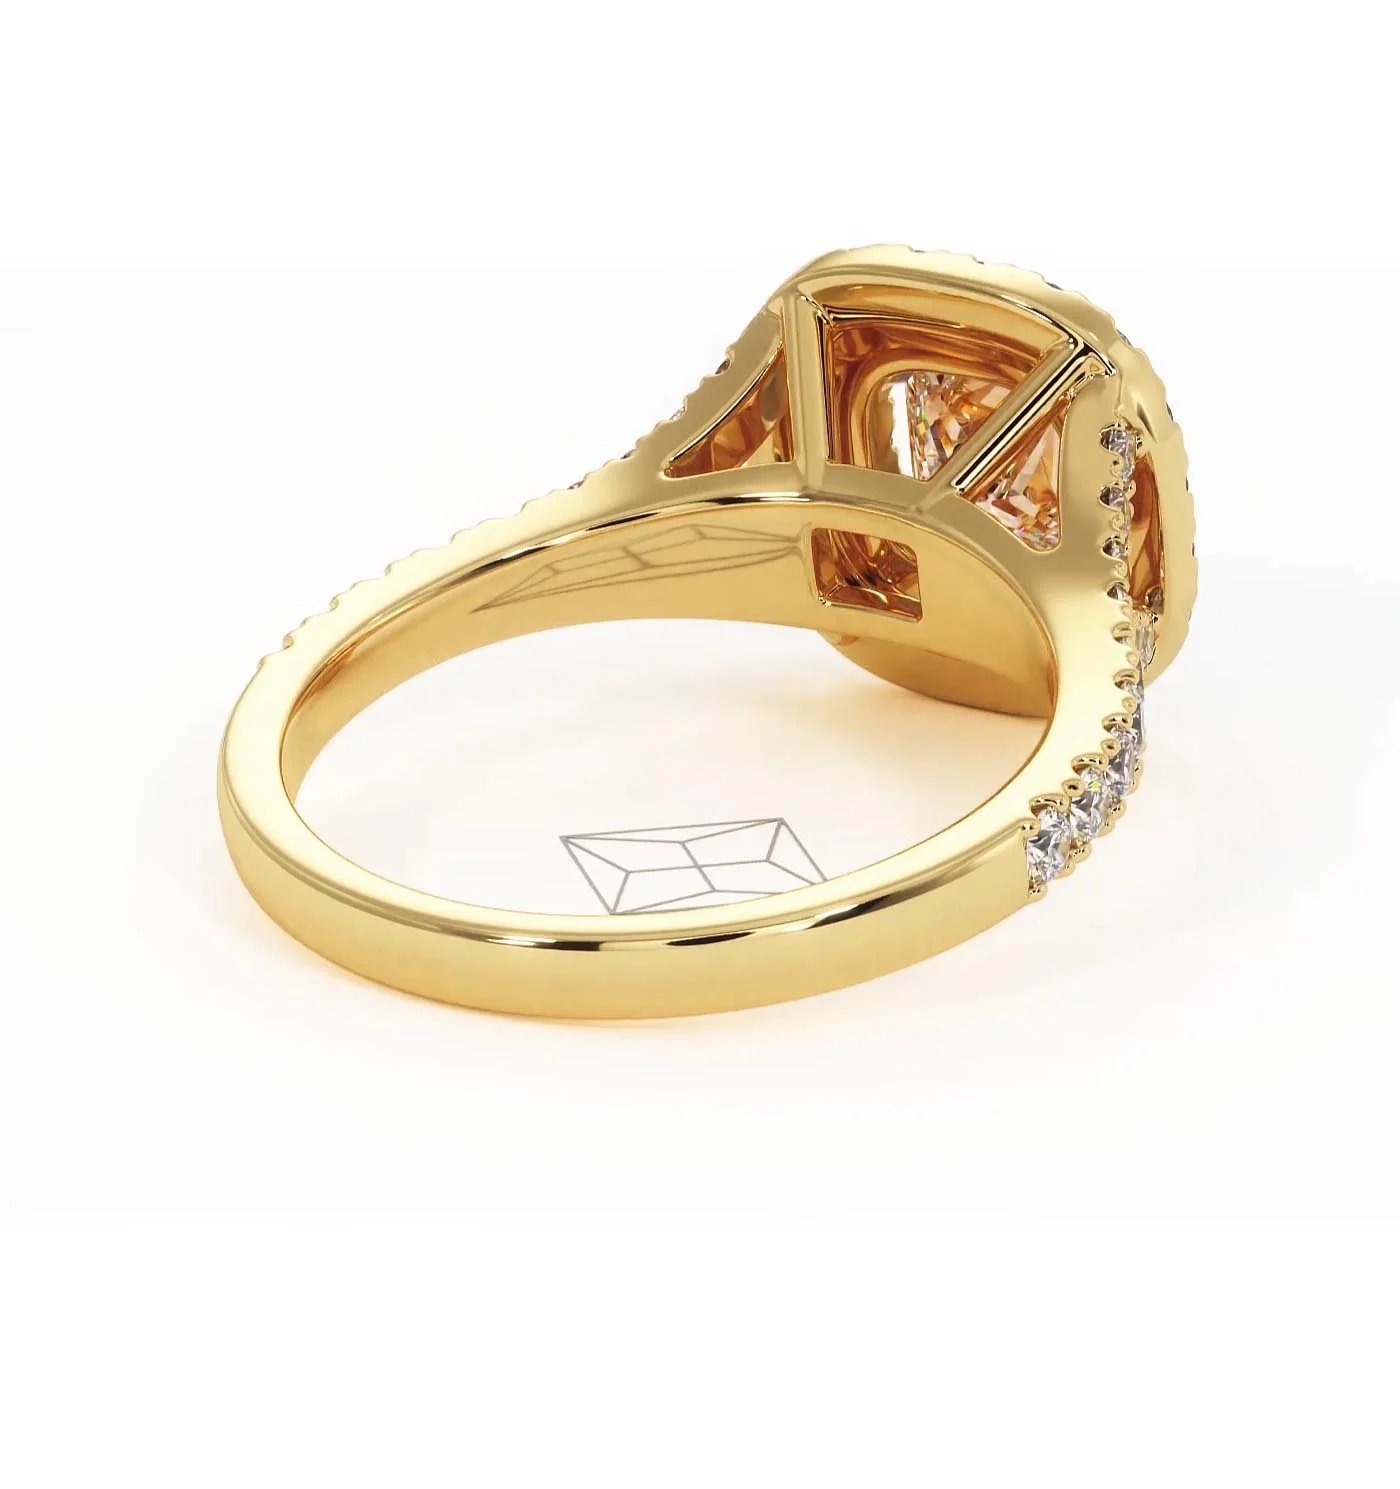
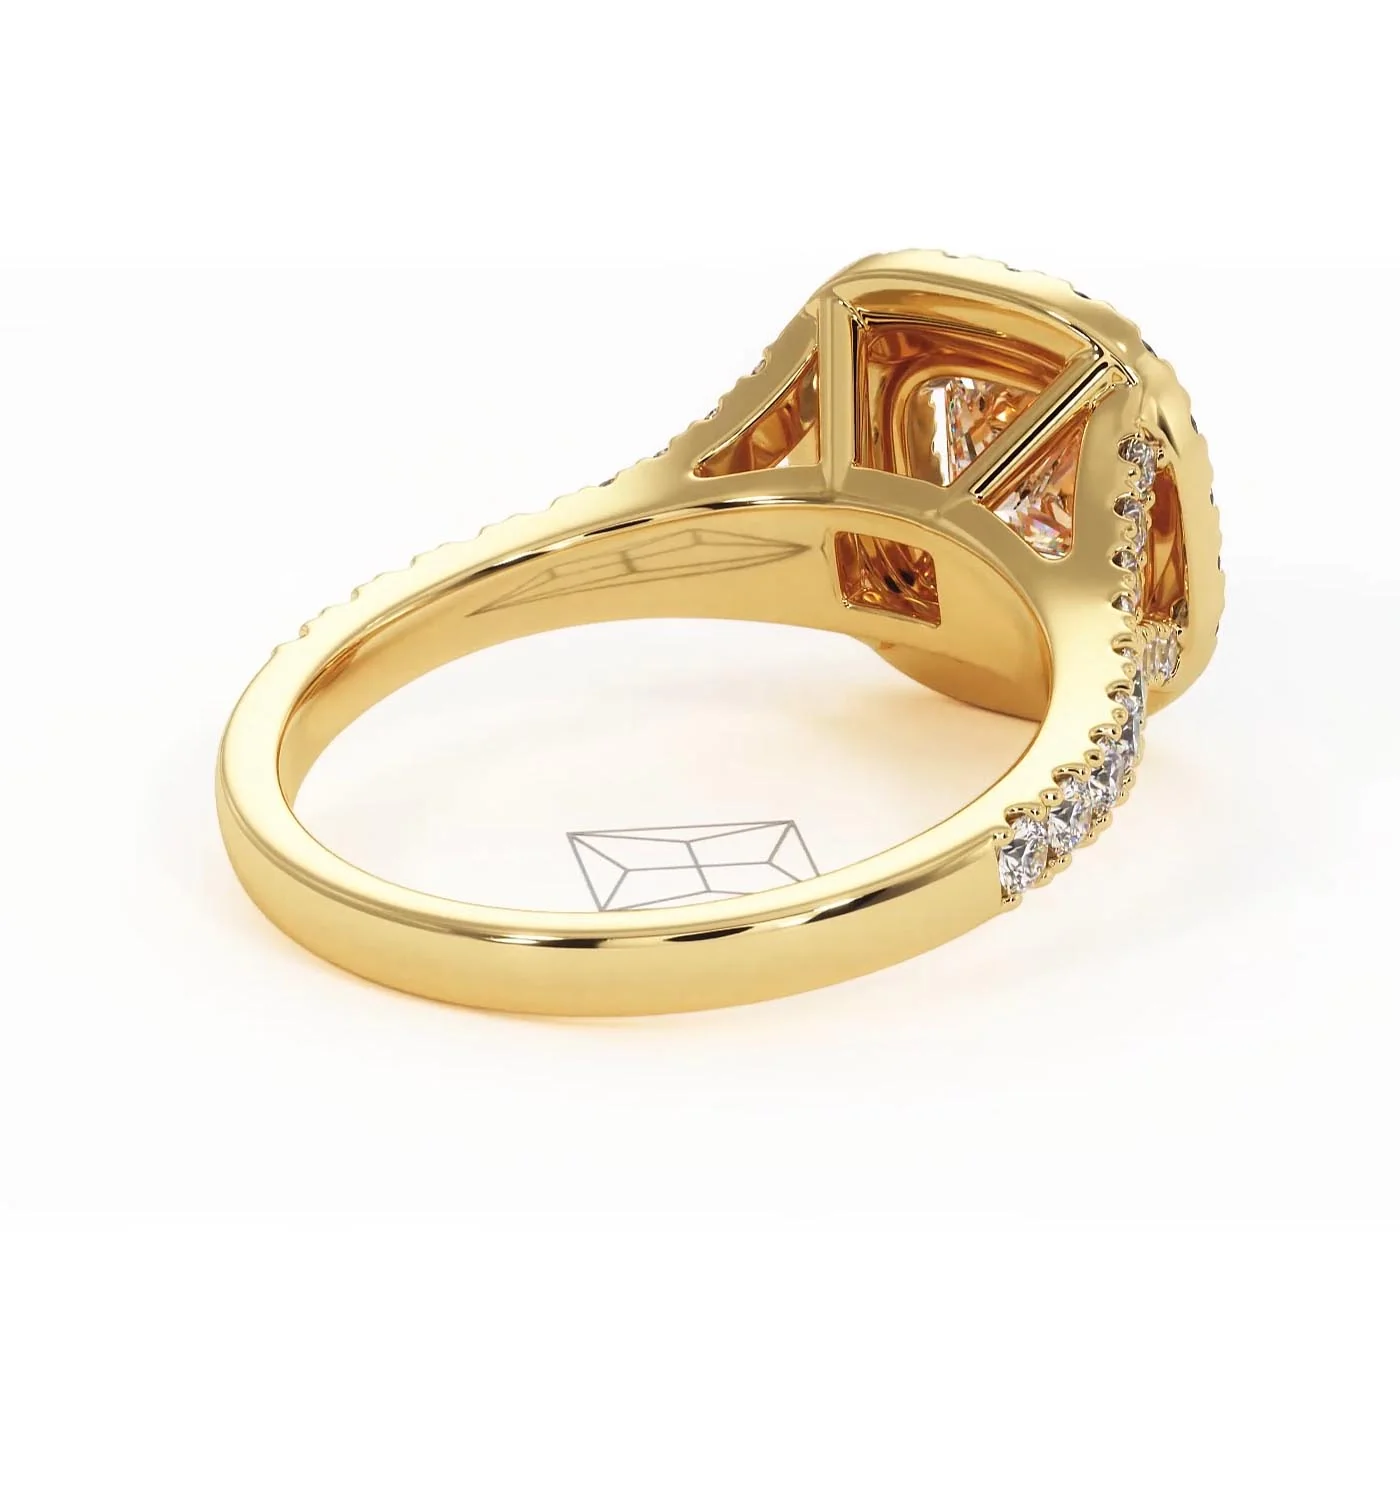
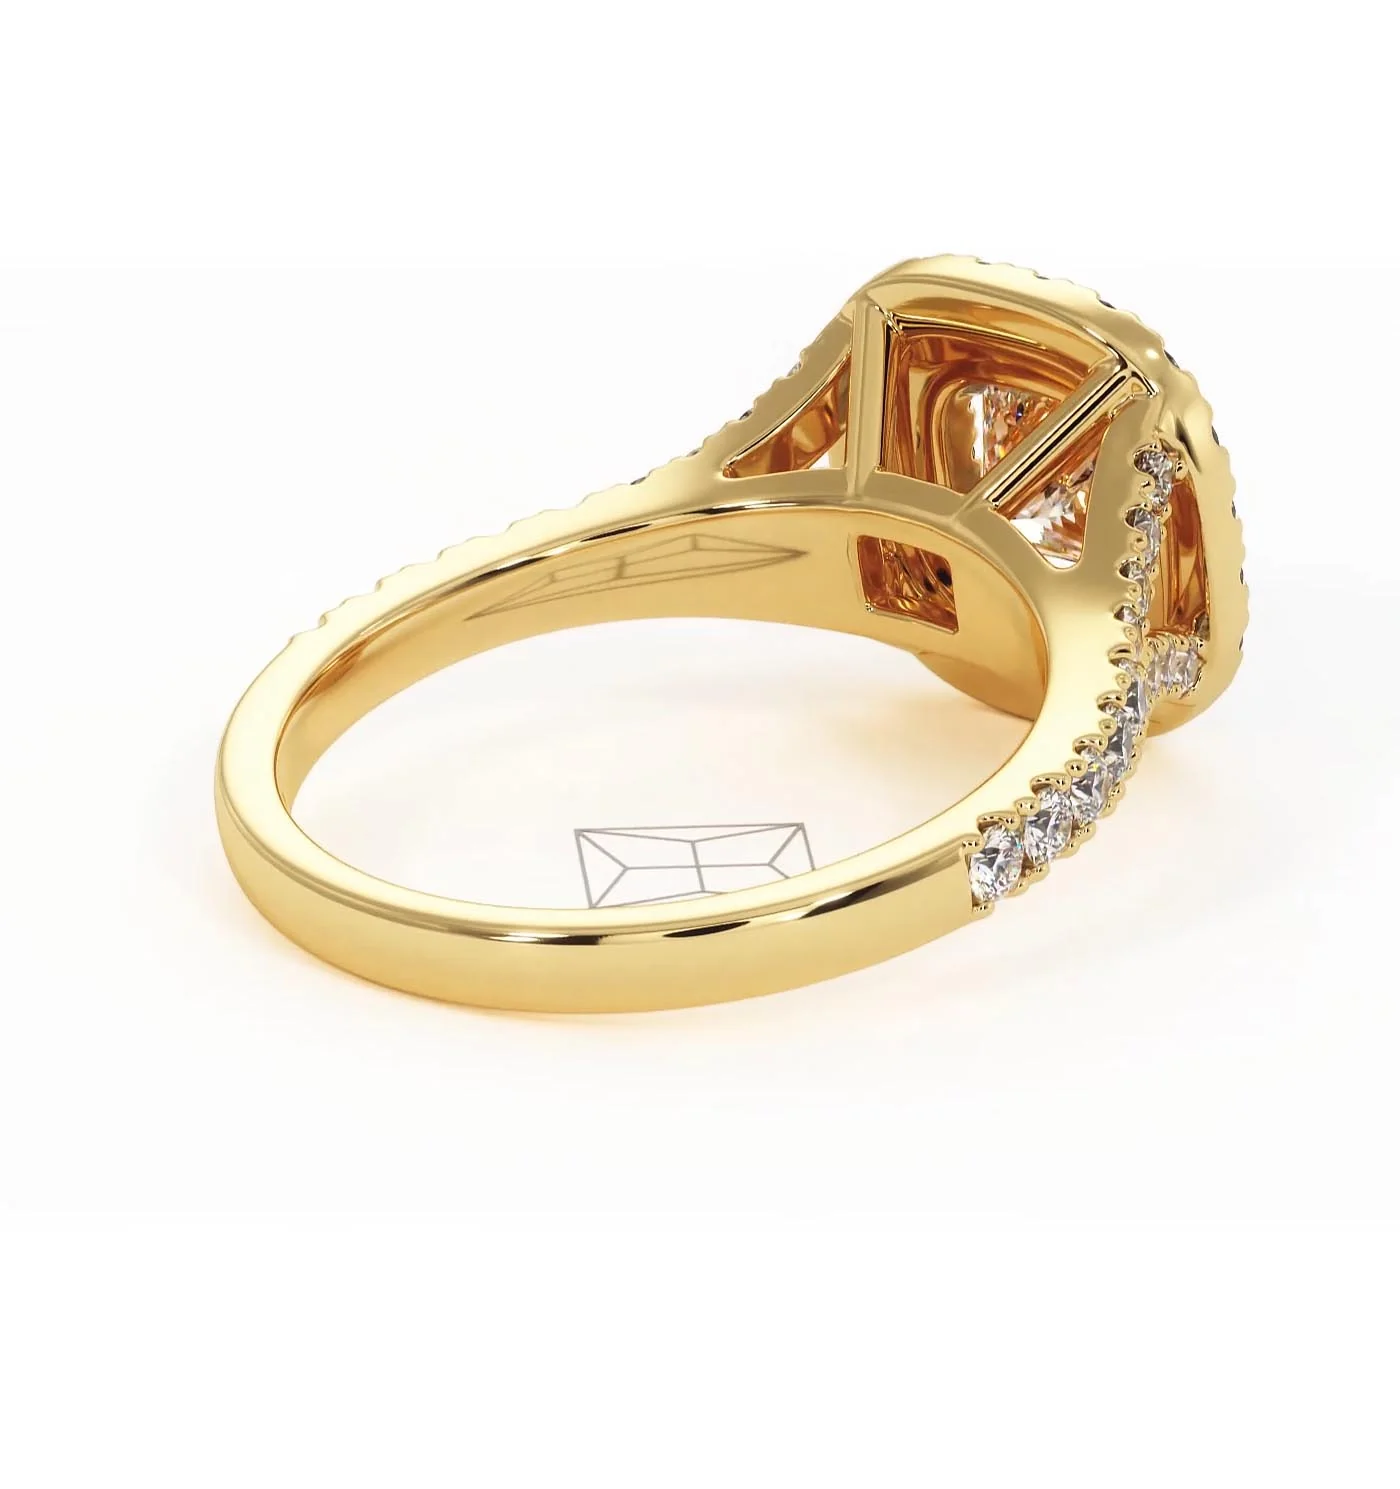
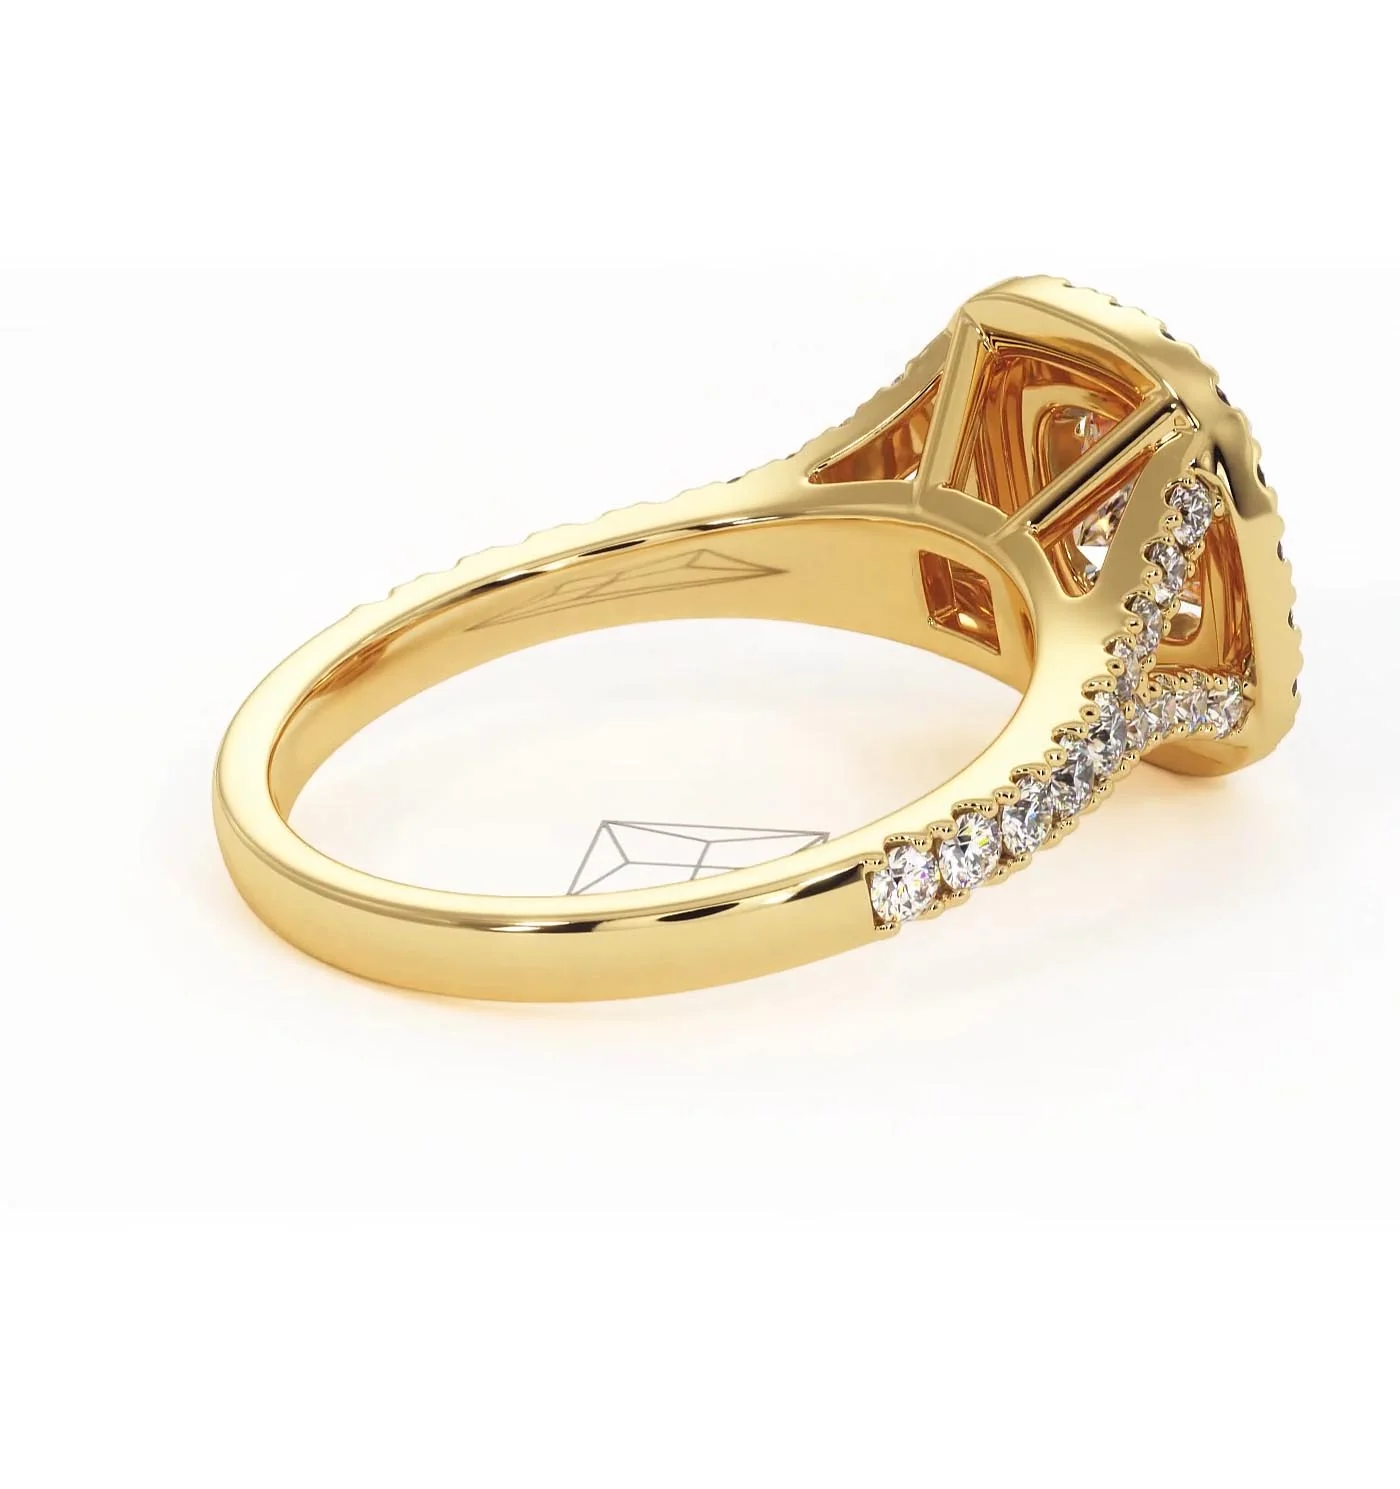
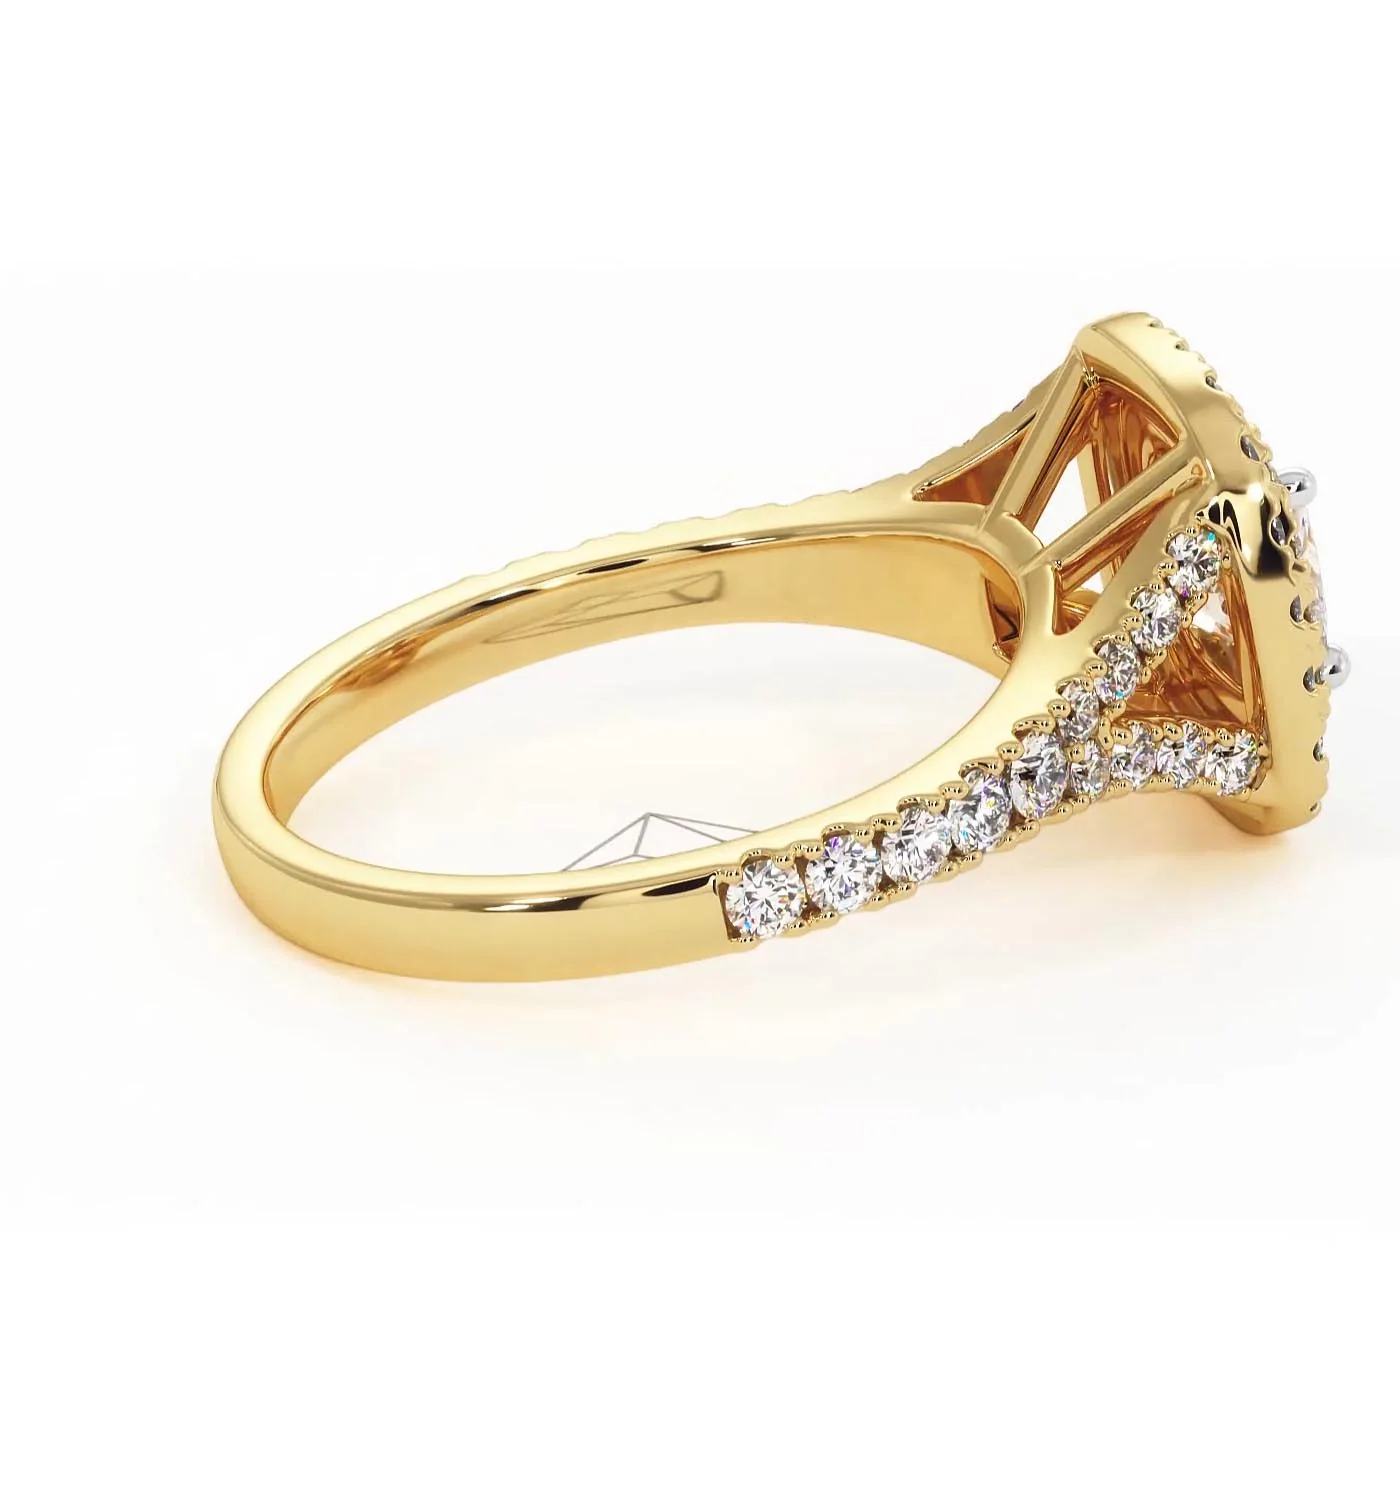
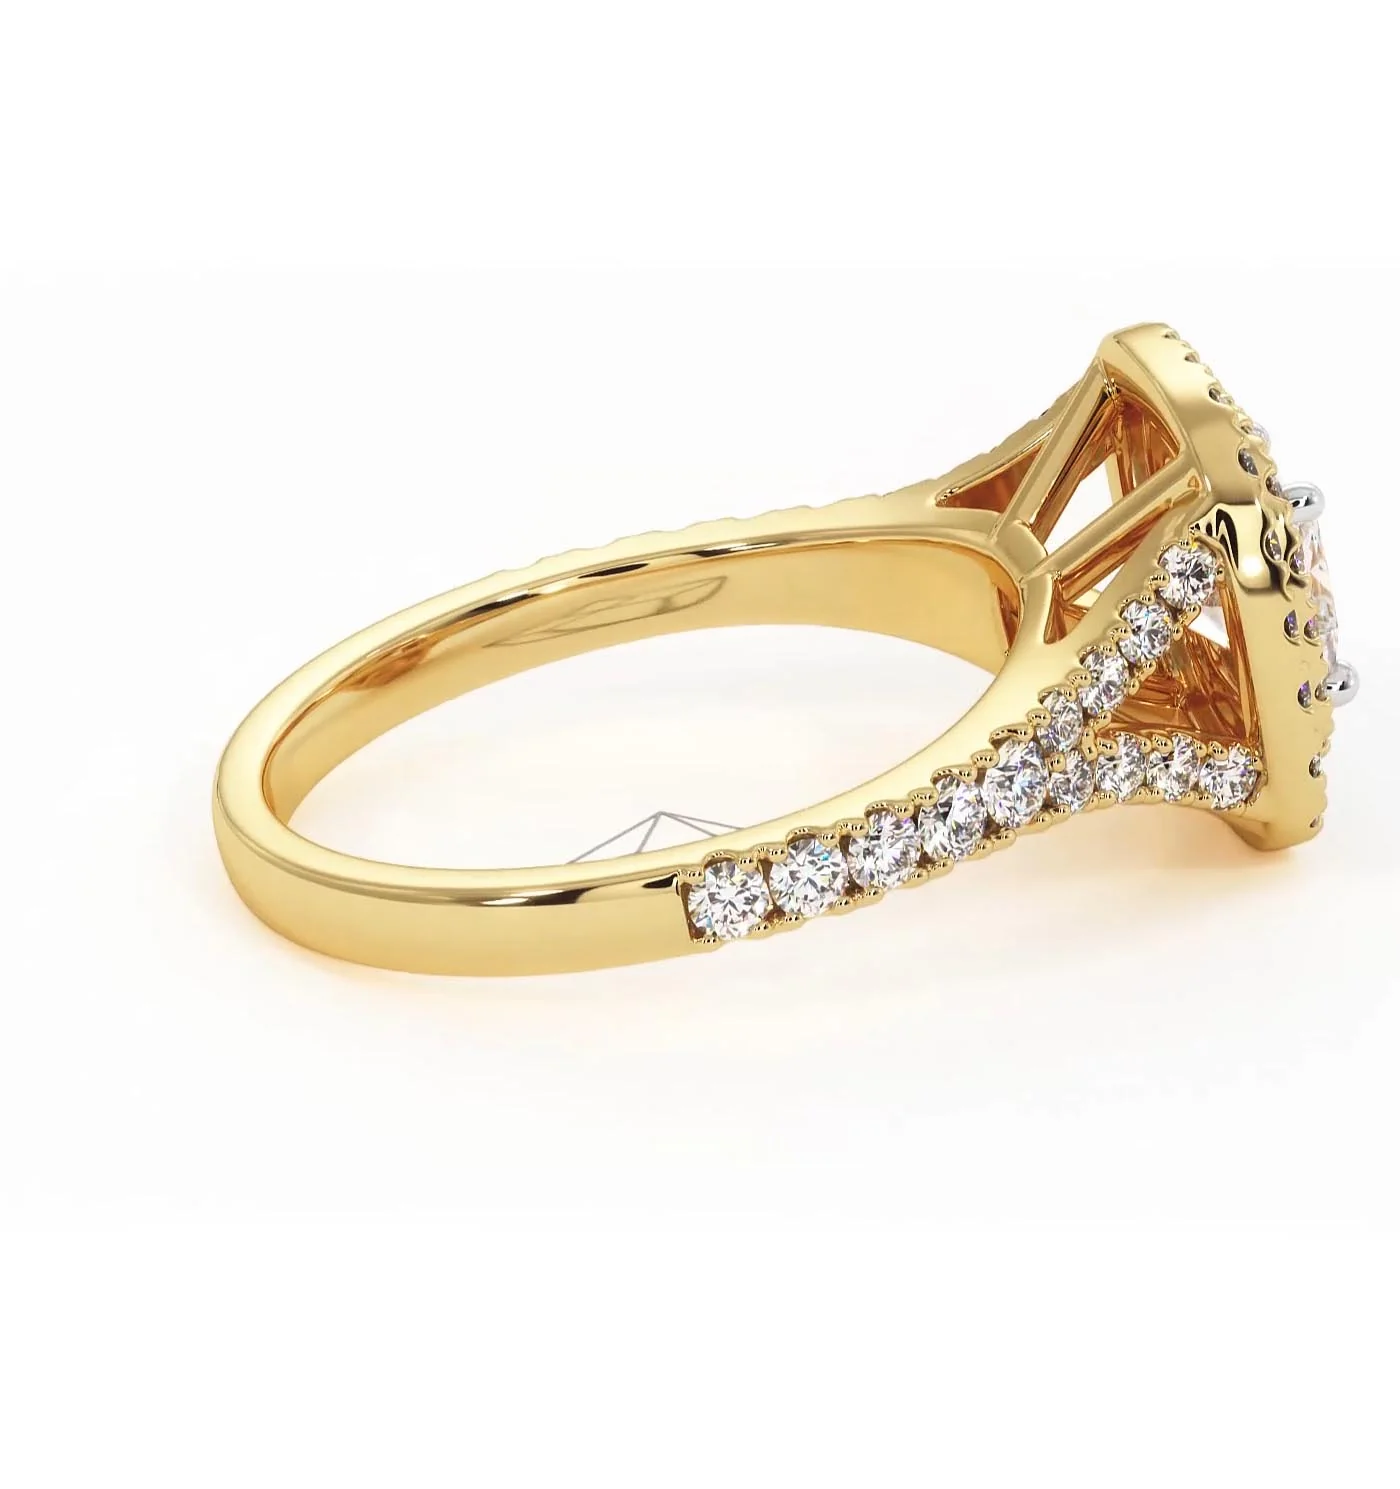
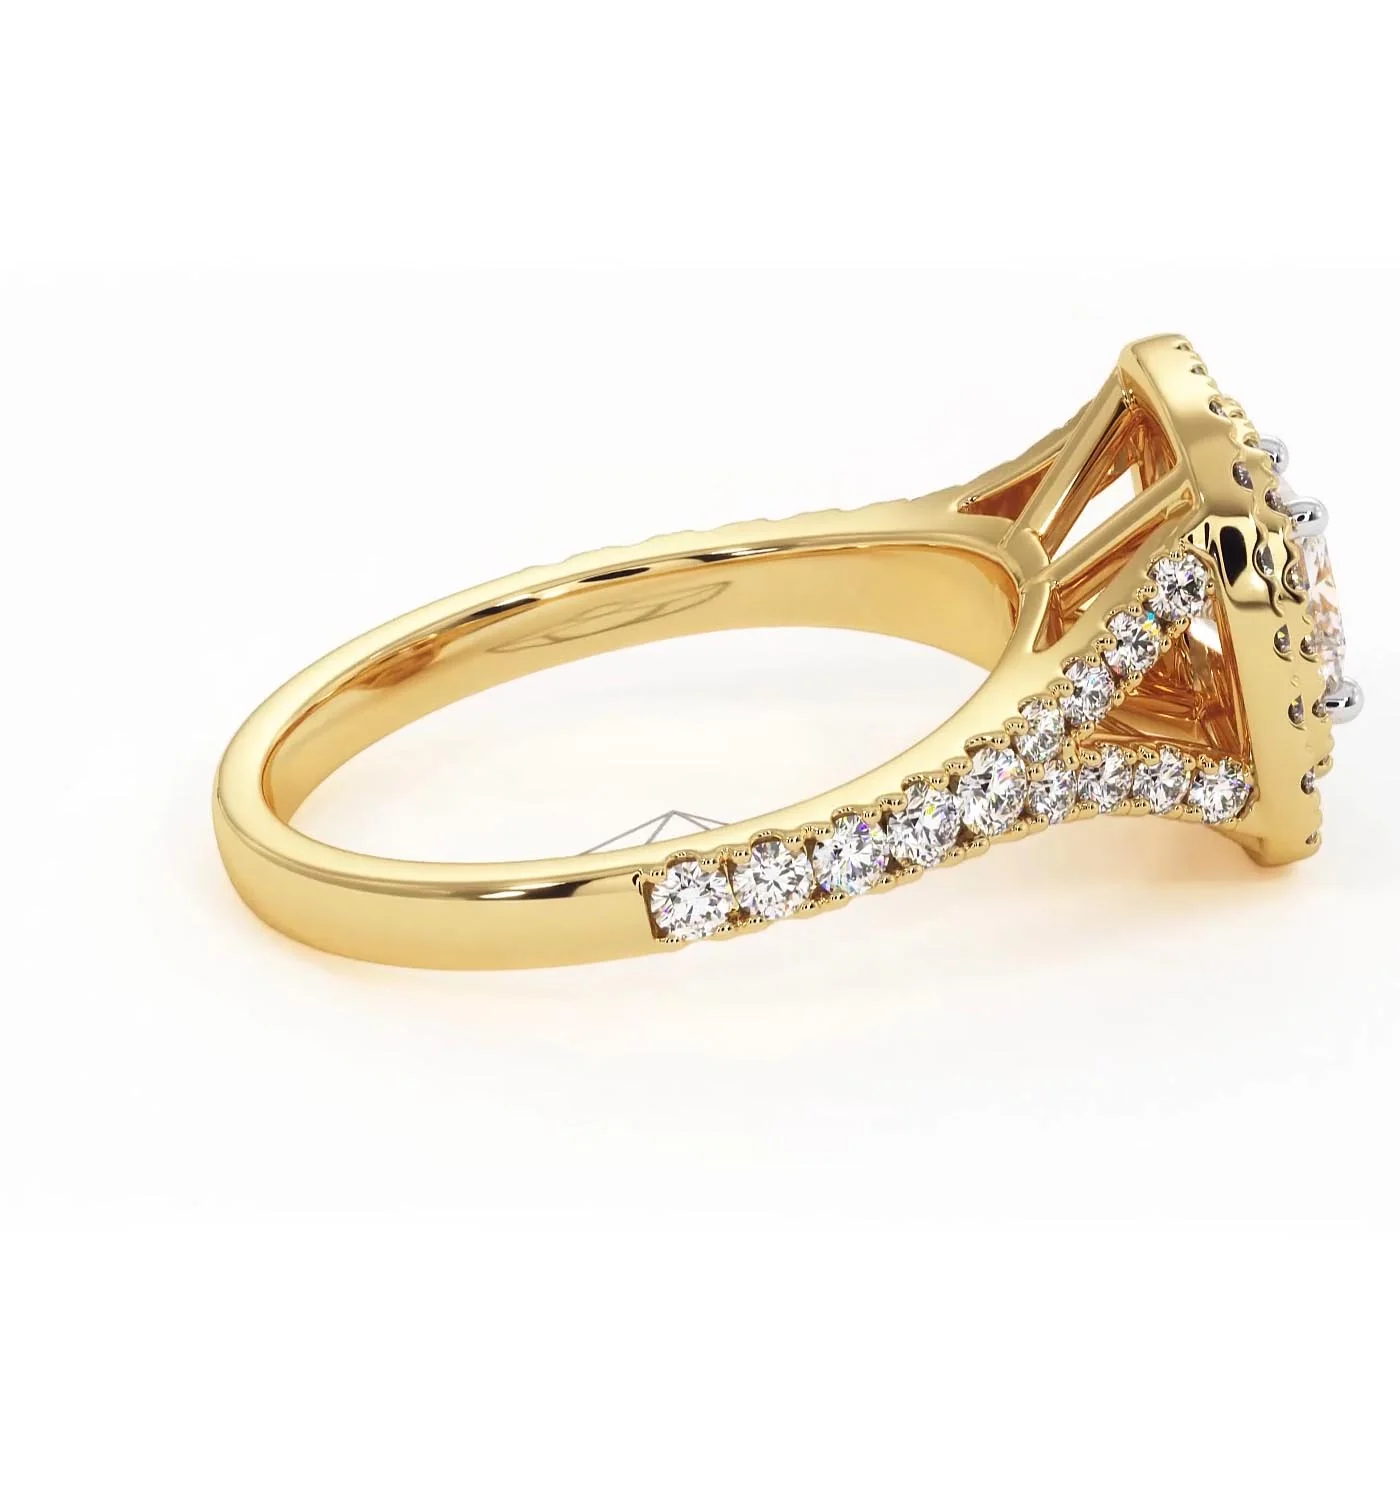
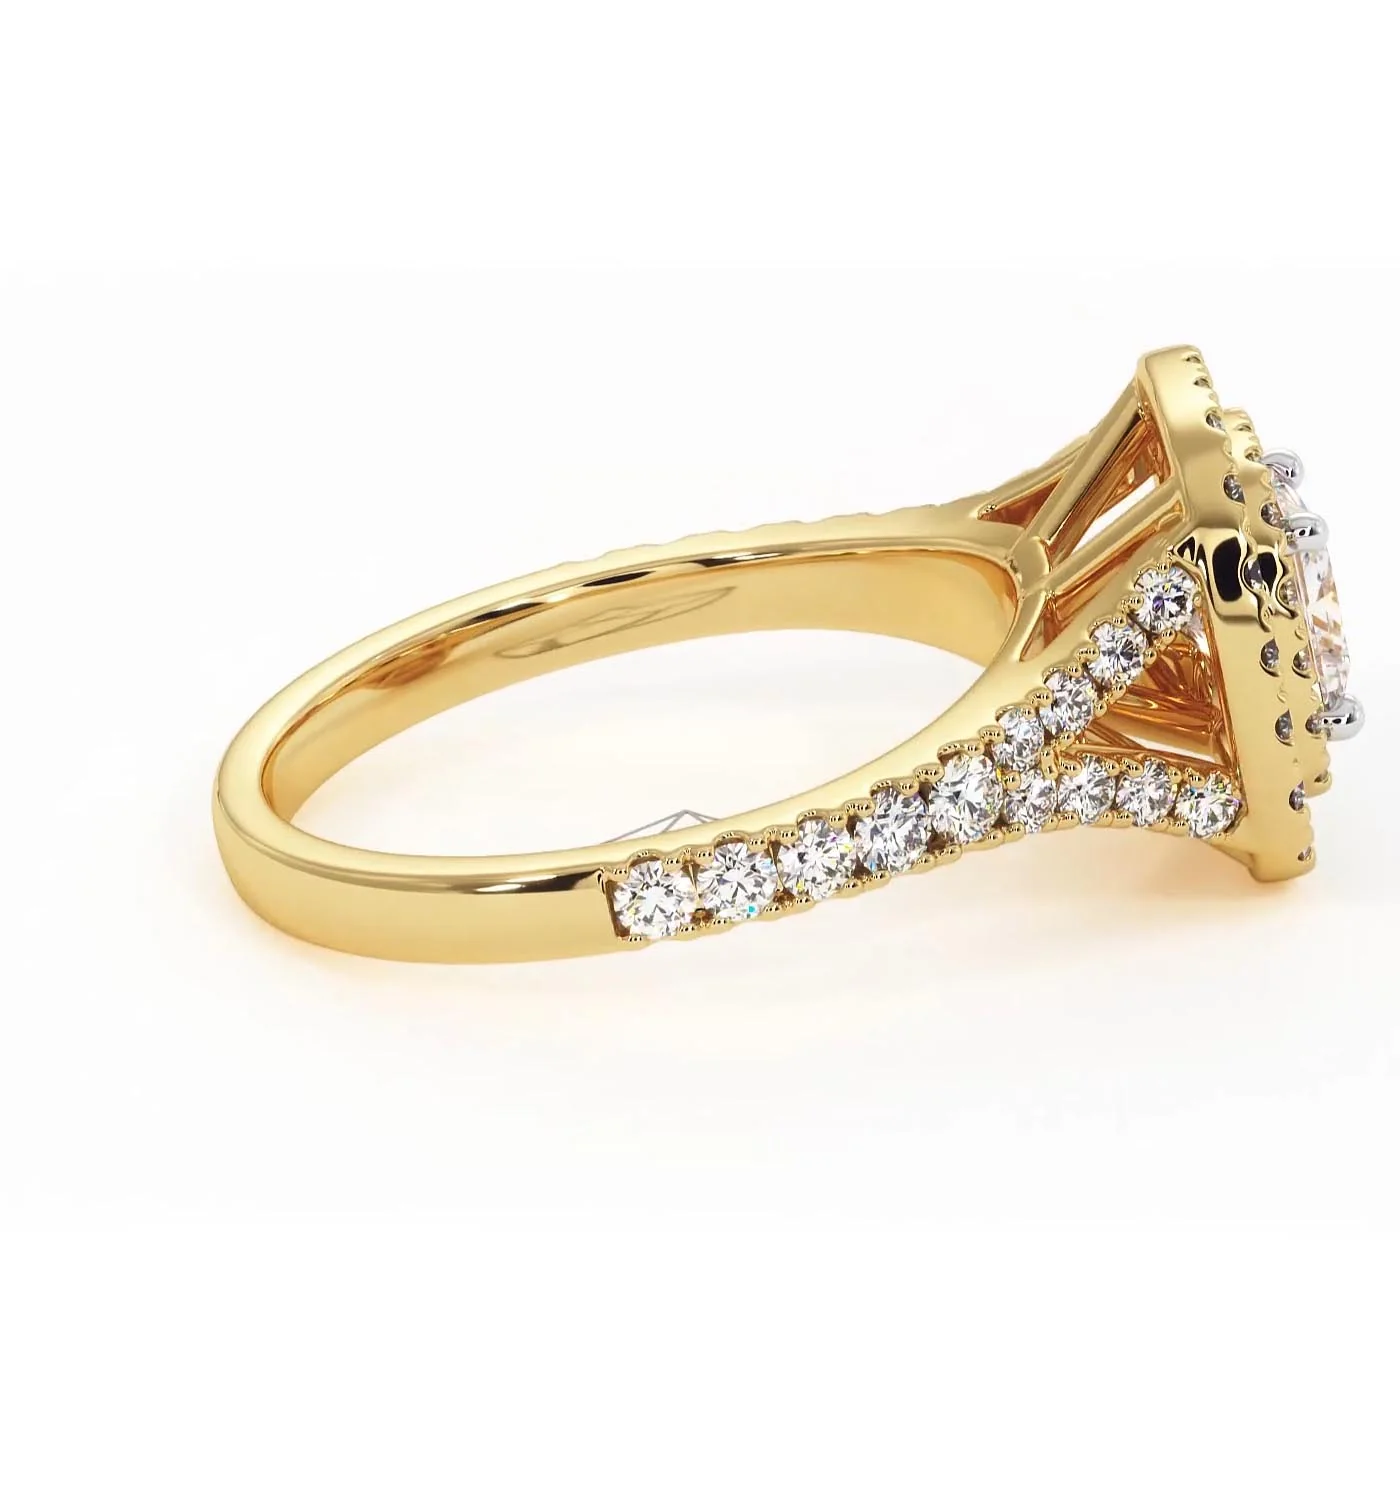
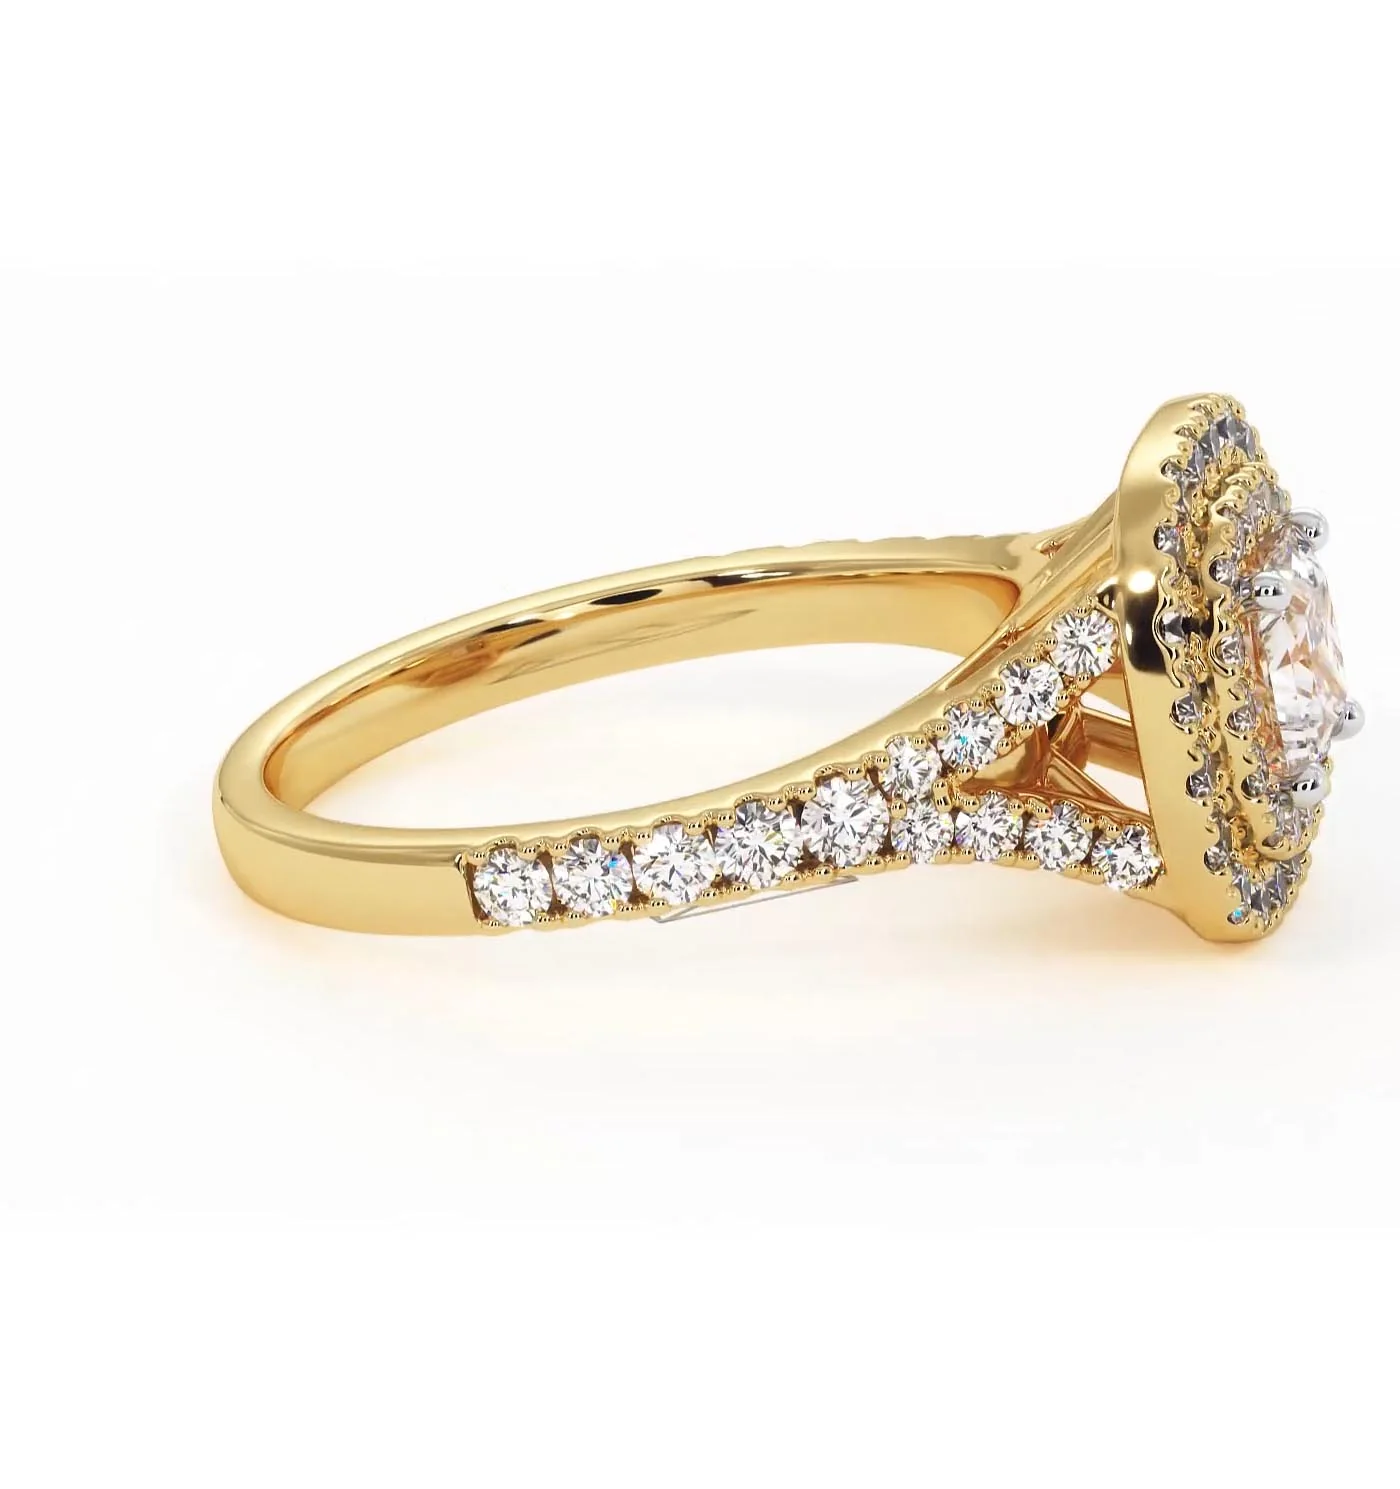
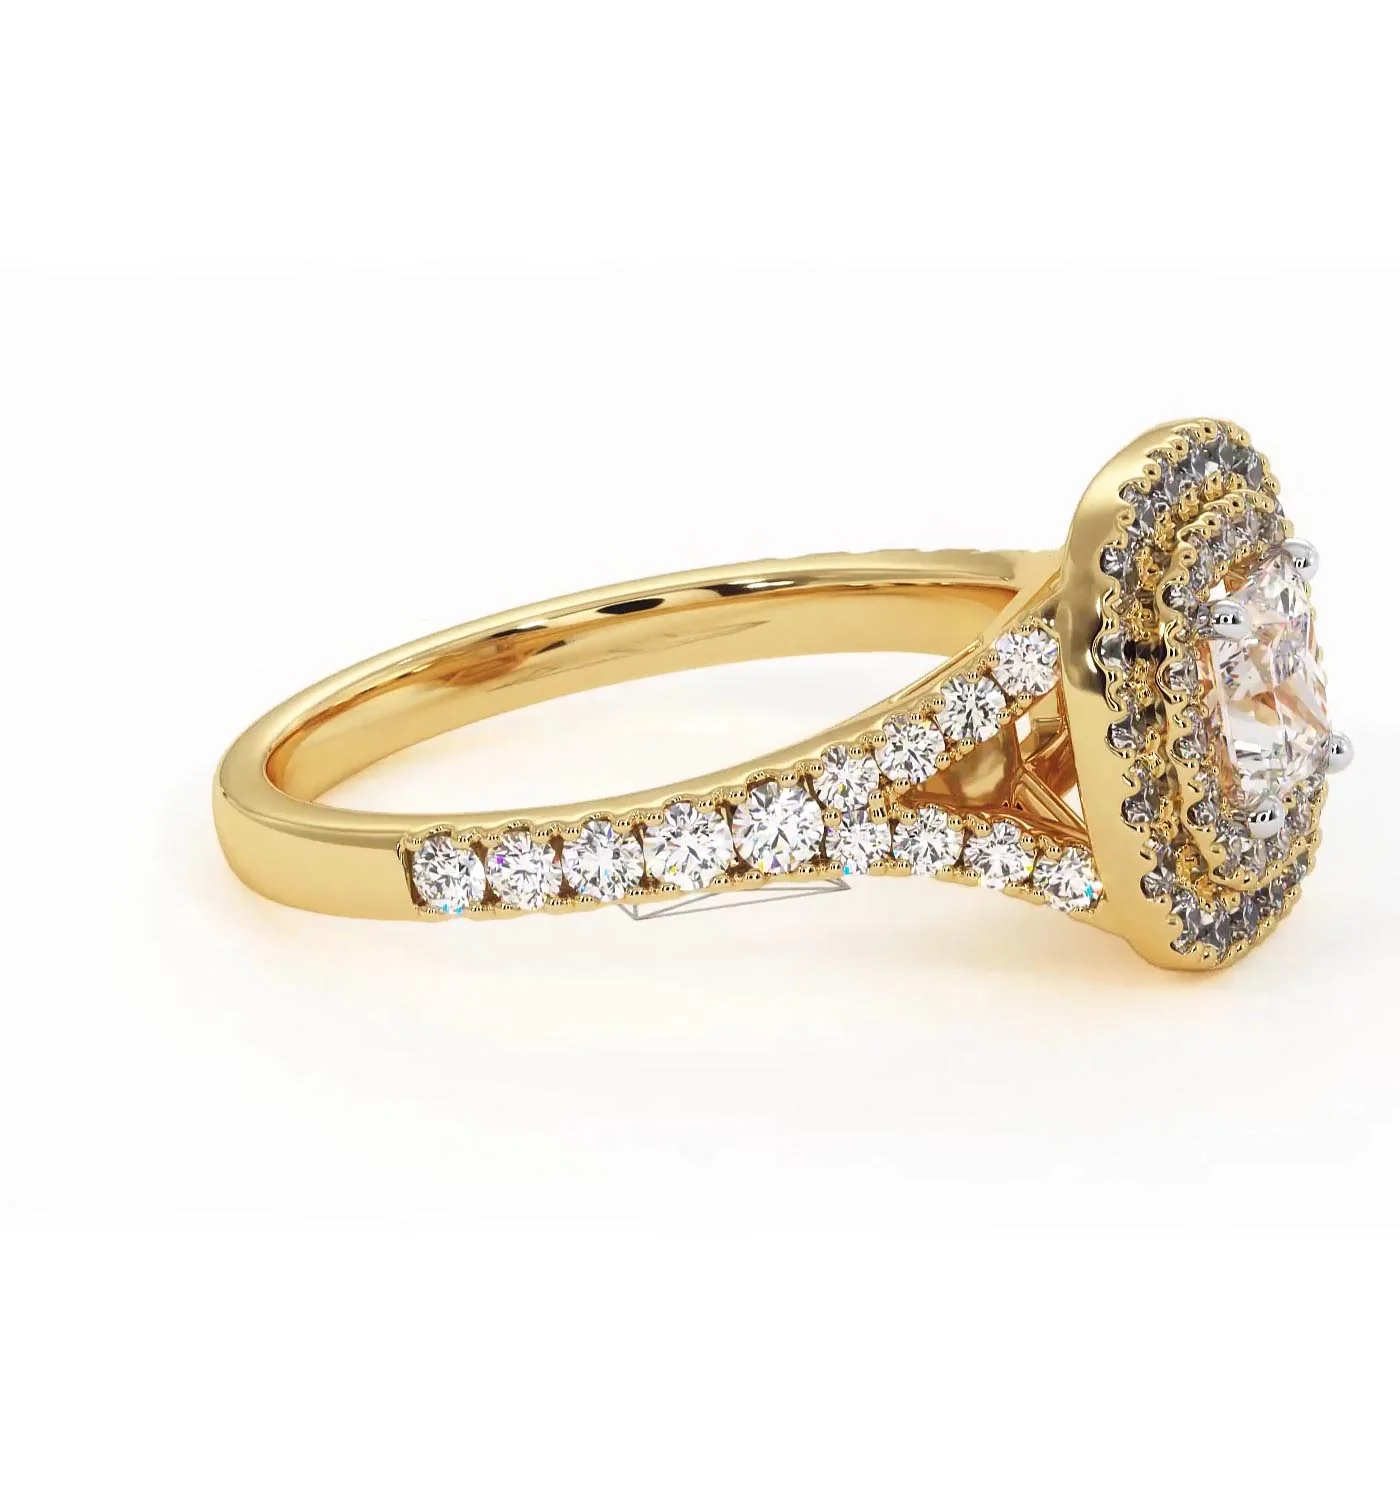
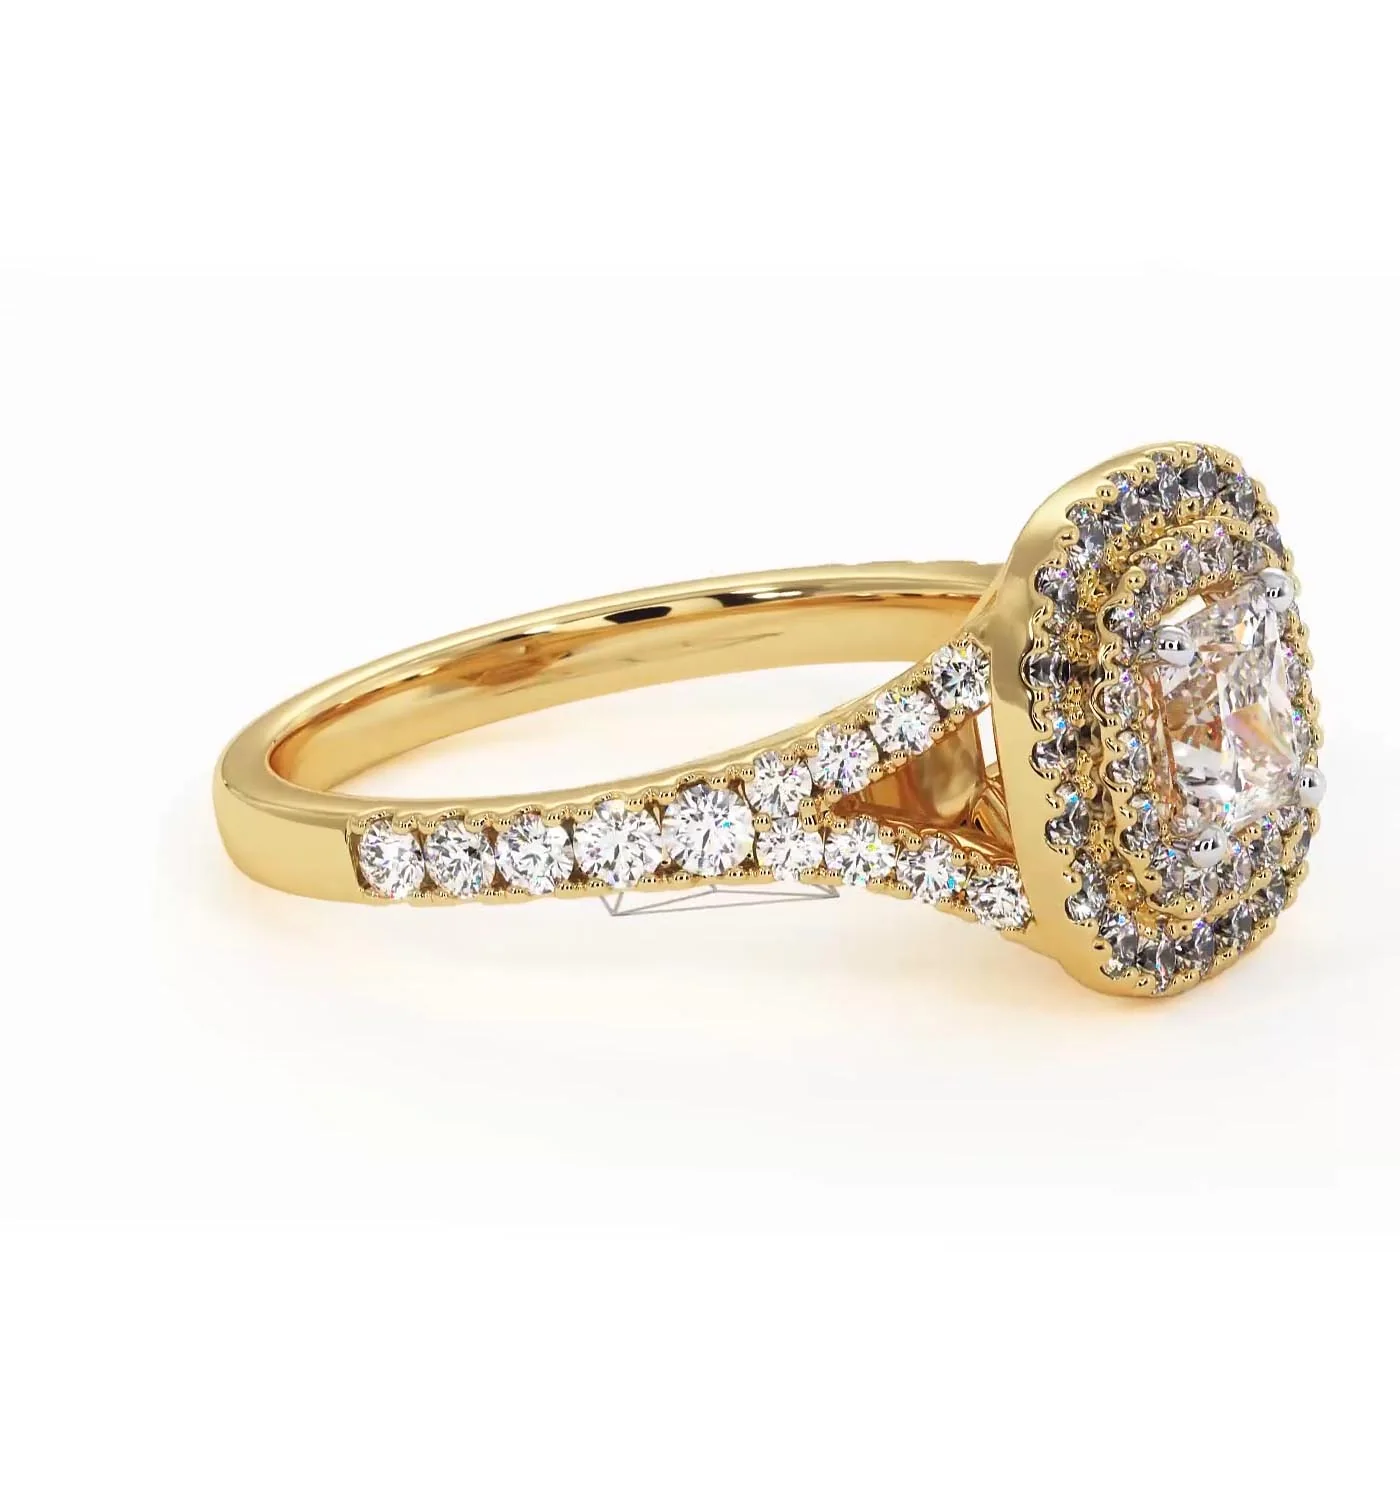
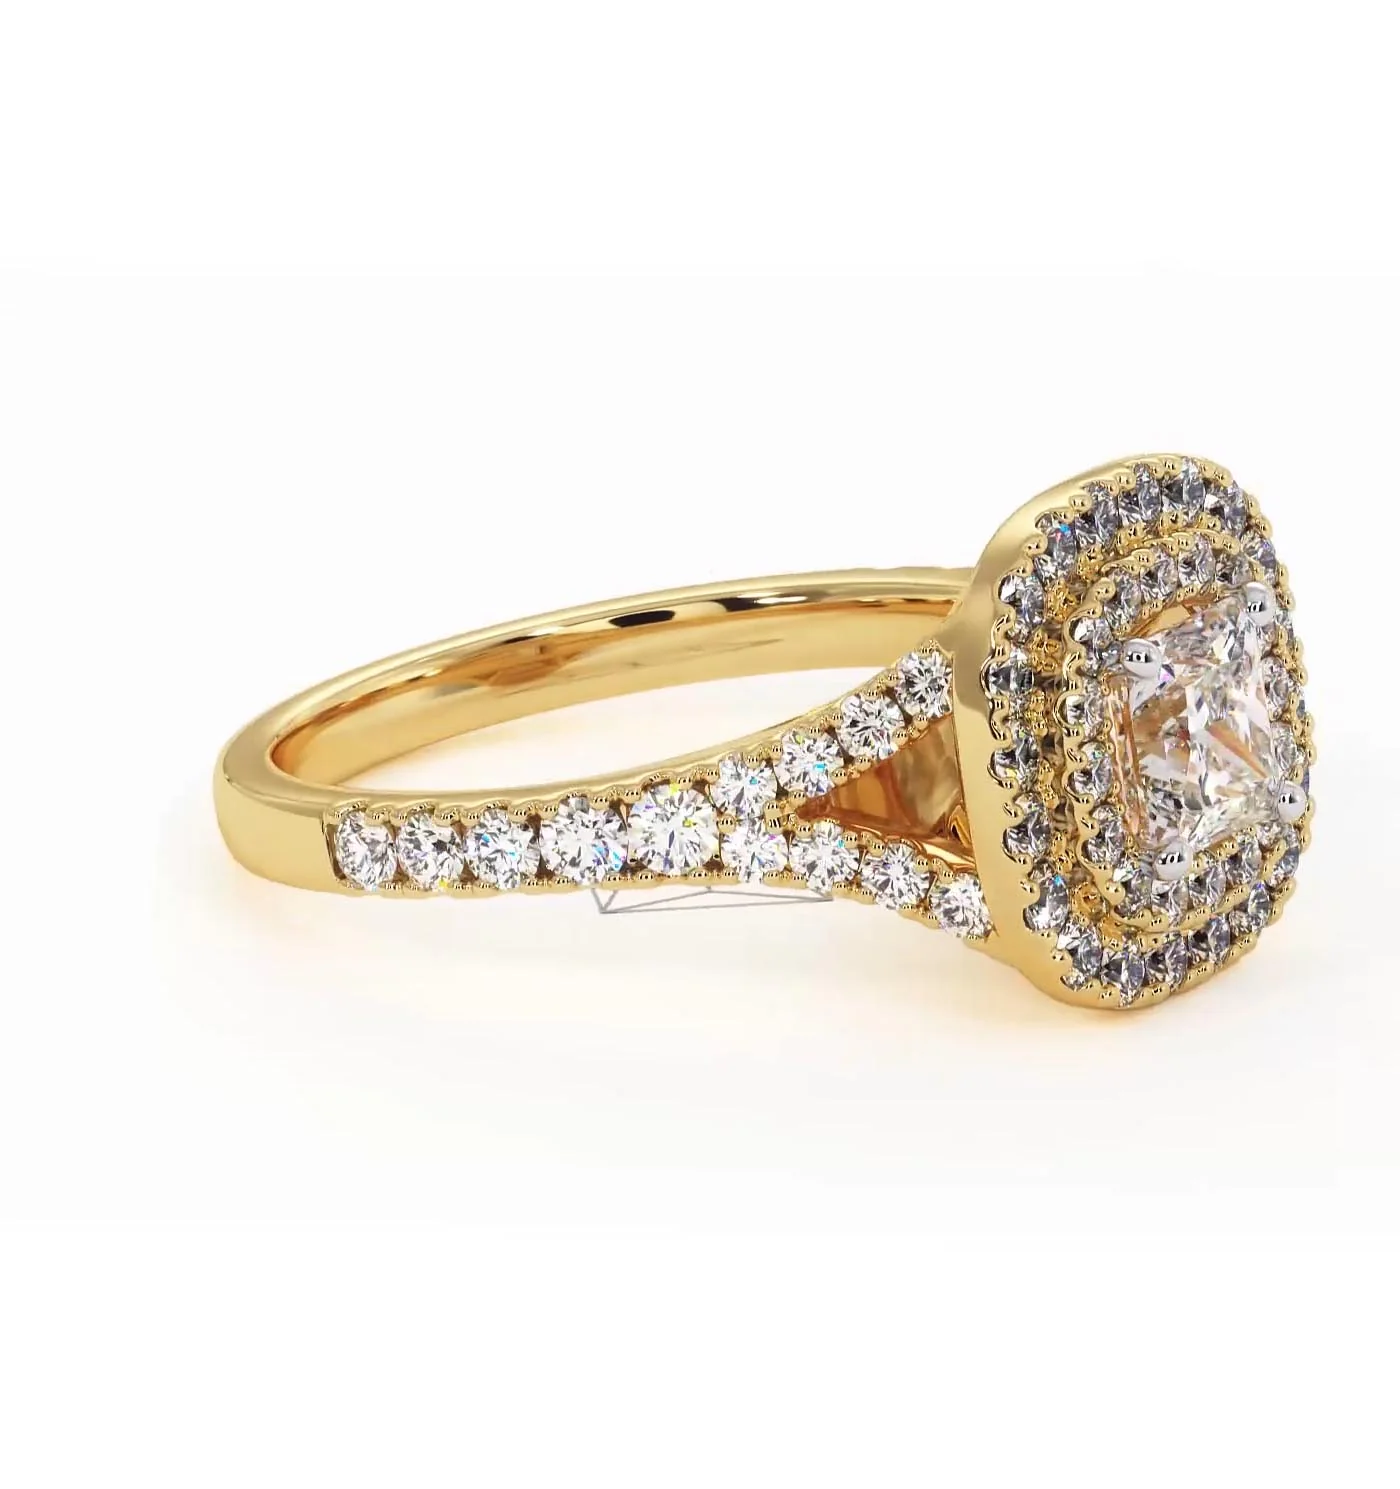
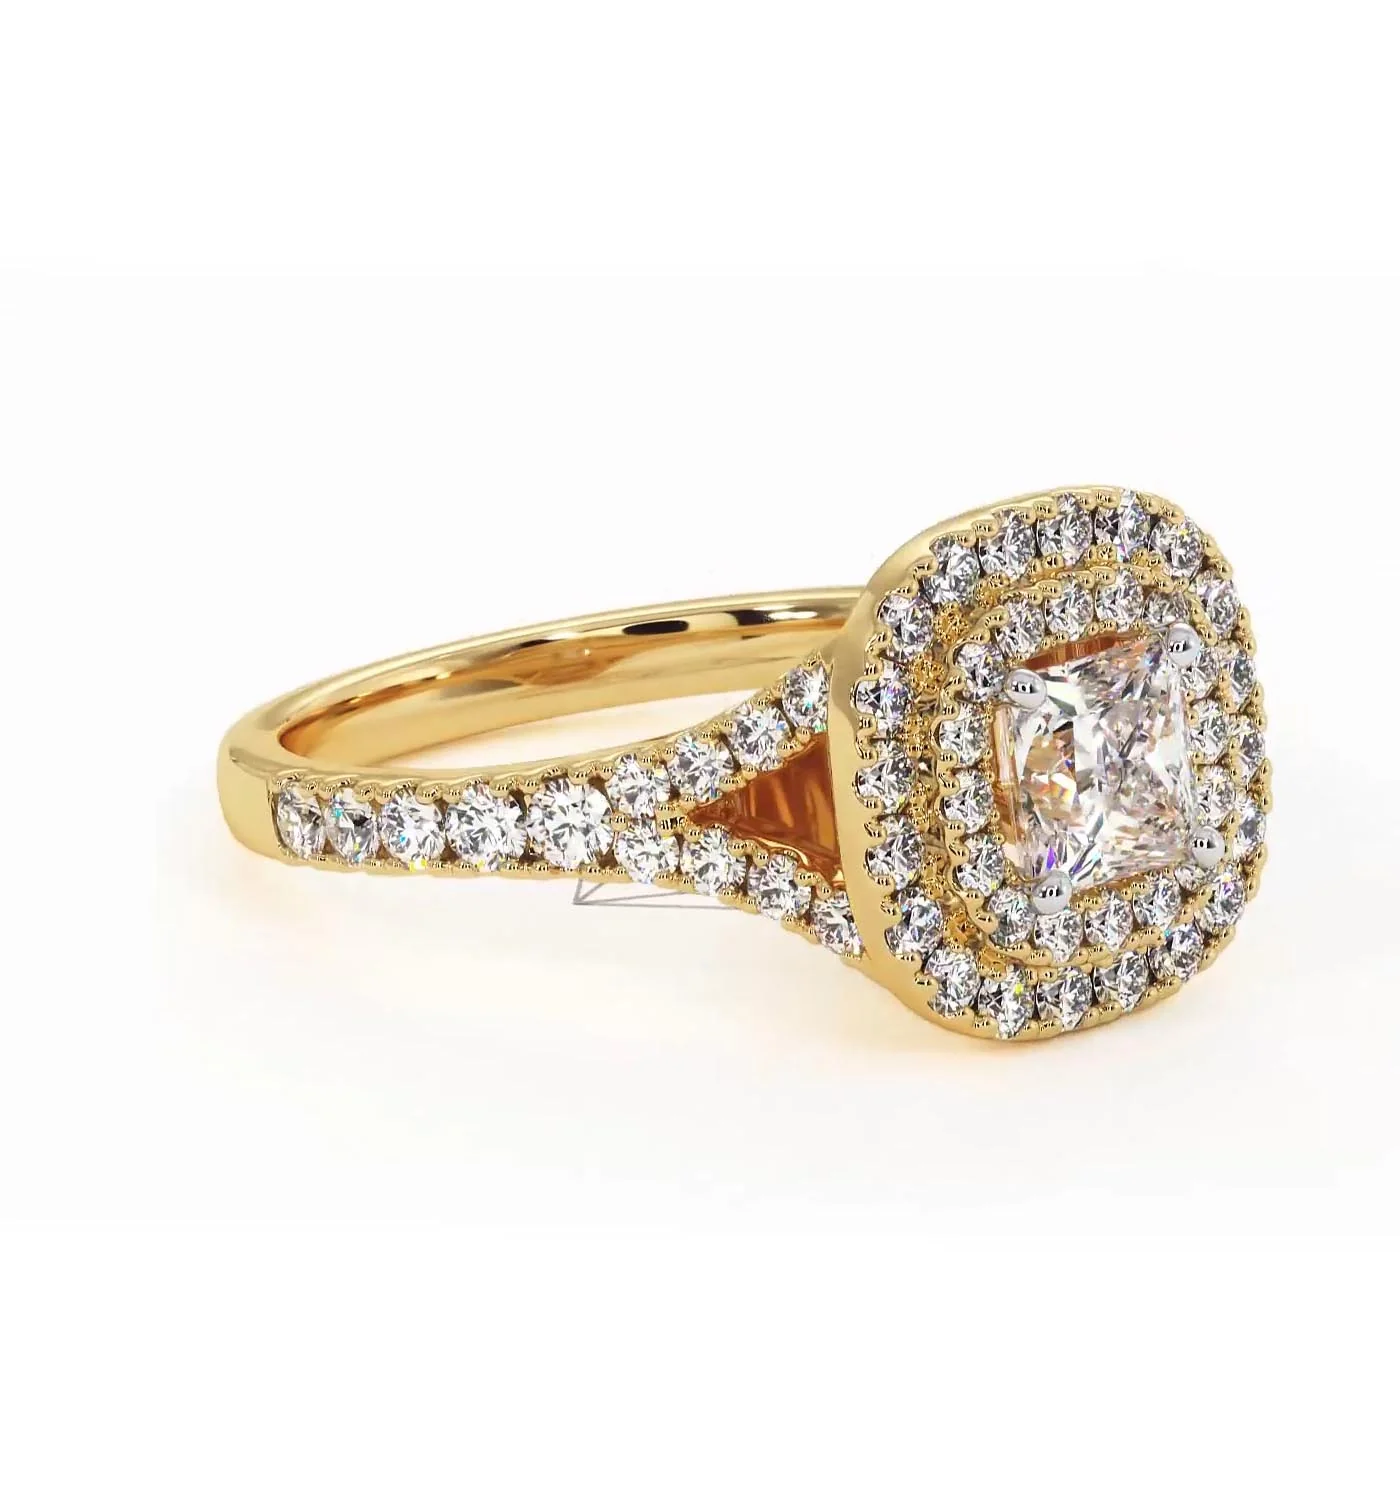
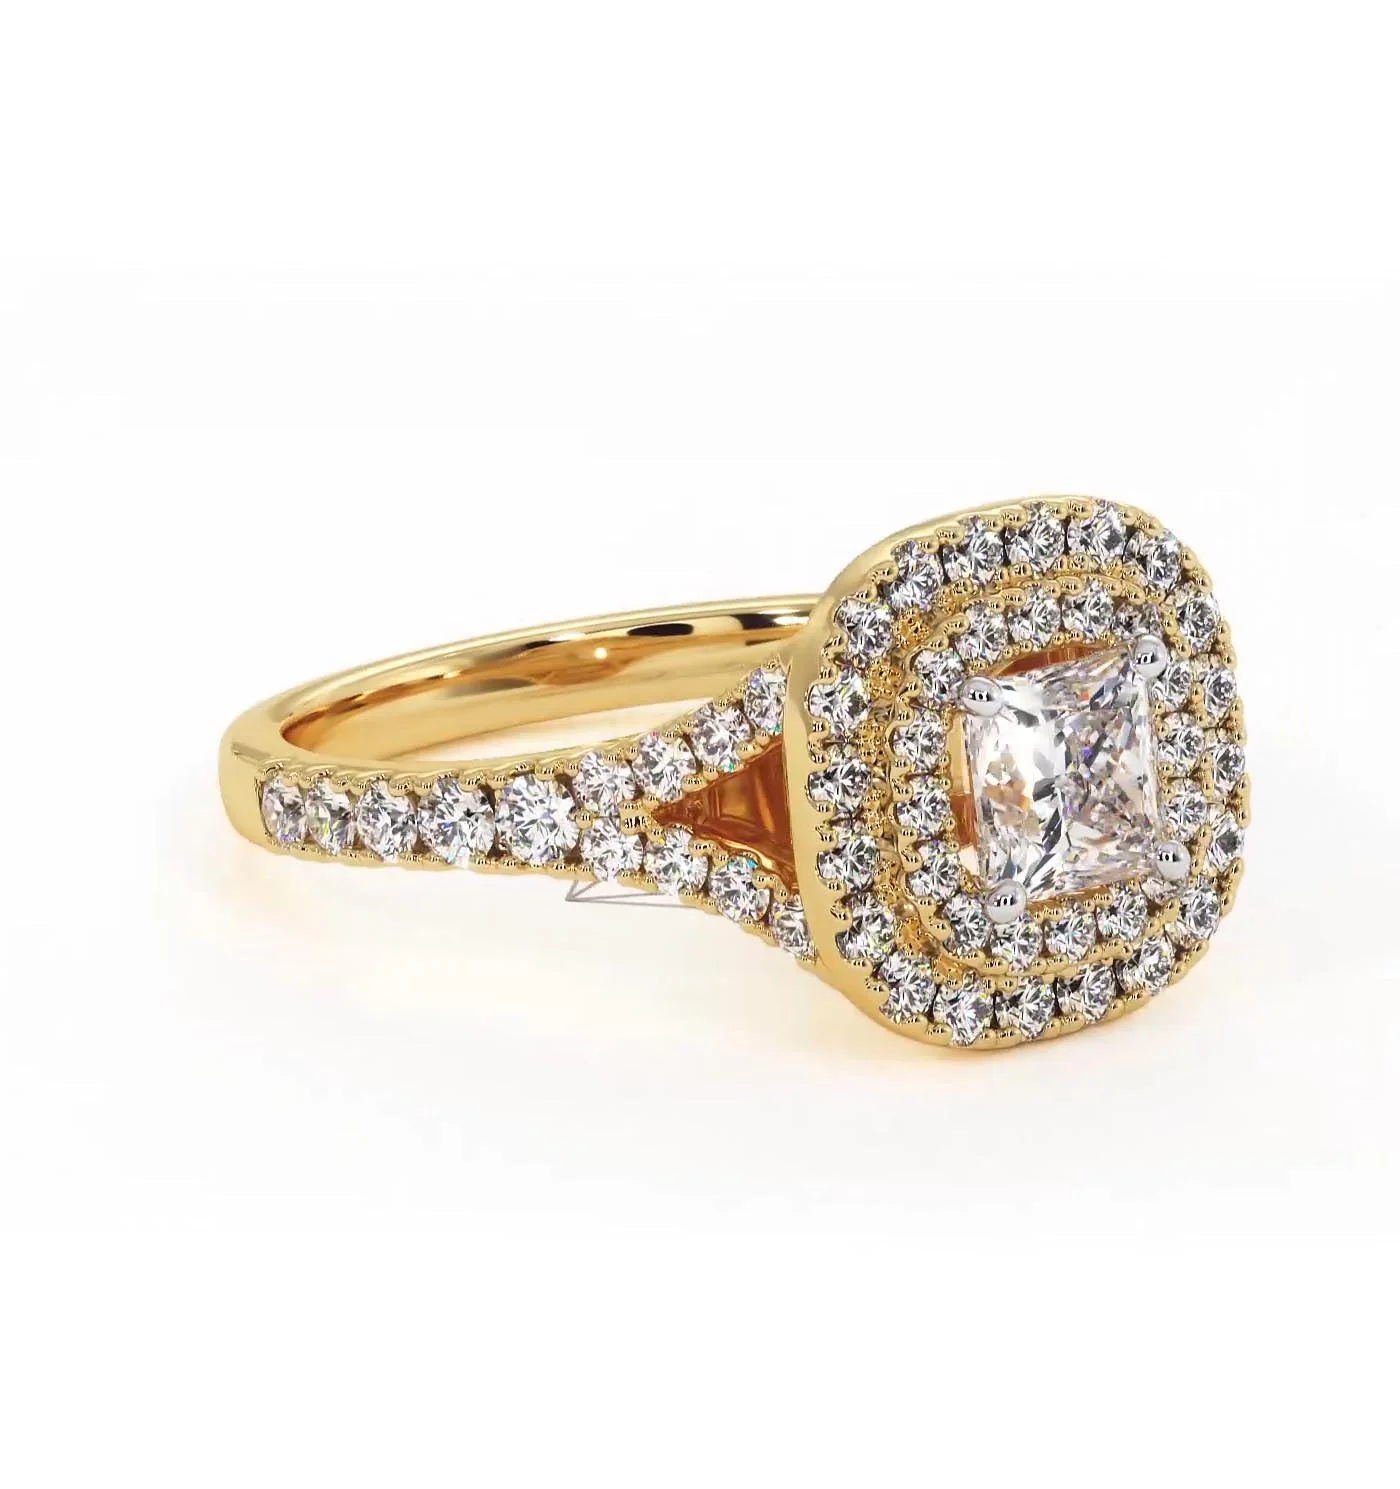
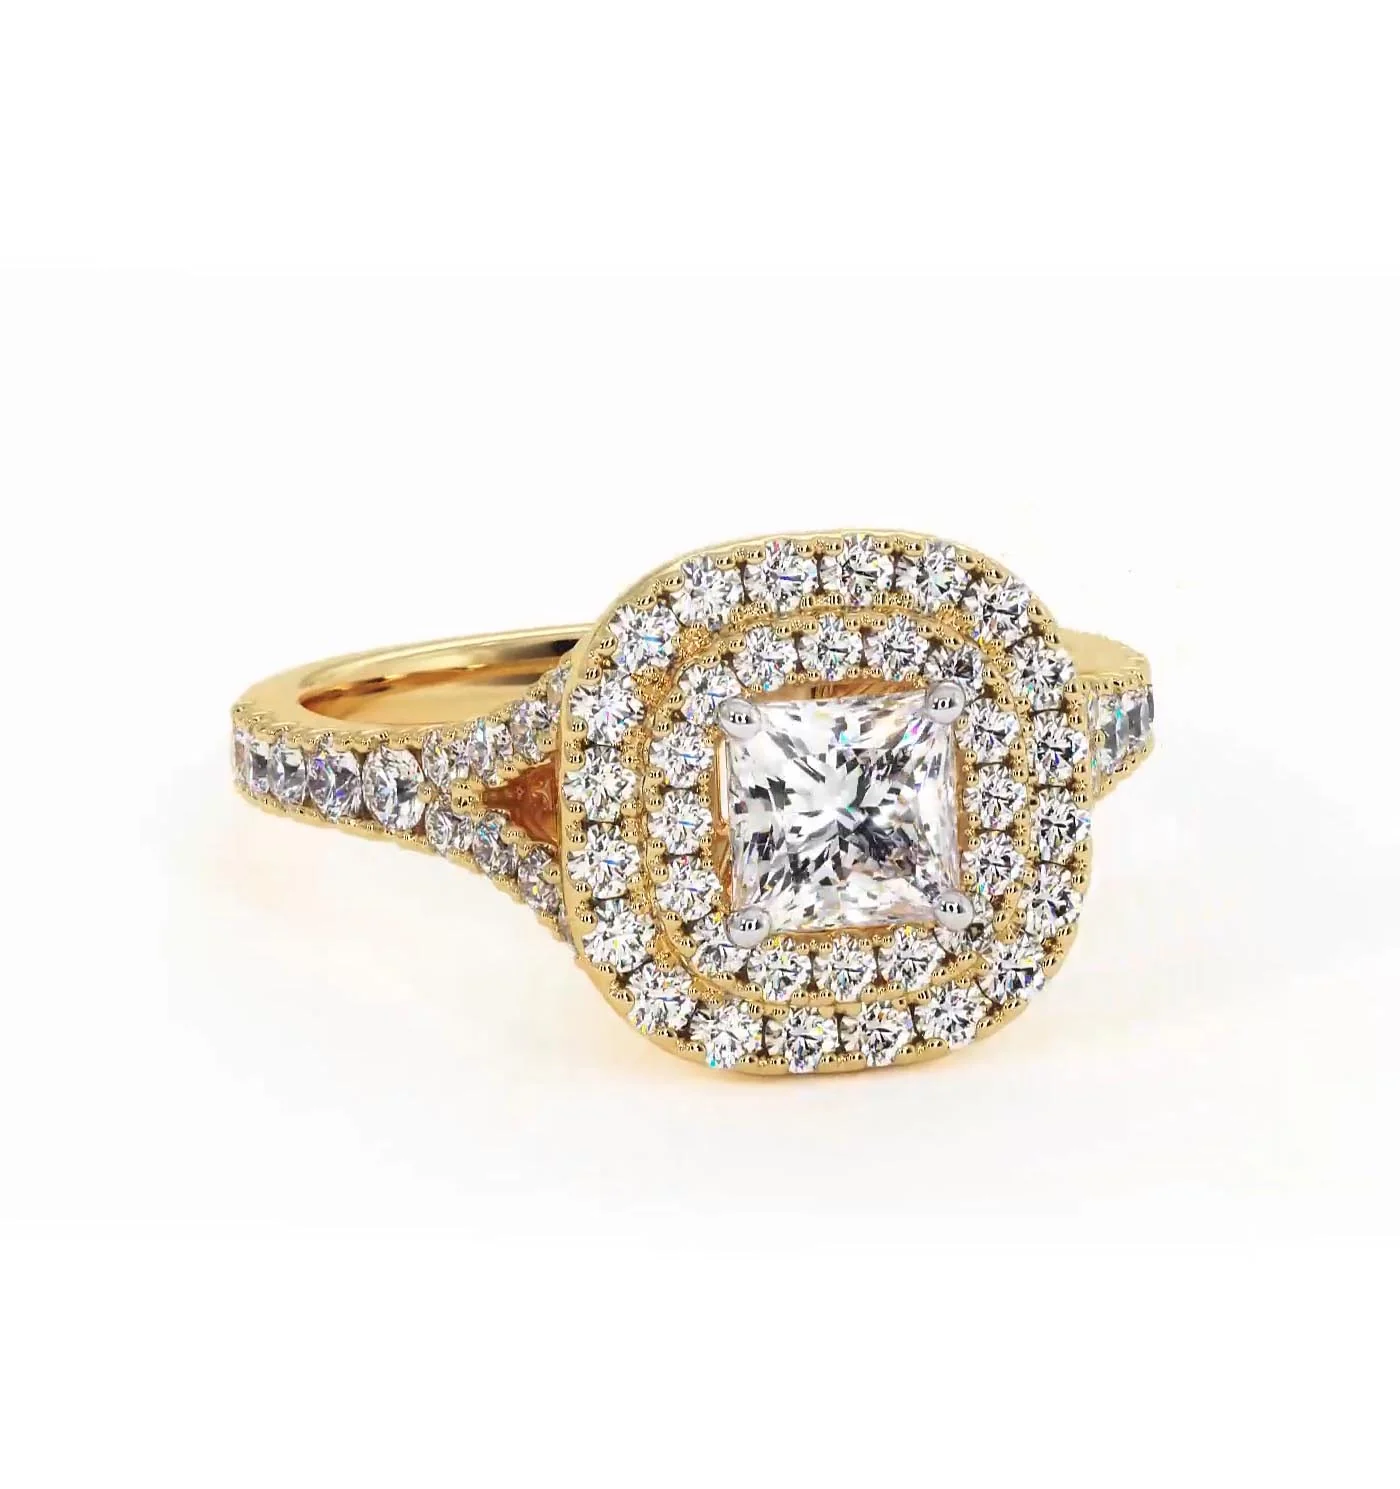
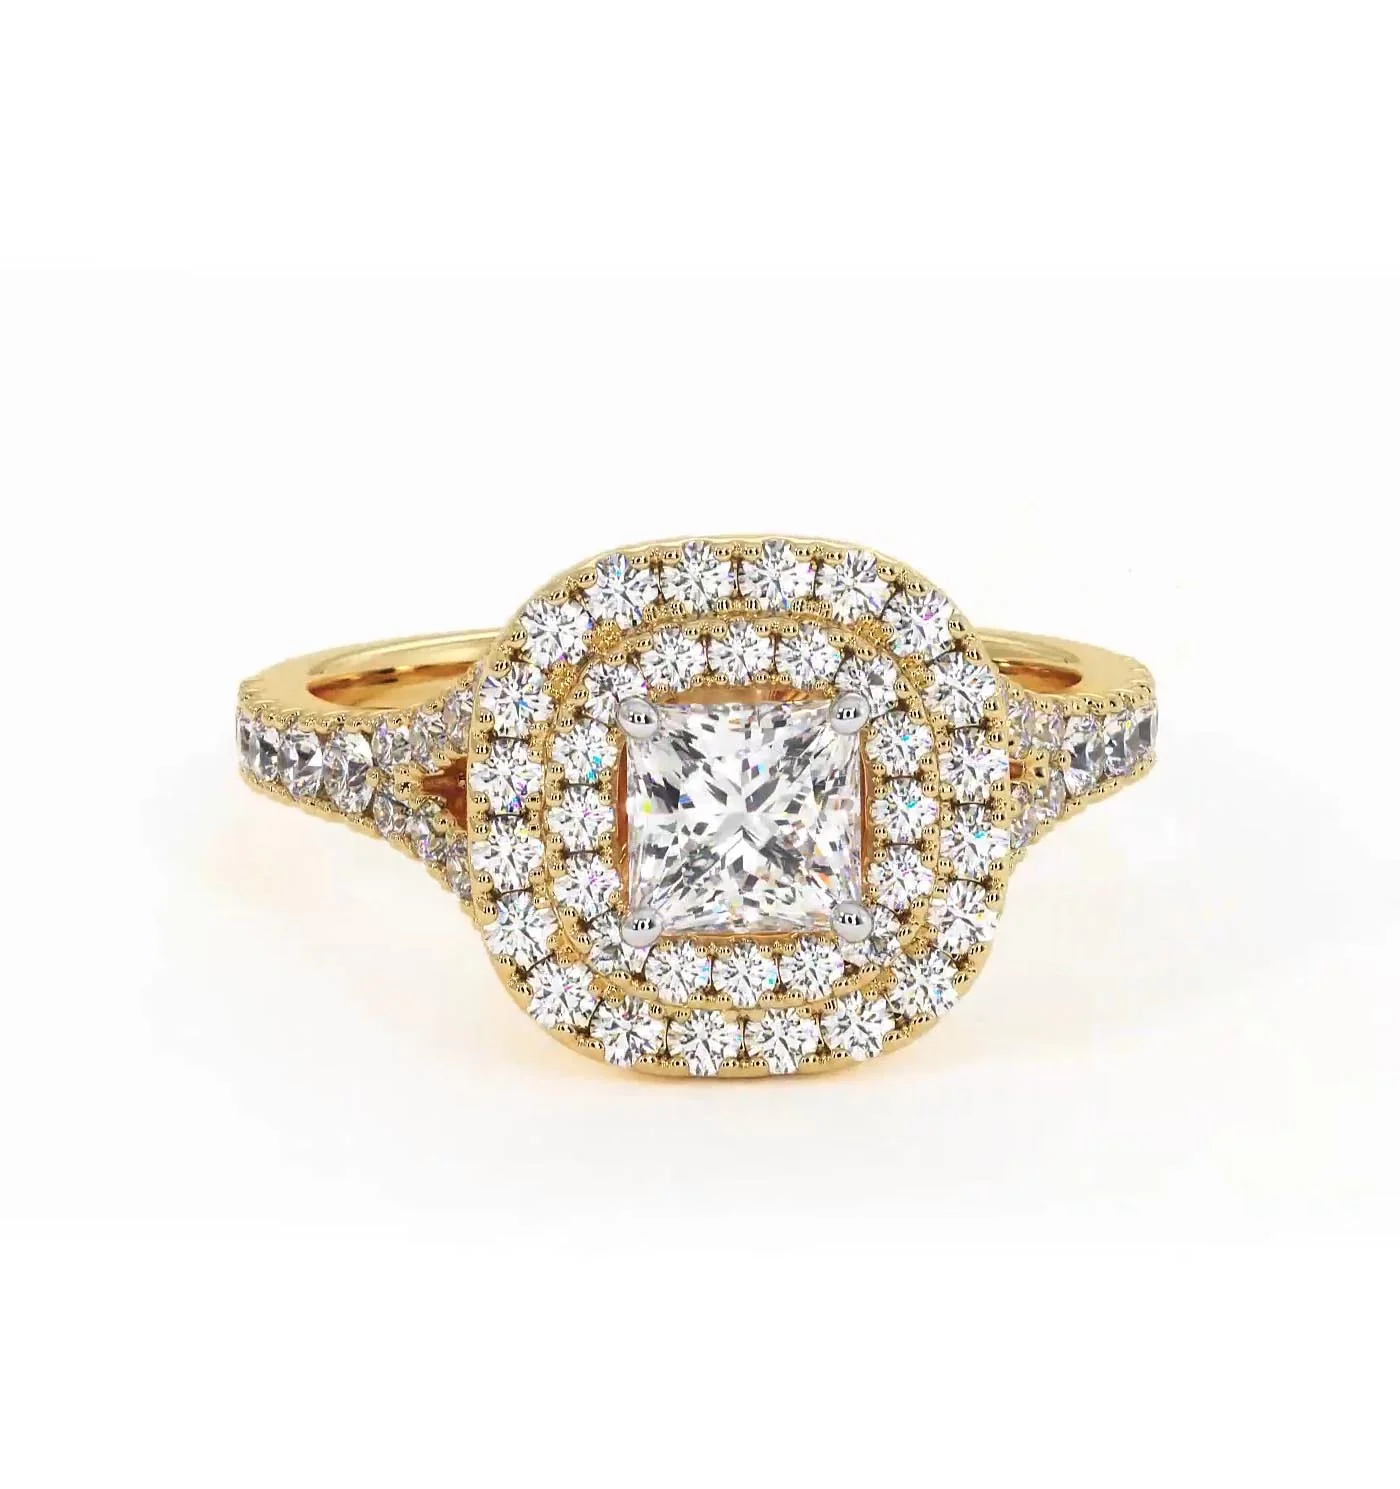
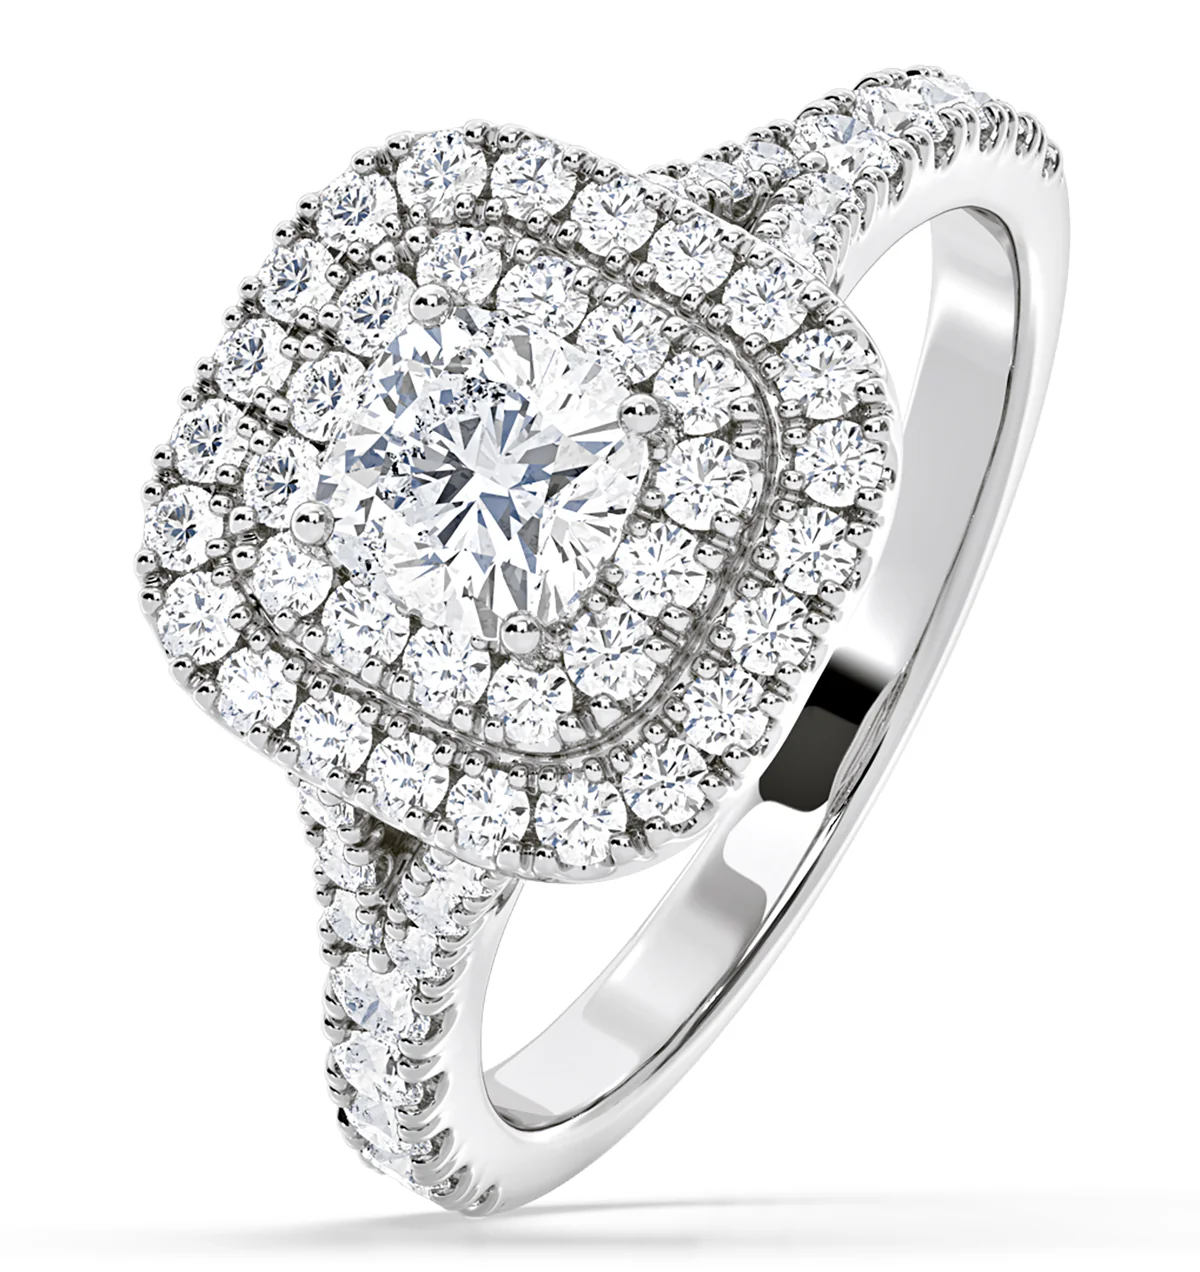
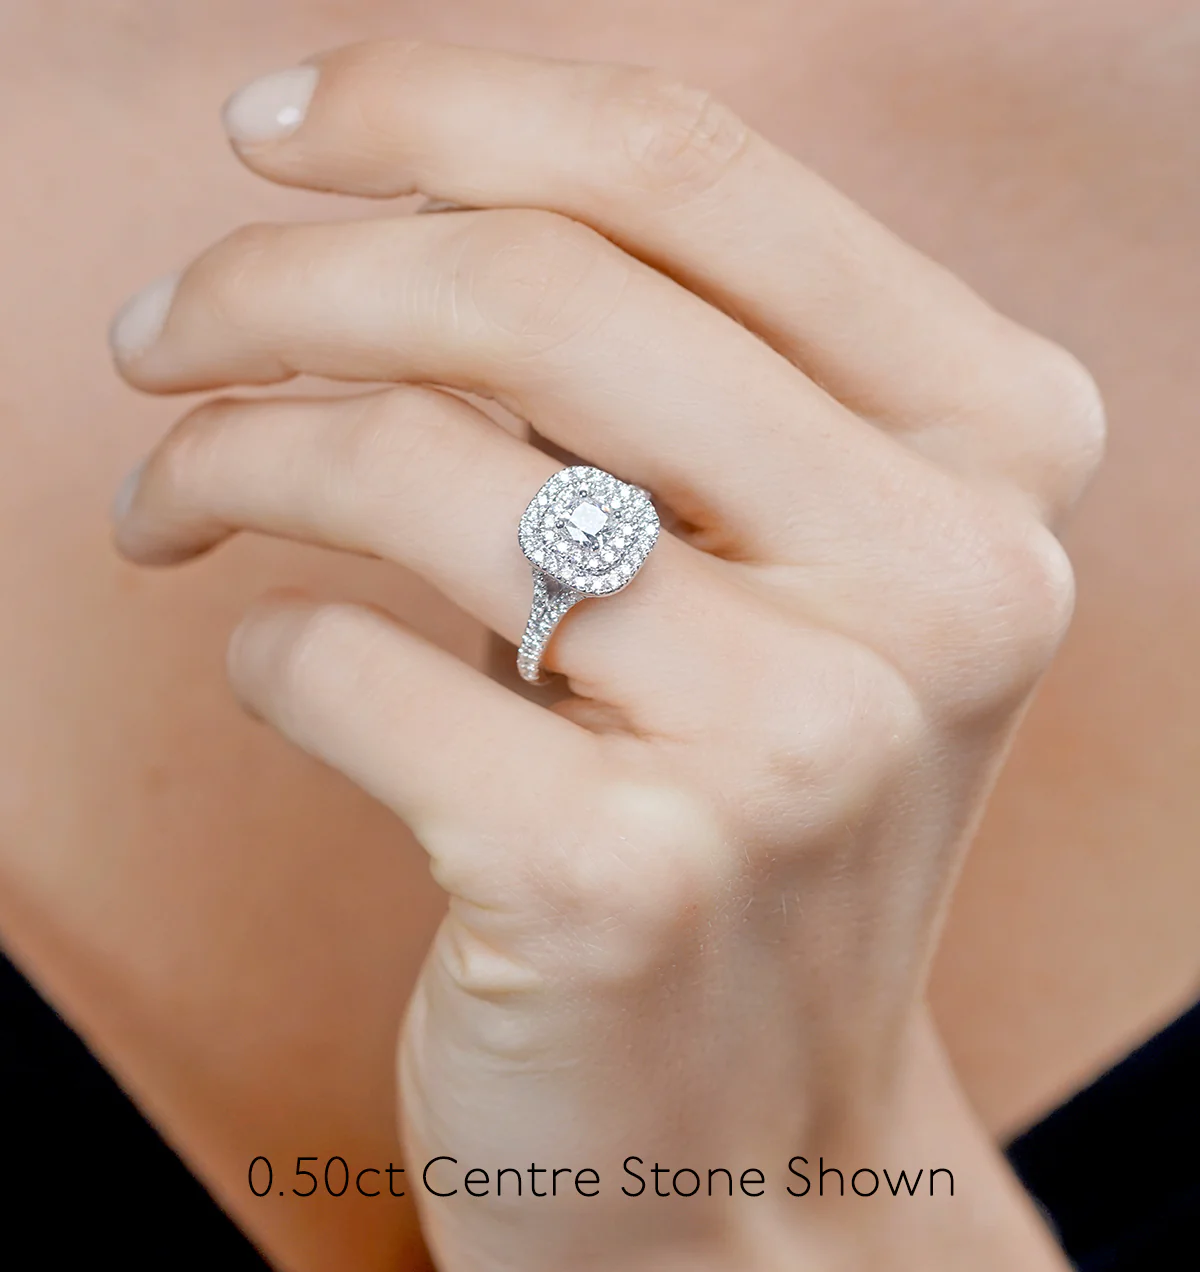
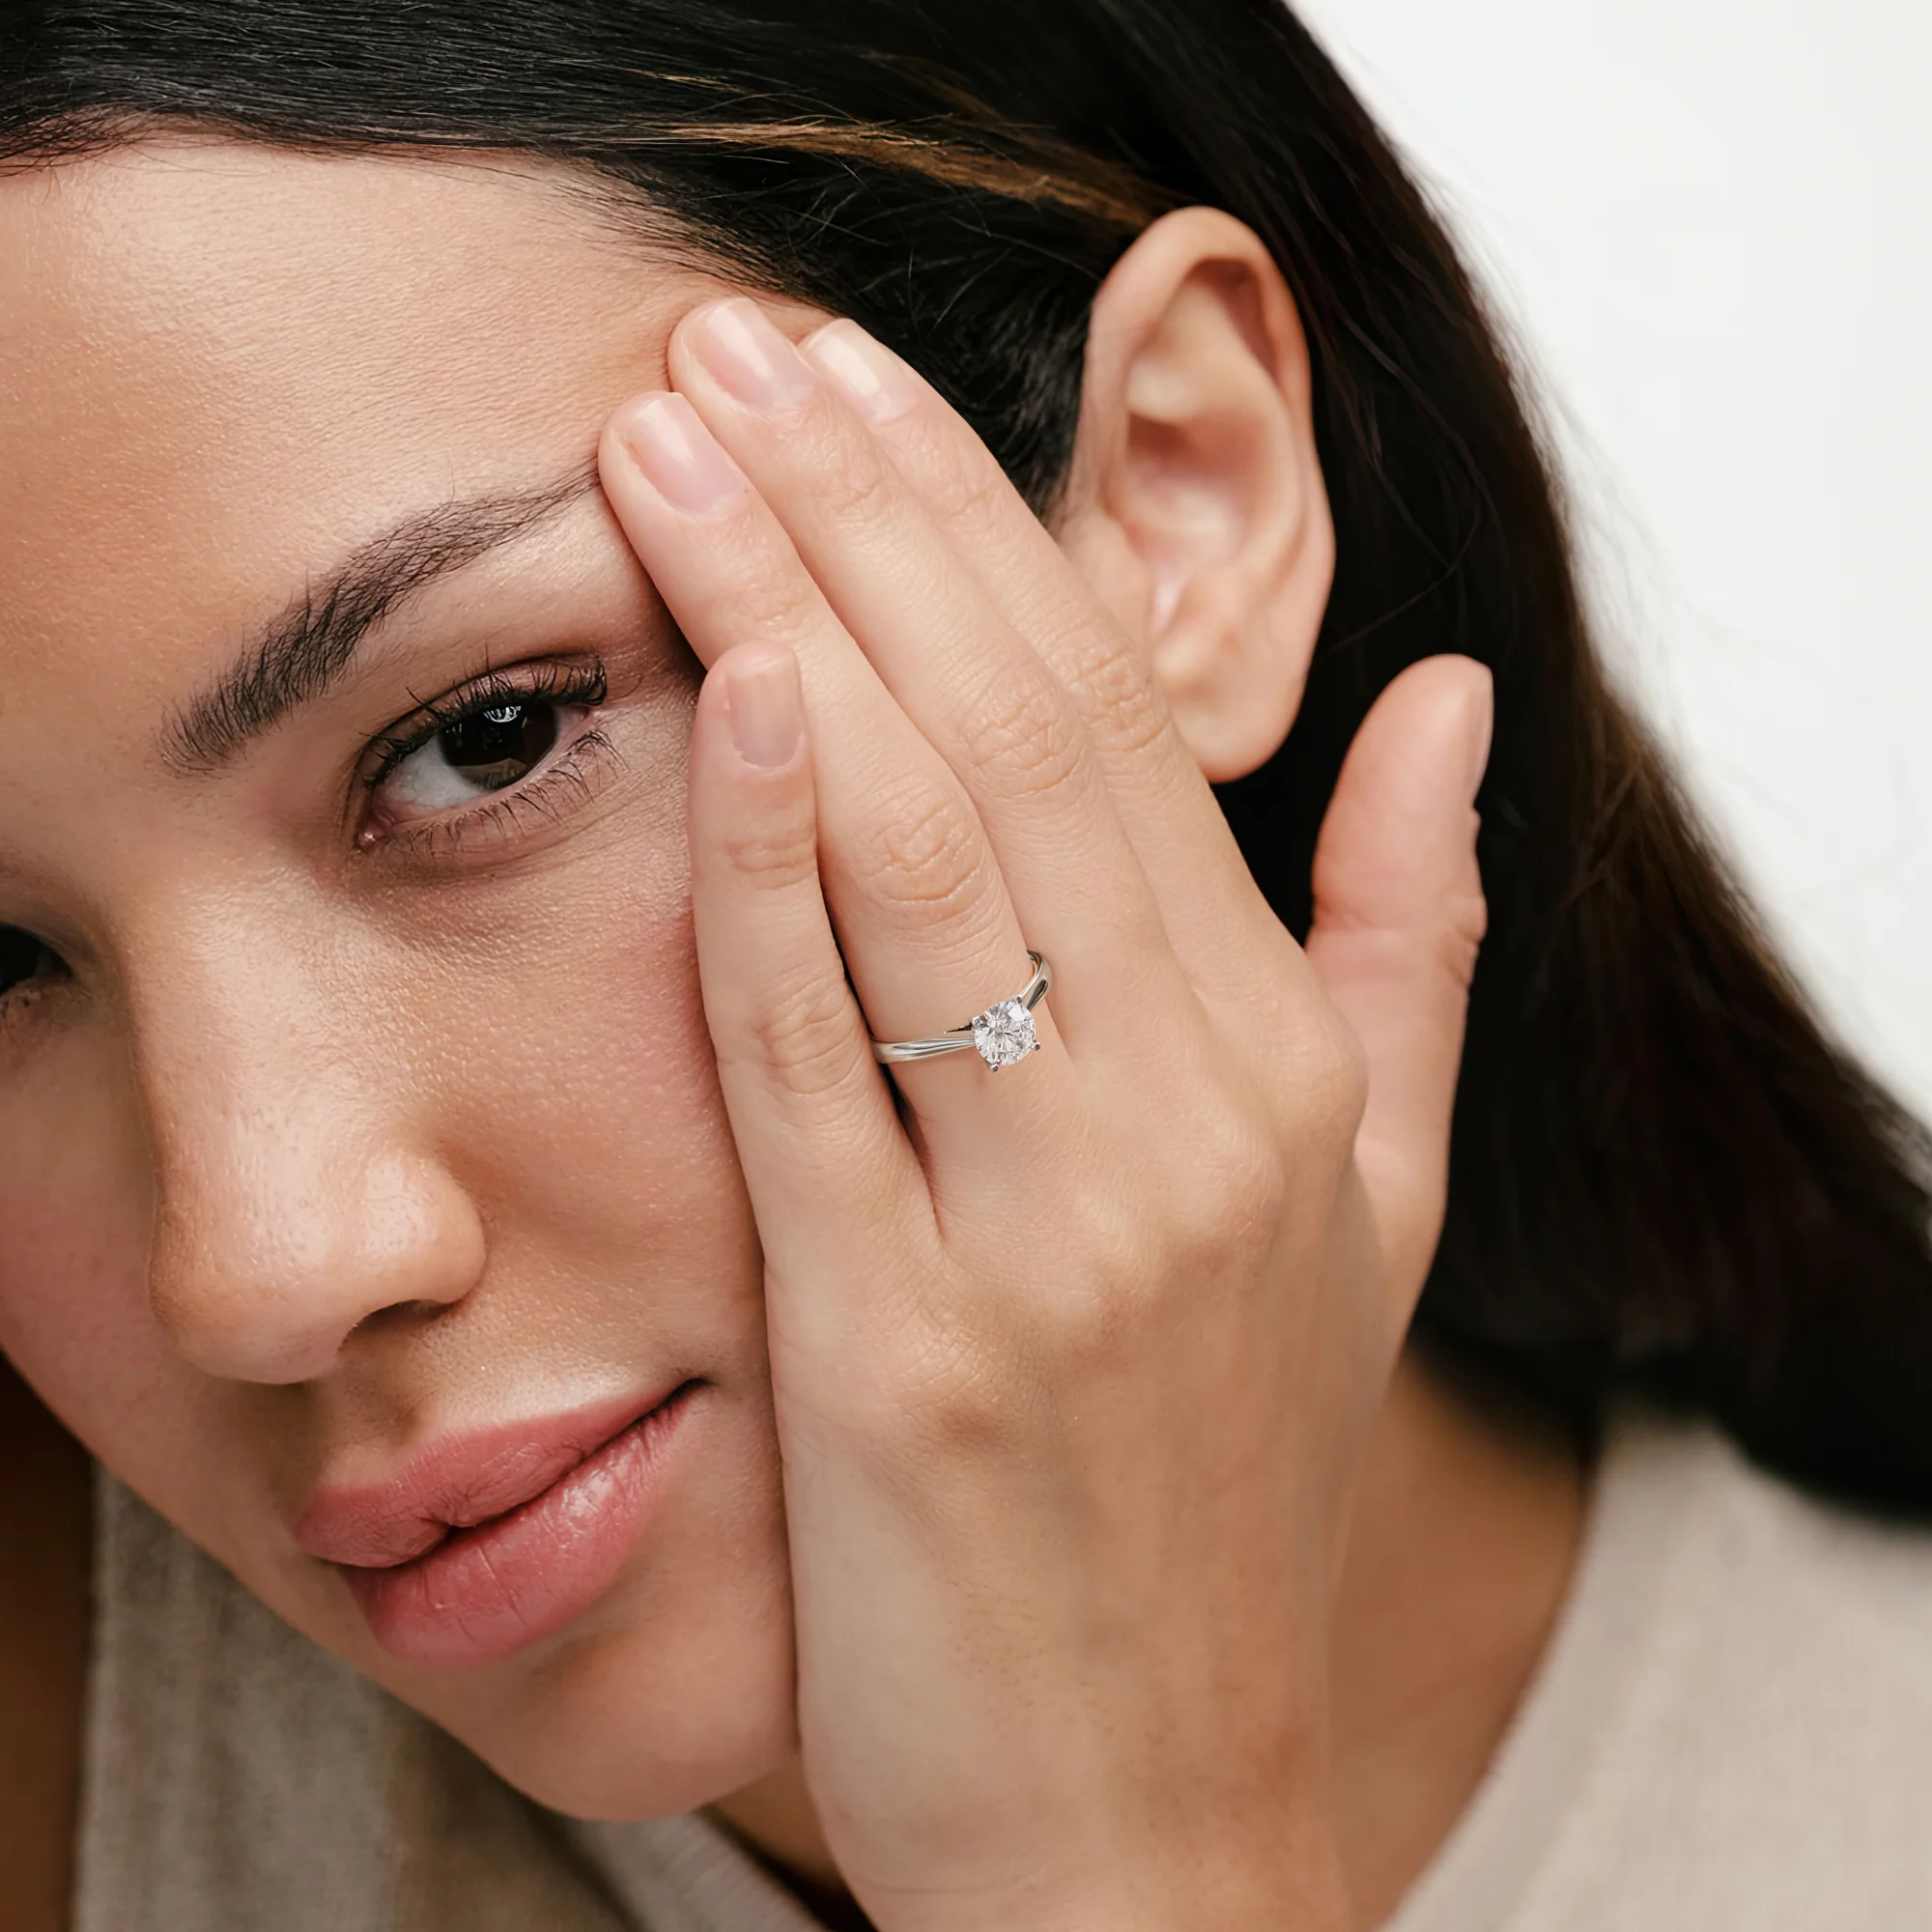
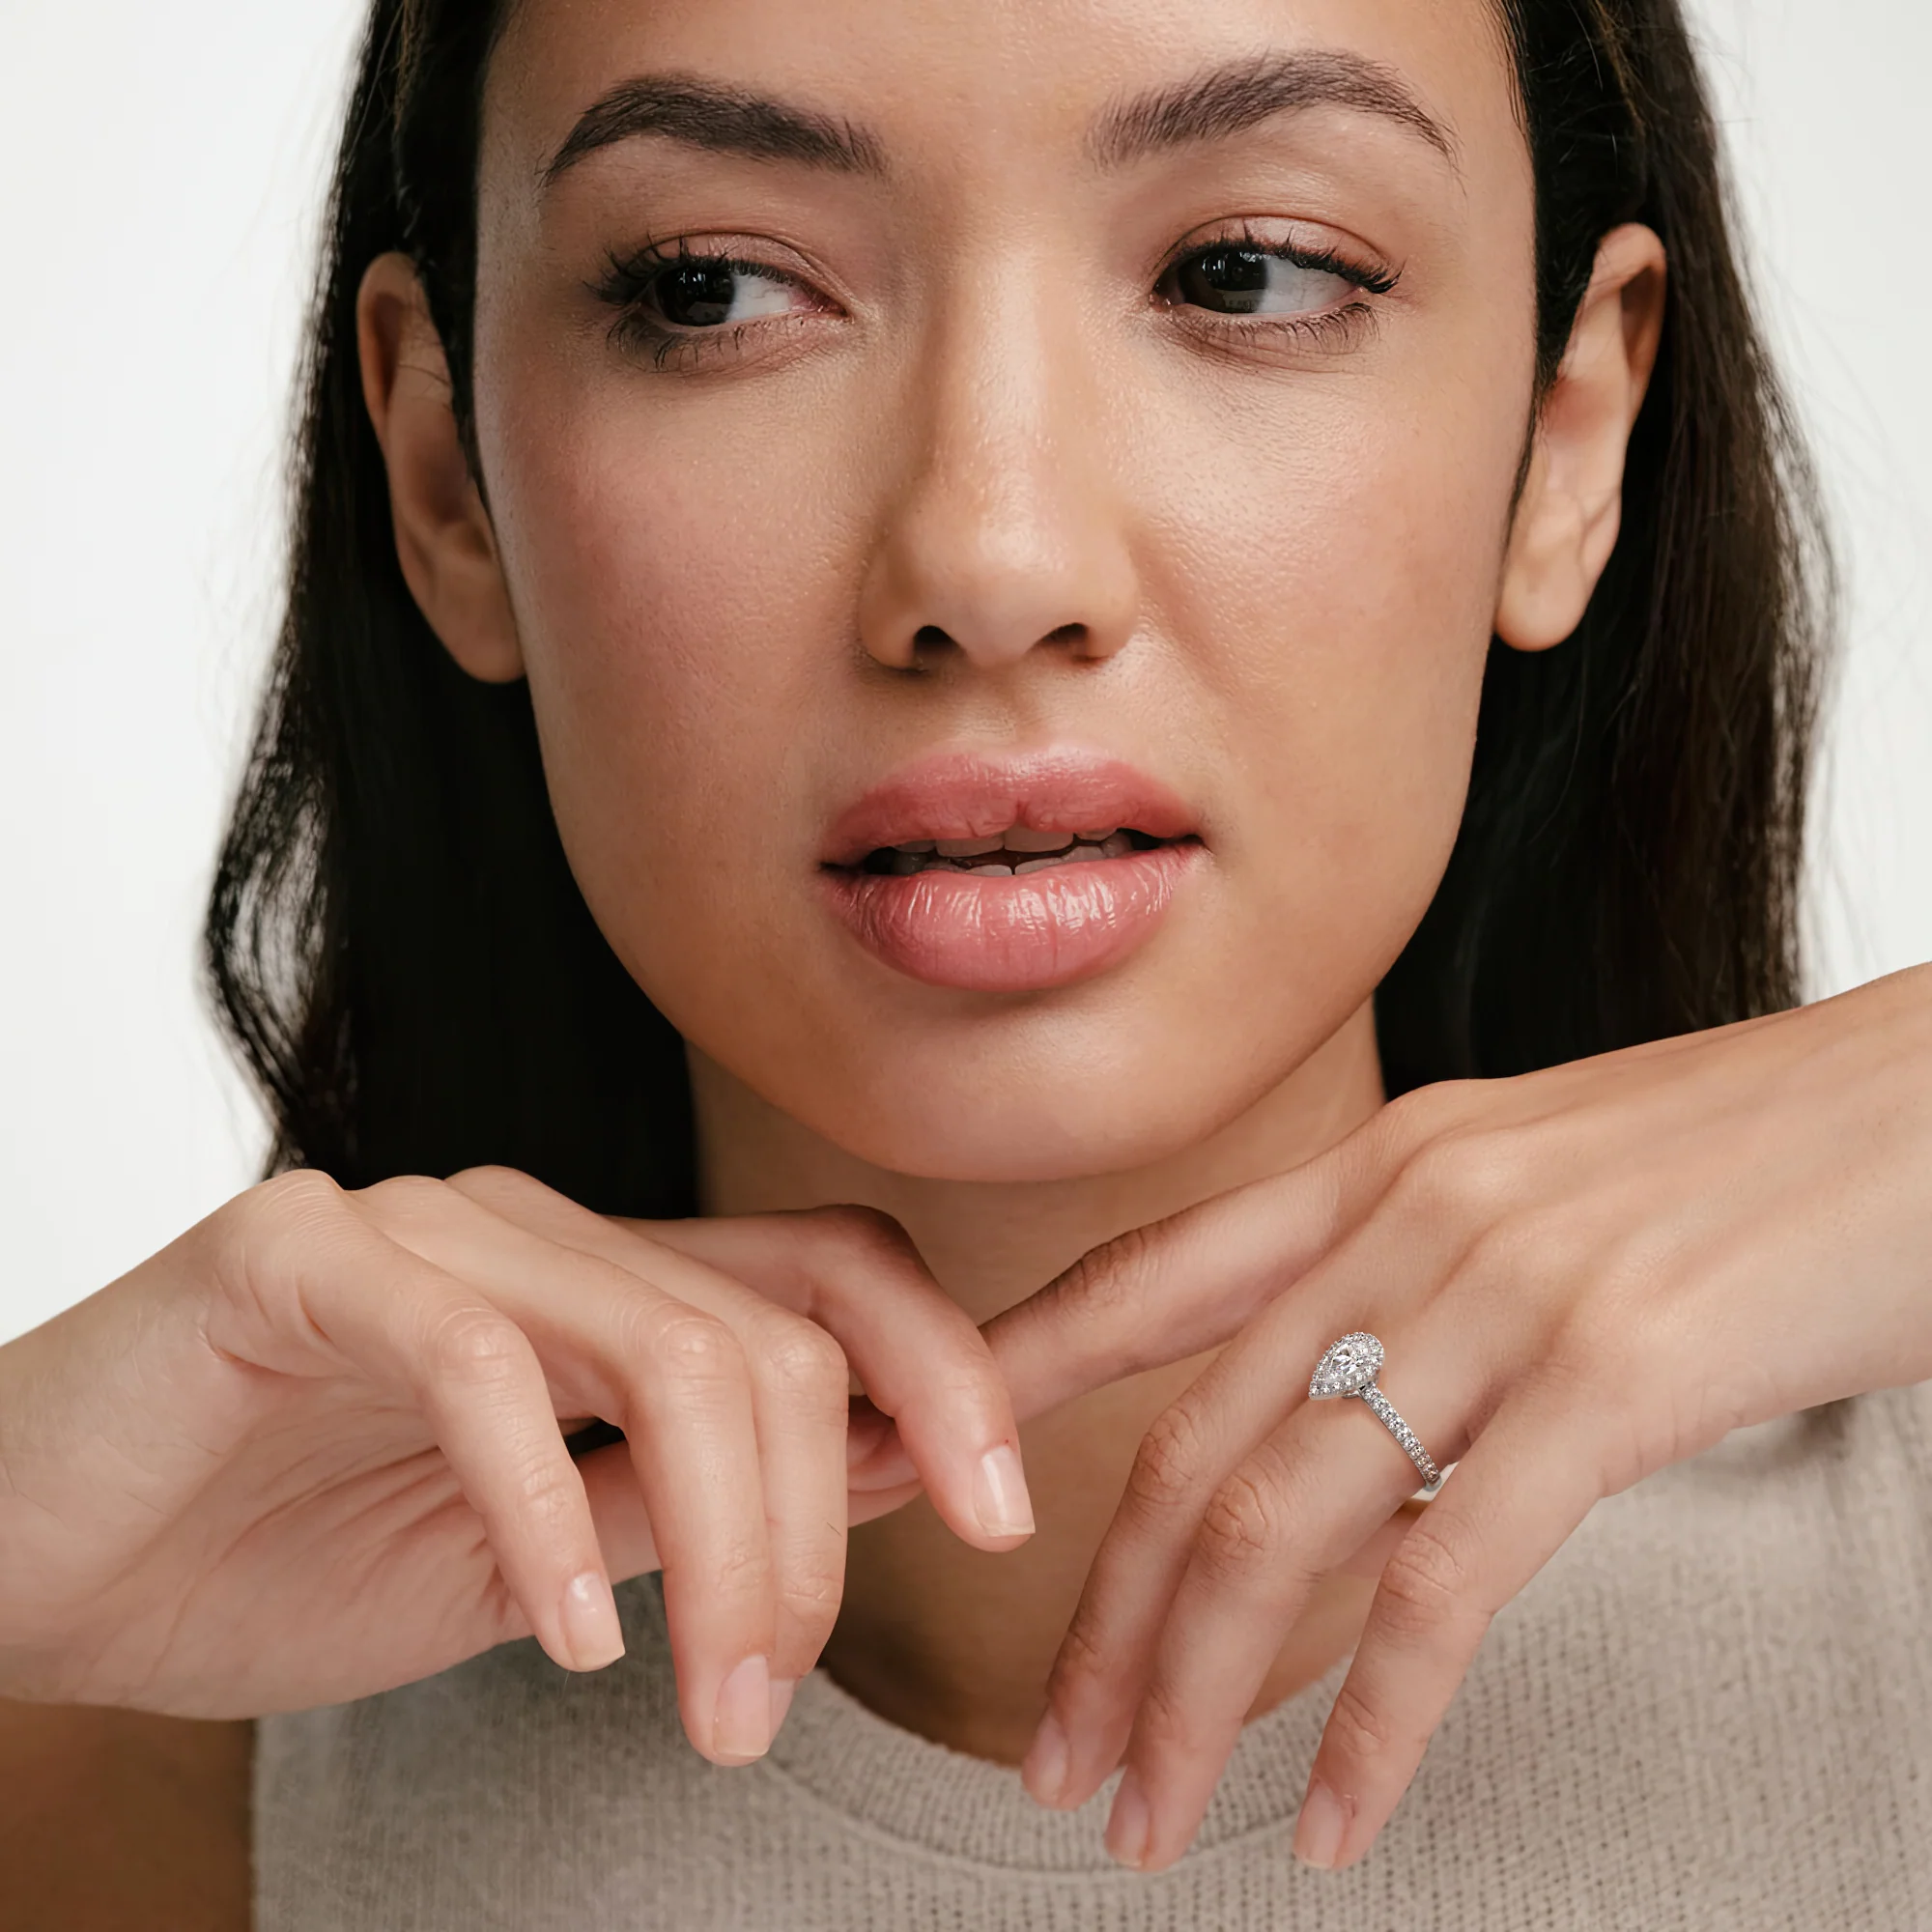
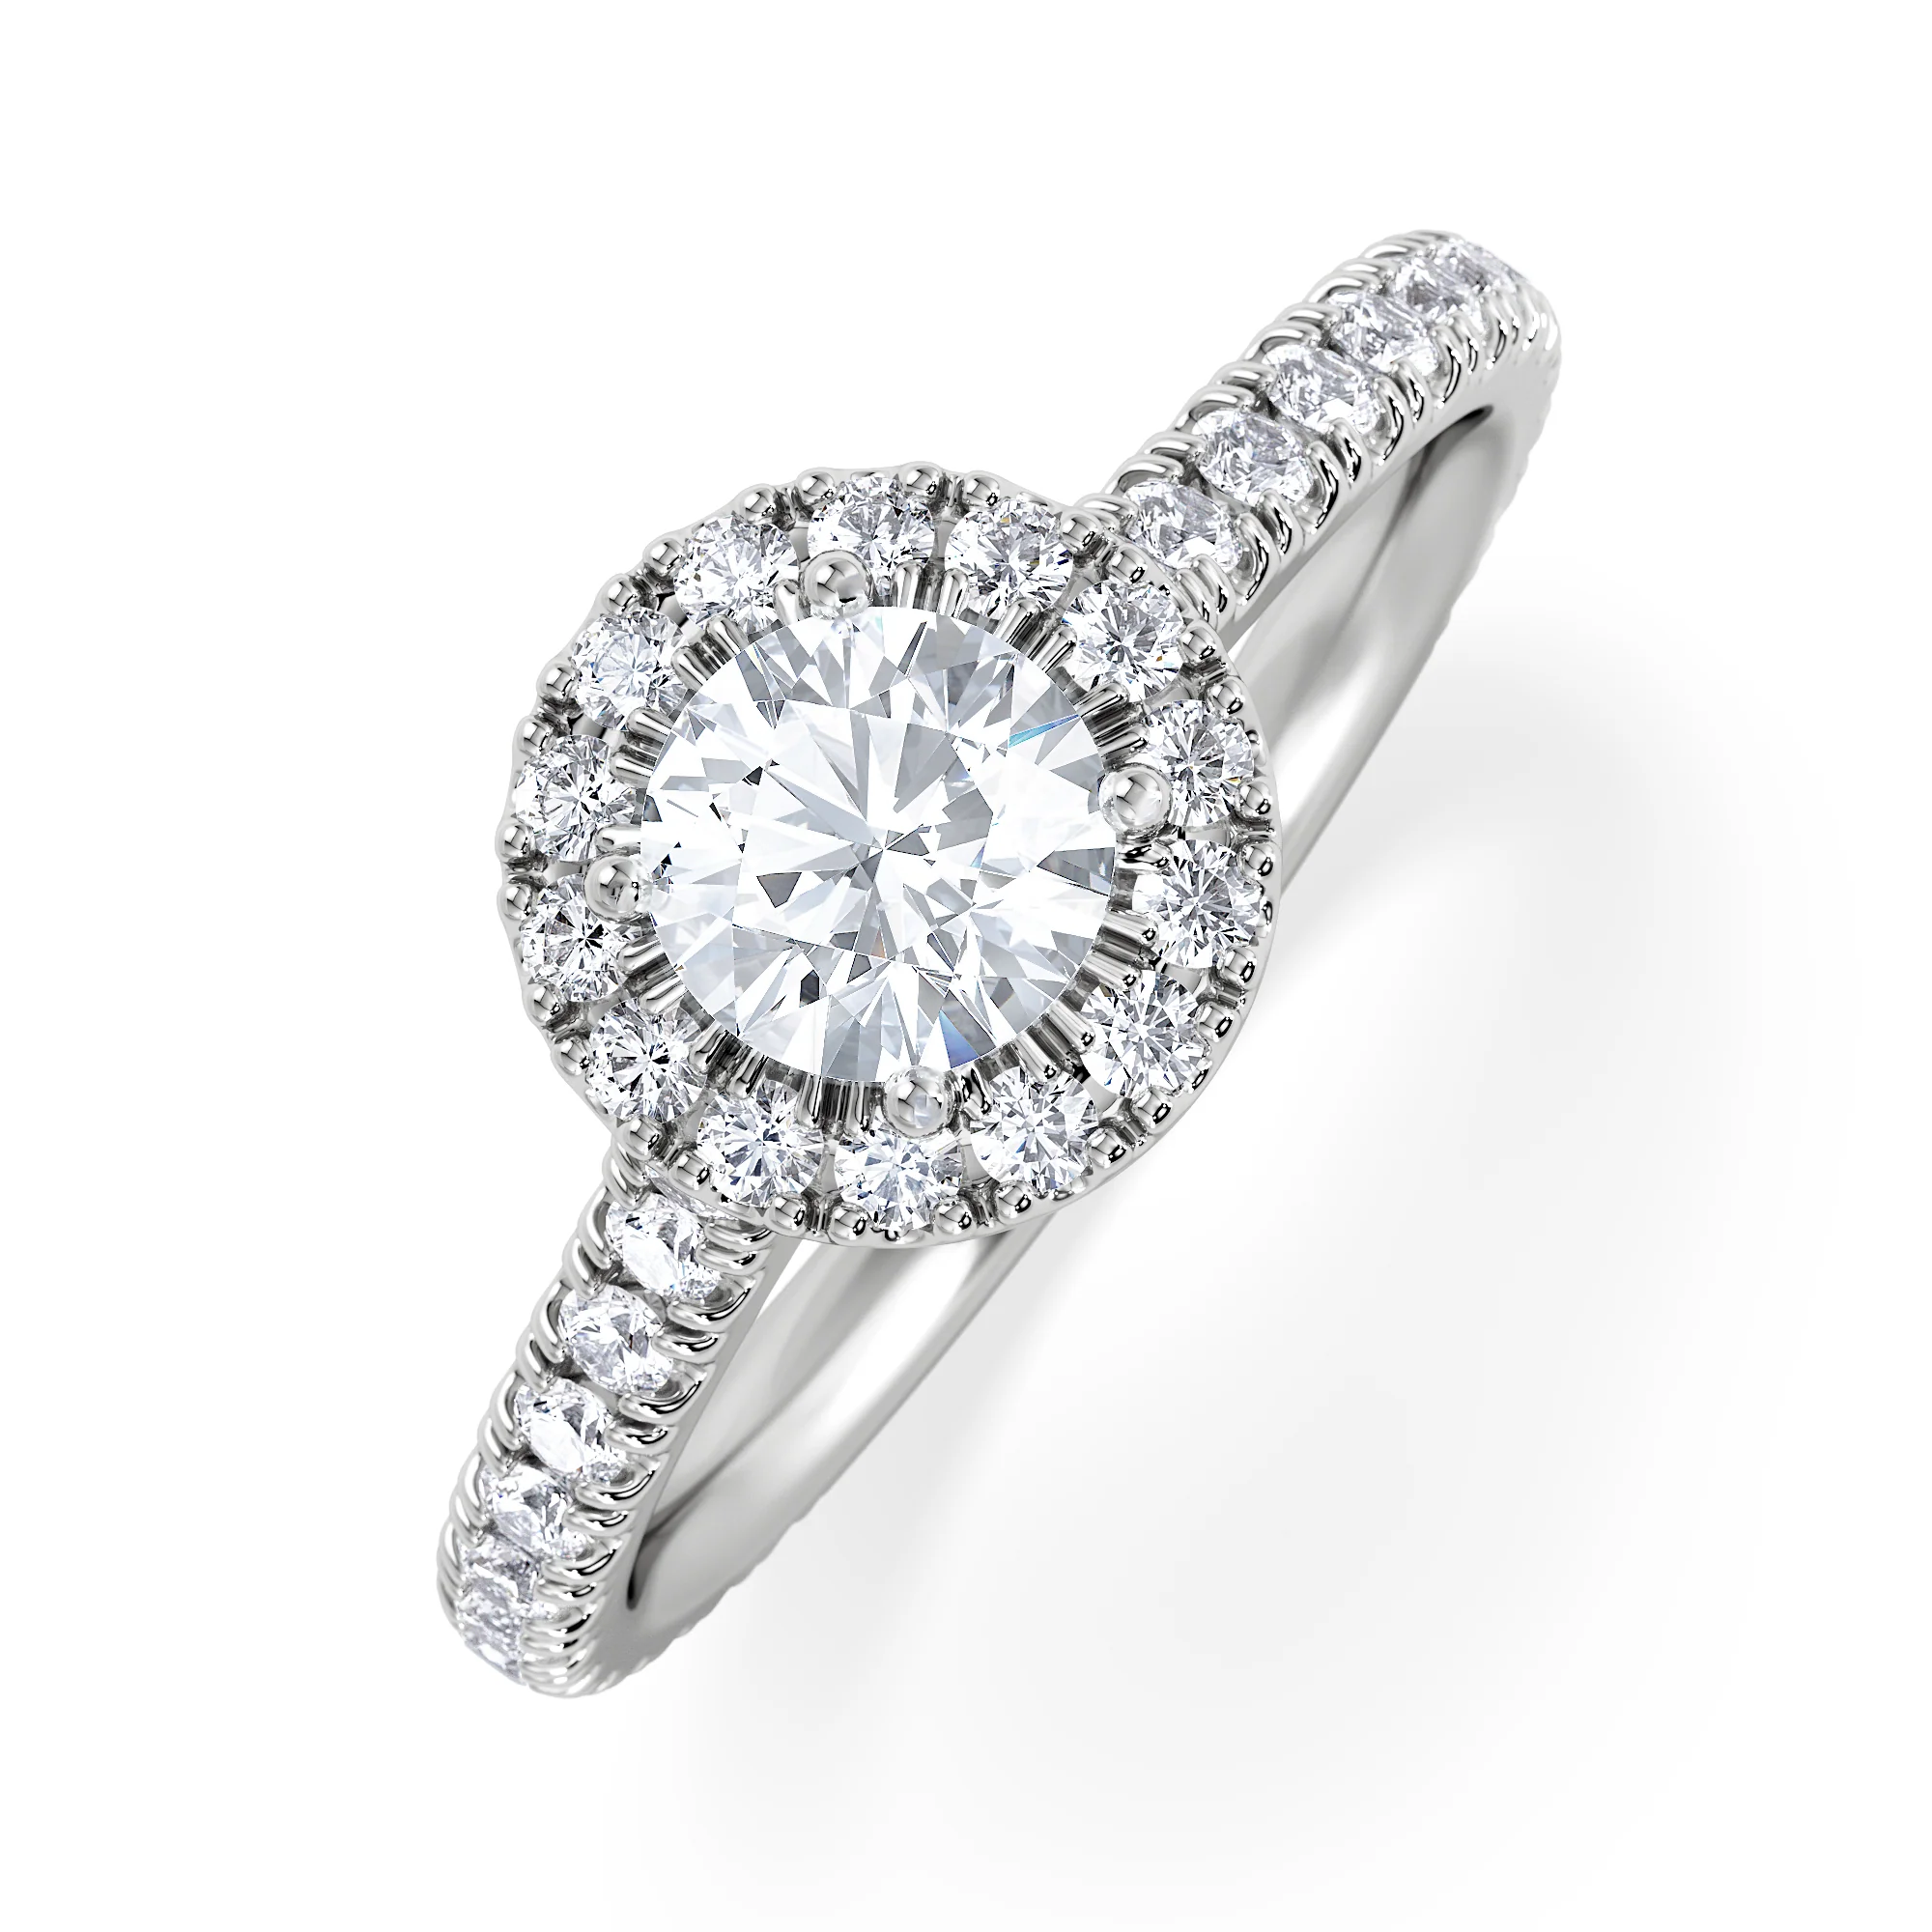
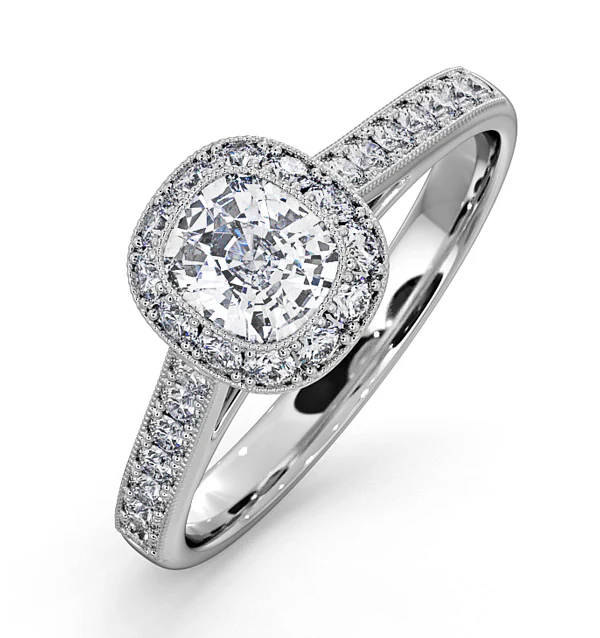
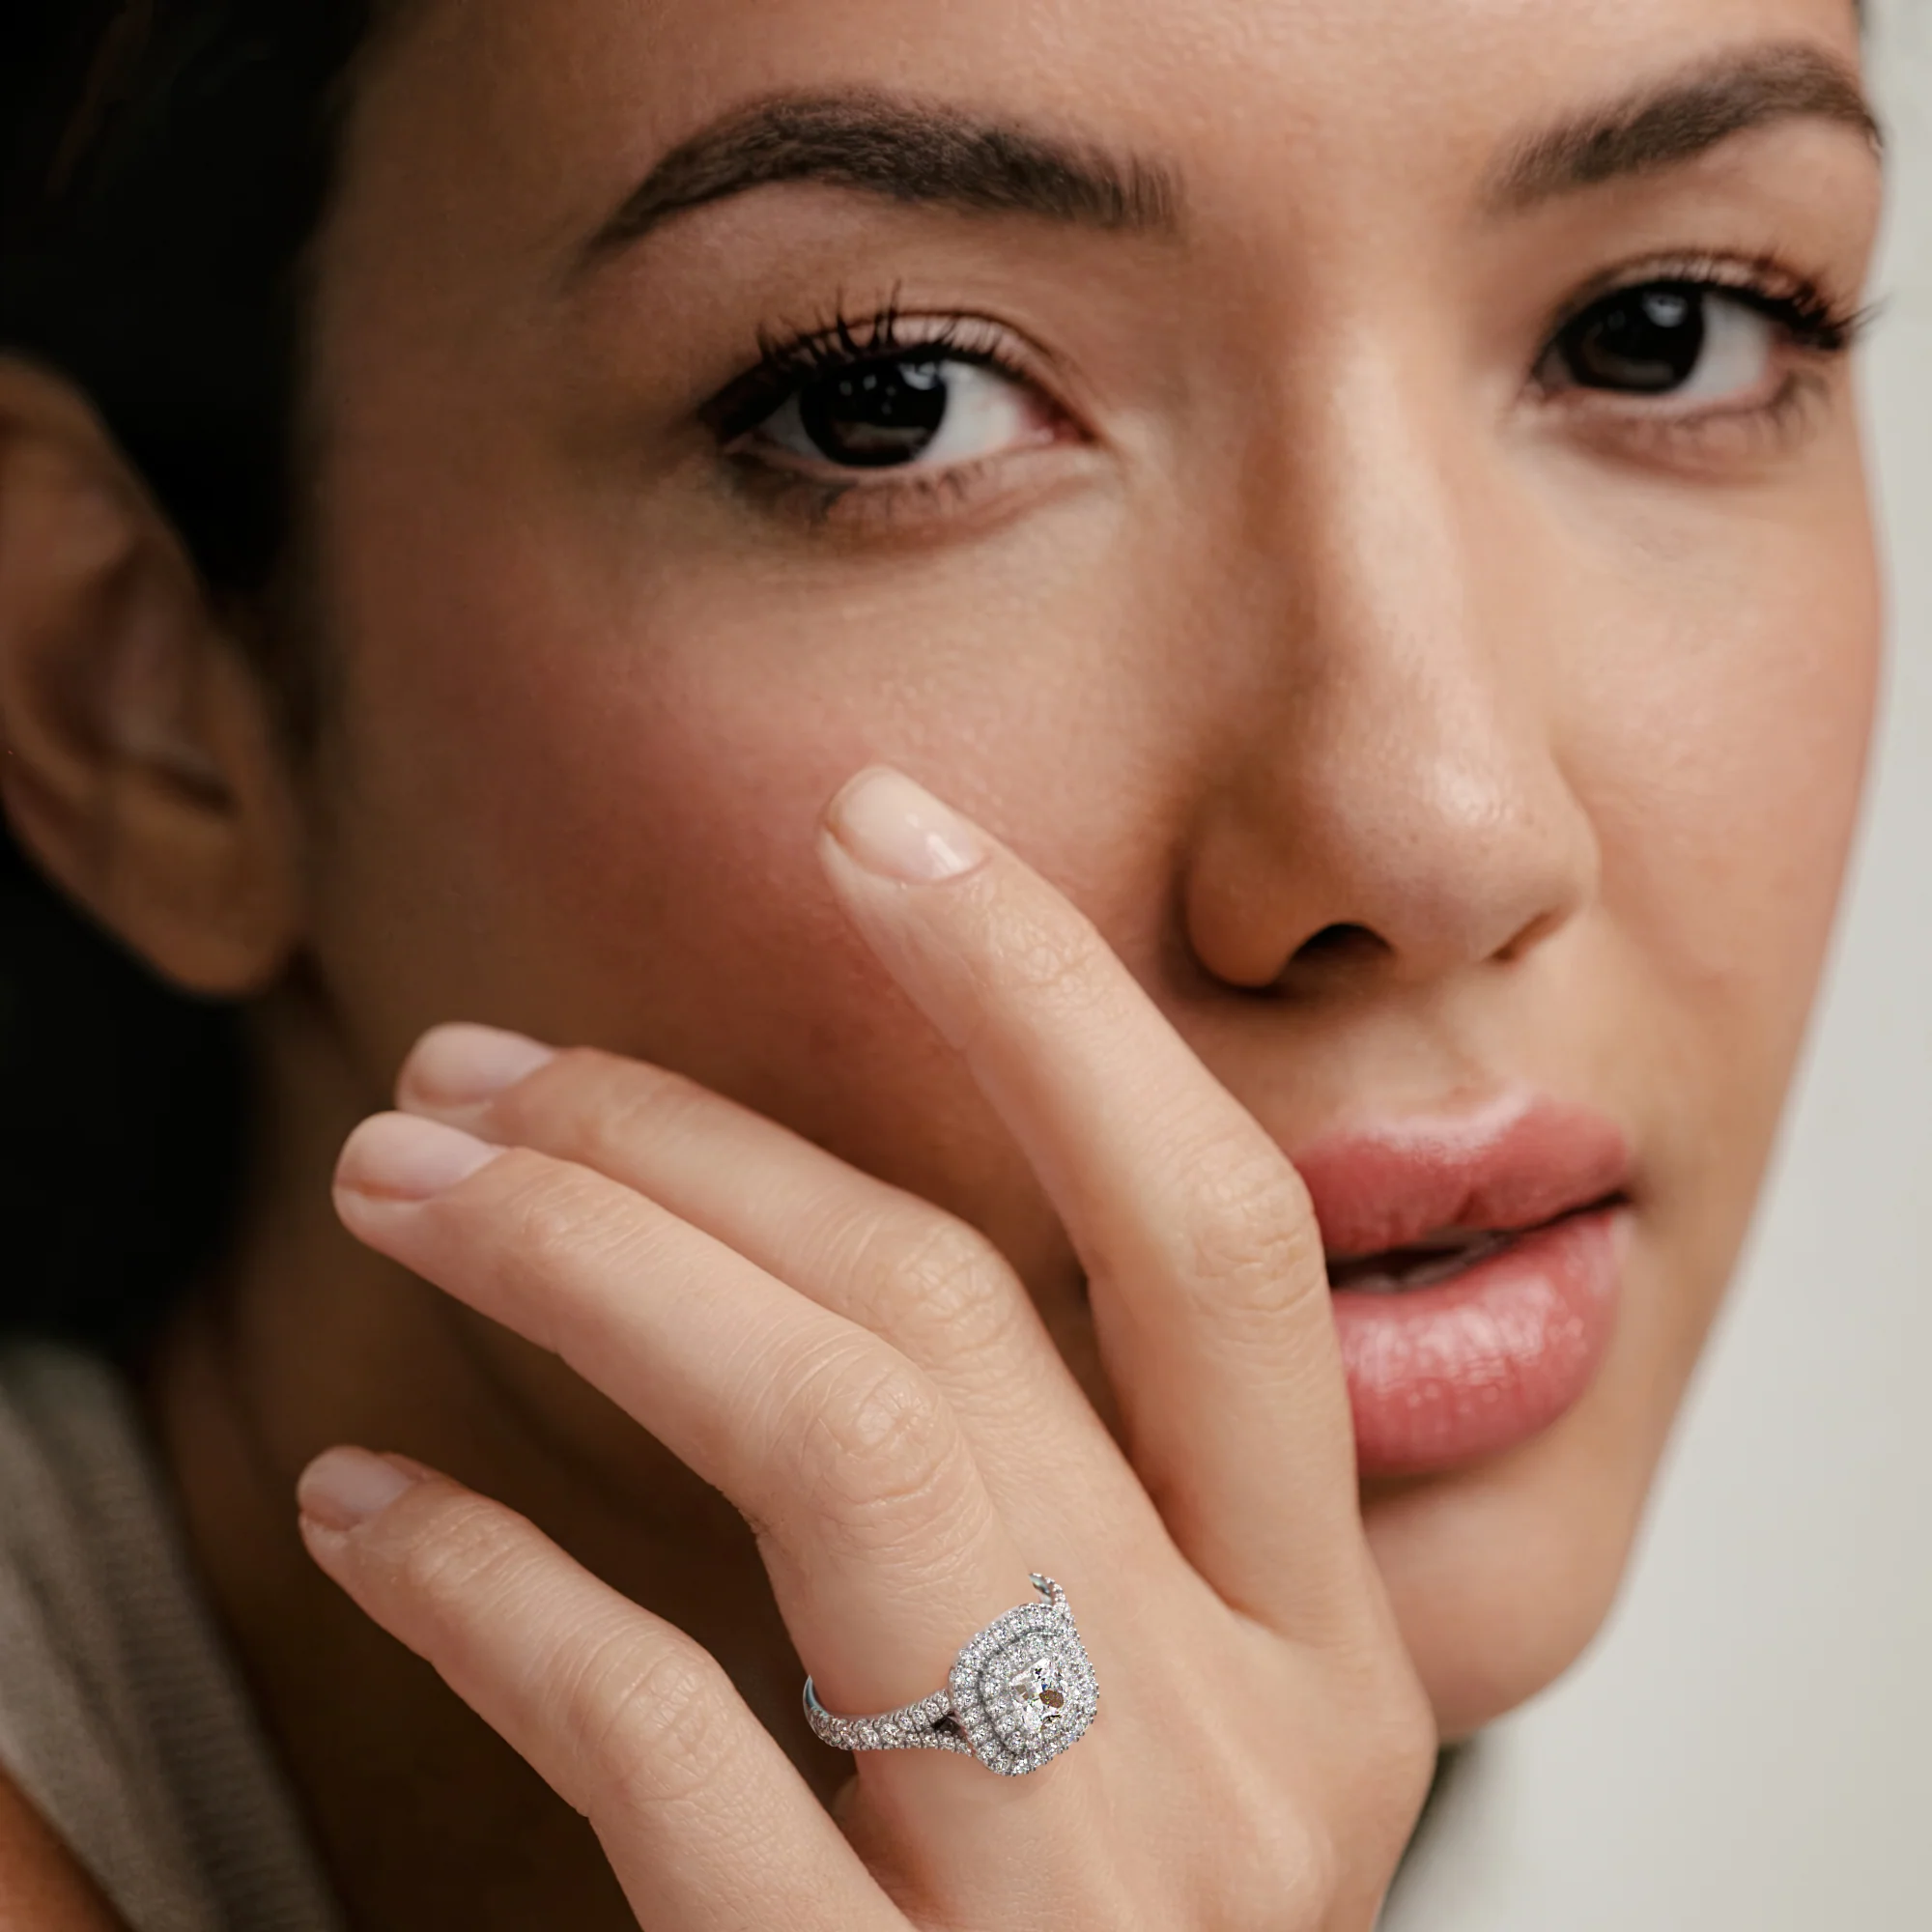
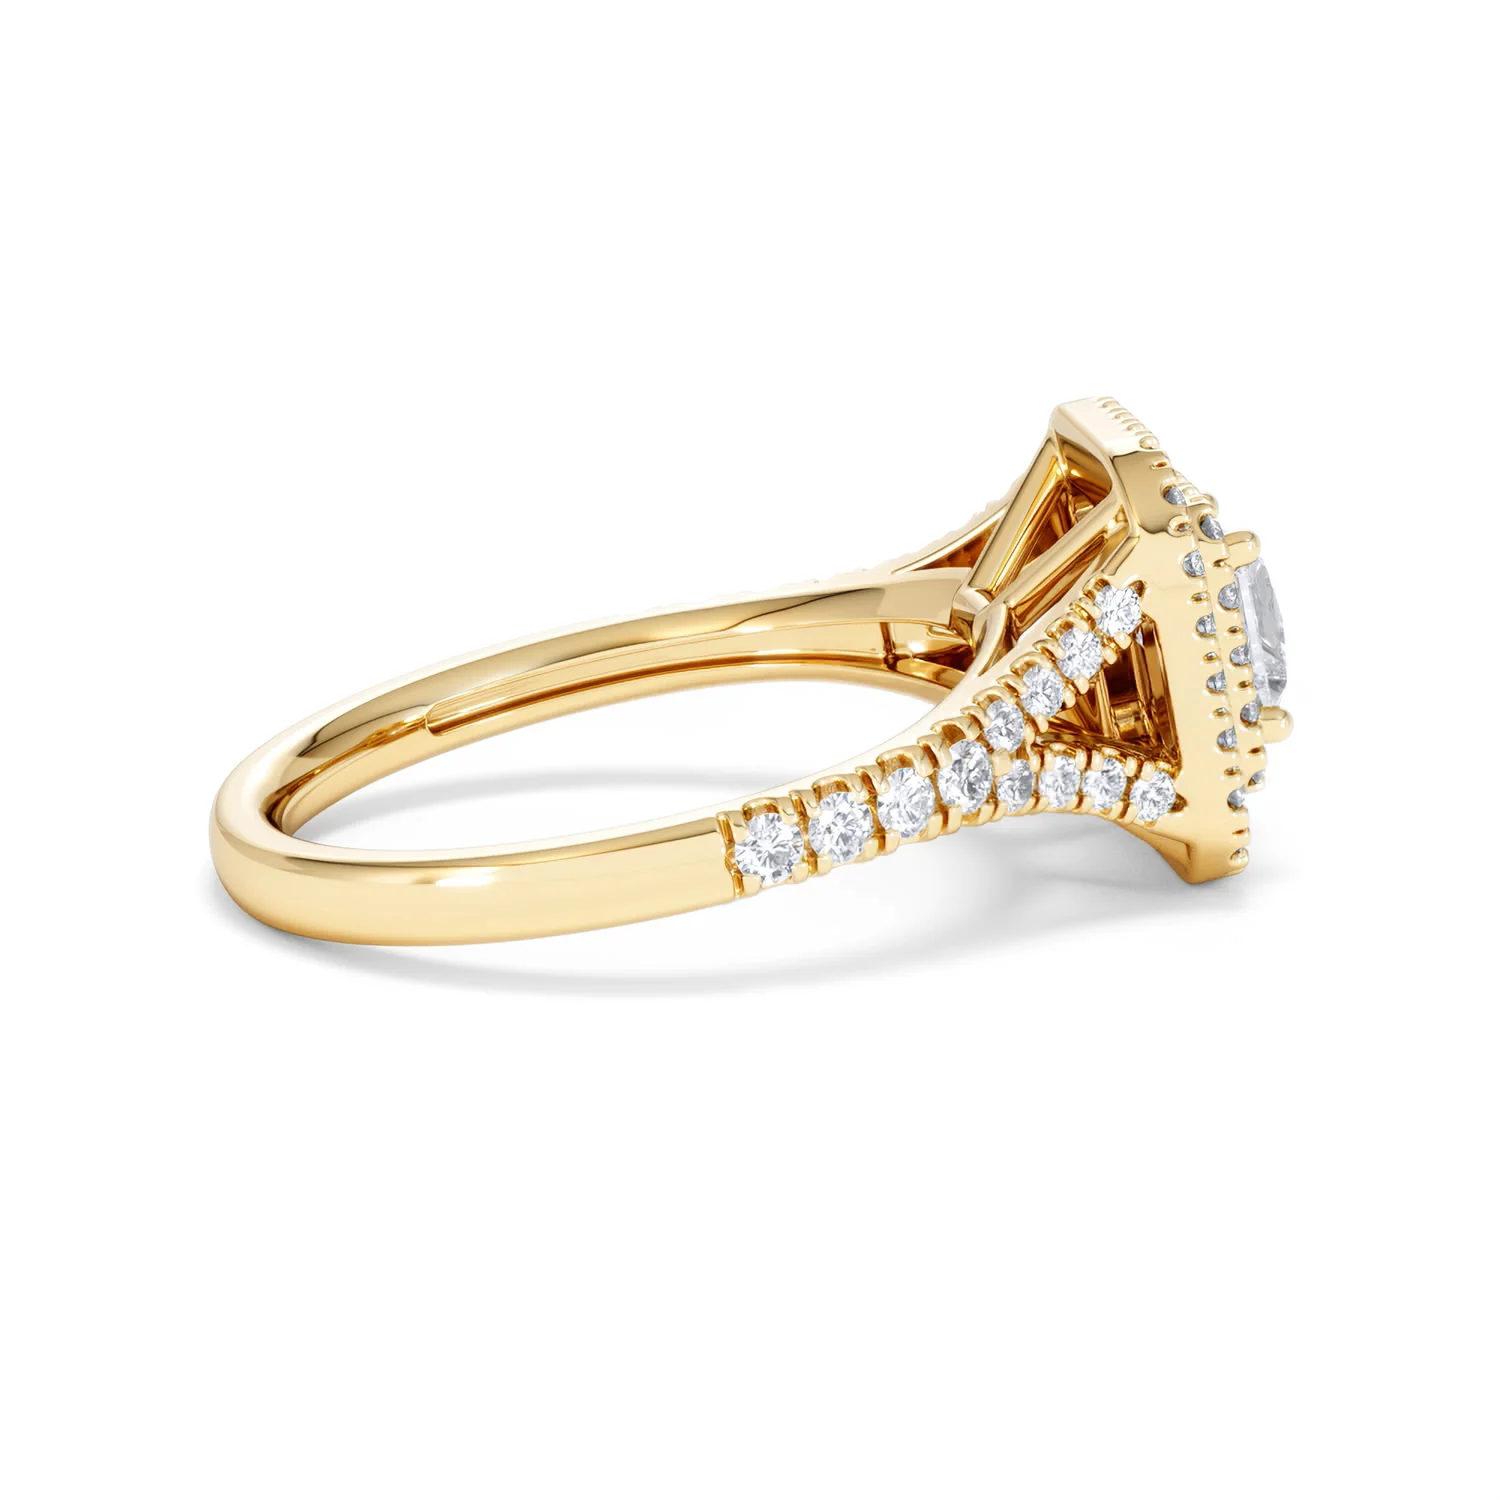
This magnificent double-halo diamond ring showcases a superb sustainable lab grown solitaire that is princess cut for superb sparkle. The beautiful split shank setting, which divides the band into two either side of the centre stone, is handcrafted in 18K yellow gold to offer luxurious contrast against the sparkling white diamonds.
*The sustainable luxury choice. Lab-grown diamonds are chemically and optically identical in brilliance and beauty to a natural mined diamond.

Select Size
From $2,794.35

Original: $9,314.49

-70%
Cleopatra Lab Diamond Halo Engagement Ring in 18K Gold 1.20ct F/VS1

$9,314.49

$2,794.35

More Images
Cleopatra Lab Diamond Halo Engagement Ring in 18K Gold 1.20ct F/VS1 - Image 2
Cleopatra Lab Diamond Halo Engagement Ring in 18K Gold 1.20ct F/VS1 - Image 3
Cleopatra Lab Diamond Halo Engagement Ring in 18K Gold 1.20ct F/VS1 - Image 4
Cleopatra Lab Diamond Halo Engagement Ring in 18K Gold 1.20ct F/VS1 - Image 5
Cleopatra Lab Diamond Halo Engagement Ring in 18K Gold 1.20ct F/VS1 - Image 6
Cleopatra Lab Diamond Halo Engagement Ring in 18K Gold 1.20ct F/VS1 - Image 7
Cleopatra Lab Diamond Halo Engagement Ring in 18K Gold 1.20ct F/VS1 - Image 8
Cleopatra Lab Diamond Halo Engagement Ring in 18K Gold 1.20ct F/VS1 - Image 9
Cleopatra Lab Diamond Halo Engagement Ring in 18K Gold 1.20ct F/VS1 - Image 10
Cleopatra Lab Diamond Halo Engagement Ring in 18K Gold 1.20ct F/VS1 - Image 11
Cleopatra Lab Diamond Halo Engagement Ring in 18K Gold 1.20ct F/VS1 - Image 12
Cleopatra Lab Diamond Halo Engagement Ring in 18K Gold 1.20ct F/VS1 - Image 13
Cleopatra Lab Diamond Halo Engagement Ring in 18K Gold 1.20ct F/VS1 - Image 14
Cleopatra Lab Diamond Halo Engagement Ring in 18K Gold 1.20ct F/VS1 - Image 15
Cleopatra Lab Diamond Halo Engagement Ring in 18K Gold 1.20ct F/VS1 - Image 16
Cleopatra Lab Diamond Halo Engagement Ring in 18K Gold 1.20ct F/VS1 - Image 17
Cleopatra Lab Diamond Halo Engagement Ring in 18K Gold 1.20ct F/VS1 - Image 18
Cleopatra Lab Diamond Halo Engagement Ring in 18K Gold 1.20ct F/VS1 - Image 19
Cleopatra Lab Diamond Halo Engagement Ring in 18K Gold 1.20ct F/VS1 - Image 20
Cleopatra Lab Diamond Halo Engagement Ring in 18K Gold 1.20ct F/VS1 - Image 21
Cleopatra Lab Diamond Halo Engagement Ring in 18K Gold 1.20ct F/VS1 - Image 22
Cleopatra Lab Diamond Halo Engagement Ring in 18K Gold 1.20ct F/VS1 - Image 23
Cleopatra Lab Diamond Halo Engagement Ring in 18K Gold 1.20ct F/VS1 - Image 24
Cleopatra Lab Diamond Halo Engagement Ring in 18K Gold 1.20ct F/VS1 - Image 25
Cleopatra Lab Diamond Halo Engagement Ring in 18K Gold 1.20ct F/VS1 - Image 26
Cleopatra Lab Diamond Halo Engagement Ring in 18K Gold 1.20ct F/VS1 - Image 27
Cleopatra Lab Diamond Halo Engagement Ring in 18K Gold 1.20ct F/VS1 - Image 28
Cleopatra Lab Diamond Halo Engagement Ring in 18K Gold 1.20ct F/VS1 - Image 29
Cleopatra Lab Diamond Halo Engagement Ring in 18K Gold 1.20ct F/VS1 - Image 30
Cleopatra Lab Diamond Halo Engagement Ring in 18K Gold 1.20ct F/VS1 - Image 31
Cleopatra Lab Diamond Halo Engagement Ring in 18K Gold 1.20ct F/VS1 - Image 32
Cleopatra Lab Diamond Halo Engagement Ring in 18K Gold 1.20ct F/VS1 - Image 33
Cleopatra Lab Diamond Halo Engagement Ring in 18K Gold 1.20ct F/VS1 - Image 34
Cleopatra Lab Diamond Halo Engagement Ring in 18K Gold 1.20ct F/VS1 - Image 35
Cleopatra Lab Diamond Halo Engagement Ring in 18K Gold 1.20ct F/VS1 - Image 36
Cleopatra Lab Diamond Halo Engagement Ring in 18K Gold 1.20ct F/VS1 - Image 37
Cleopatra Lab Diamond Halo Engagement Ring in 18K Gold 1.20ct F/VS1 - Image 38
Cleopatra Lab Diamond Halo Engagement Ring in 18K Gold 1.20ct F/VS1 - Image 39
Cleopatra Lab Diamond Halo Engagement Ring in 18K Gold 1.20ct F/VS1 - Image 40
Cleopatra Lab Diamond Halo Engagement Ring in 18K Gold 1.20ct F/VS1 - Image 41
Cleopatra Lab Diamond Halo Engagement Ring in 18K Gold 1.20ct F/VS1 - Image 42
Cleopatra Lab Diamond Halo Engagement Ring in 18K Gold 1.20ct F/VS1 - Image 43
Cleopatra Lab Diamond Halo Engagement Ring in 18K Gold 1.20ct F/VS1 - Image 44
Cleopatra Lab Diamond Halo Engagement Ring in 18K Gold 1.20ct F/VS1 - Image 45
Cleopatra Lab Diamond Halo Engagement Ring in 18K Gold 1.20ct F/VS1 - Image 46
Cleopatra Lab Diamond Halo Engagement Ring in 18K Gold 1.20ct F/VS1 - Image 47
Cleopatra Lab Diamond Halo Engagement Ring in 18K Gold 1.20ct F/VS1 - Image 48
Cleopatra Lab Diamond Halo Engagement Ring in 18K Gold 1.20ct F/VS1 - Image 49
Cleopatra Lab Diamond Halo Engagement Ring in 18K Gold 1.20ct F/VS1 - Image 50
Cleopatra Lab Diamond Halo Engagement Ring in 18K Gold 1.20ct F/VS1 - Image 51
Cleopatra Lab Diamond Halo Engagement Ring in 18K Gold 1.20ct F/VS1 - Image 52
Cleopatra Lab Diamond Halo Engagement Ring in 18K Gold 1.20ct F/VS1 - Image 53
Cleopatra Lab Diamond Halo Engagement Ring in 18K Gold 1.20ct F/VS1 - Image 54
Cleopatra Lab Diamond Halo Engagement Ring in 18K Gold 1.20ct F/VS1 - Image 55
Cleopatra Lab Diamond Halo Engagement Ring in 18K Gold 1.20ct F/VS1 - Image 56
Cleopatra Lab Diamond Halo Engagement Ring in 18K Gold 1.20ct F/VS1 - Image 57
Cleopatra Lab Diamond Halo Engagement Ring in 18K Gold 1.20ct F/VS1 - Image 58
Cleopatra Lab Diamond Halo Engagement Ring in 18K Gold 1.20ct F/VS1 - Image 59
Cleopatra Lab Diamond Halo Engagement Ring in 18K Gold 1.20ct F/VS1 - Image 60
Cleopatra Lab Diamond Halo Engagement Ring in 18K Gold 1.20ct F/VS1 - Image 61
Cleopatra Lab Diamond Halo Engagement Ring in 18K Gold 1.20ct F/VS1 - Image 62
Cleopatra Lab Diamond Halo Engagement Ring in 18K Gold 1.20ct F/VS1 - Image 63
Cleopatra Lab Diamond Halo Engagement Ring in 18K Gold 1.20ct F/VS1 - Image 64
Cleopatra Lab Diamond Halo Engagement Ring in 18K Gold 1.20ct F/VS1 - Image 65
Cleopatra Lab Diamond Halo Engagement Ring in 18K Gold 1.20ct F/VS1 - Image 66
Cleopatra Lab Diamond Halo Engagement Ring in 18K Gold 1.20ct F/VS1 - Image 67
Cleopatra Lab Diamond Halo Engagement Ring in 18K Gold 1.20ct F/VS1 - Image 68
Cleopatra Lab Diamond Halo Engagement Ring in 18K Gold 1.20ct F/VS1 - Image 69
Cleopatra Lab Diamond Halo Engagement Ring in 18K Gold 1.20ct F/VS1 - Image 70
Cleopatra Lab Diamond Halo Engagement Ring in 18K Gold 1.20ct F/VS1 - Image 71
Cleopatra Lab Diamond Halo Engagement Ring in 18K Gold 1.20ct F/VS1 - Image 72
Cleopatra Lab Diamond Halo Engagement Ring in 18K Gold 1.20ct F/VS1 - Image 73
Cleopatra Lab Diamond Halo Engagement Ring in 18K Gold 1.20ct F/VS1 - Image 74
Cleopatra Lab Diamond Halo Engagement Ring in 18K Gold 1.20ct F/VS1 - Image 75
Cleopatra Lab Diamond Halo Engagement Ring in 18K Gold 1.20ct F/VS1 - Image 76
Cleopatra Lab Diamond Halo Engagement Ring in 18K Gold 1.20ct F/VS1 - Image 77
Cleopatra Lab Diamond Halo Engagement Ring in 18K Gold 1.20ct F/VS1 - Image 78
Cleopatra Lab Diamond Halo Engagement Ring in 18K Gold 1.20ct F/VS1 - Image 79
Cleopatra Lab Diamond Halo Engagement Ring in 18K Gold 1.20ct F/VS1 - Image 80
Cleopatra Lab Diamond Halo Engagement Ring in 18K Gold 1.20ct F/VS1 - Image 81
Cleopatra Lab Diamond Halo Engagement Ring in 18K Gold 1.20ct F/VS1 - Image 82
Cleopatra Lab Diamond Halo Engagement Ring in 18K Gold 1.20ct F/VS1 - Image 83
Cleopatra Lab Diamond Halo Engagement Ring in 18K Gold 1.20ct F/VS1 - Image 84
Cleopatra Lab Diamond Halo Engagement Ring in 18K Gold 1.20ct F/VS1 - Image 85
Cleopatra Lab Diamond Halo Engagement Ring in 18K Gold 1.20ct F/VS1 - Image 86
Cleopatra Lab Diamond Halo Engagement Ring in 18K Gold 1.20ct F/VS1 - Image 87
Cleopatra Lab Diamond Halo Engagement Ring in 18K Gold 1.20ct F/VS1 - Image 88
Cleopatra Lab Diamond Halo Engagement Ring in 18K Gold 1.20ct F/VS1 - Image 89
Cleopatra Lab Diamond Halo Engagement Ring in 18K Gold 1.20ct F/VS1 - Image 90
Cleopatra Lab Diamond Halo Engagement Ring in 18K Gold 1.20ct F/VS1 - Image 91
Cleopatra Lab Diamond Halo Engagement Ring in 18K Gold 1.20ct F/VS1 - Image 92
Cleopatra Lab Diamond Halo Engagement Ring in 18K Gold 1.20ct F/VS1 - Image 93
Cleopatra Lab Diamond Halo Engagement Ring in 18K Gold 1.20ct F/VS1 - Image 94
Cleopatra Lab Diamond Halo Engagement Ring in 18K Gold 1.20ct F/VS1 - Image 95
Cleopatra Lab Diamond Halo Engagement Ring in 18K Gold 1.20ct F/VS1 - Image 96
Cleopatra Lab Diamond Halo Engagement Ring in 18K Gold 1.20ct F/VS1 - Image 97
Cleopatra Lab Diamond Halo Engagement Ring in 18K Gold 1.20ct F/VS1 - Image 98
Cleopatra Lab Diamond Halo Engagement Ring in 18K Gold 1.20ct F/VS1 - Image 99
Cleopatra Lab Diamond Halo Engagement Ring in 18K Gold 1.20ct F/VS1 - Image 100
Cleopatra Lab Diamond Halo Engagement Ring in 18K Gold 1.20ct F/VS1 - Image 101
Cleopatra Lab Diamond Halo Engagement Ring in 18K Gold 1.20ct F/VS1 - Image 102
Cleopatra Lab Diamond Halo Engagement Ring in 18K Gold 1.20ct F/VS1 - Image 103
Cleopatra Lab Diamond Halo Engagement Ring in 18K Gold 1.20ct F/VS1 - Image 104
Cleopatra Lab Diamond Halo Engagement Ring in 18K Gold 1.20ct F/VS1 - Image 105
Cleopatra Lab Diamond Halo Engagement Ring in 18K Gold 1.20ct F/VS1 - Image 106
Cleopatra Lab Diamond Halo Engagement Ring in 18K Gold 1.20ct F/VS1 - Image 107
Cleopatra Lab Diamond Halo Engagement Ring in 18K Gold 1.20ct F/VS1 - Image 108
Cleopatra Lab Diamond Halo Engagement Ring in 18K Gold 1.20ct F/VS1 - Image 109
Cleopatra Lab Diamond Halo Engagement Ring in 18K Gold 1.20ct F/VS1 - Image 110
Cleopatra Lab Diamond Halo Engagement Ring in 18K Gold 1.20ct F/VS1 - Image 111
Cleopatra Lab Diamond Halo Engagement Ring in 18K Gold 1.20ct F/VS1 - Image 112
Cleopatra Lab Diamond Halo Engagement Ring in 18K Gold 1.20ct F/VS1 - Image 113
Cleopatra Lab Diamond Halo Engagement Ring in 18K Gold 1.20ct F/VS1 - Image 114
Cleopatra Lab Diamond Halo Engagement Ring in 18K Gold 1.20ct F/VS1 - Image 115
Cleopatra Lab Diamond Halo Engagement Ring in 18K Gold 1.20ct F/VS1 - Image 116
Cleopatra Lab Diamond Halo Engagement Ring in 18K Gold 1.20ct F/VS1 - Image 117
Cleopatra Lab Diamond Halo Engagement Ring in 18K Gold 1.20ct F/VS1 - Image 118
Cleopatra Lab Diamond Halo Engagement Ring in 18K Gold 1.20ct F/VS1 - Image 119
Cleopatra Lab Diamond Halo Engagement Ring in 18K Gold 1.20ct F/VS1 - Image 120
Cleopatra Lab Diamond Halo Engagement Ring in 18K Gold 1.20ct F/VS1 - Image 121
Cleopatra Lab Diamond Halo Engagement Ring in 18K Gold 1.20ct F/VS1 - Image 122
Cleopatra Lab Diamond Halo Engagement Ring in 18K Gold 1.20ct F/VS1 - Image 123
Cleopatra Lab Diamond Halo Engagement Ring in 18K Gold 1.20ct F/VS1 - Image 124
Cleopatra Lab Diamond Halo Engagement Ring in 18K Gold 1.20ct F/VS1 - Image 125
Cleopatra Lab Diamond Halo Engagement Ring in 18K Gold 1.20ct F/VS1 - Image 126
Cleopatra Lab Diamond Halo Engagement Ring in 18K Gold 1.20ct F/VS1 - Image 127
Cleopatra Lab Diamond Halo Engagement Ring in 18K Gold 1.20ct F/VS1 - Image 128
Cleopatra Lab Diamond Halo Engagement Ring in 18K Gold 1.20ct F/VS1 - Image 129
Cleopatra Lab Diamond Halo Engagement Ring in 18K Gold 1.20ct F/VS1 - Image 130
Cleopatra Lab Diamond Halo Engagement Ring in 18K Gold 1.20ct F/VS1 - Image 131
Cleopatra Lab Diamond Halo Engagement Ring in 18K Gold 1.20ct F/VS1 - Image 132
Cleopatra Lab Diamond Halo Engagement Ring in 18K Gold 1.20ct F/VS1 - Image 133
Cleopatra Lab Diamond Halo Engagement Ring in 18K Gold 1.20ct F/VS1 - Image 134
Cleopatra Lab Diamond Halo Engagement Ring in 18K Gold 1.20ct F/VS1 - Image 135
Cleopatra Lab Diamond Halo Engagement Ring in 18K Gold 1.20ct F/VS1 - Image 136
Cleopatra Lab Diamond Halo Engagement Ring in 18K Gold 1.20ct F/VS1 - Image 137
Cleopatra Lab Diamond Halo Engagement Ring in 18K Gold 1.20ct F/VS1 - Image 138
Cleopatra Lab Diamond Halo Engagement Ring in 18K Gold 1.20ct F/VS1 - Image 139
Cleopatra Lab Diamond Halo Engagement Ring in 18K Gold 1.20ct F/VS1 - Image 140
Cleopatra Lab Diamond Halo Engagement Ring in 18K Gold 1.20ct F/VS1 - Image 141
Cleopatra Lab Diamond Halo Engagement Ring in 18K Gold 1.20ct F/VS1 - Image 142
Cleopatra Lab Diamond Halo Engagement Ring in 18K Gold 1.20ct F/VS1 - Image 143
Cleopatra Lab Diamond Halo Engagement Ring in 18K Gold 1.20ct F/VS1 - Image 144
Cleopatra Lab Diamond Halo Engagement Ring in 18K Gold 1.20ct F/VS1 - Image 145
Cleopatra Lab Diamond Halo Engagement Ring in 18K Gold 1.20ct F/VS1 - Image 146
Cleopatra Lab Diamond Halo Engagement Ring in 18K Gold 1.20ct F/VS1 - Image 147
Cleopatra Lab Diamond Halo Engagement Ring in 18K Gold 1.20ct F/VS1 - Image 148
Cleopatra Lab Diamond Halo Engagement Ring in 18K Gold 1.20ct F/VS1 - Image 149
Cleopatra Lab Diamond Halo Engagement Ring in 18K Gold 1.20ct F/VS1 - Image 150
Cleopatra Lab Diamond Halo Engagement Ring in 18K Gold 1.20ct F/VS1 - Image 151
Cleopatra Lab Diamond Halo Engagement Ring in 18K Gold 1.20ct F/VS1 - Image 152
Cleopatra Lab Diamond Halo Engagement Ring in 18K Gold 1.20ct F/VS1 - Image 153
Cleopatra Lab Diamond Halo Engagement Ring in 18K Gold 1.20ct F/VS1 - Image 154
Cleopatra Lab Diamond Halo Engagement Ring in 18K Gold 1.20ct F/VS1 - Image 155
Cleopatra Lab Diamond Halo Engagement Ring in 18K Gold 1.20ct F/VS1 - Image 156
Cleopatra Lab Diamond Halo Engagement Ring in 18K Gold 1.20ct F/VS1 - Image 157
Cleopatra Lab Diamond Halo Engagement Ring in 18K Gold 1.20ct F/VS1 - Image 158
Cleopatra Lab Diamond Halo Engagement Ring in 18K Gold 1.20ct F/VS1 - Image 159
Cleopatra Lab Diamond Halo Engagement Ring in 18K Gold 1.20ct F/VS1 - Image 160
Cleopatra Lab Diamond Halo Engagement Ring in 18K Gold 1.20ct F/VS1 - Image 161
Cleopatra Lab Diamond Halo Engagement Ring in 18K Gold 1.20ct F/VS1 - Image 162
Cleopatra Lab Diamond Halo Engagement Ring in 18K Gold 1.20ct F/VS1 - Image 163
Cleopatra Lab Diamond Halo Engagement Ring in 18K Gold 1.20ct F/VS1 - Image 164
Cleopatra Lab Diamond Halo Engagement Ring in 18K Gold 1.20ct F/VS1 - Image 165
Cleopatra Lab Diamond Halo Engagement Ring in 18K Gold 1.20ct F/VS1 - Image 166
Cleopatra Lab Diamond Halo Engagement Ring in 18K Gold 1.20ct F/VS1 - Image 167

Cleopatra Lab Diamond Halo Engagement Ring in 18K Gold 1.20ct F/VS1

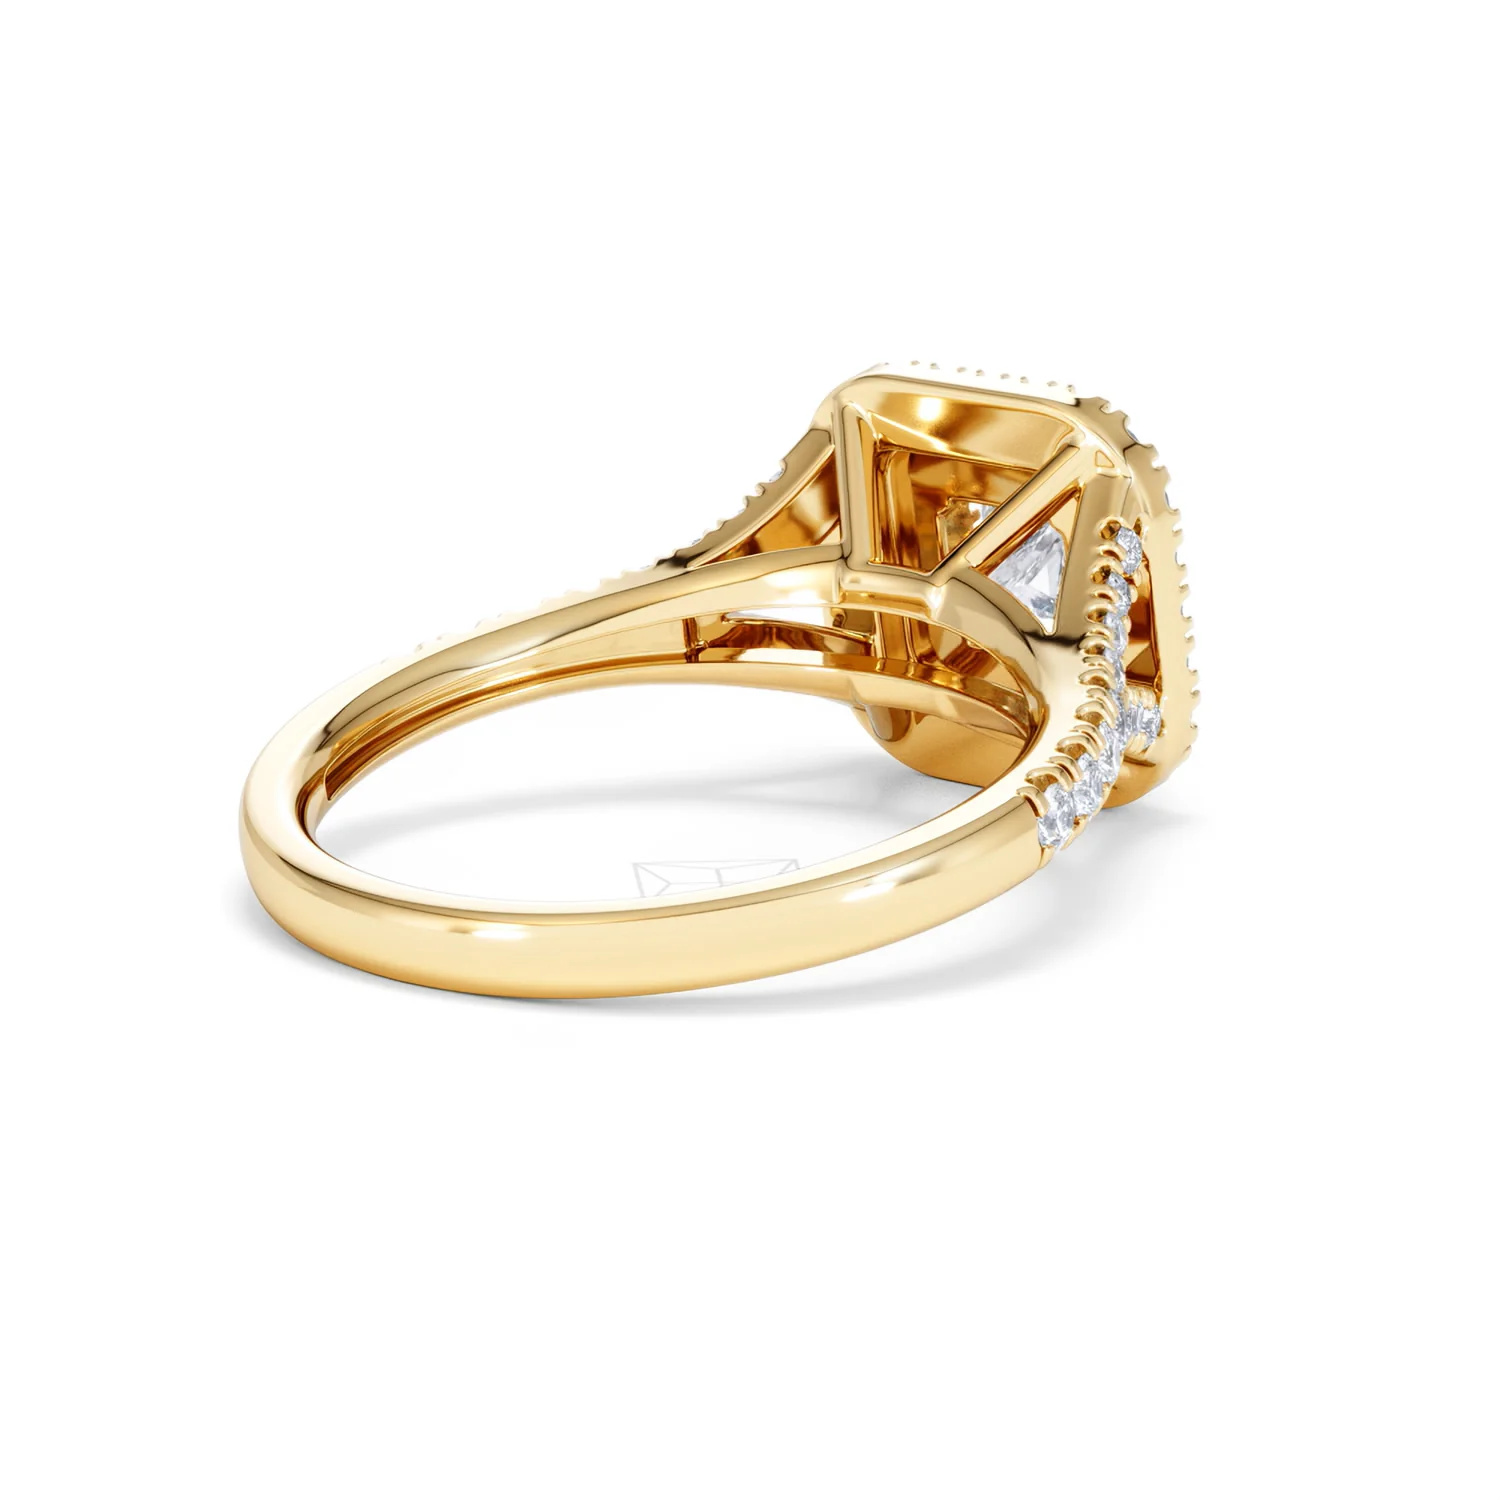
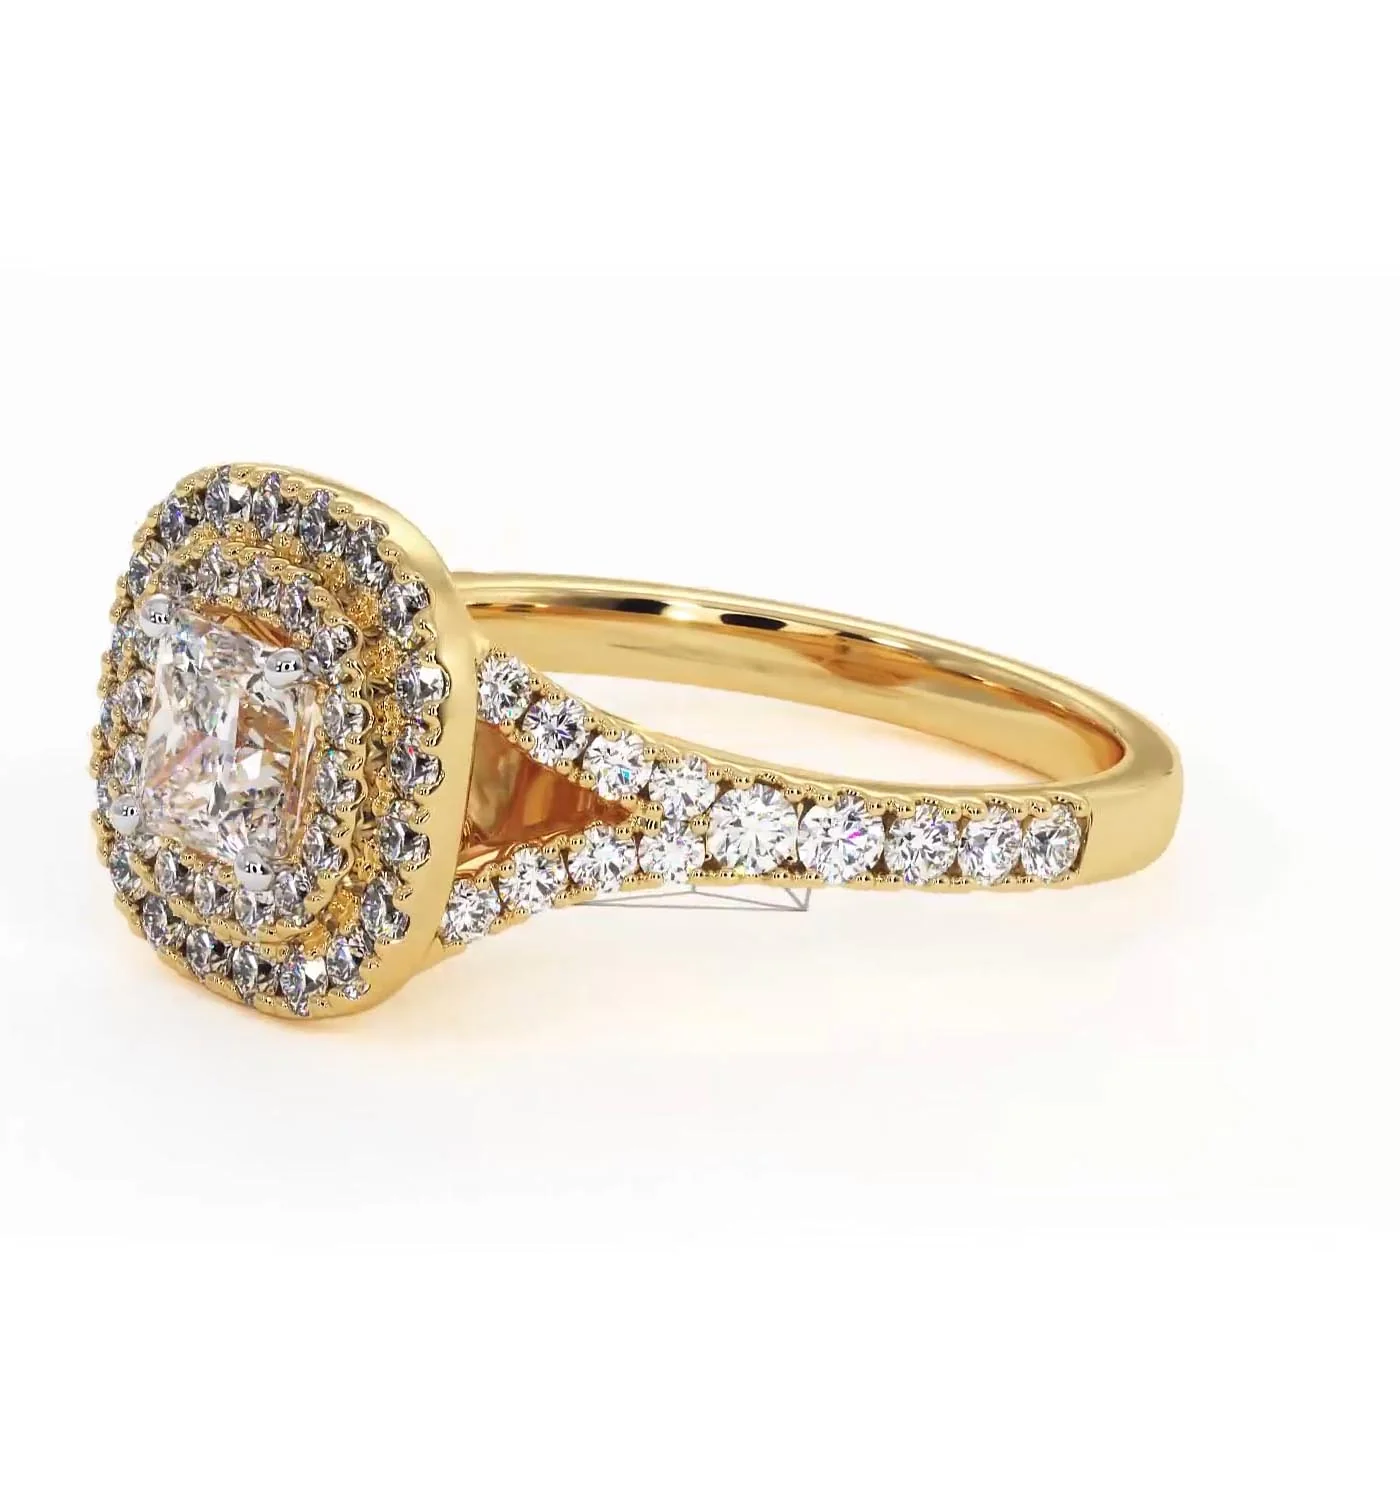
This magnificent double-halo diamond ring showcases a superb sustainable lab grown solitaire that is princess cut for superb sparkle. The beautiful split shank setting, which divides the band into two either side of the centre stone, is handcrafted in 18K yellow gold to offer luxurious contrast against the sparkling white diamonds.
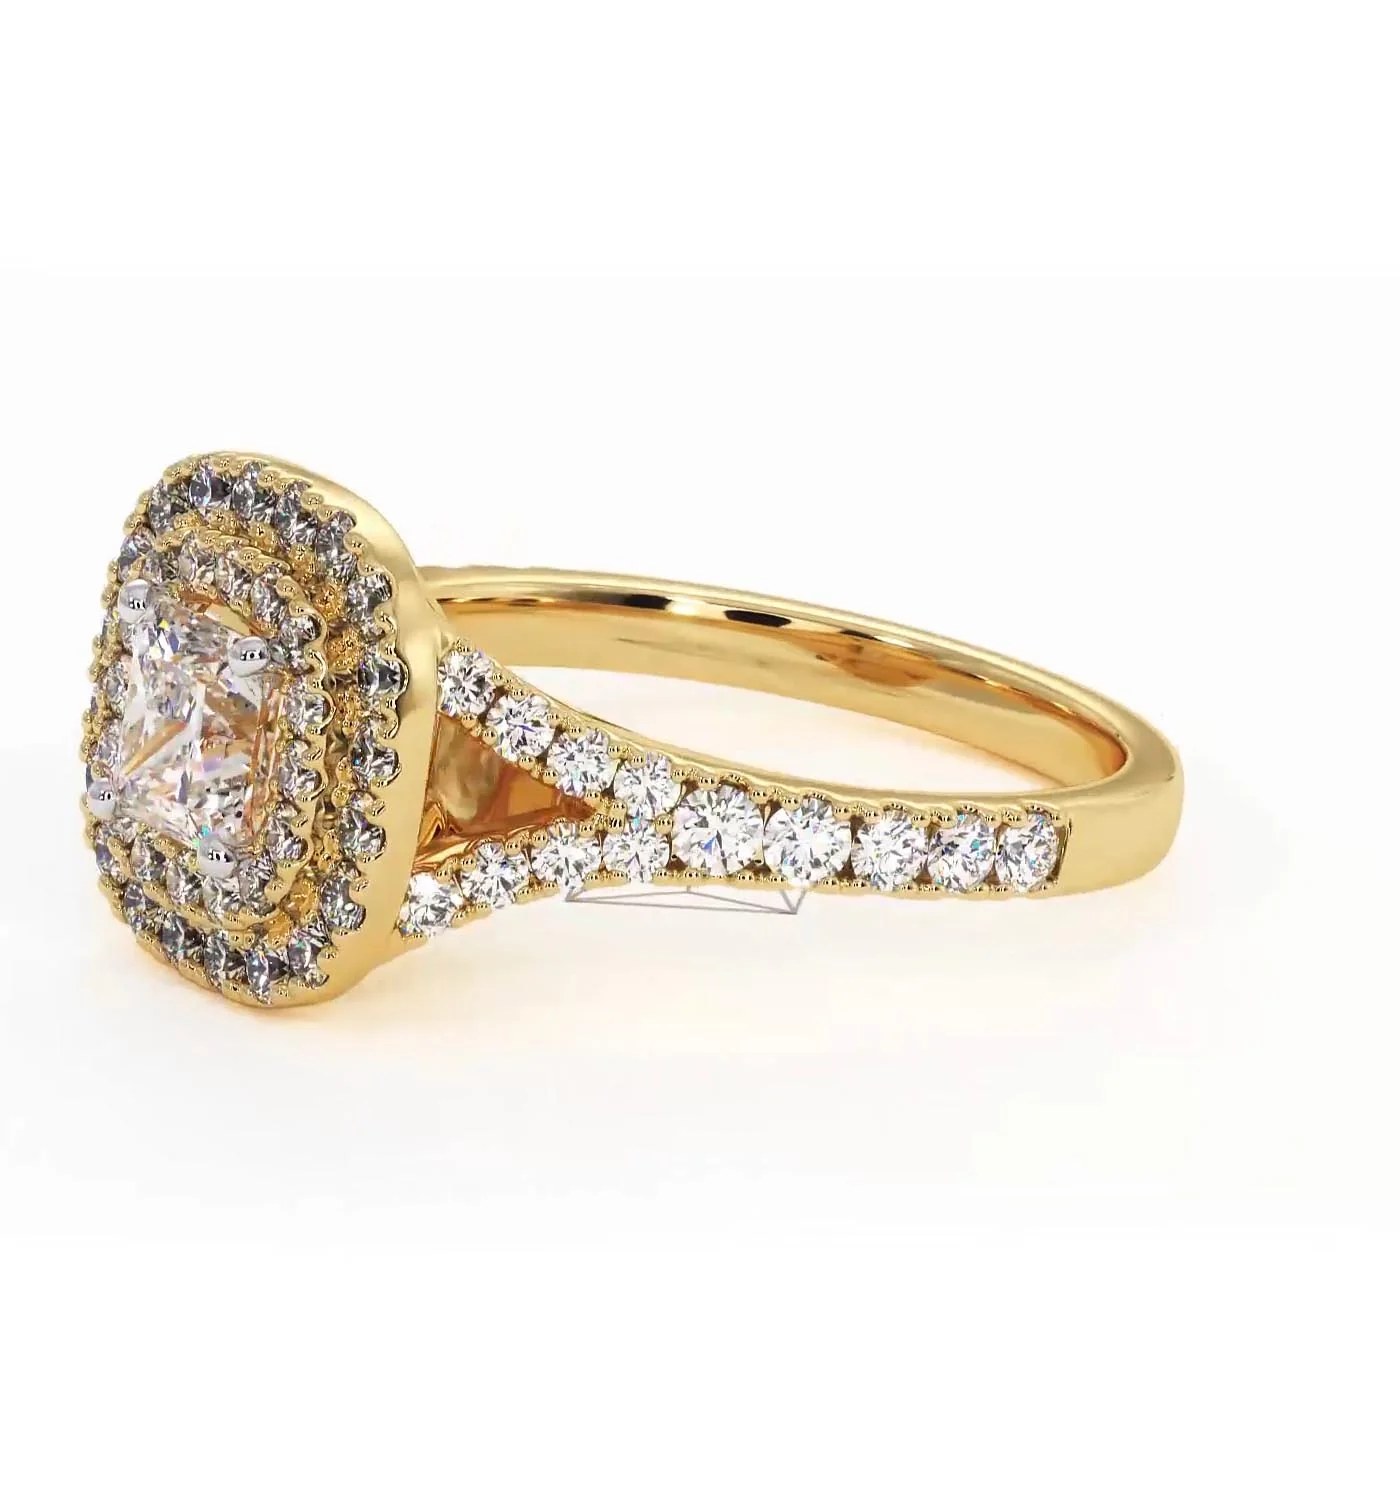
*The sustainable luxury choice. Lab-grown diamonds are chemically and optically identical in brilliance and beauty to a natural mined diamond.
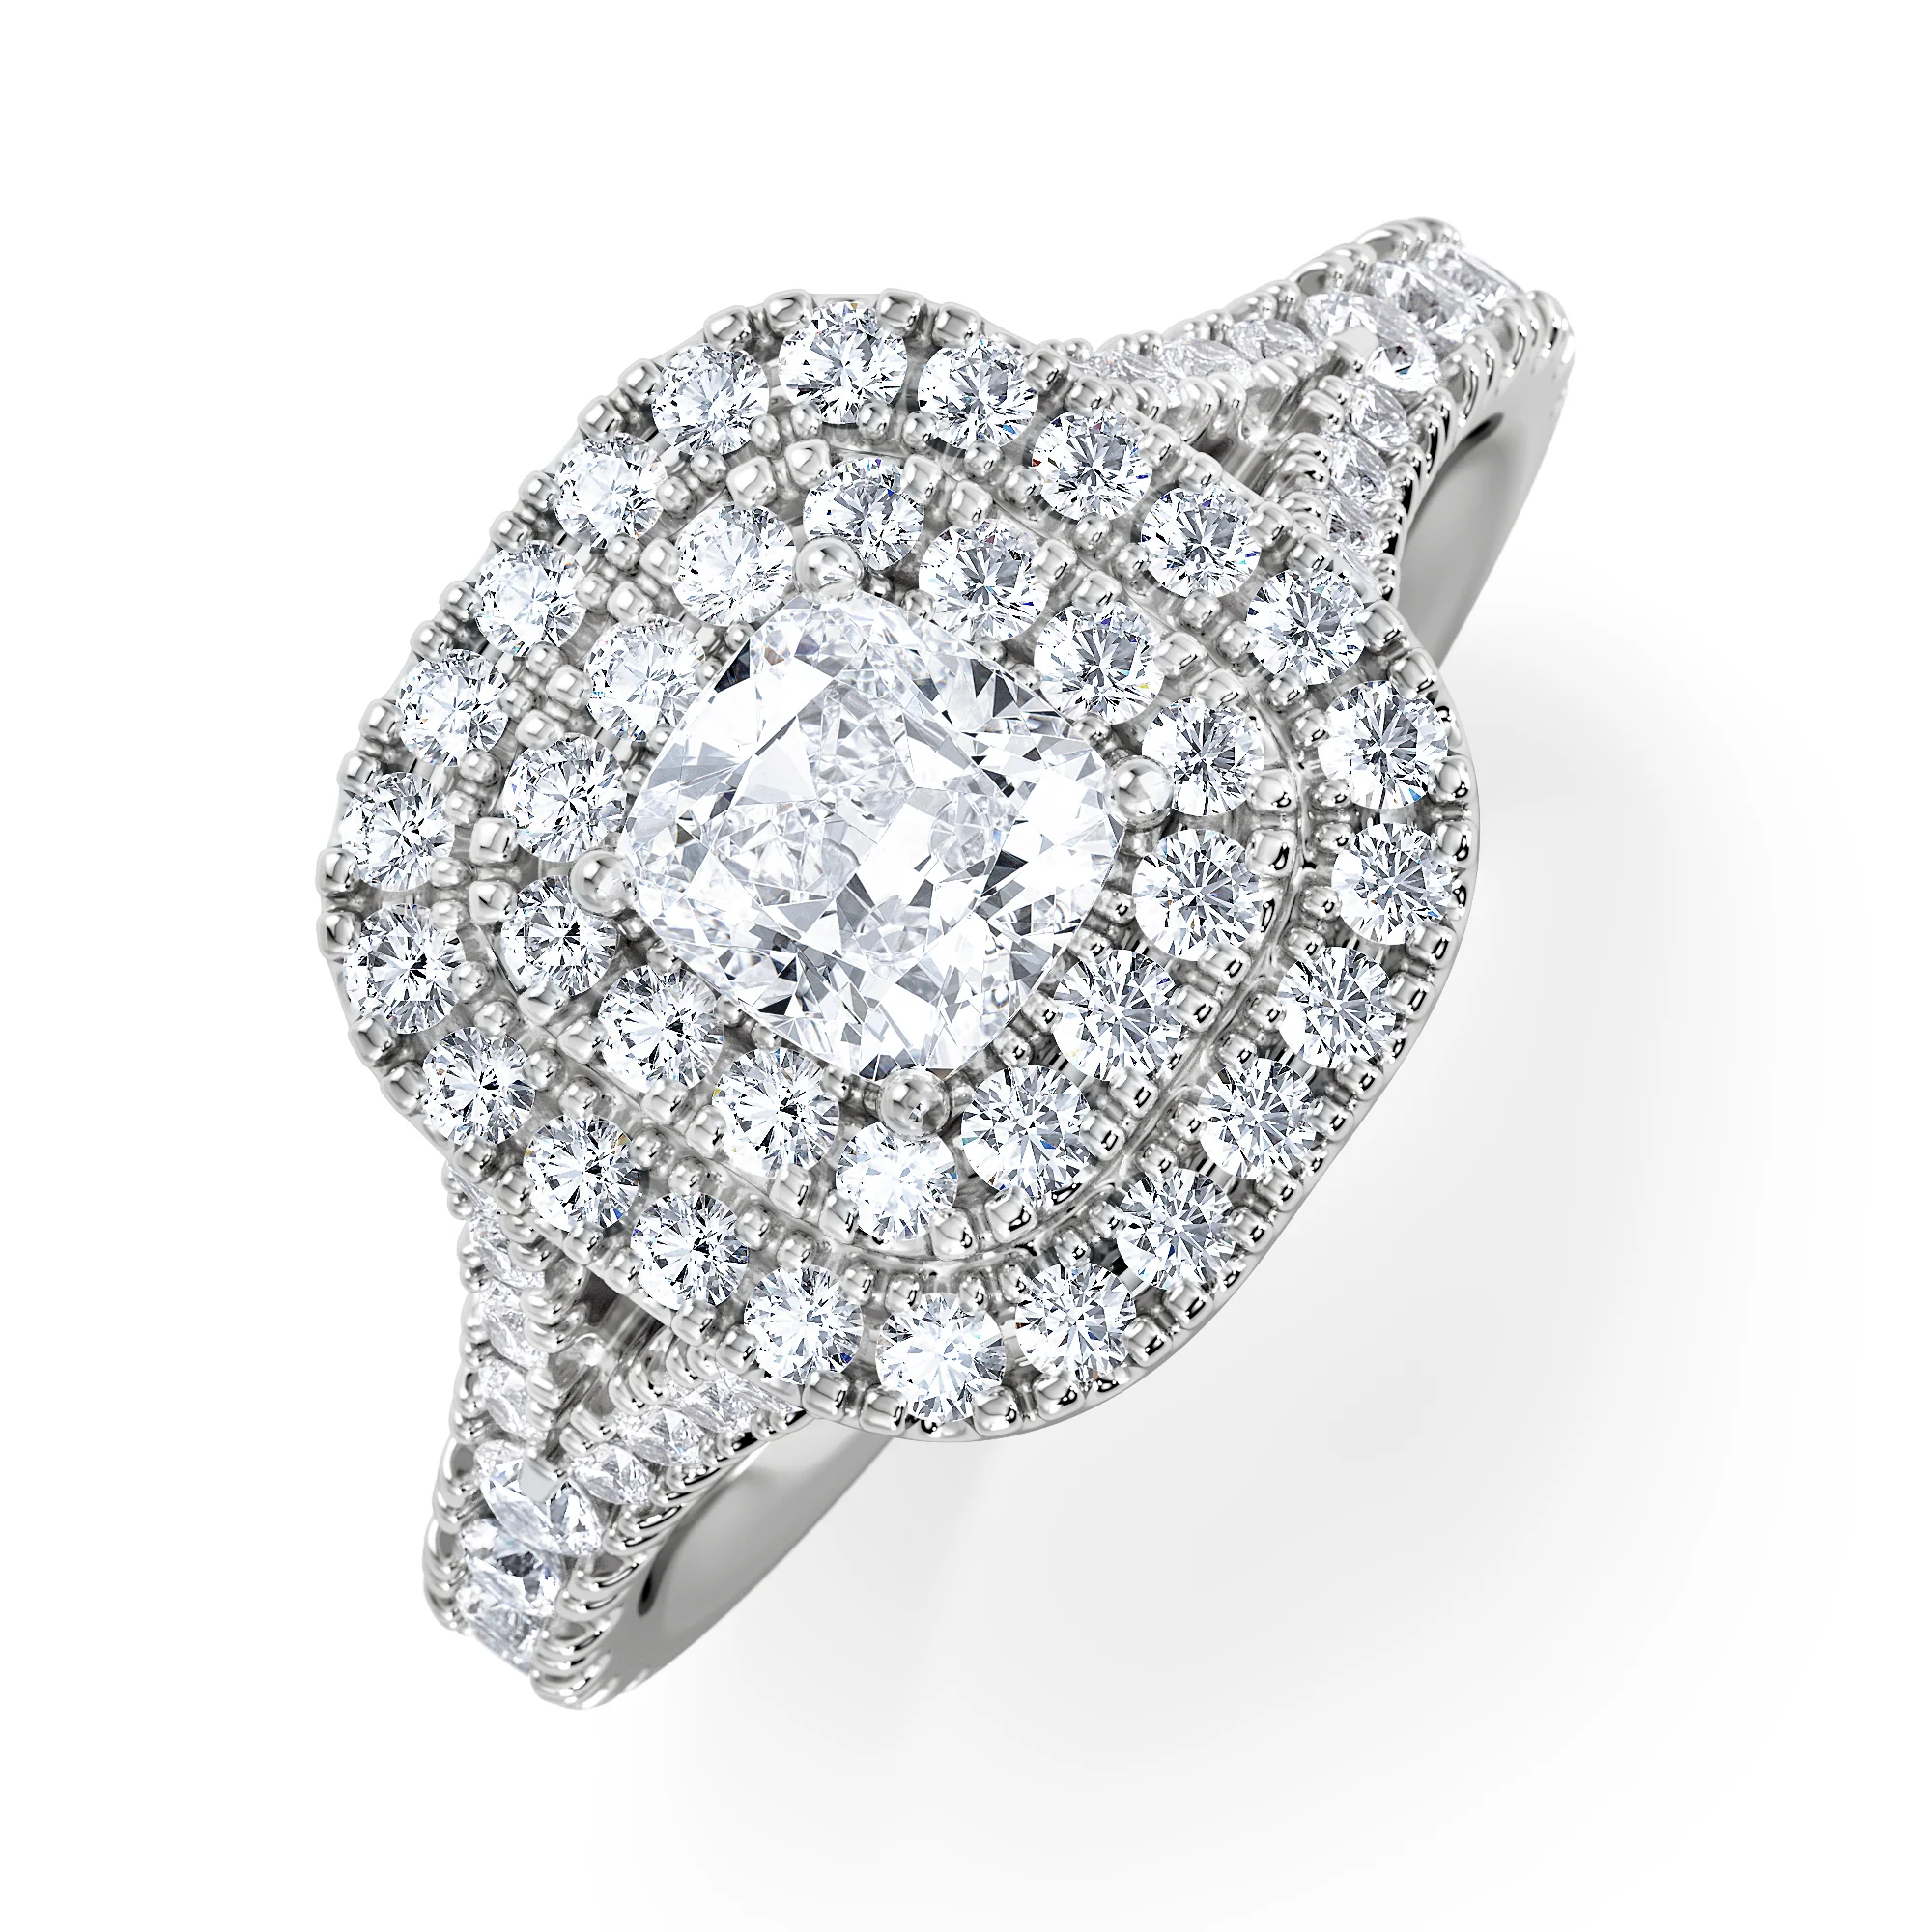
Product Information

Shipping & Returns

Description

This magnificent double-halo diamond ring showcases a superb sustainable lab grown solitaire that is princess cut for superb sparkle. The beautiful split shank setting, which divides the band into two either side of the centre stone, is handcrafted in 18K yellow gold to offer luxurious contrast against the sparkling white diamonds.
*The sustainable luxury choice. Lab-grown diamonds are chemically and optically identical in brilliance and beauty to a natural mined diamond.